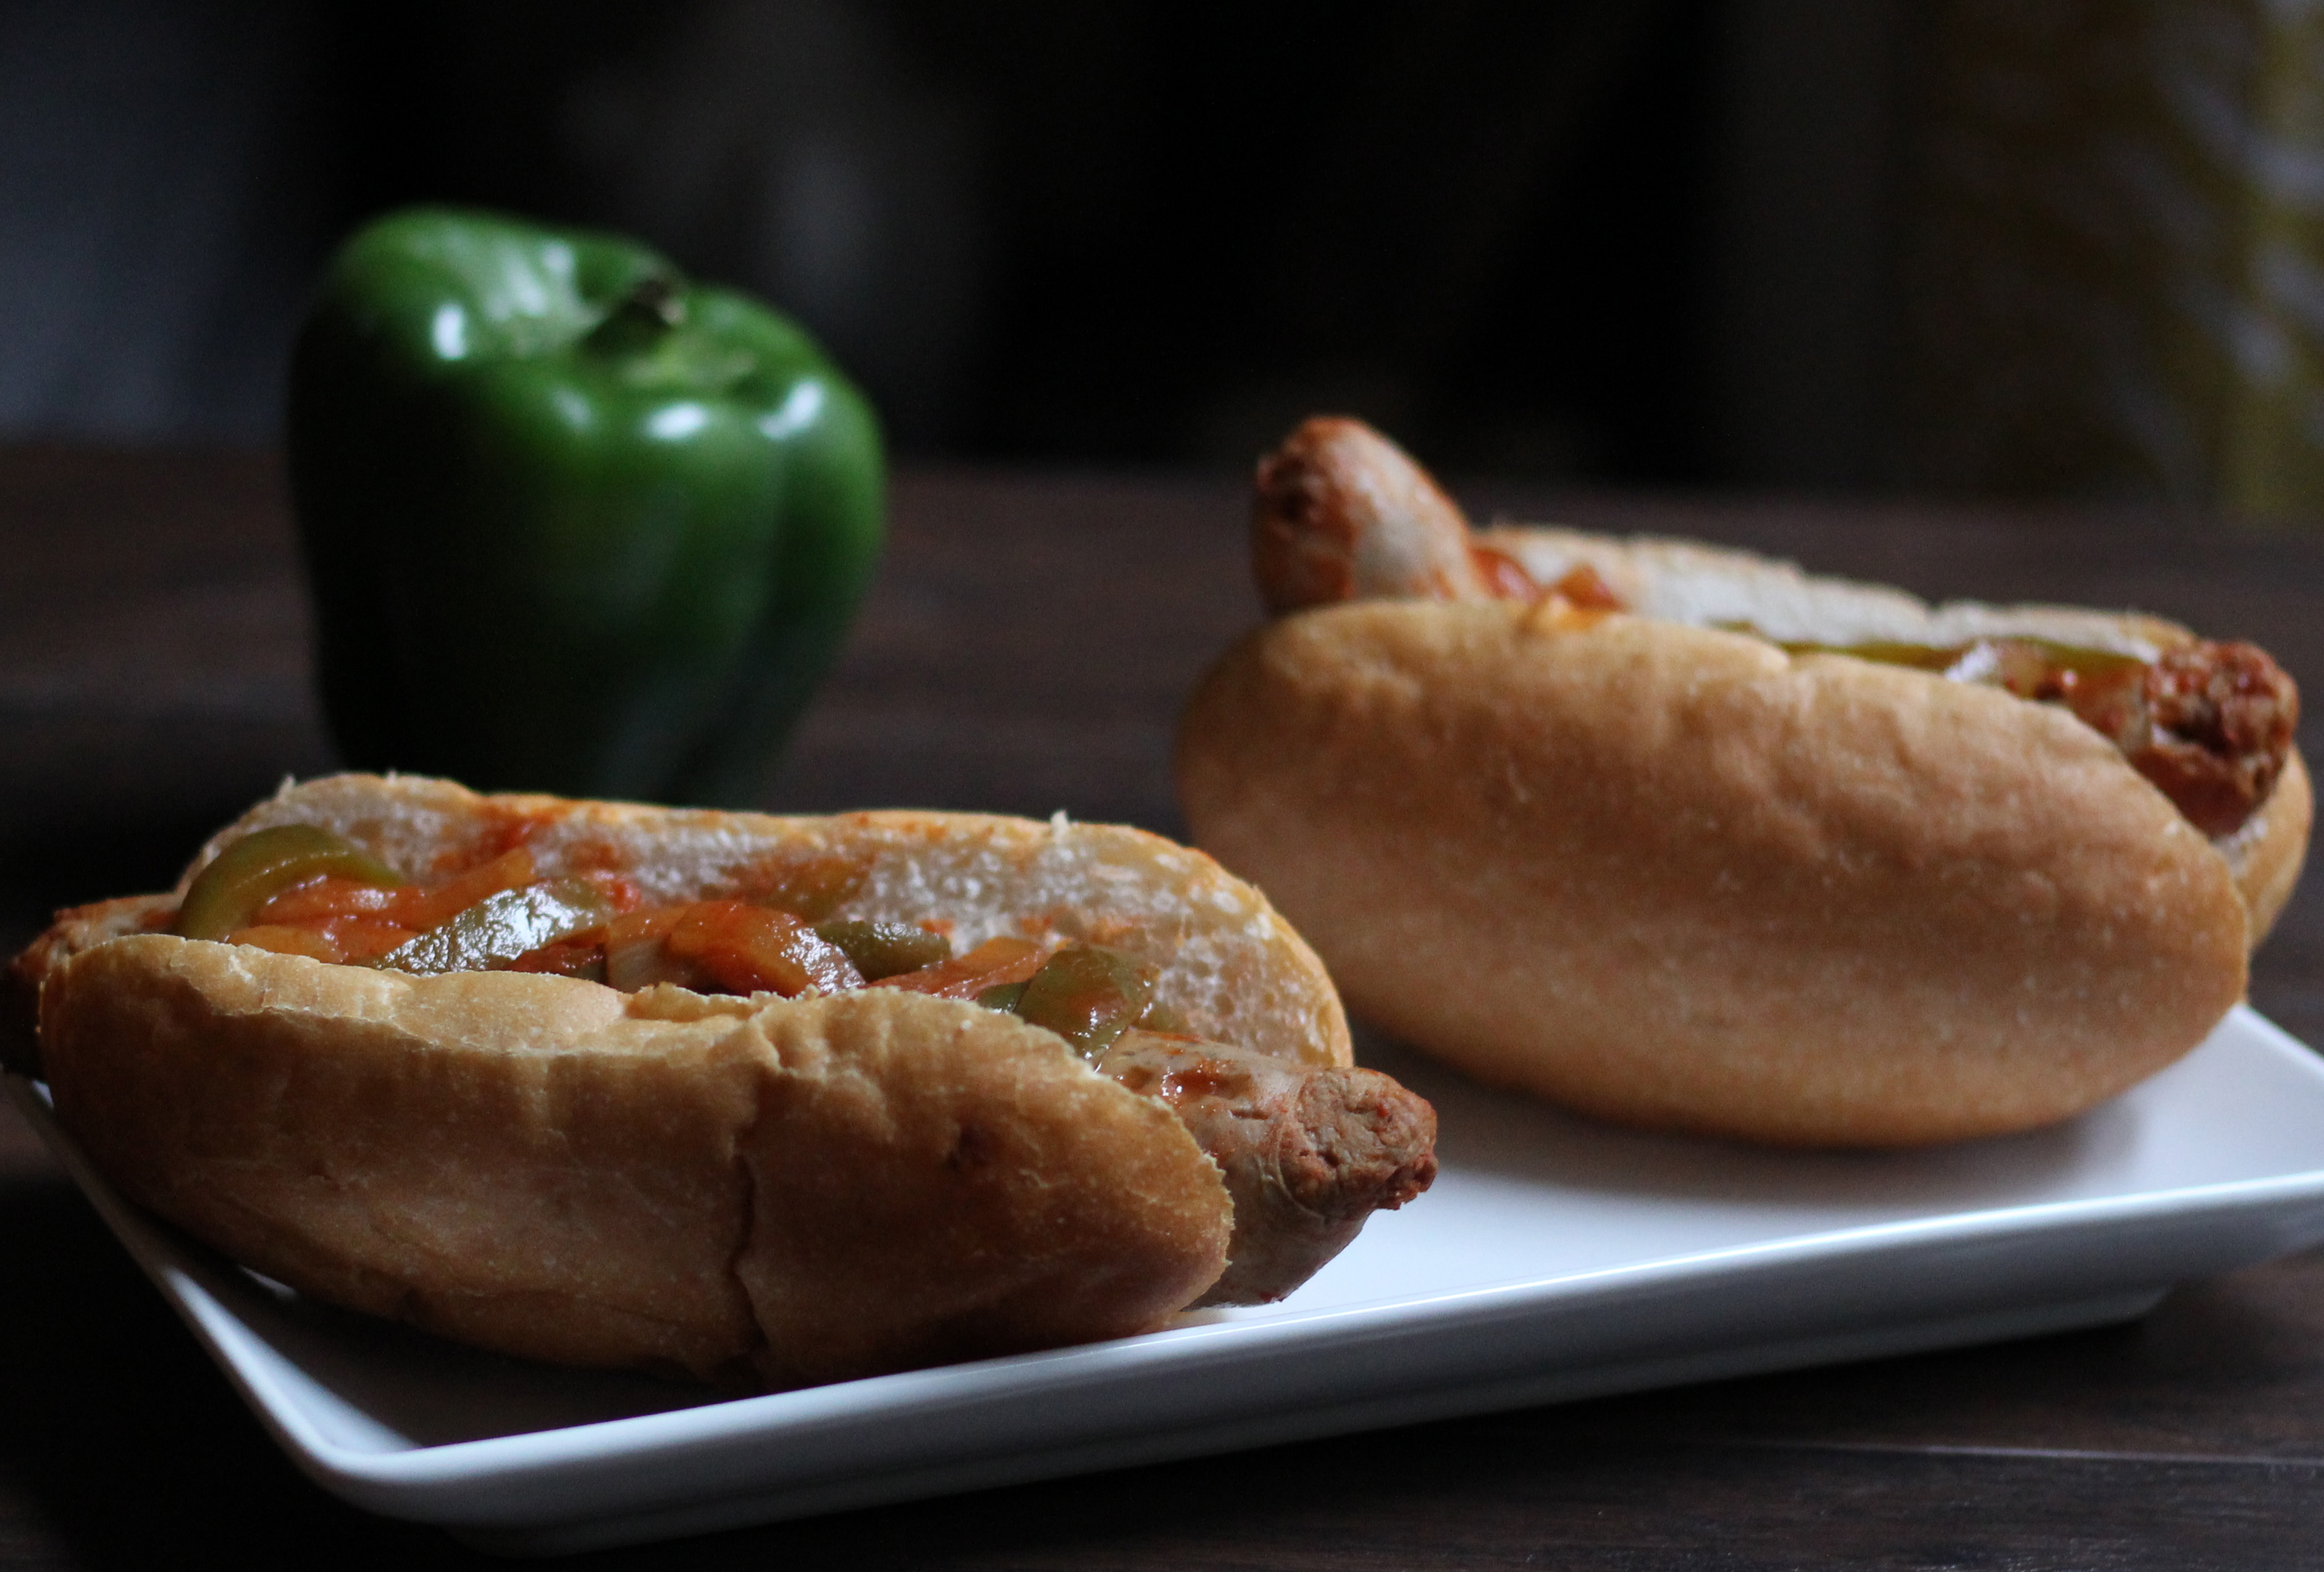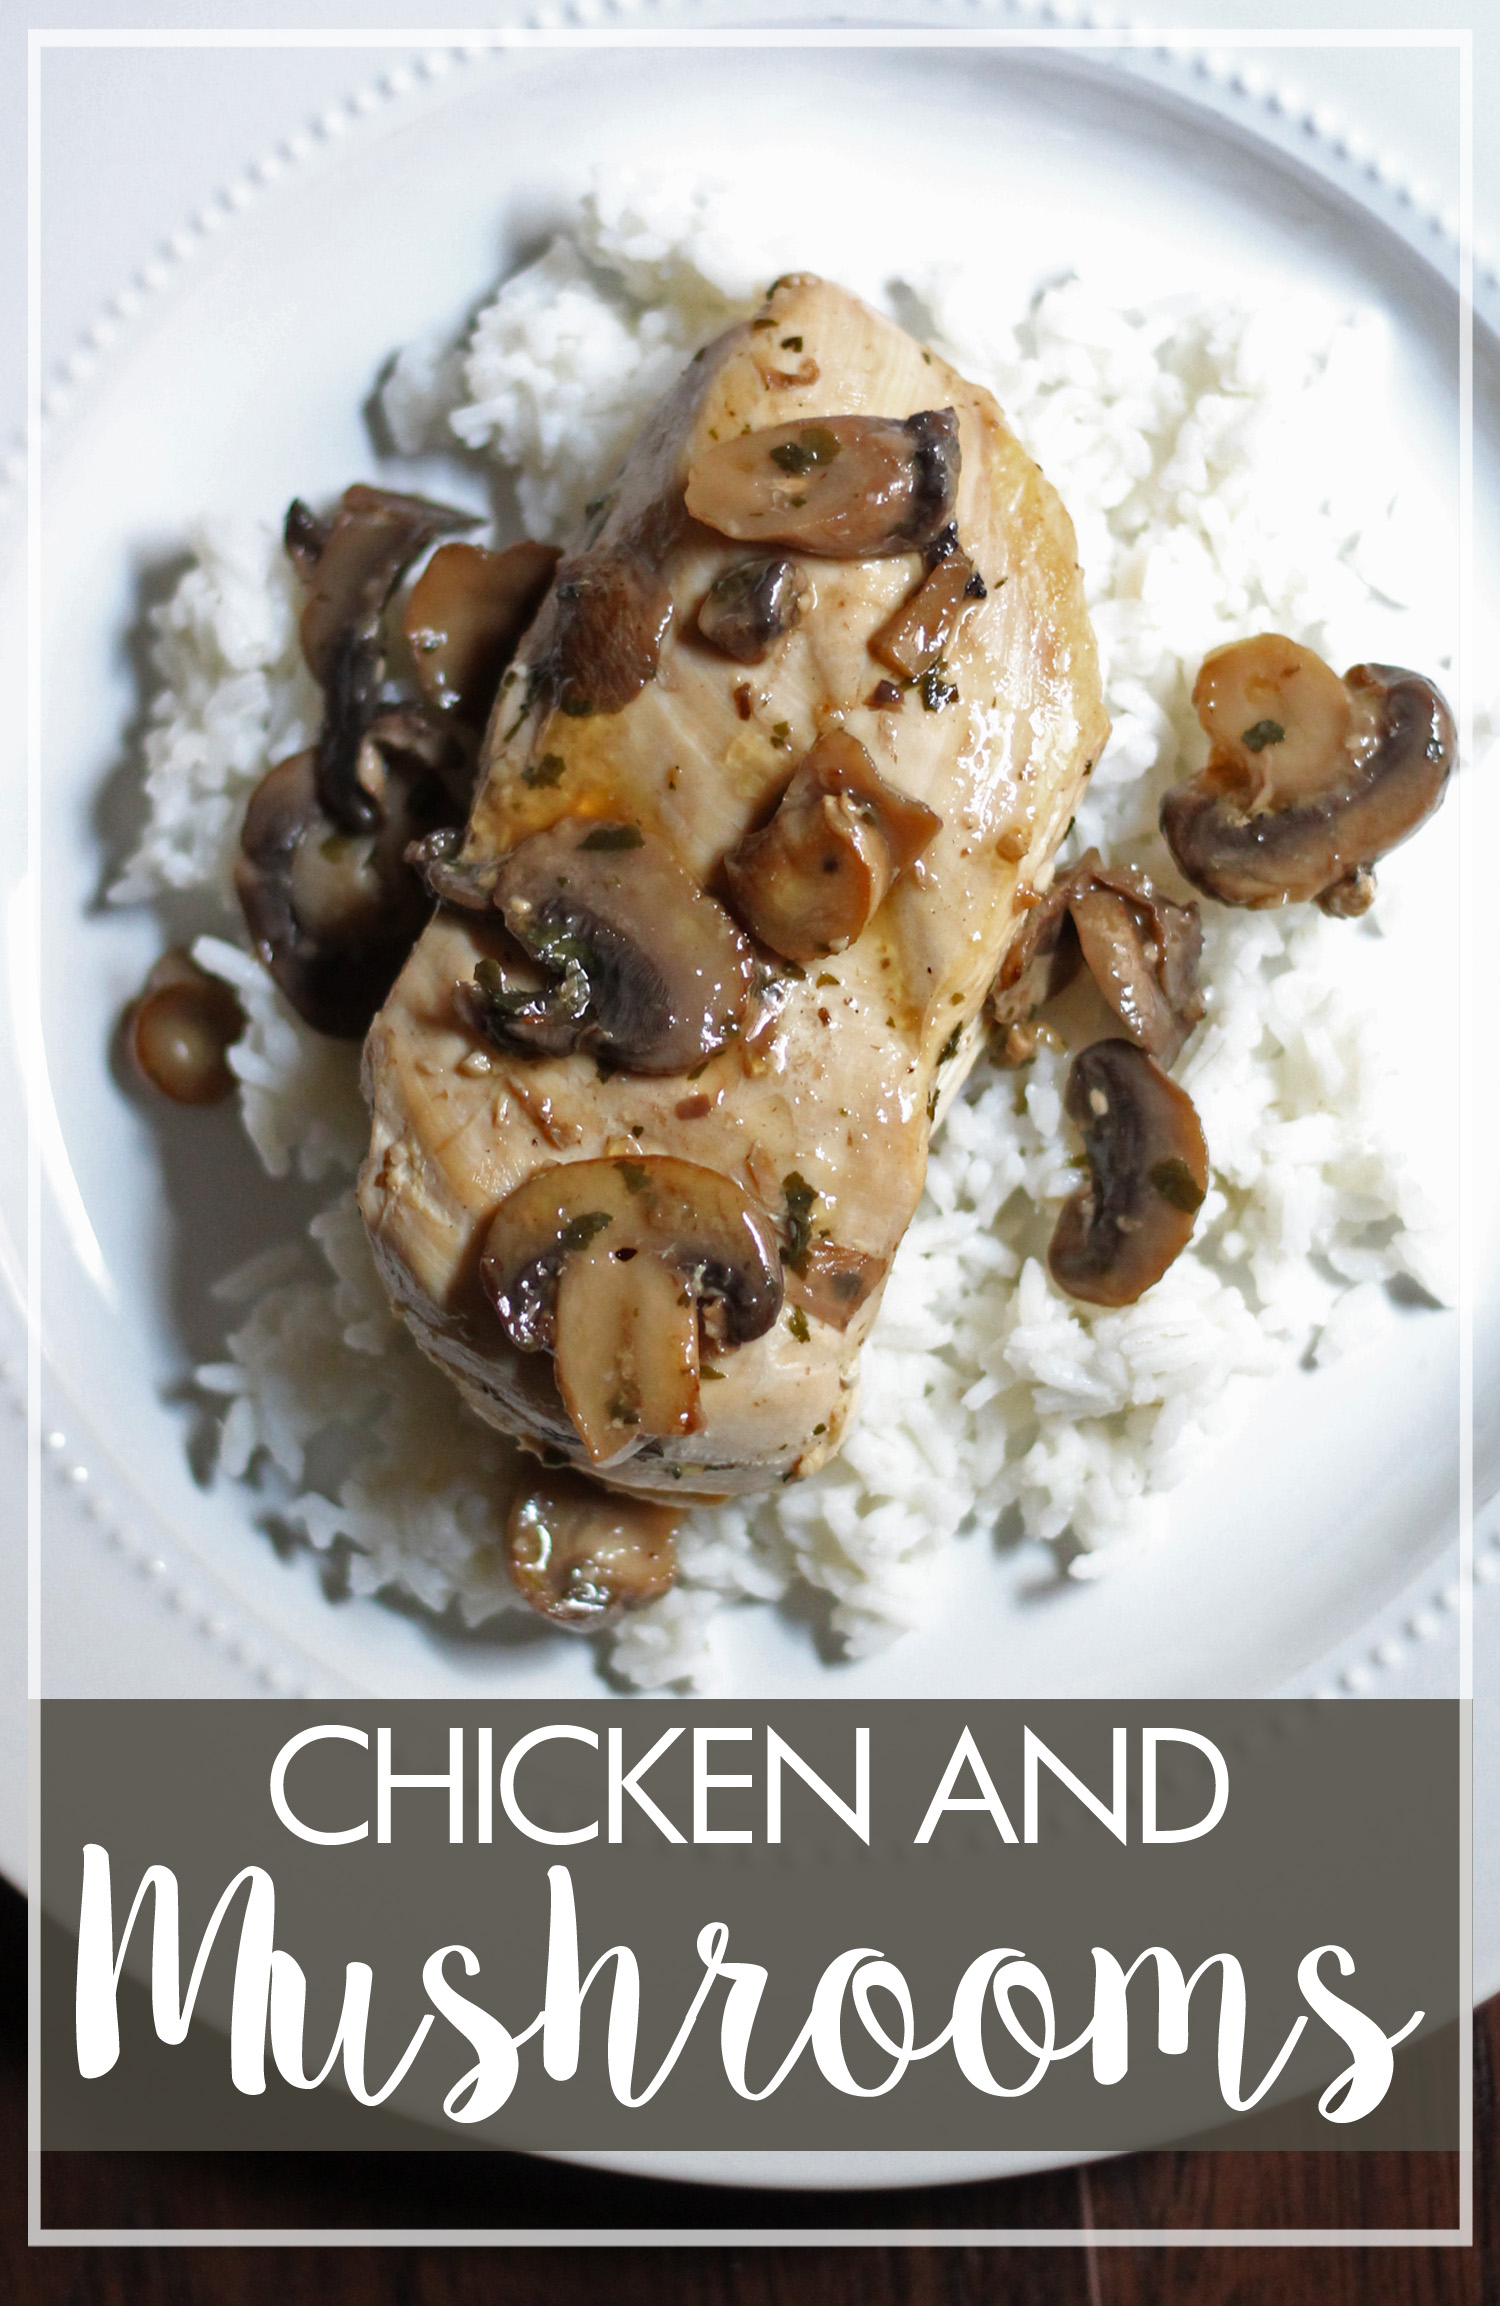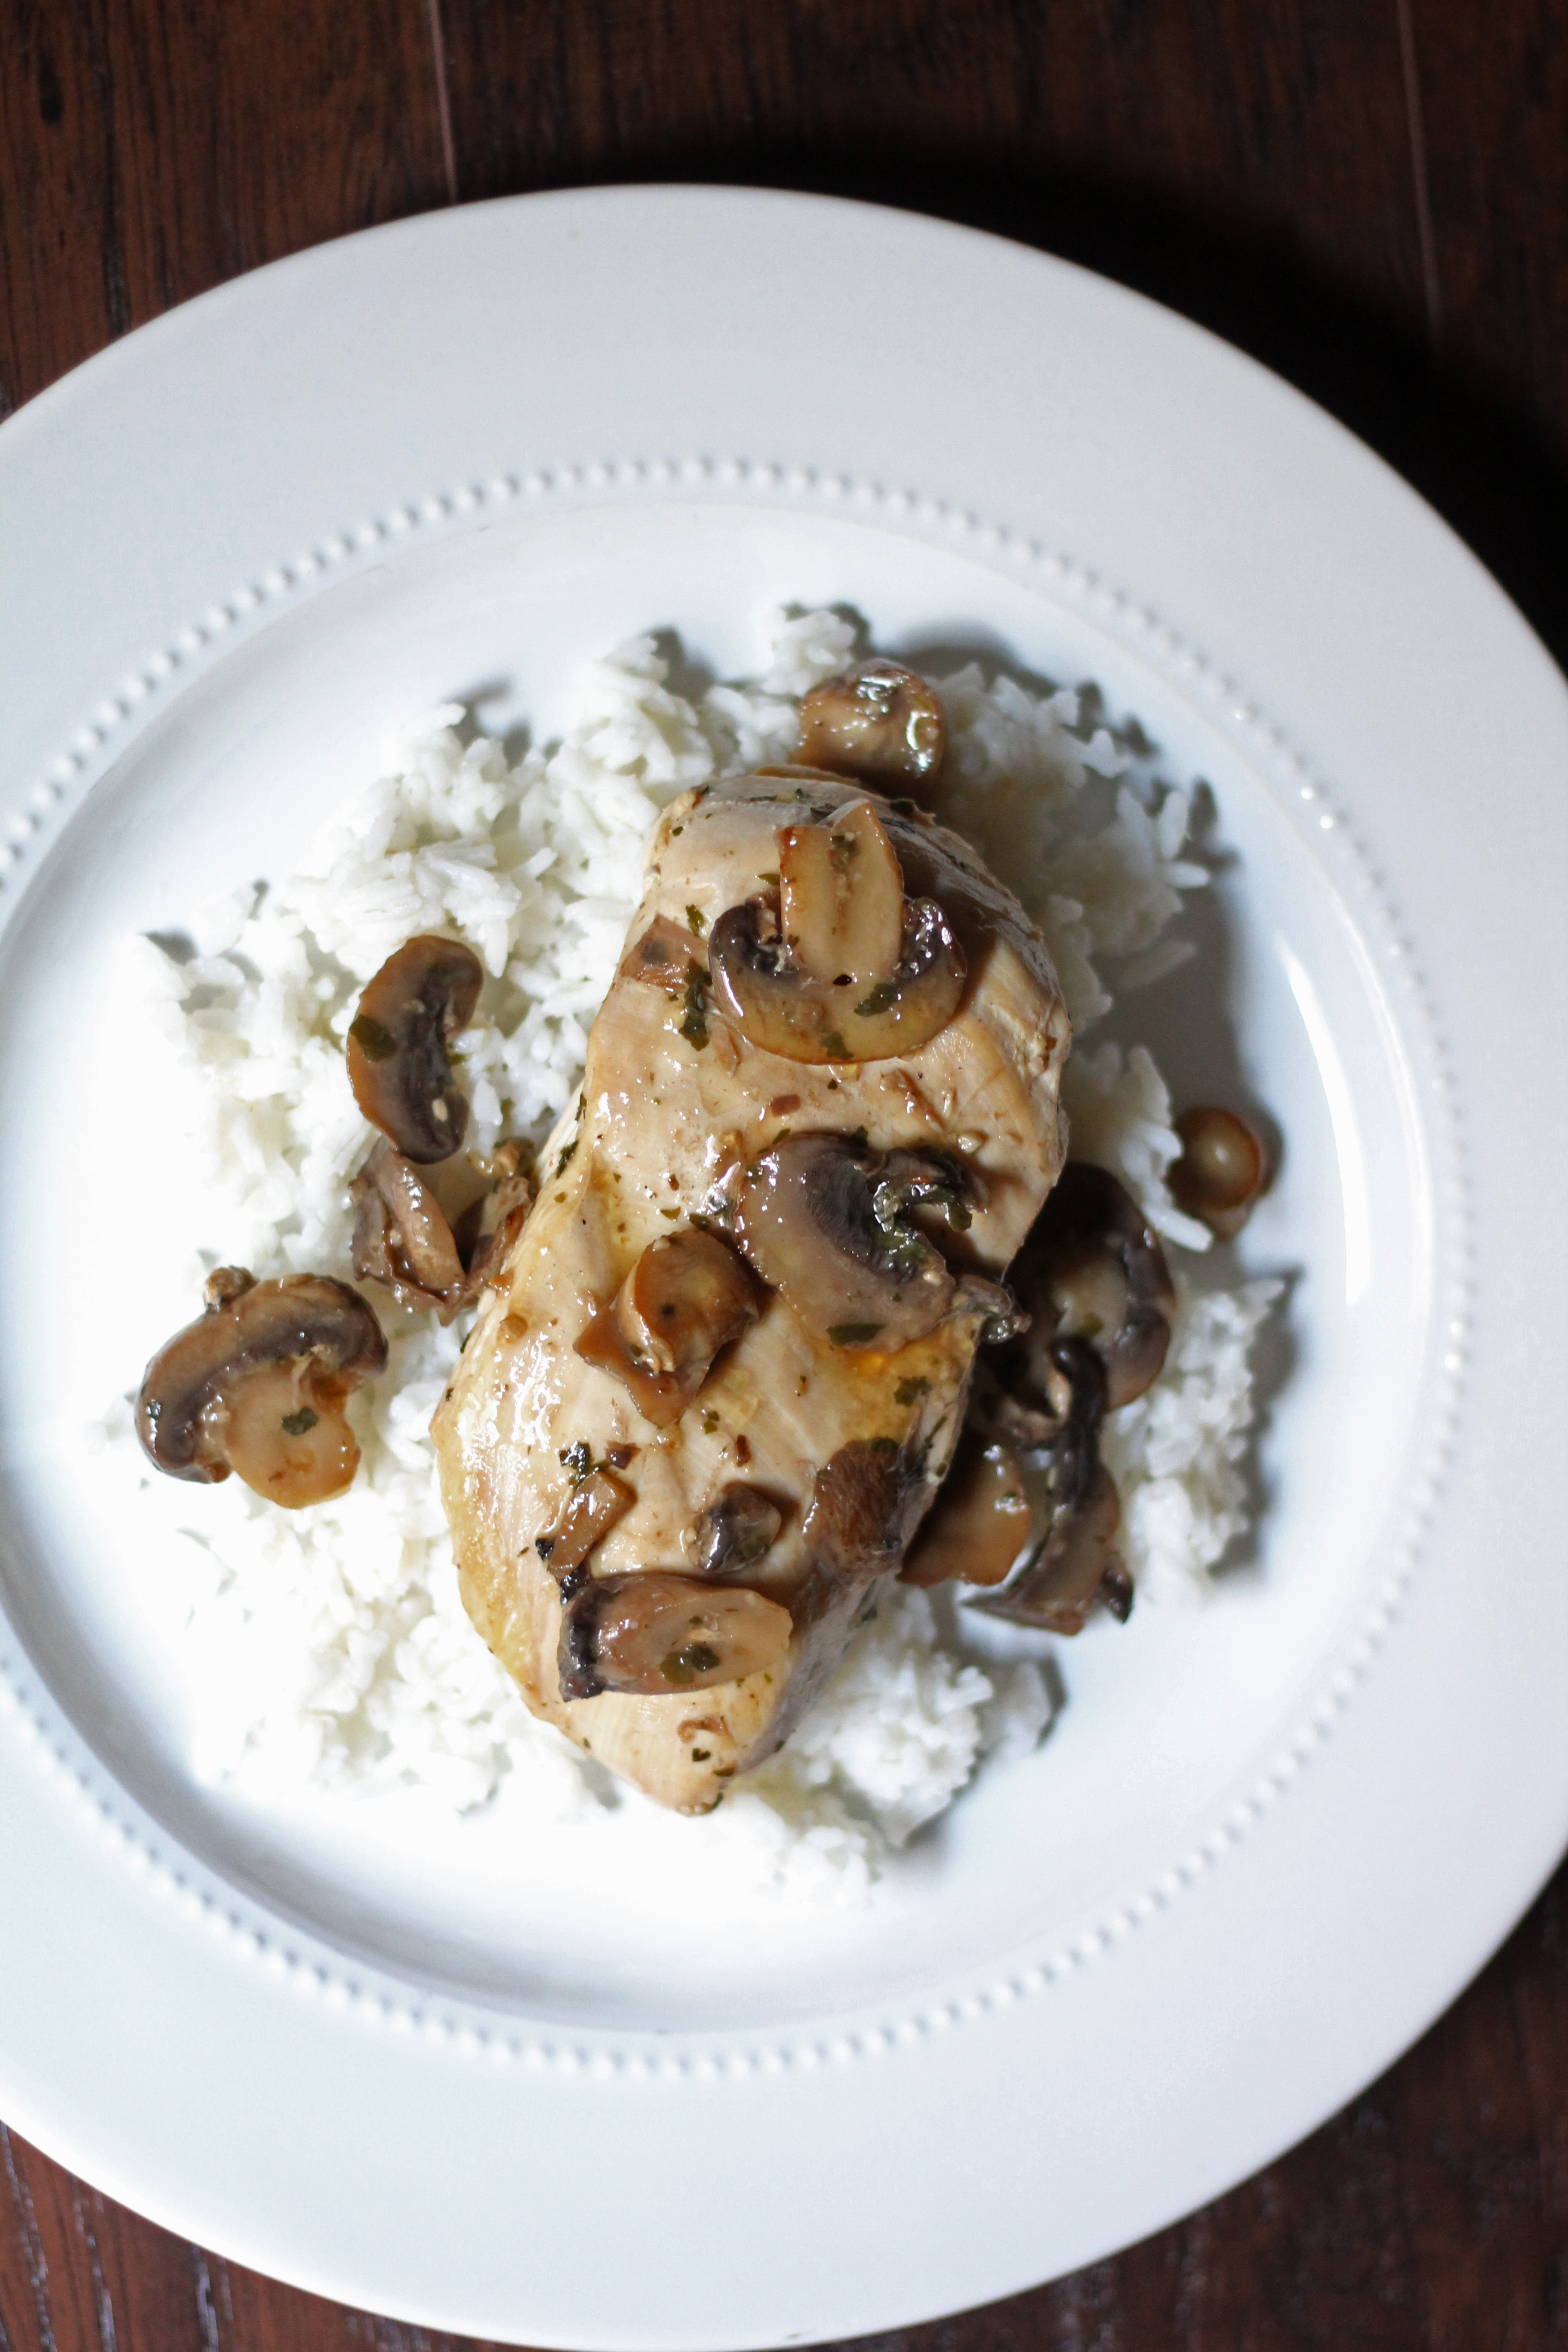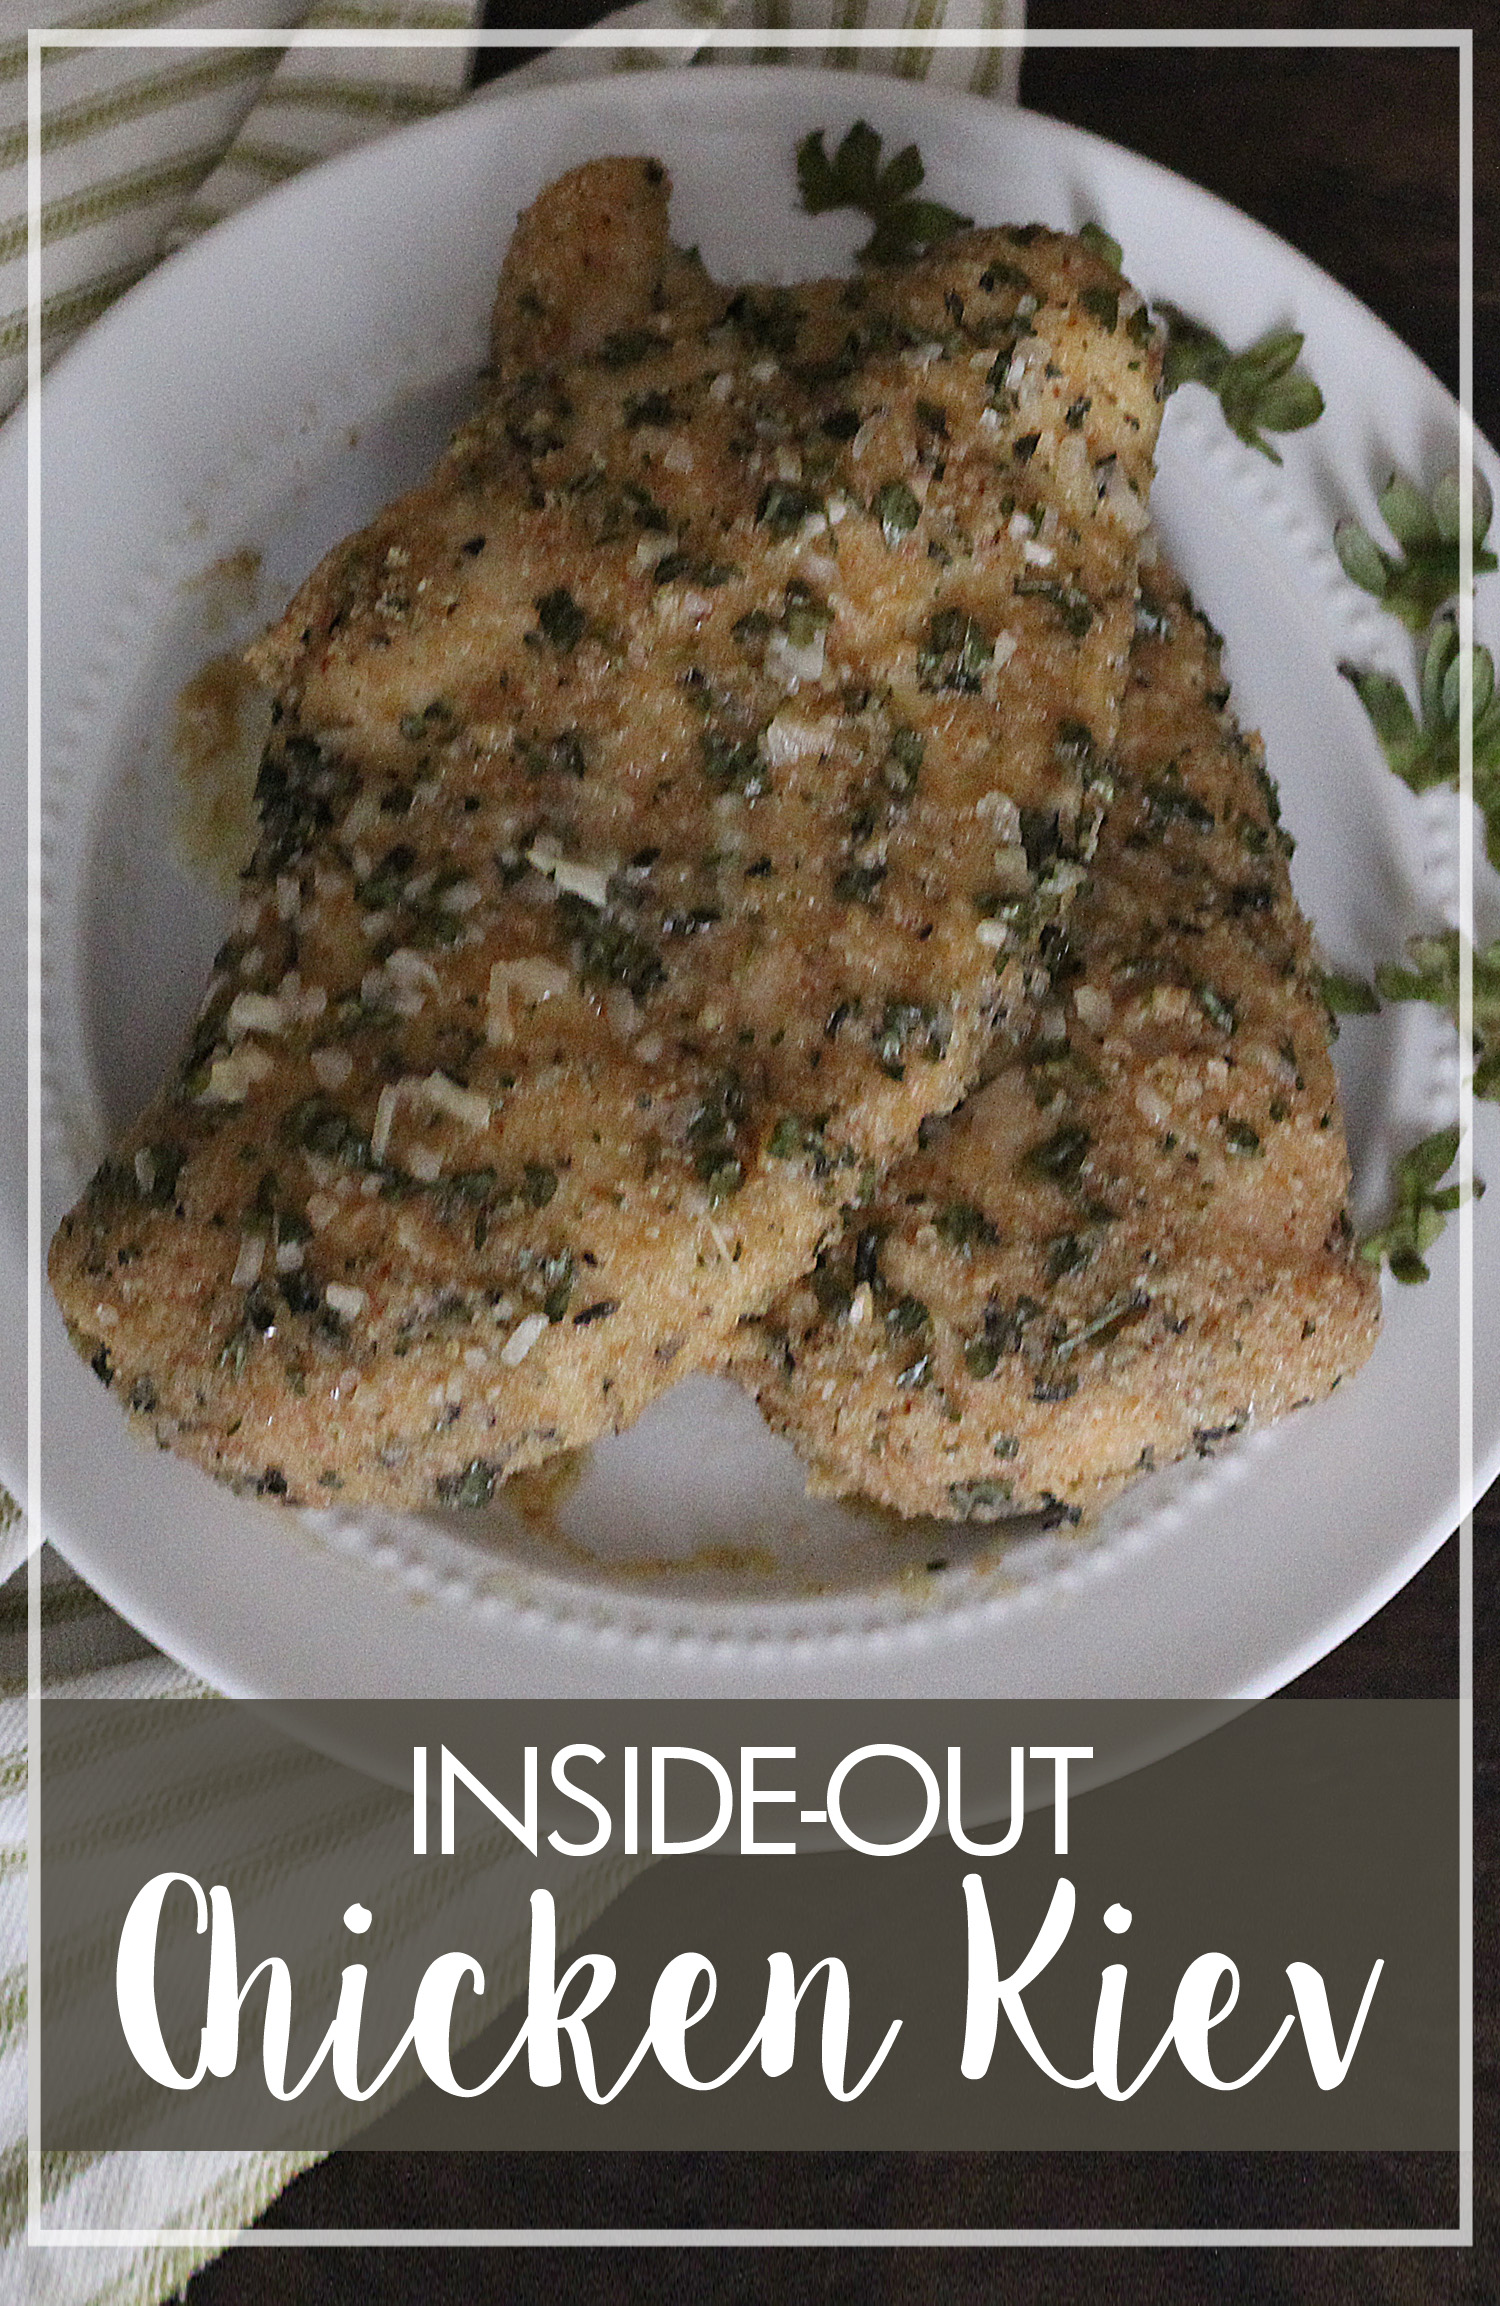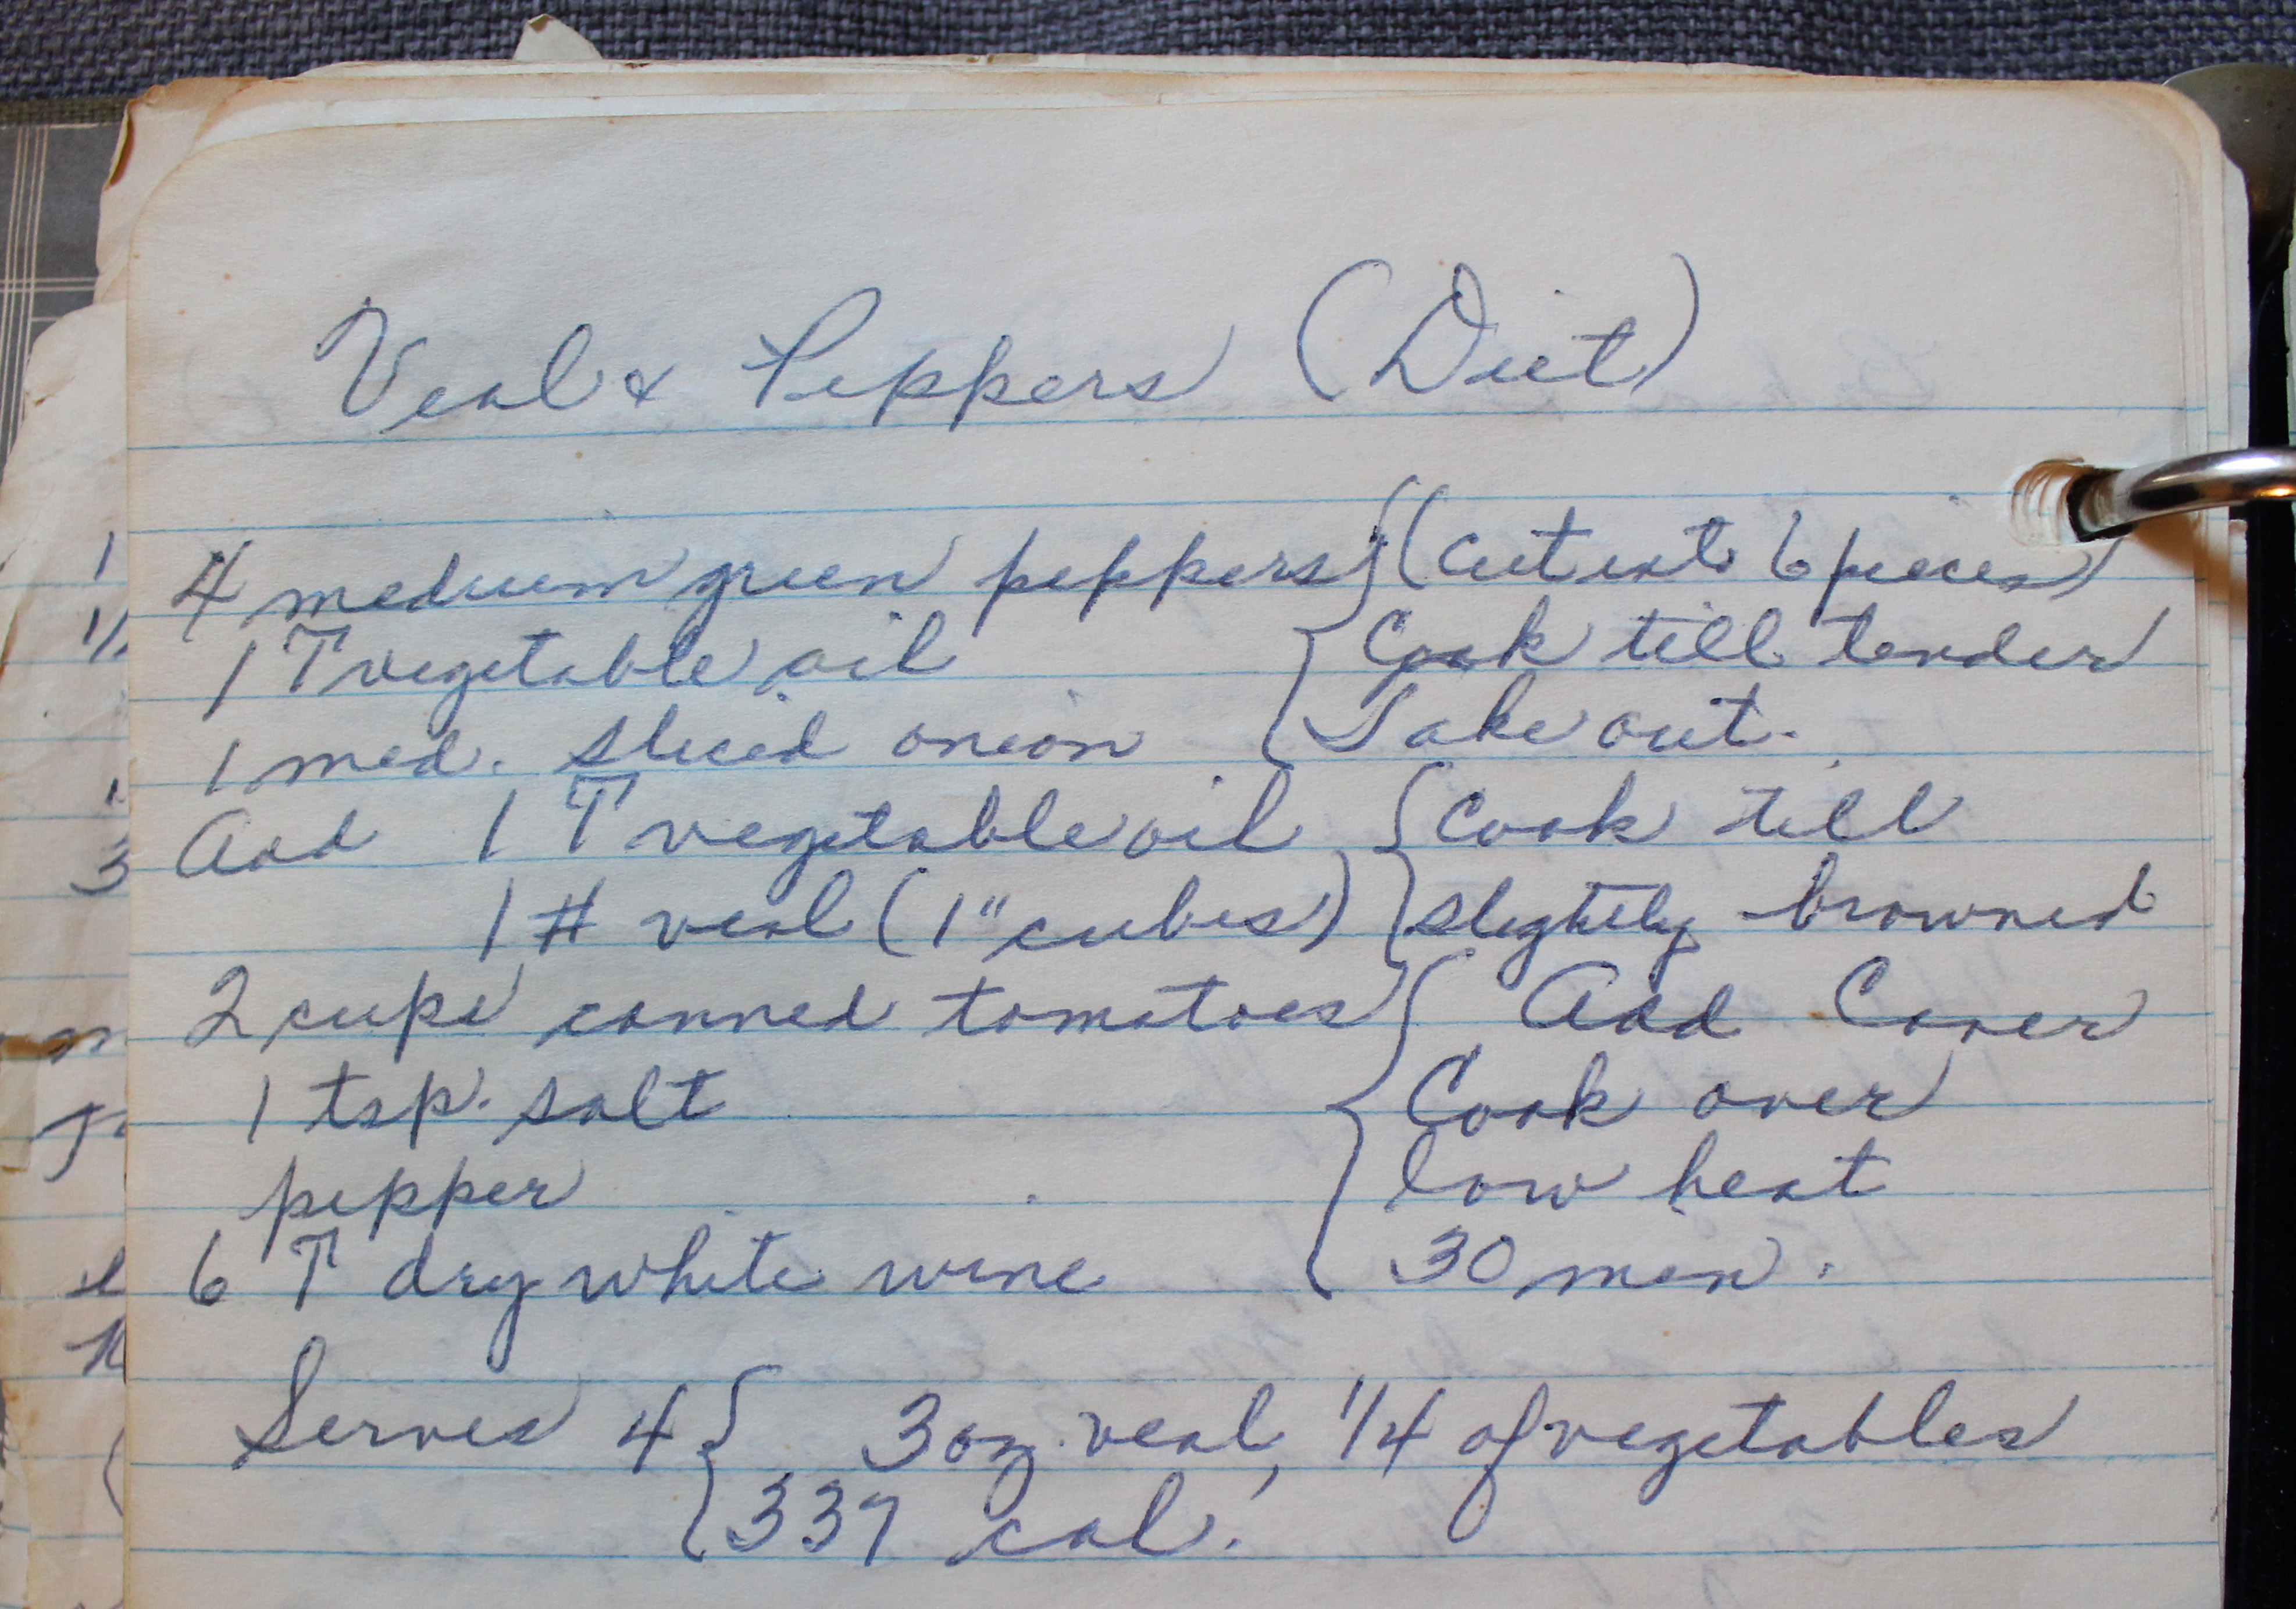
Chicken dishes were some of the most plentiful recipes that graced the table during family dinners at Marguerite’s house in my life time. They were most frequently casseroles or plain baked chicken, but Marguerite did lots of chicken recipes. While I don’t remember this chicken in rice recipe from any Sunday dinners with her, I would have enjoyed it a lot.
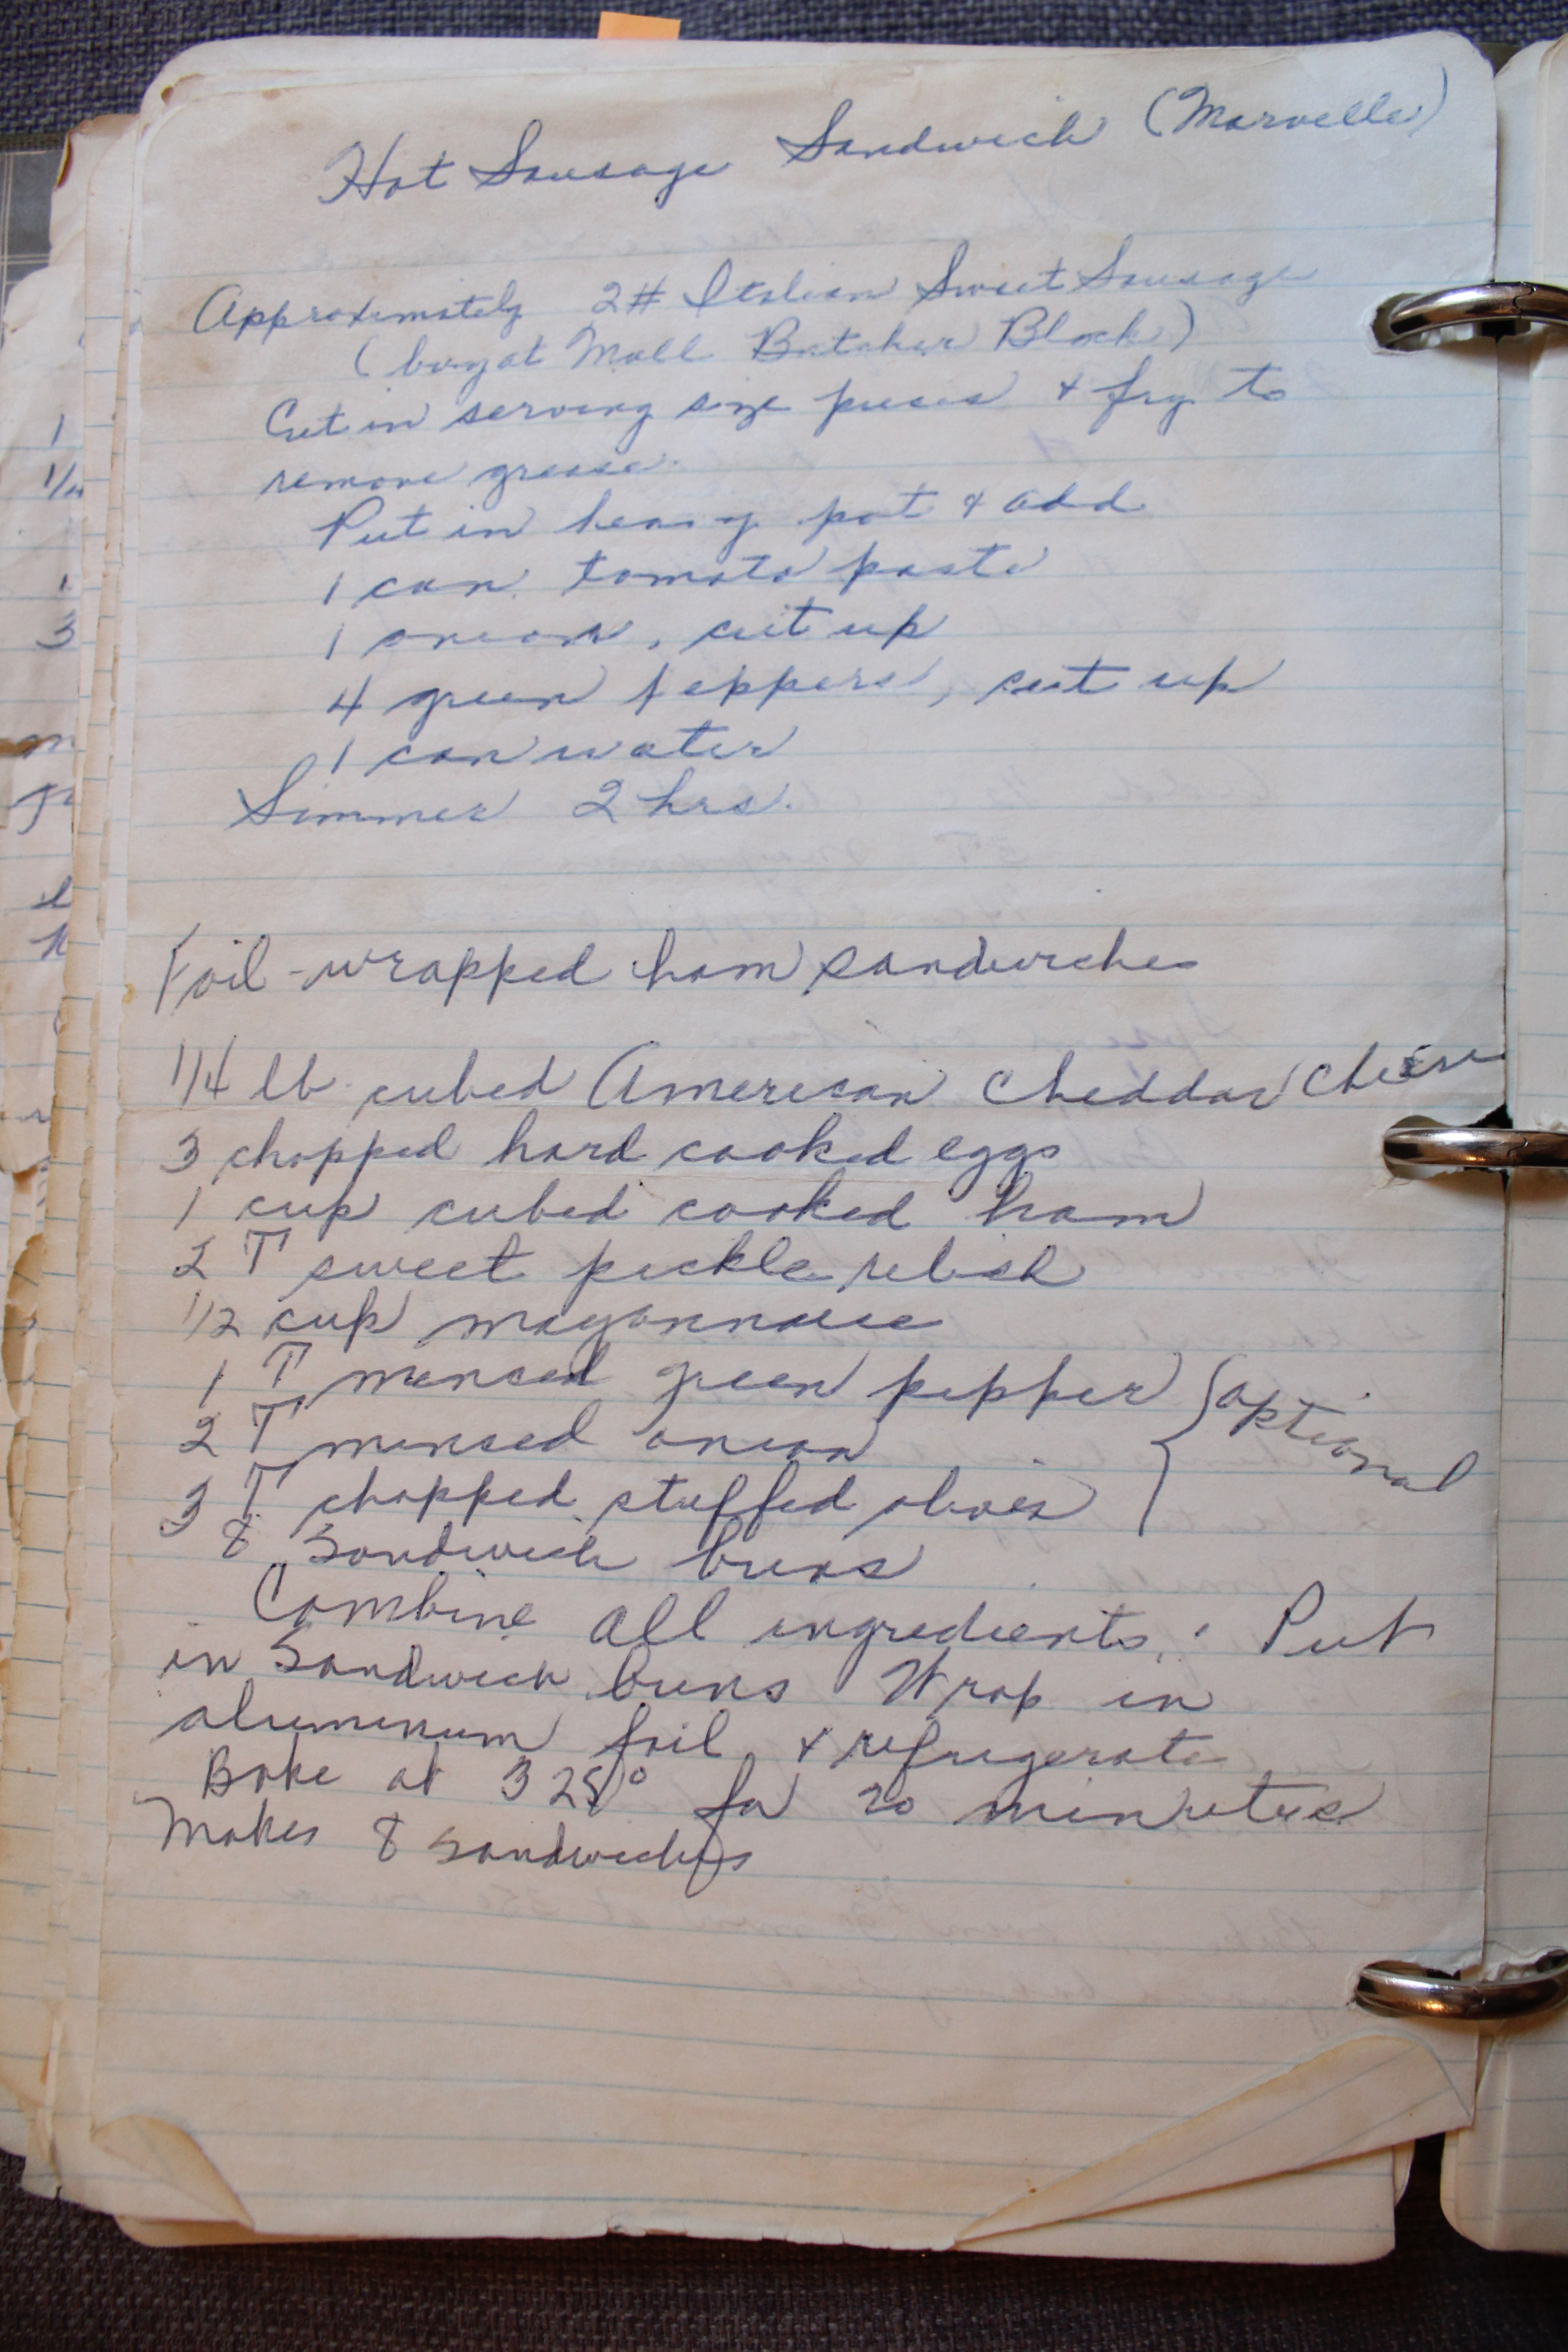
Here’s what Marguerite had to say:
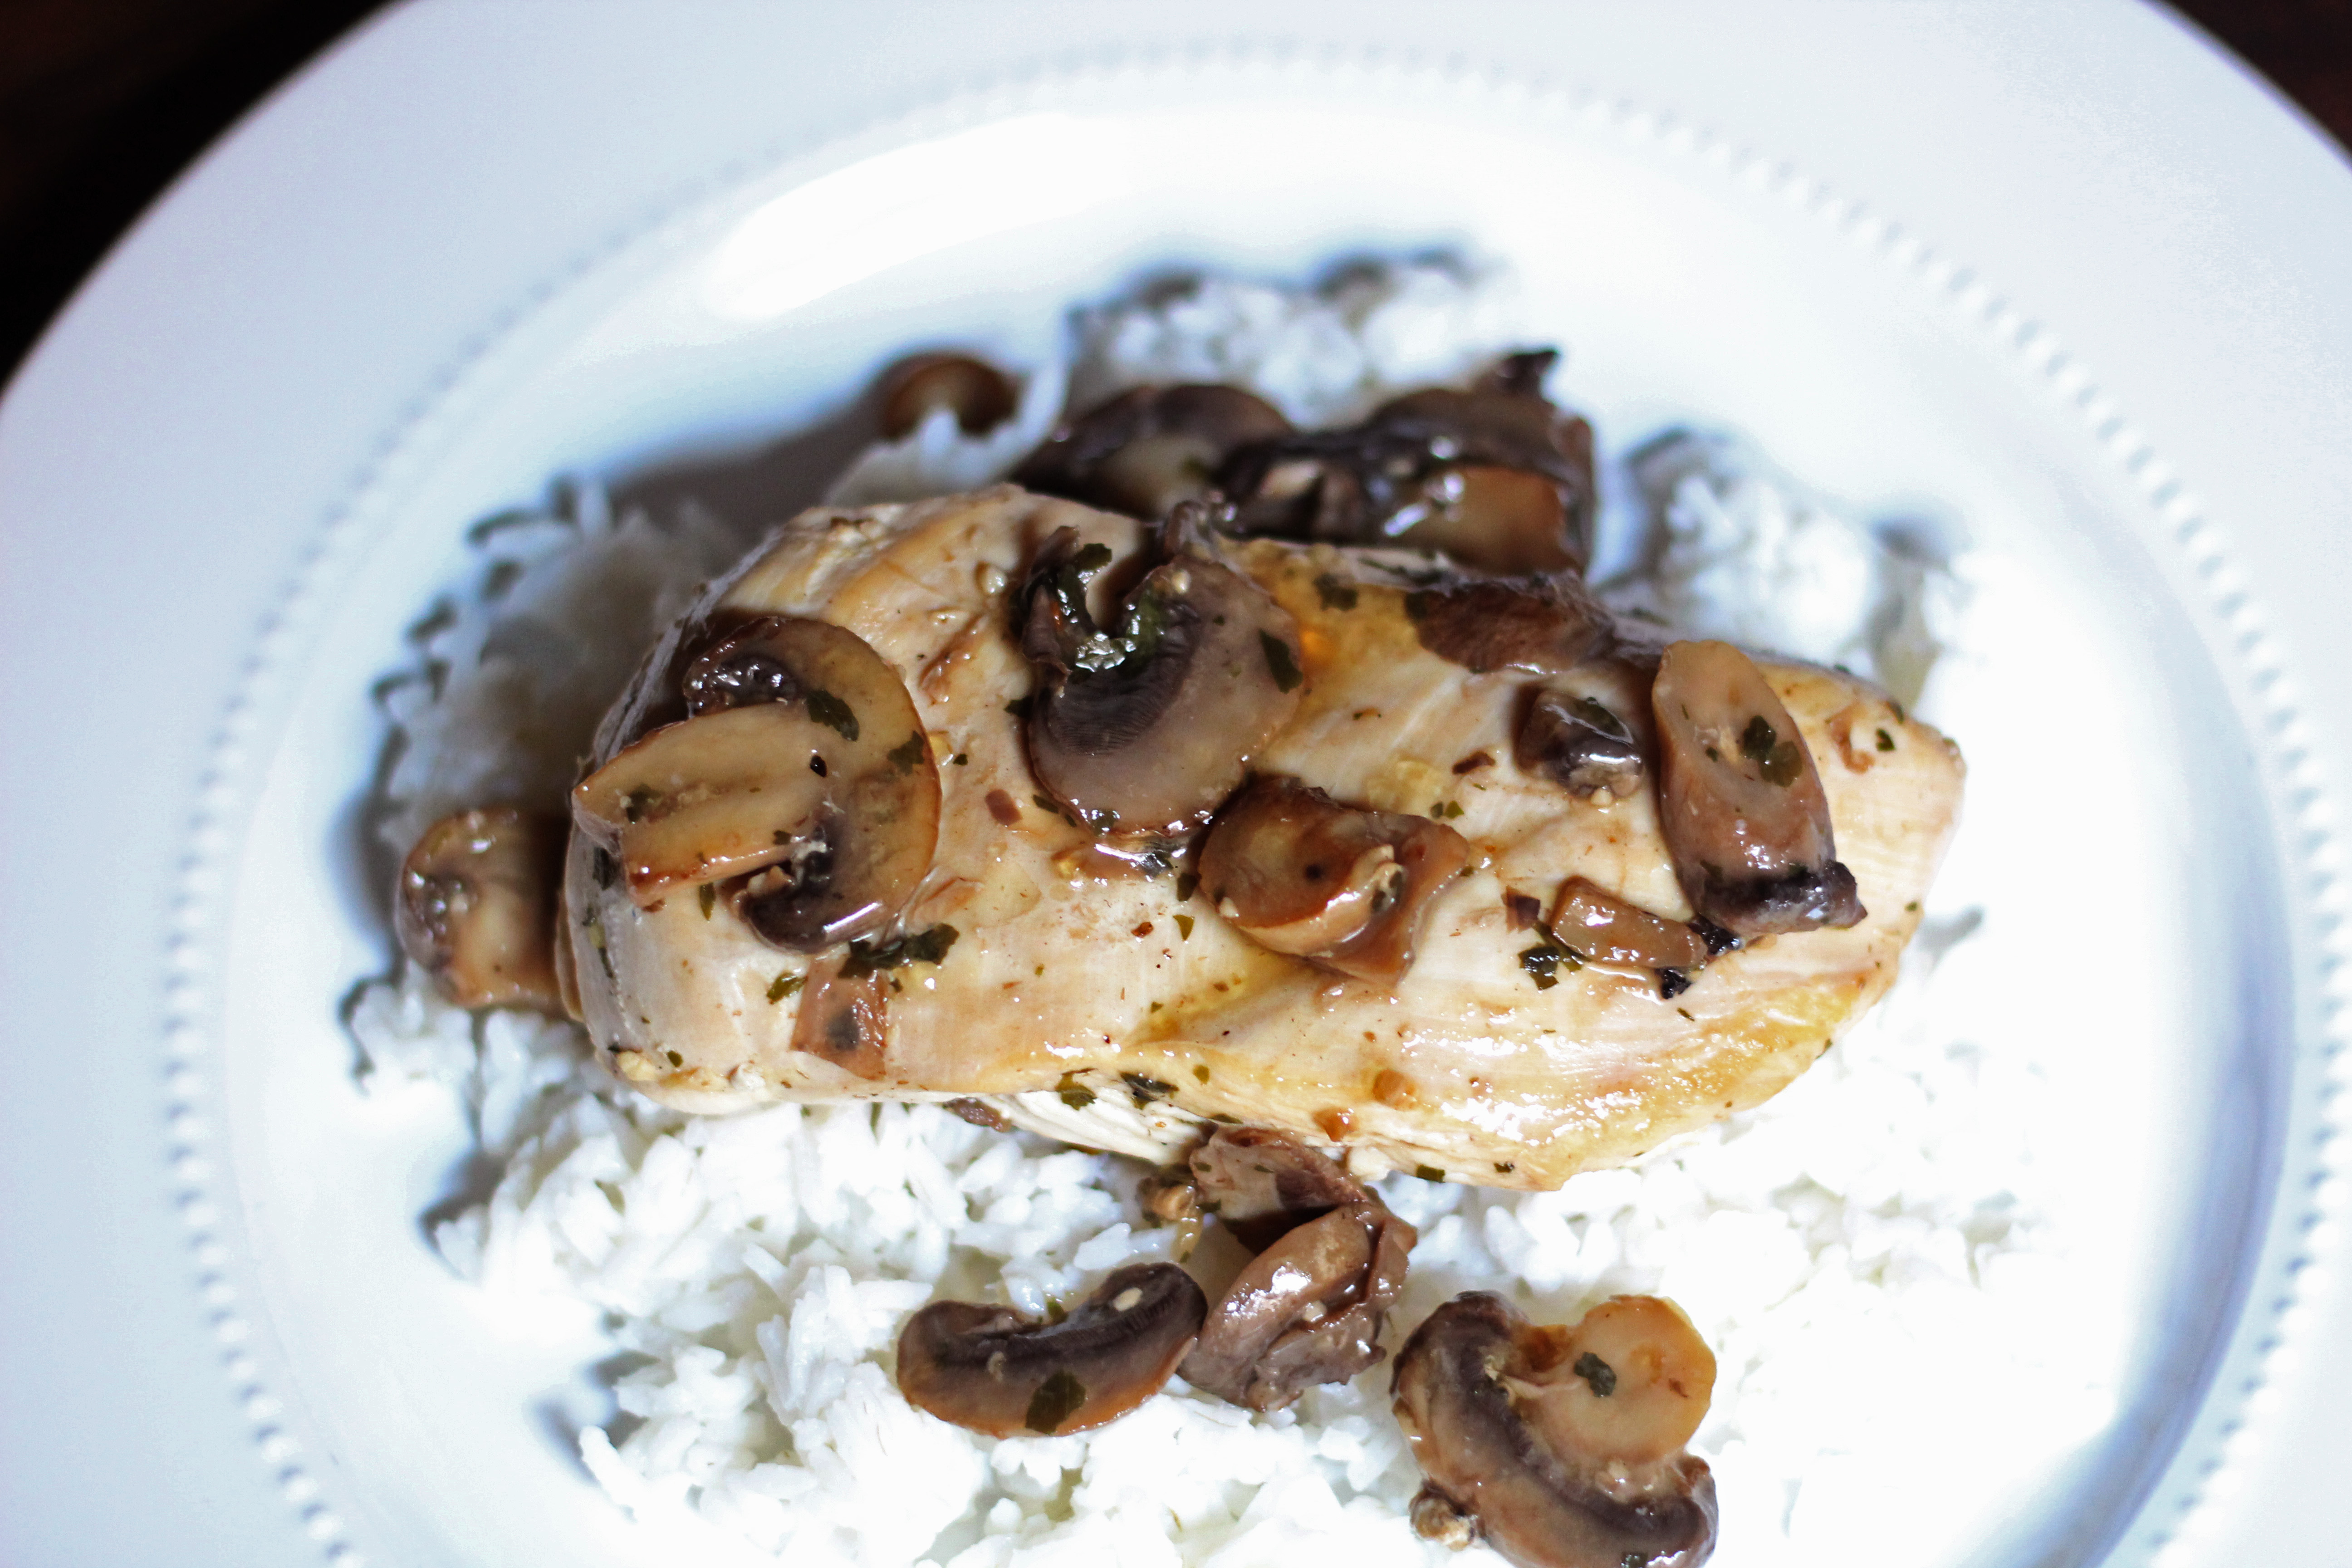
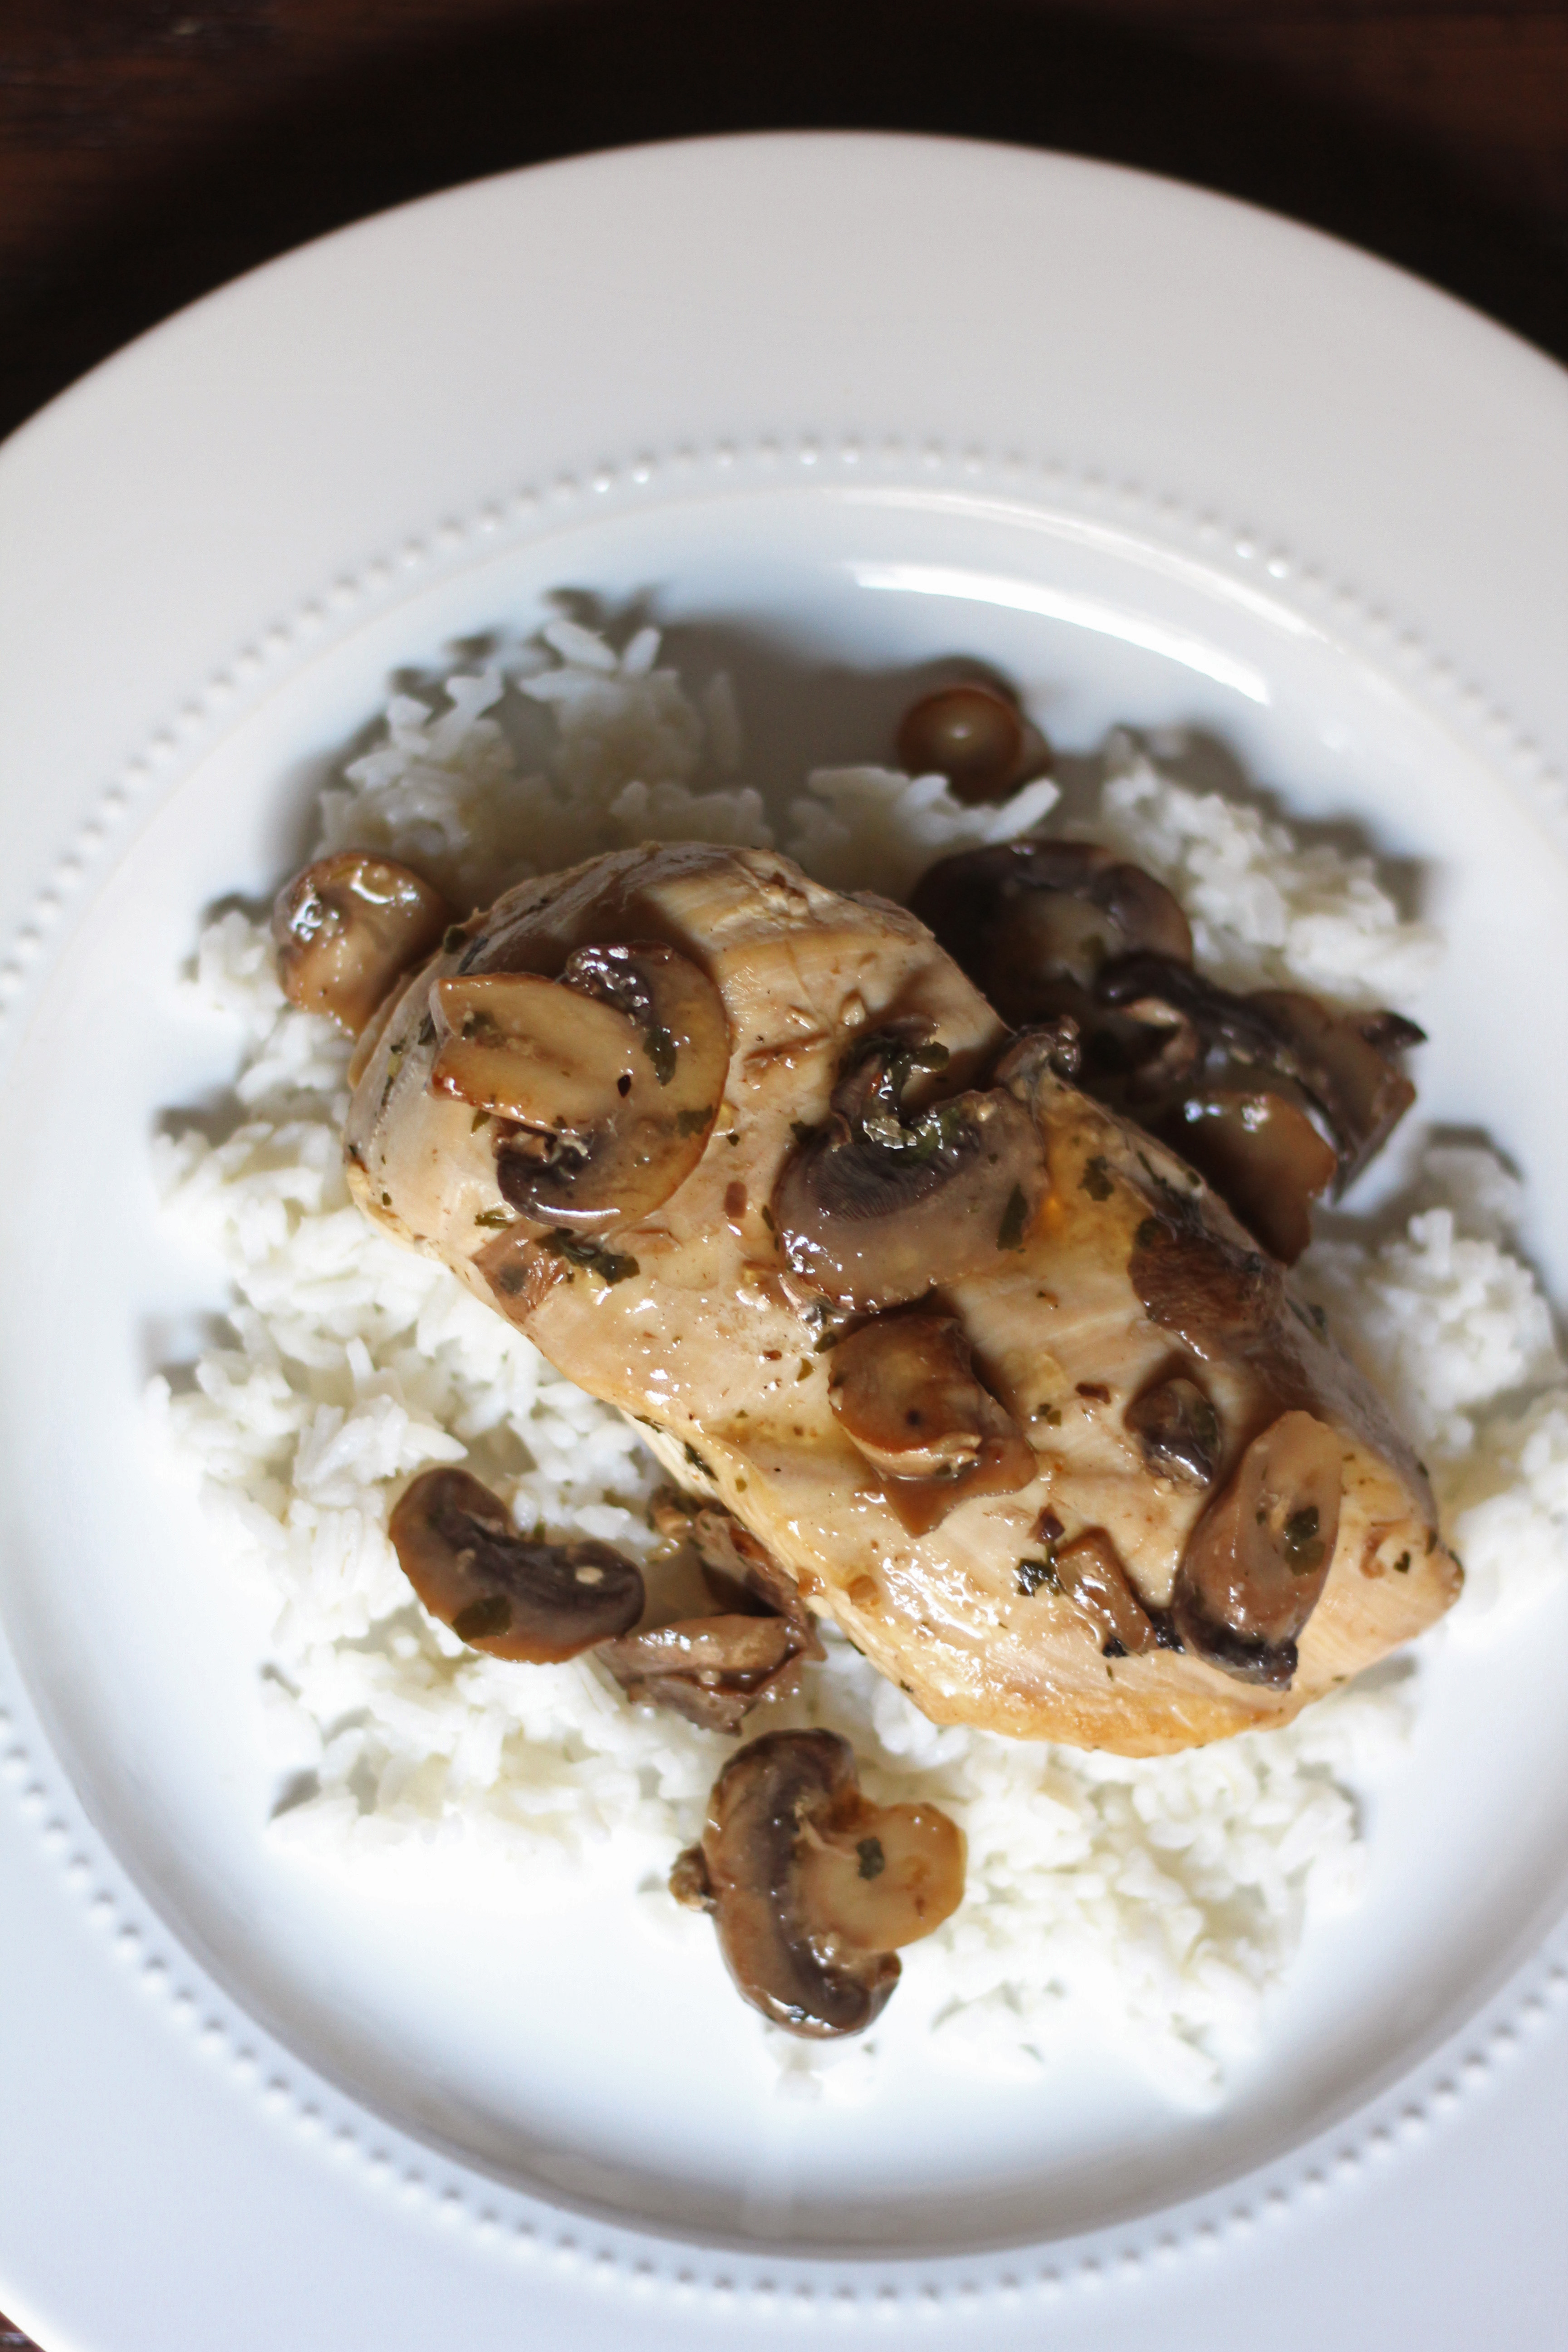
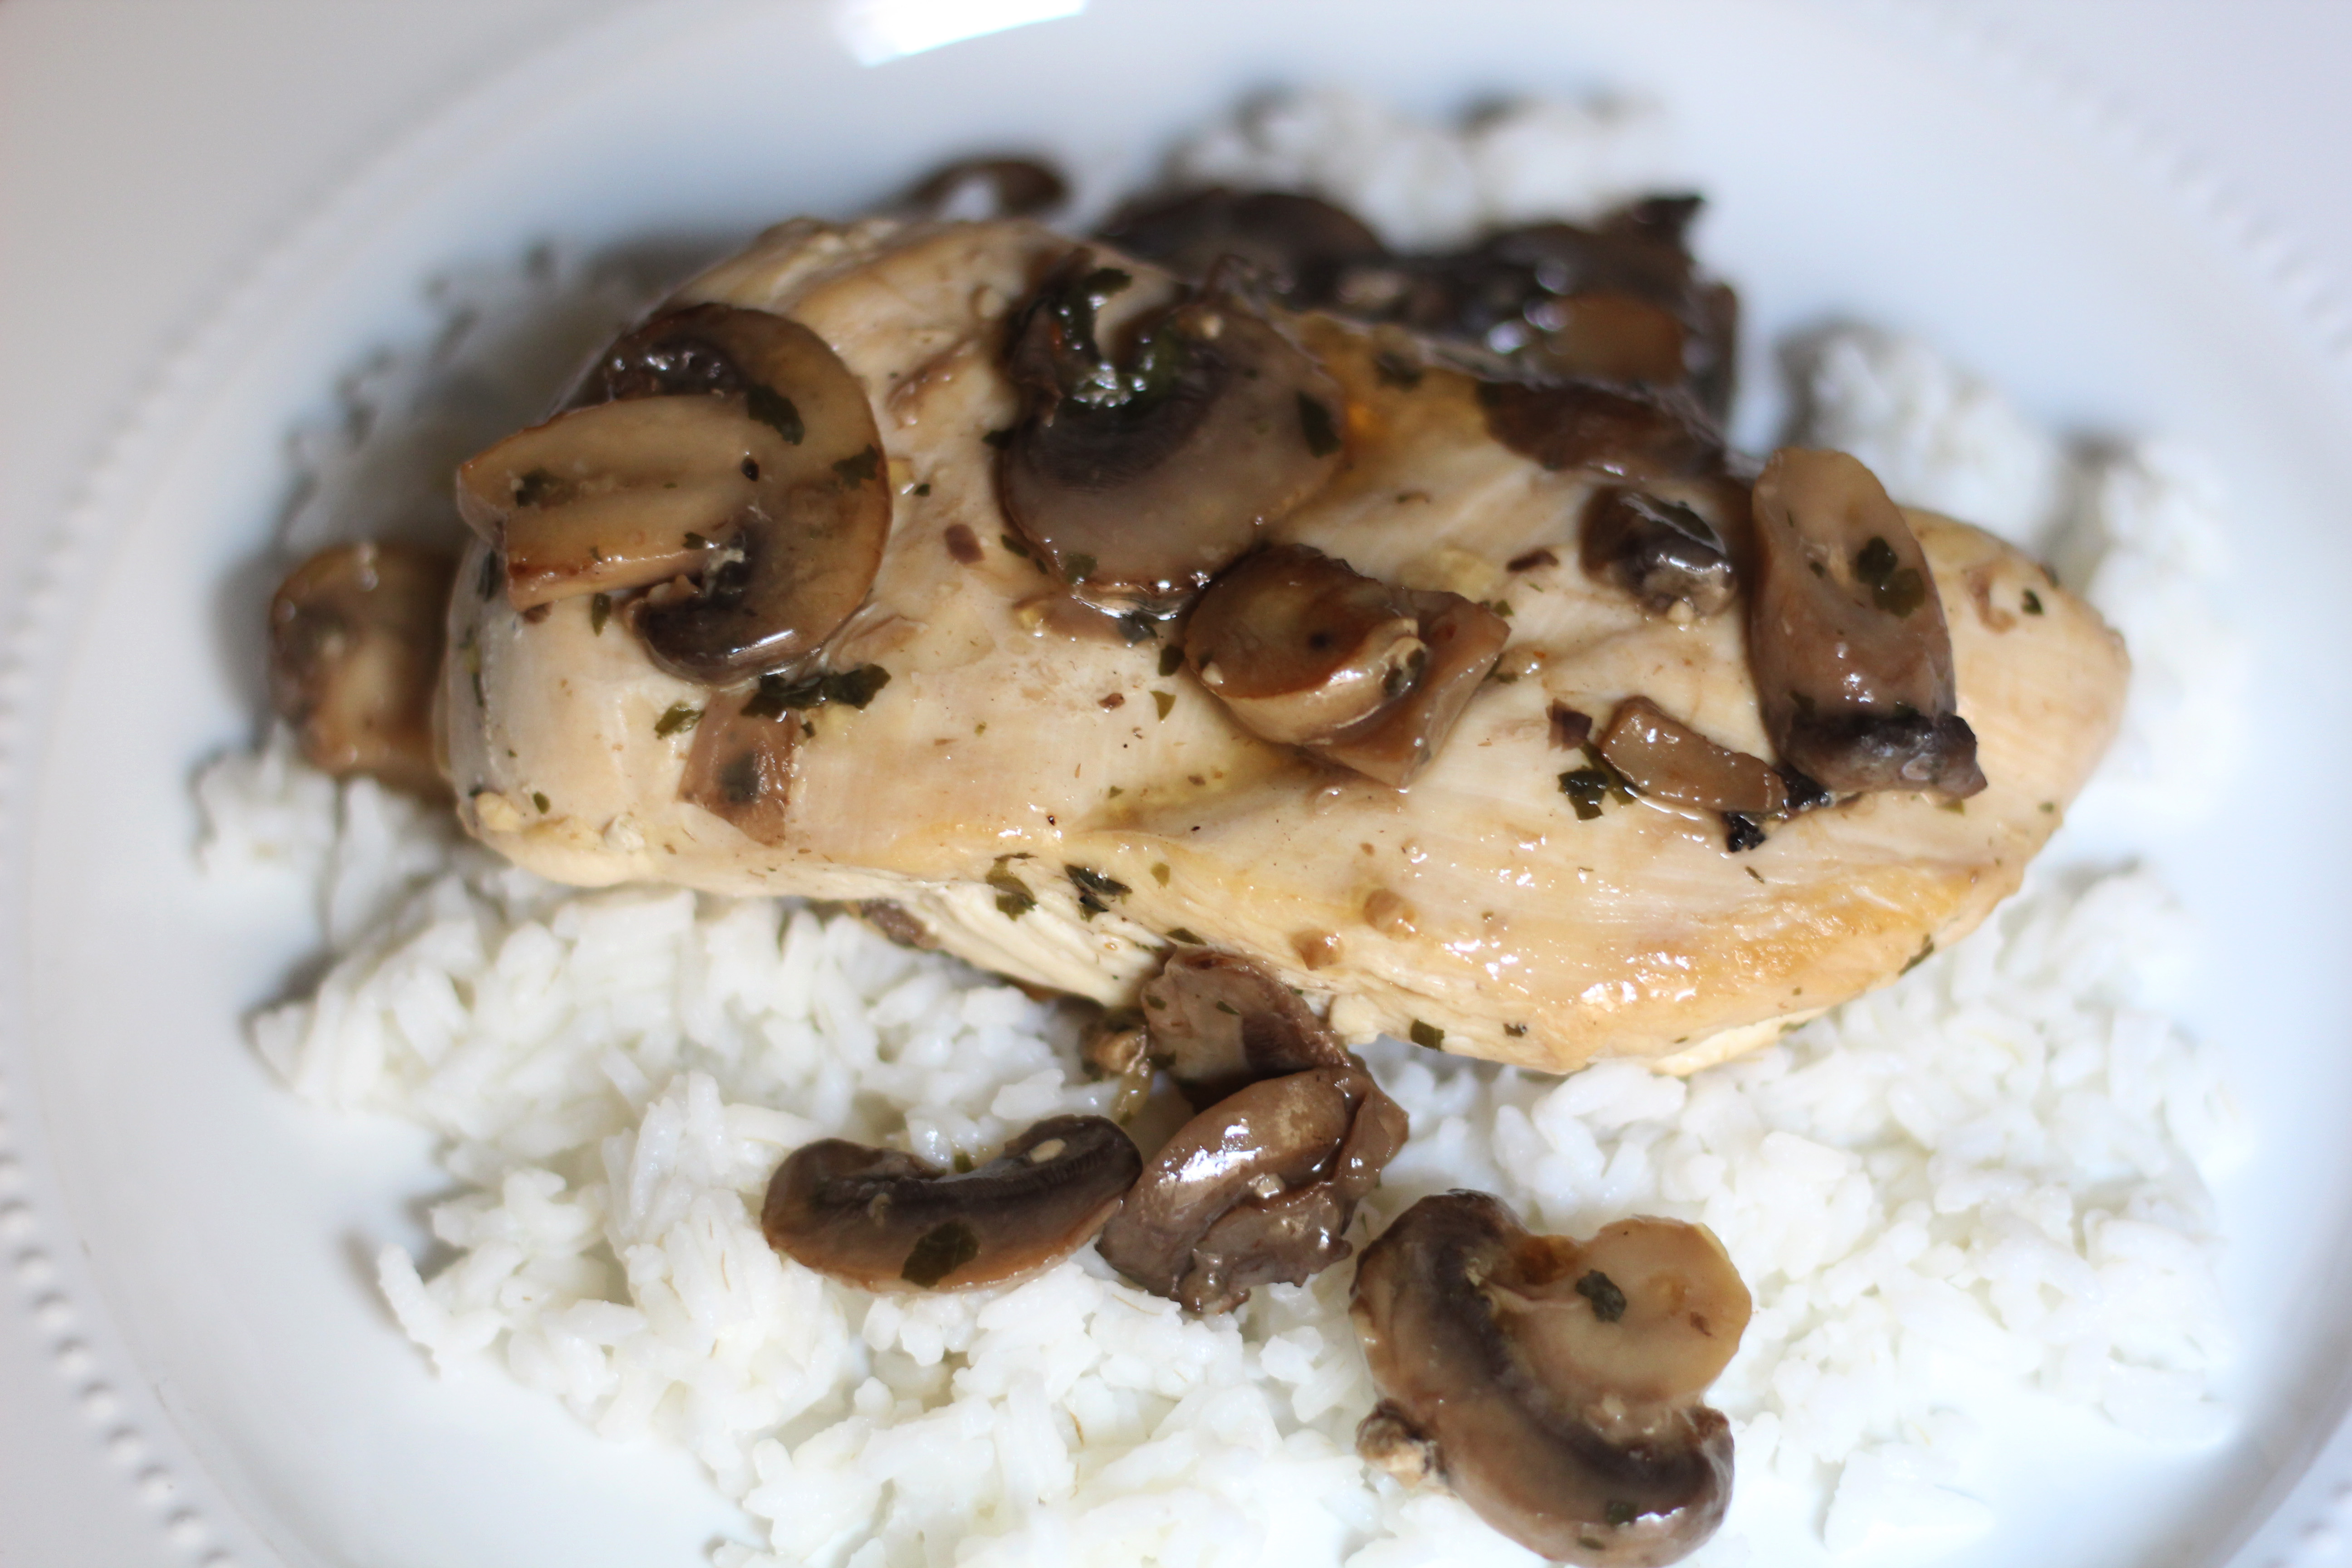
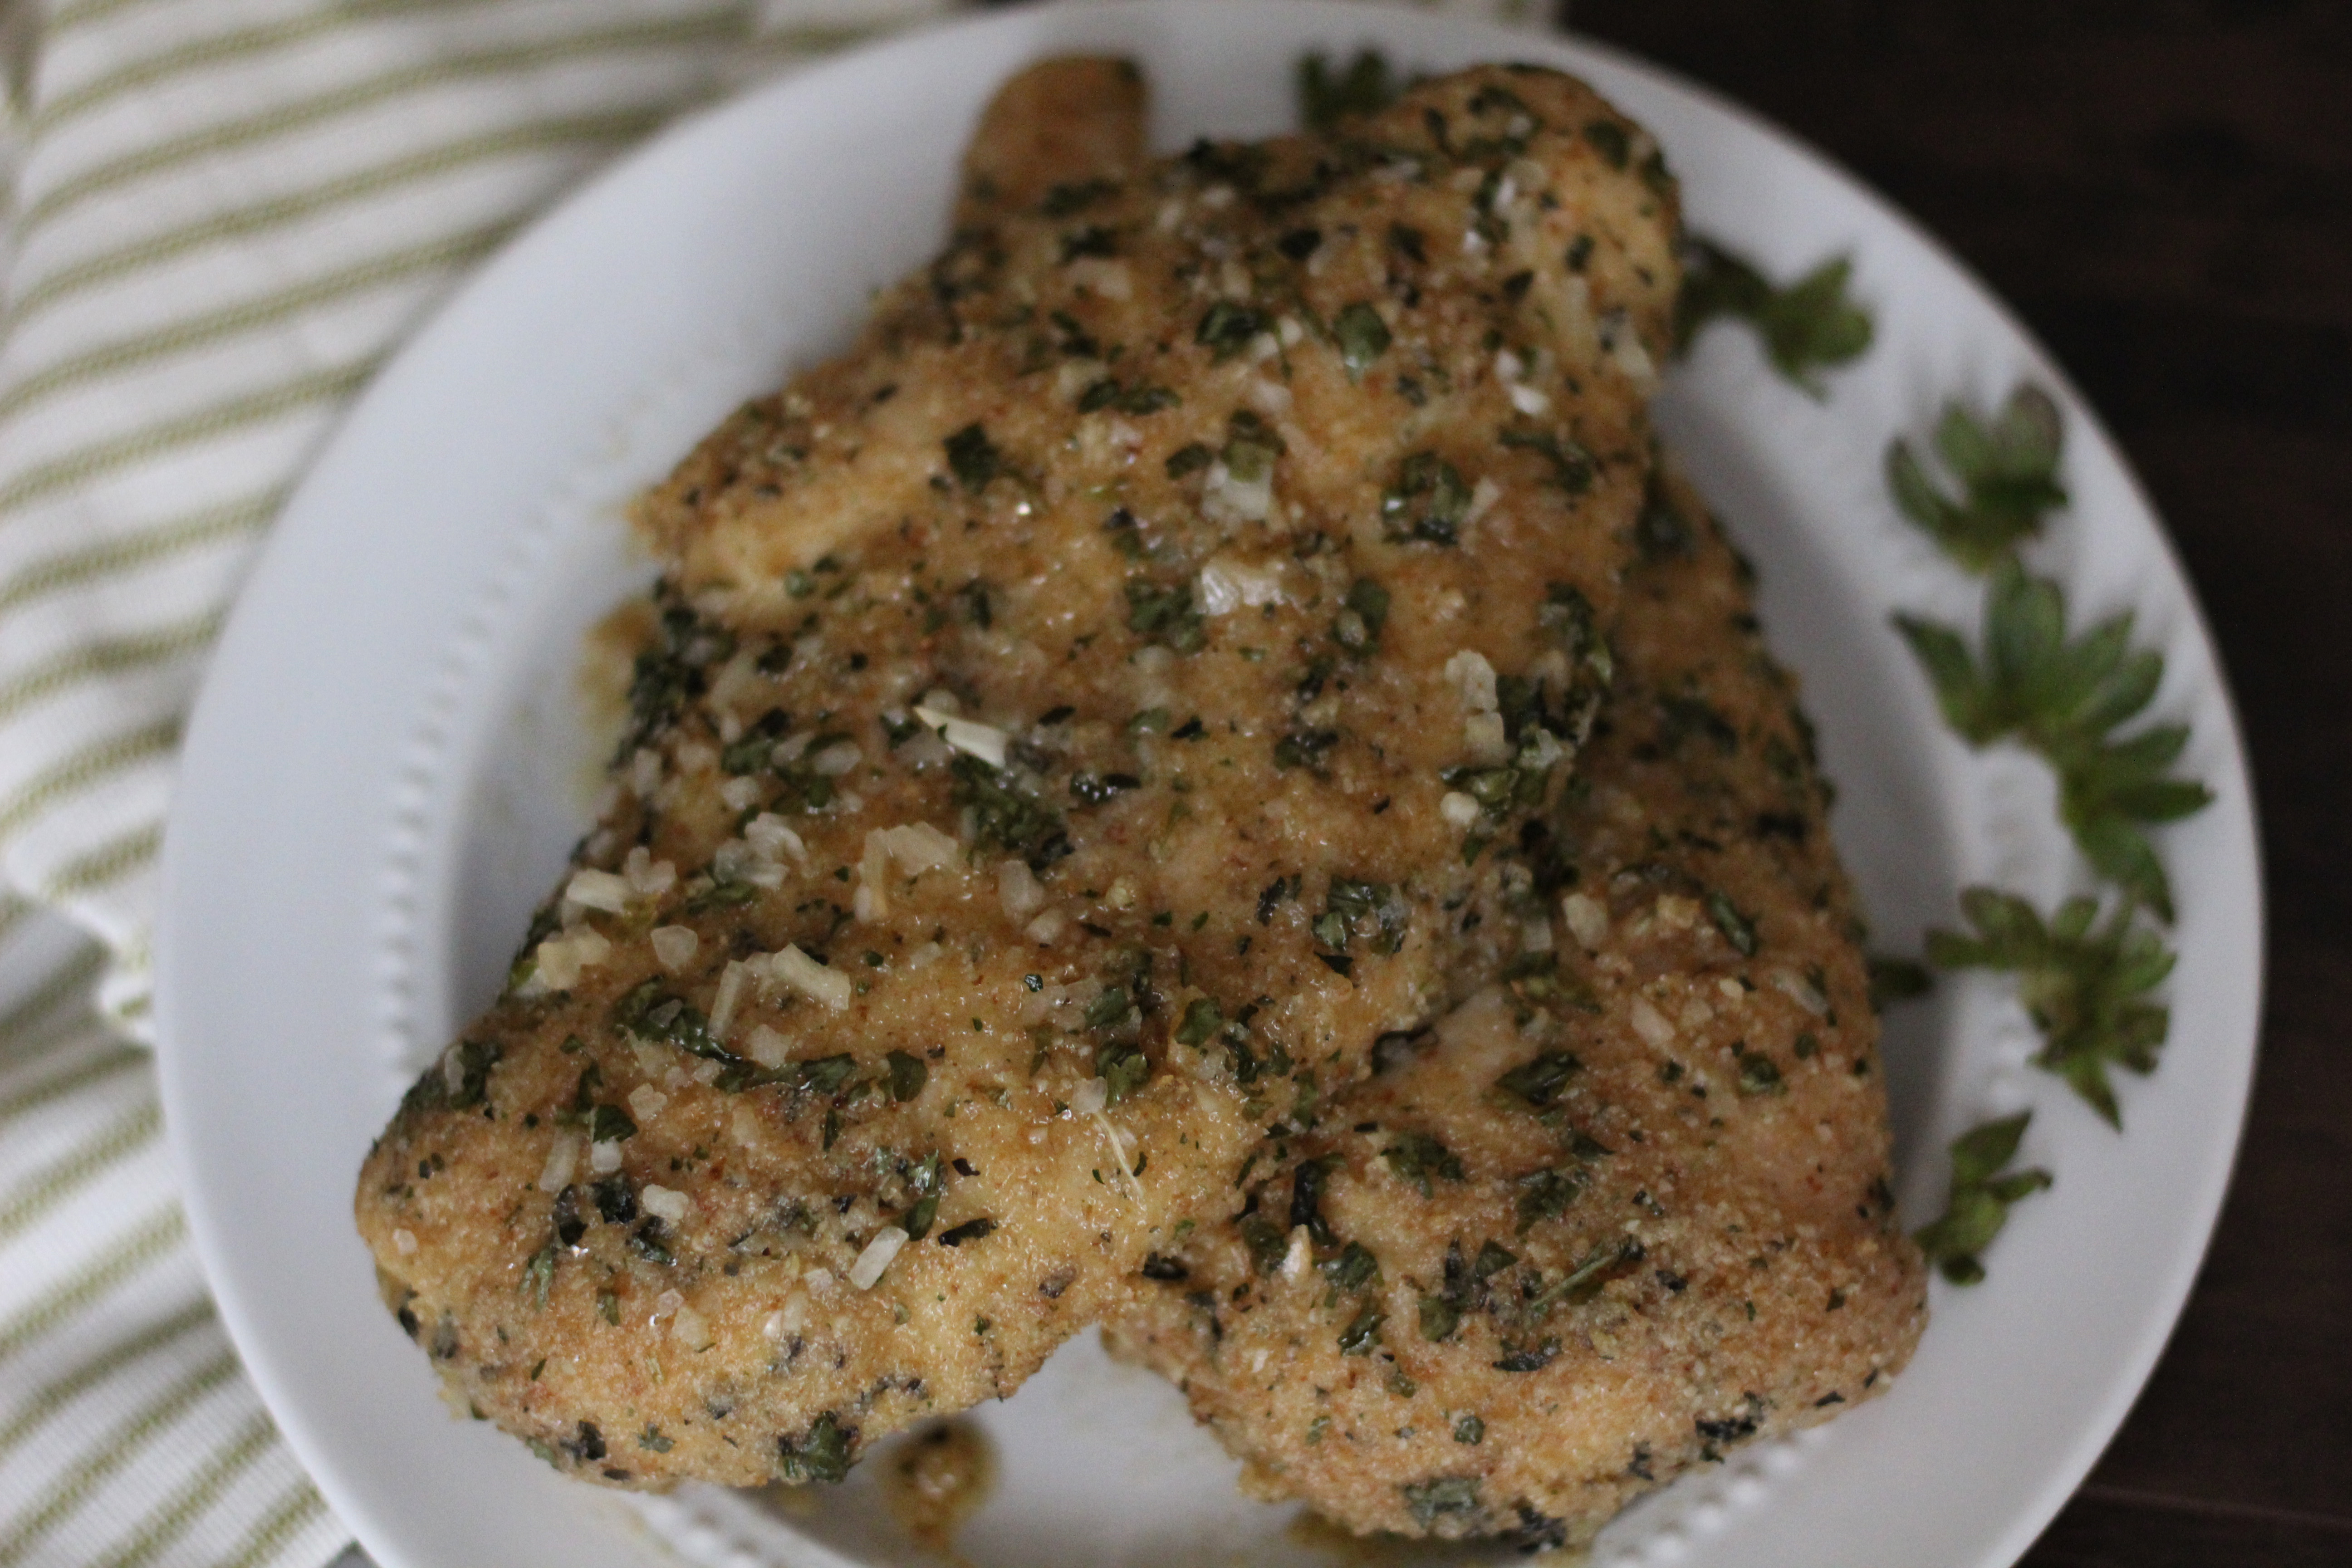
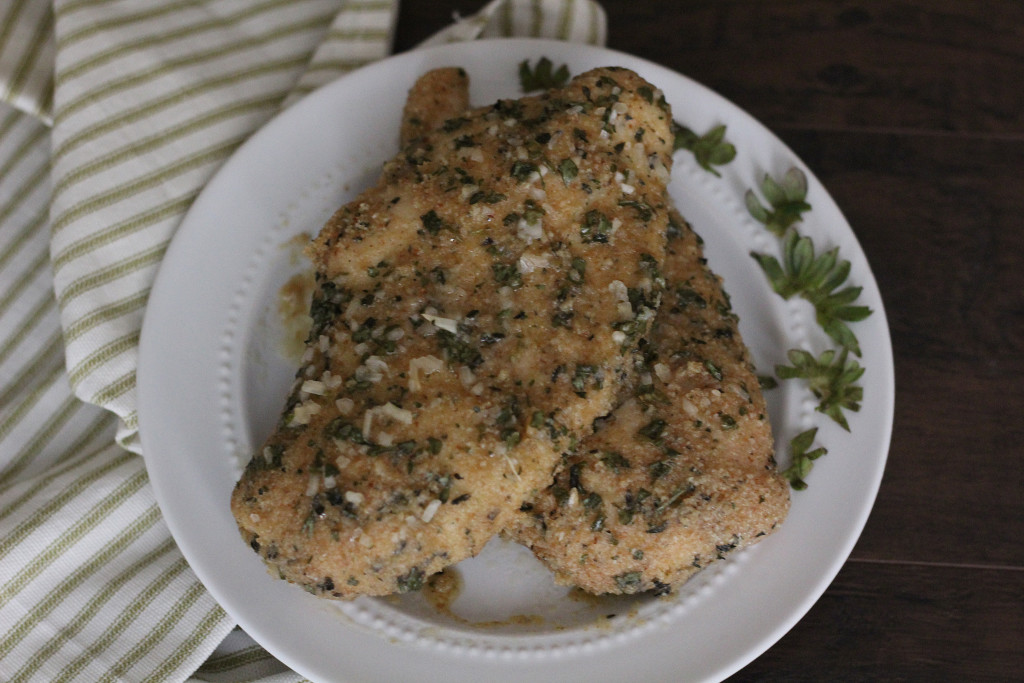
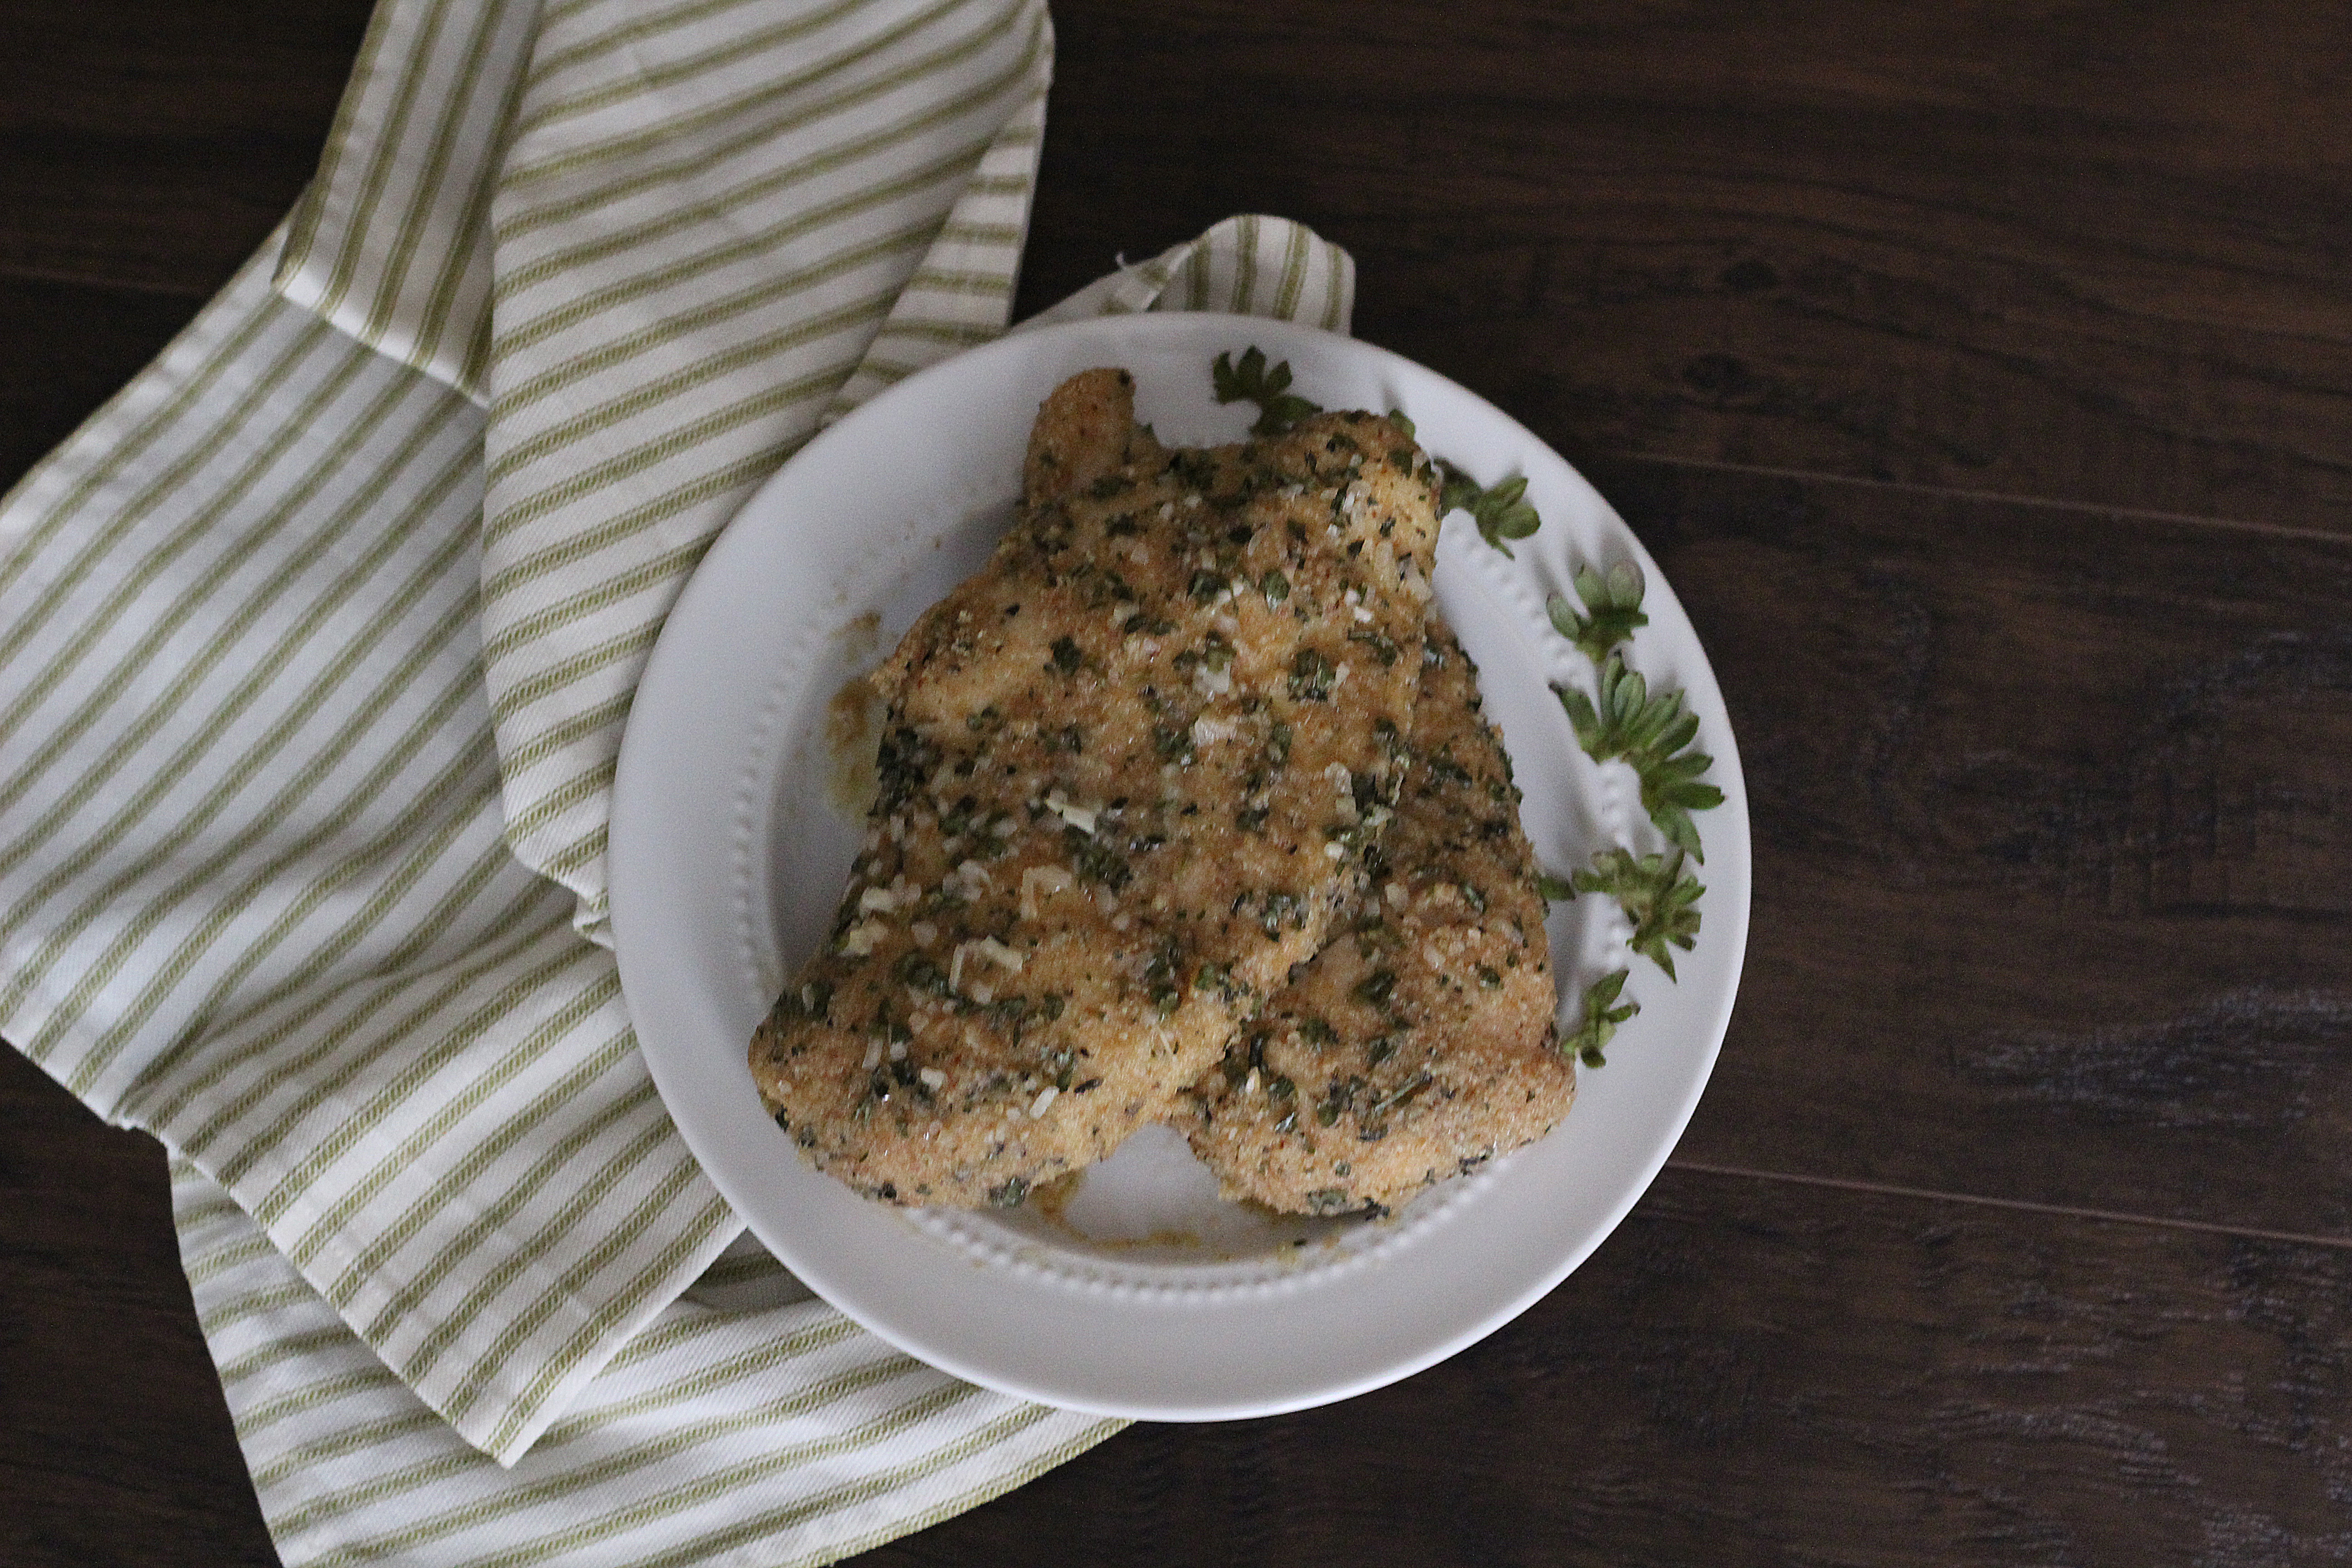
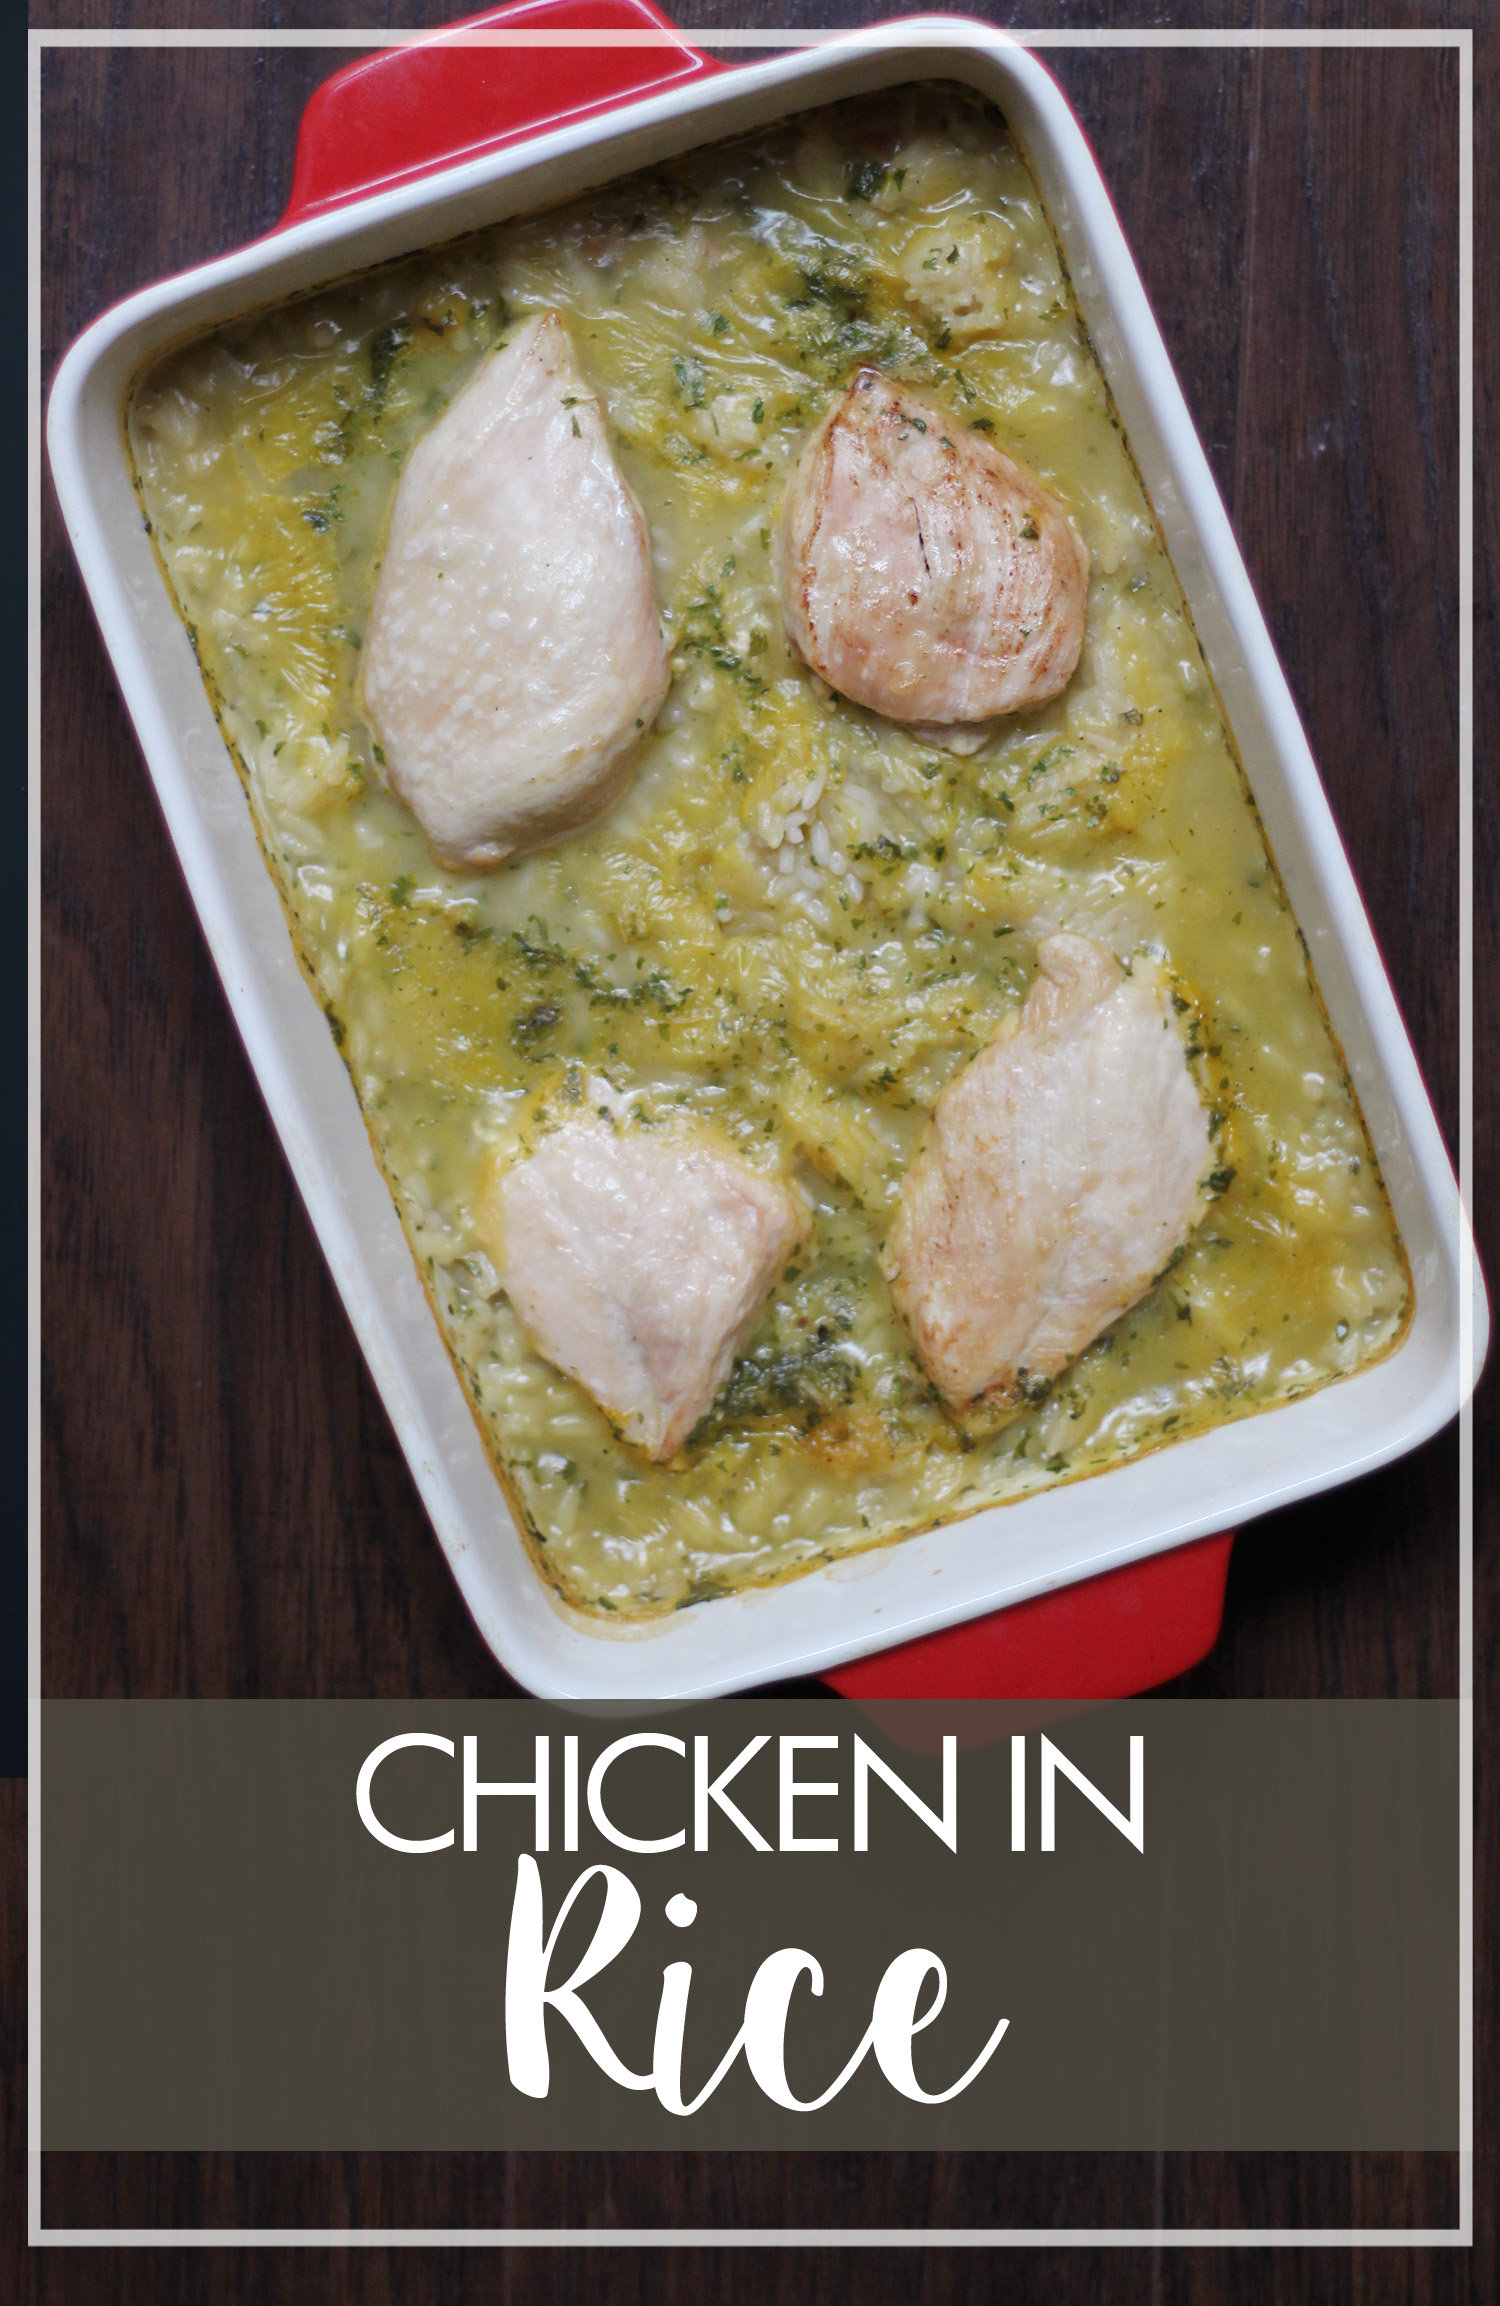
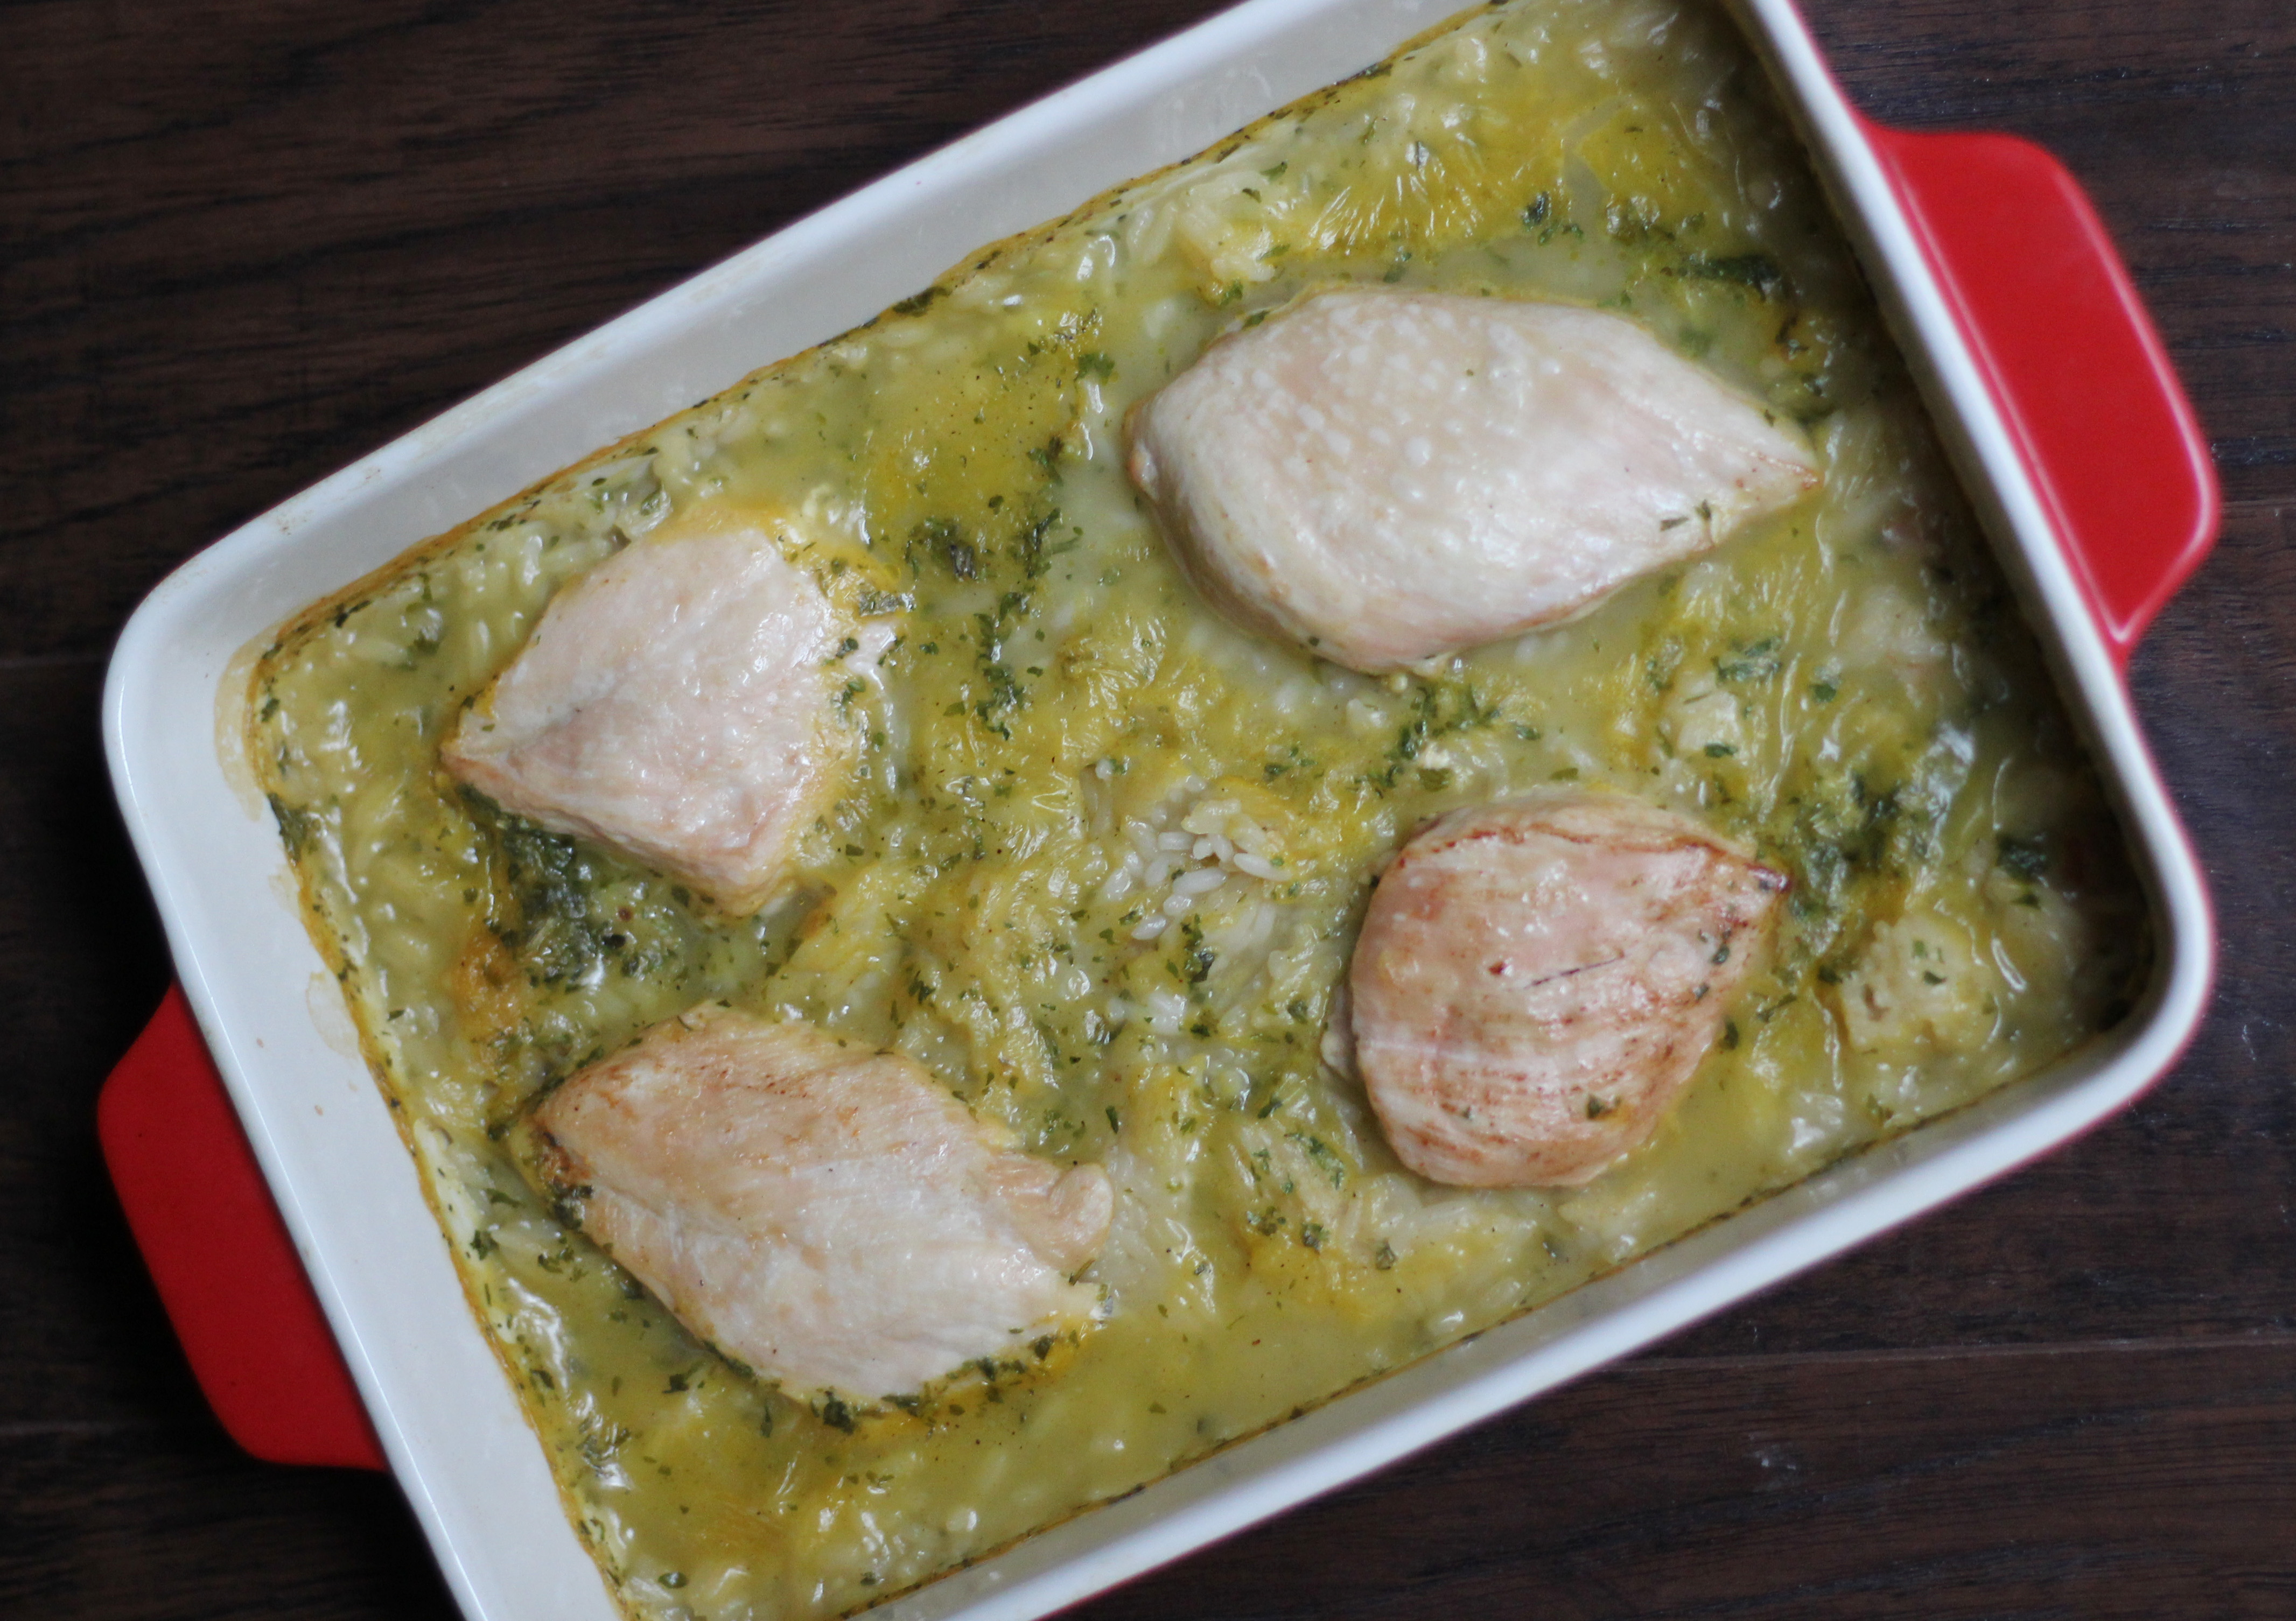
Now there was one thing that did confuse me in this recipe: minute rice. I asked my mom, and found out that Minute Rice was a brand of quick cook rice. Turns out it does still exist, but I decided to go with a 90 second microwave option of another brand instead. Mixing all the ingredients was very simple and this was a very easy recipe to prepare. This was the second recipe where I’ve browned chicken before baking it (the first was the Chicken and Mushrooms recipe). I really like the way the chicken looks and turns out.
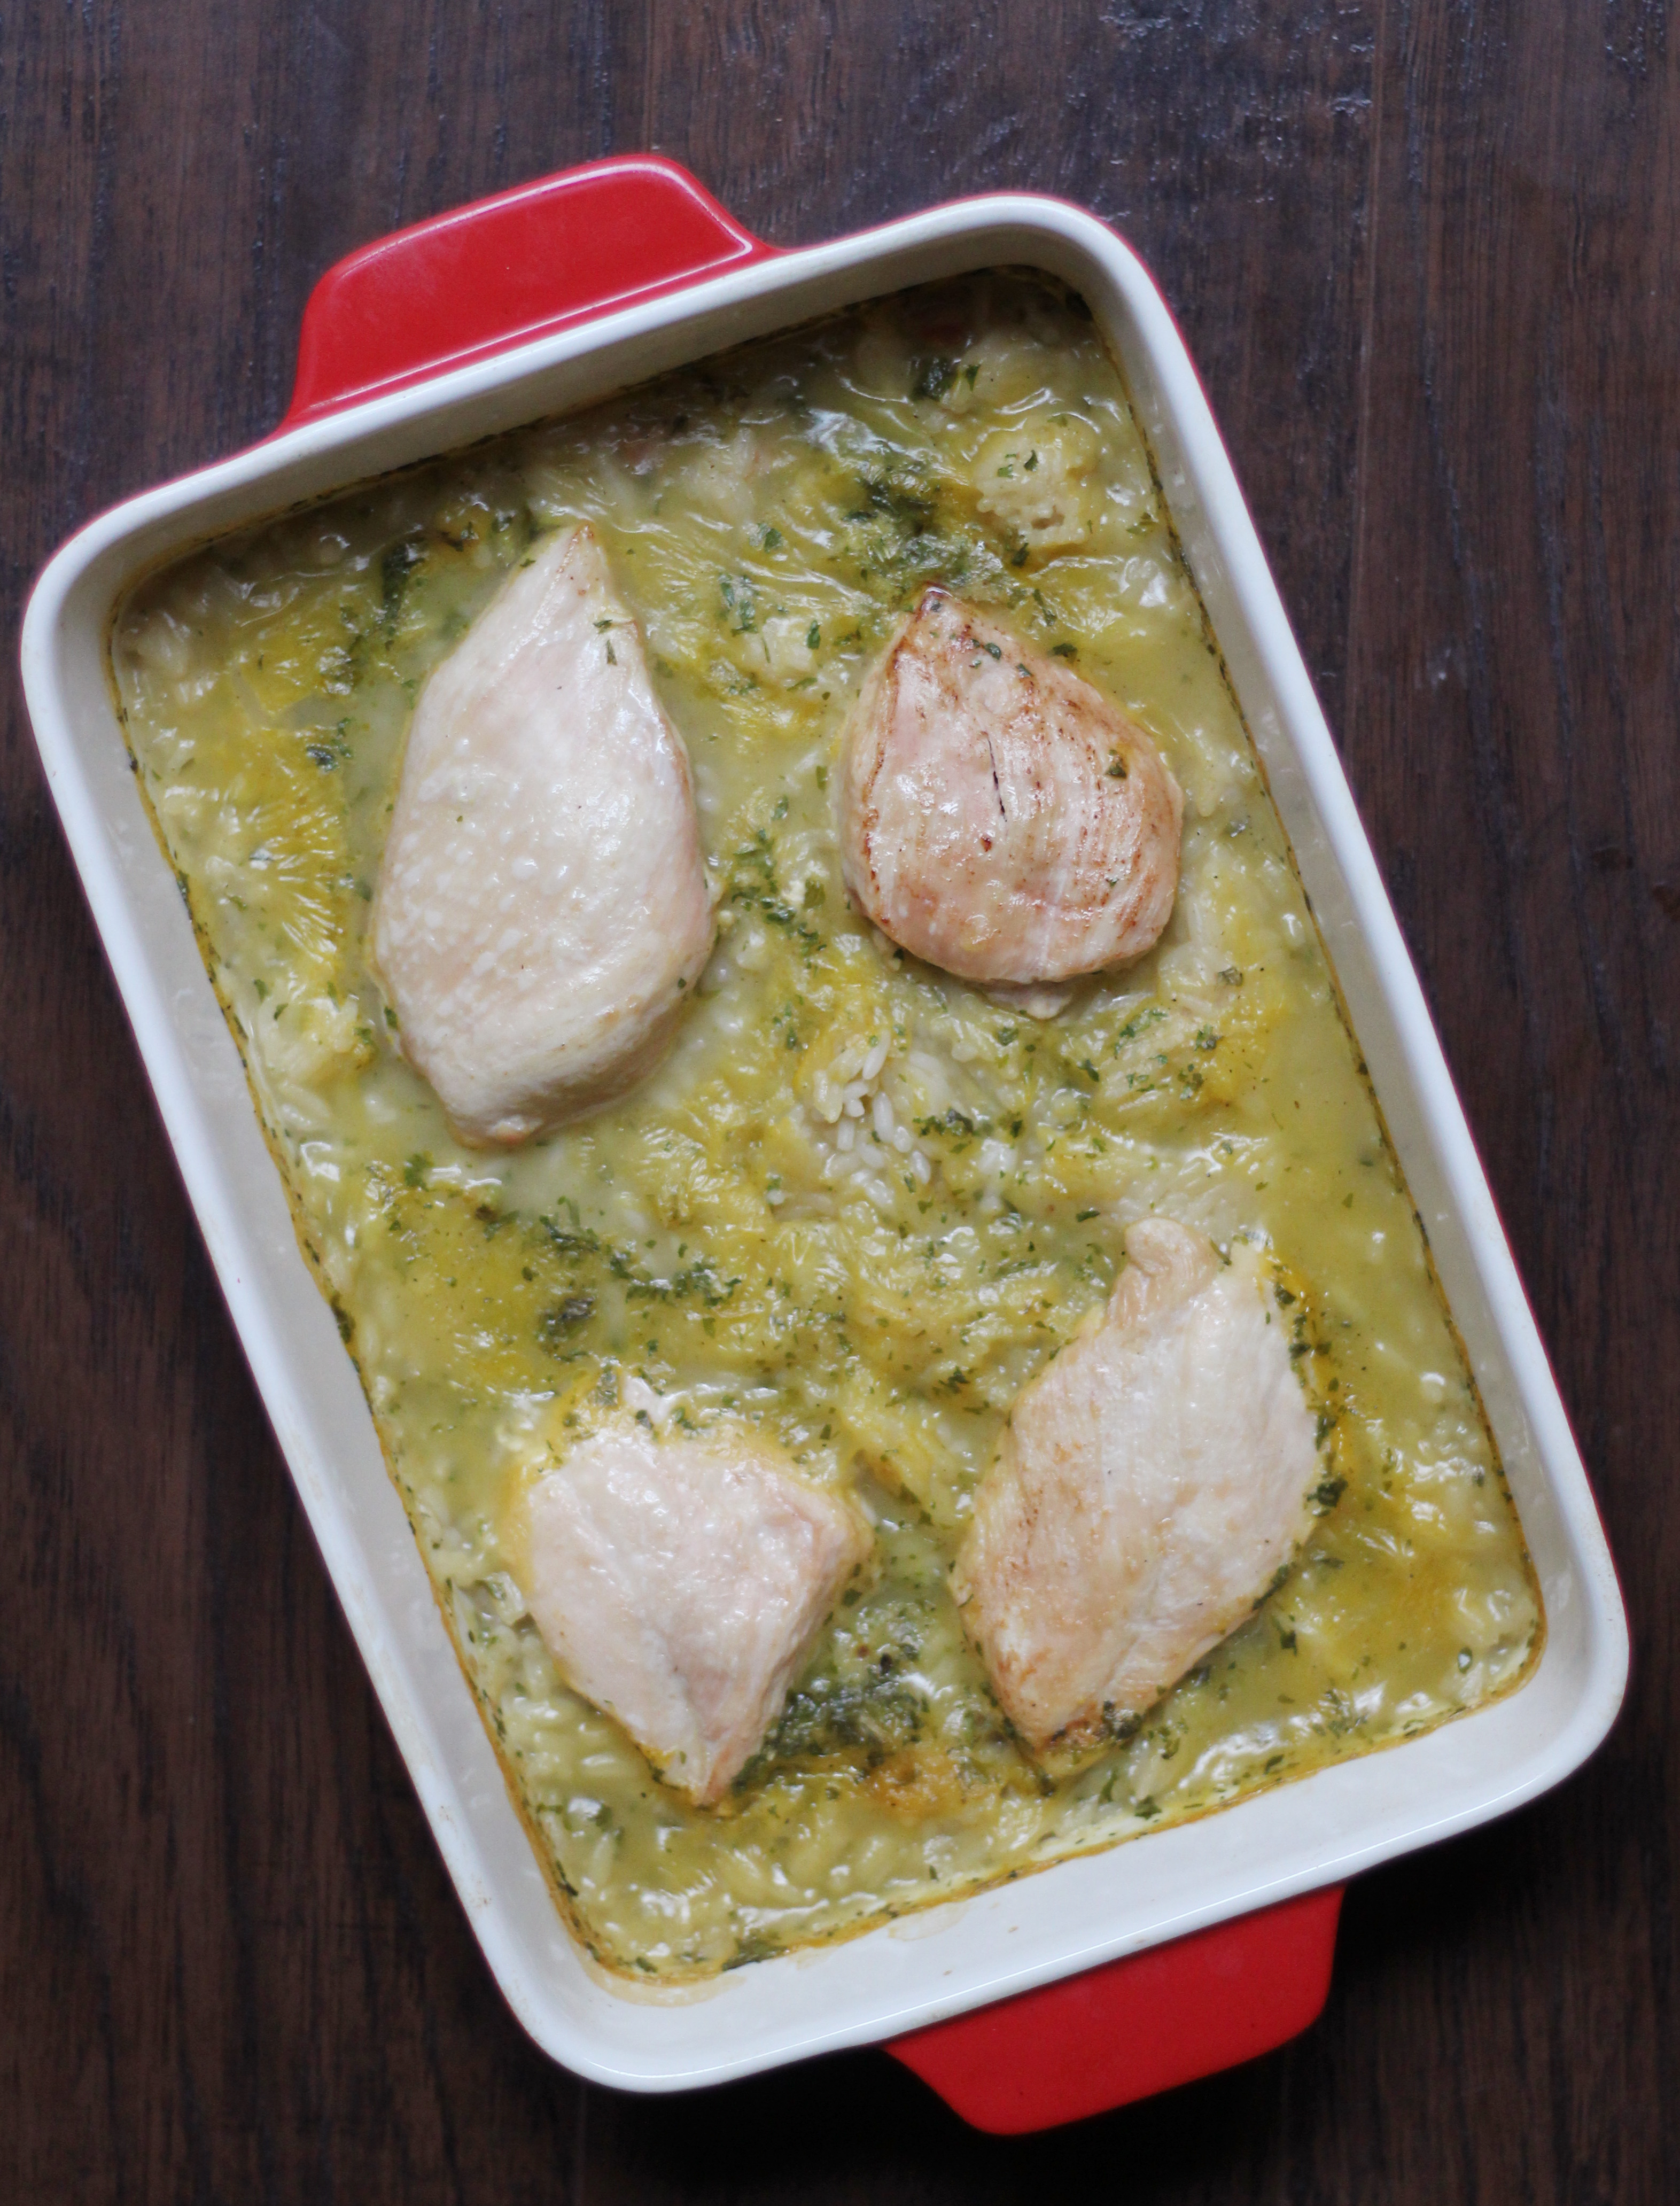
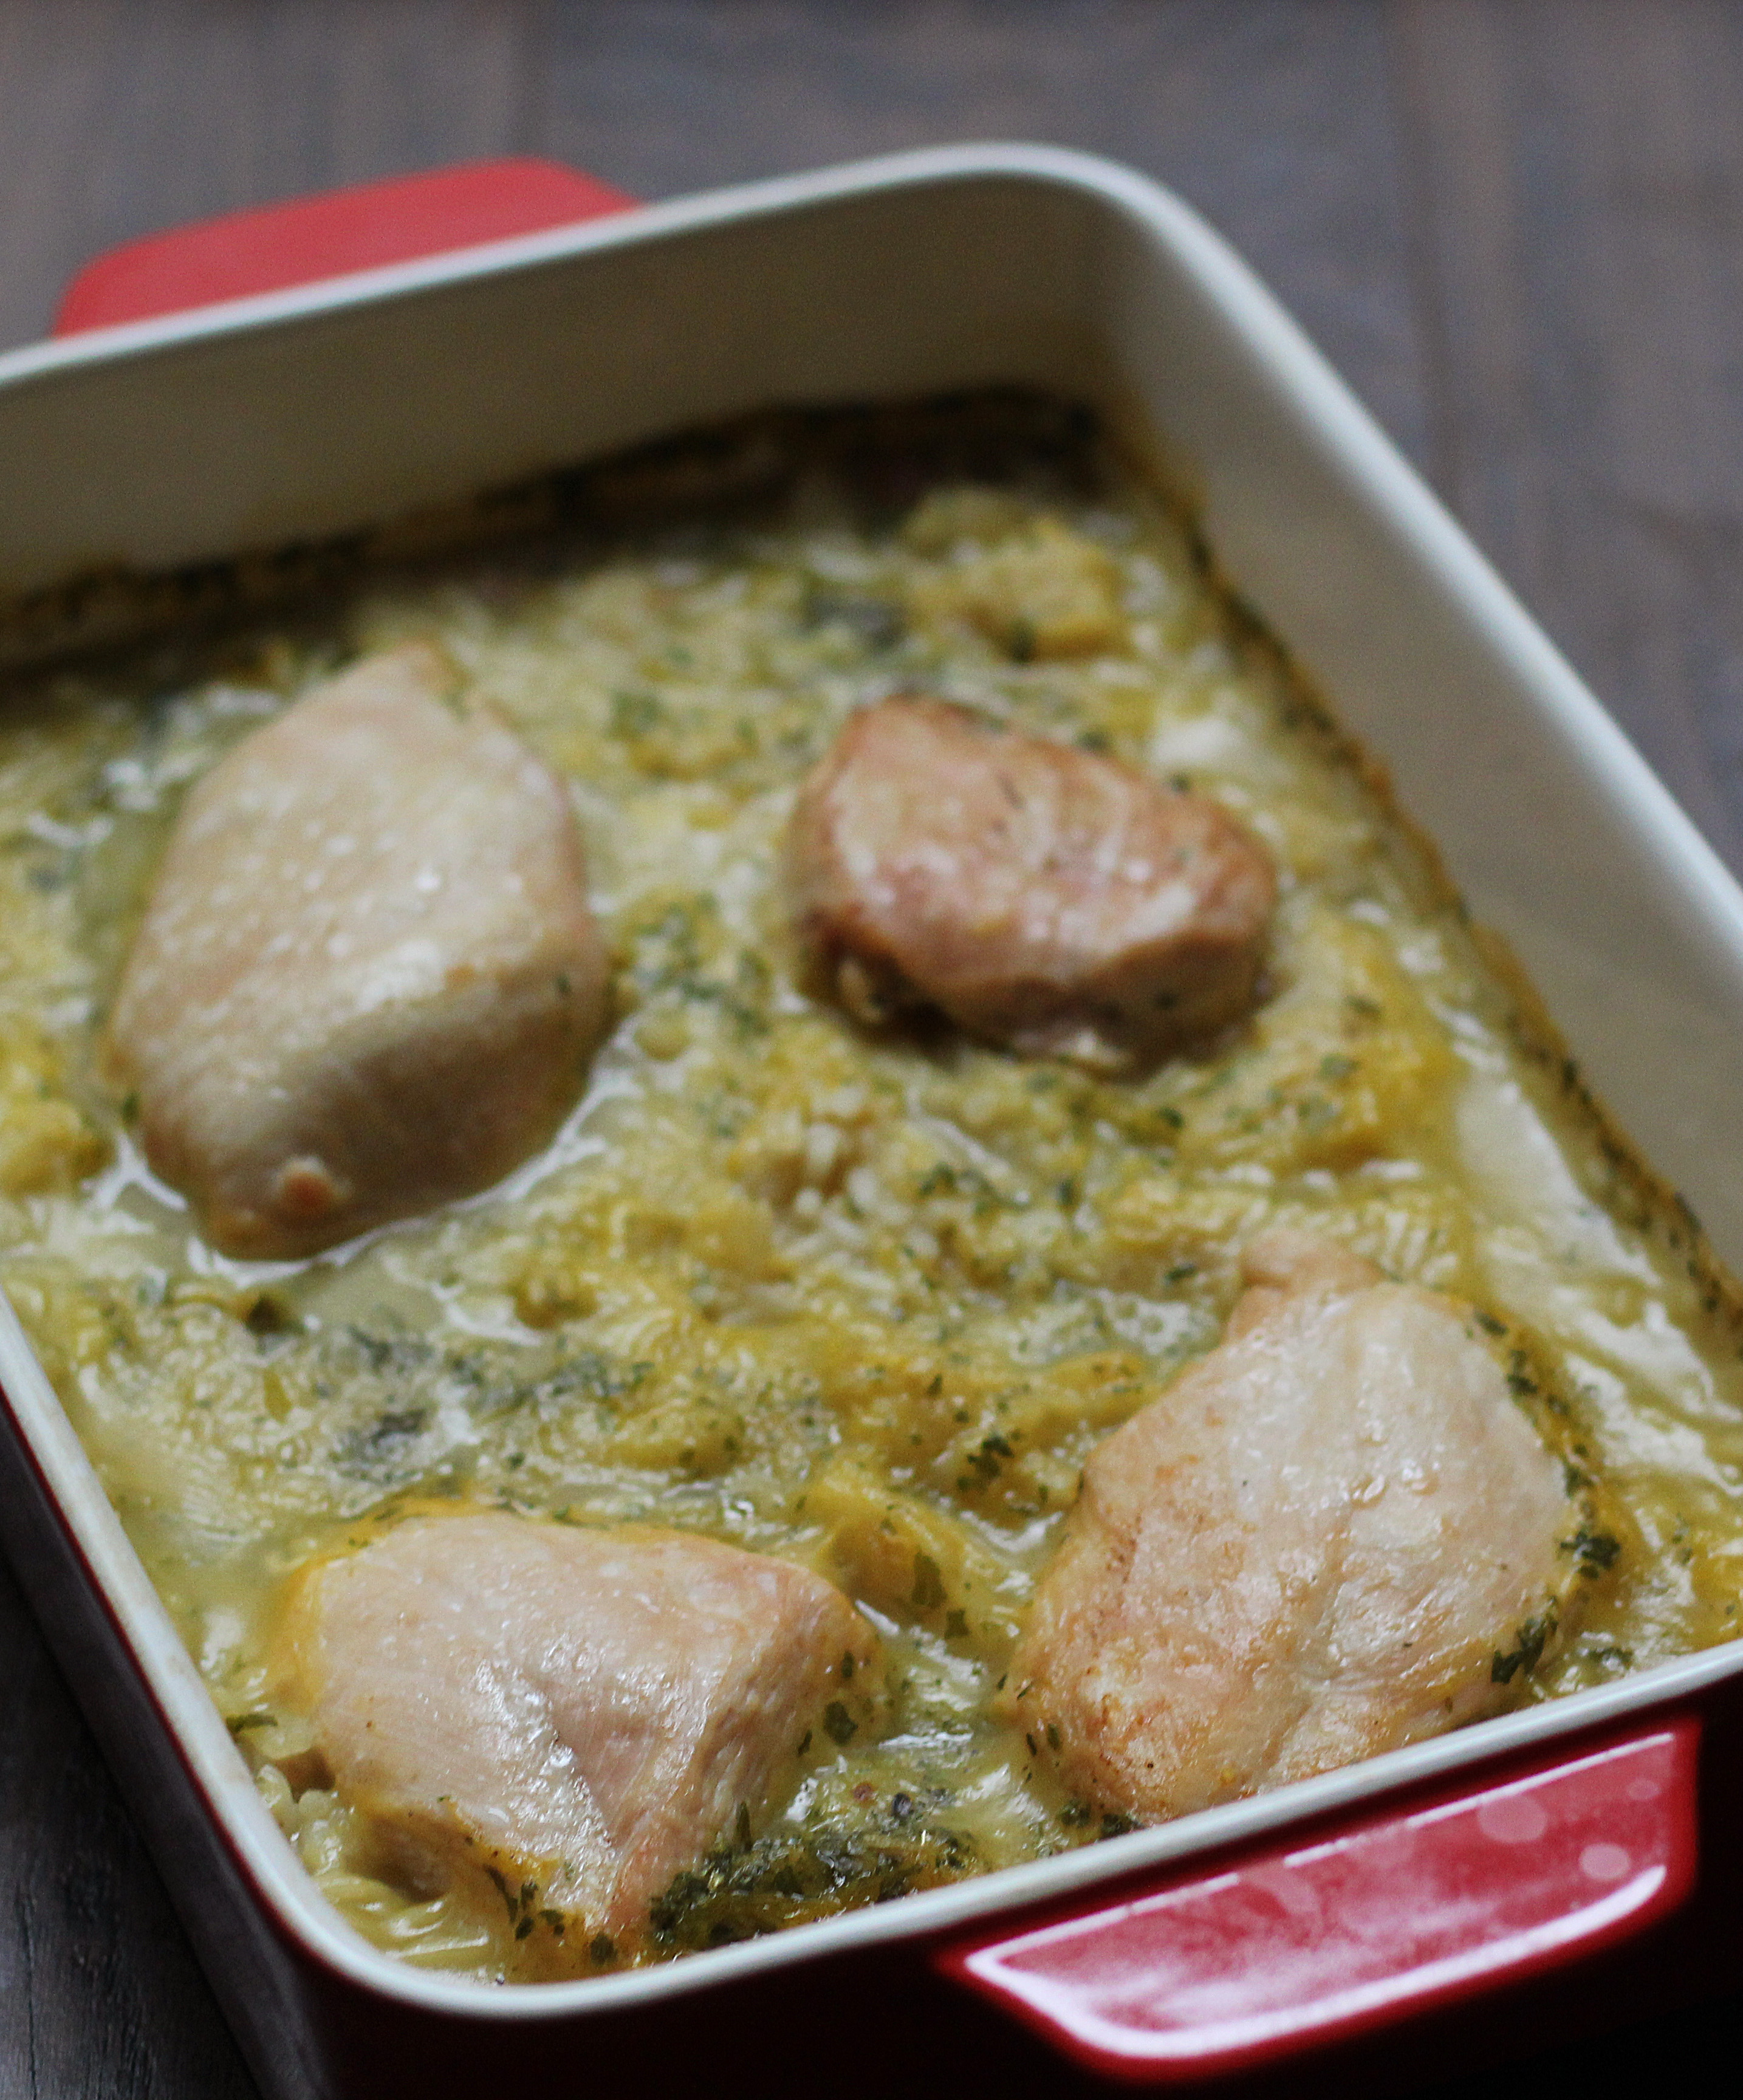
I did end up baking this recipe for the entire 40 minutes because I felt that the rice mixture was still too watery after the first 30. I wasn’t sure I was happy after the 40 either, but I was already afraid I had over baked the chicken. After it cooled a bit out of the oven, the mixture thickened and it looked better. I did feel the chicken got a little dry, but it was still tasty. We both like this chicken in rice recipe alright. Shannon felt it was a little too similar to a casserole, but still liked it okay. I enjoyed some of the flavors in the rice mixture. I couldn’t tell exactly which ones I liked the most, but I think it was some of the flavors from the condensed soup. In the end, I do think my favorite part of this recipe is its simplicity. So if you are looking for a quick and simple chicken recipe for dinner, give this one a try!
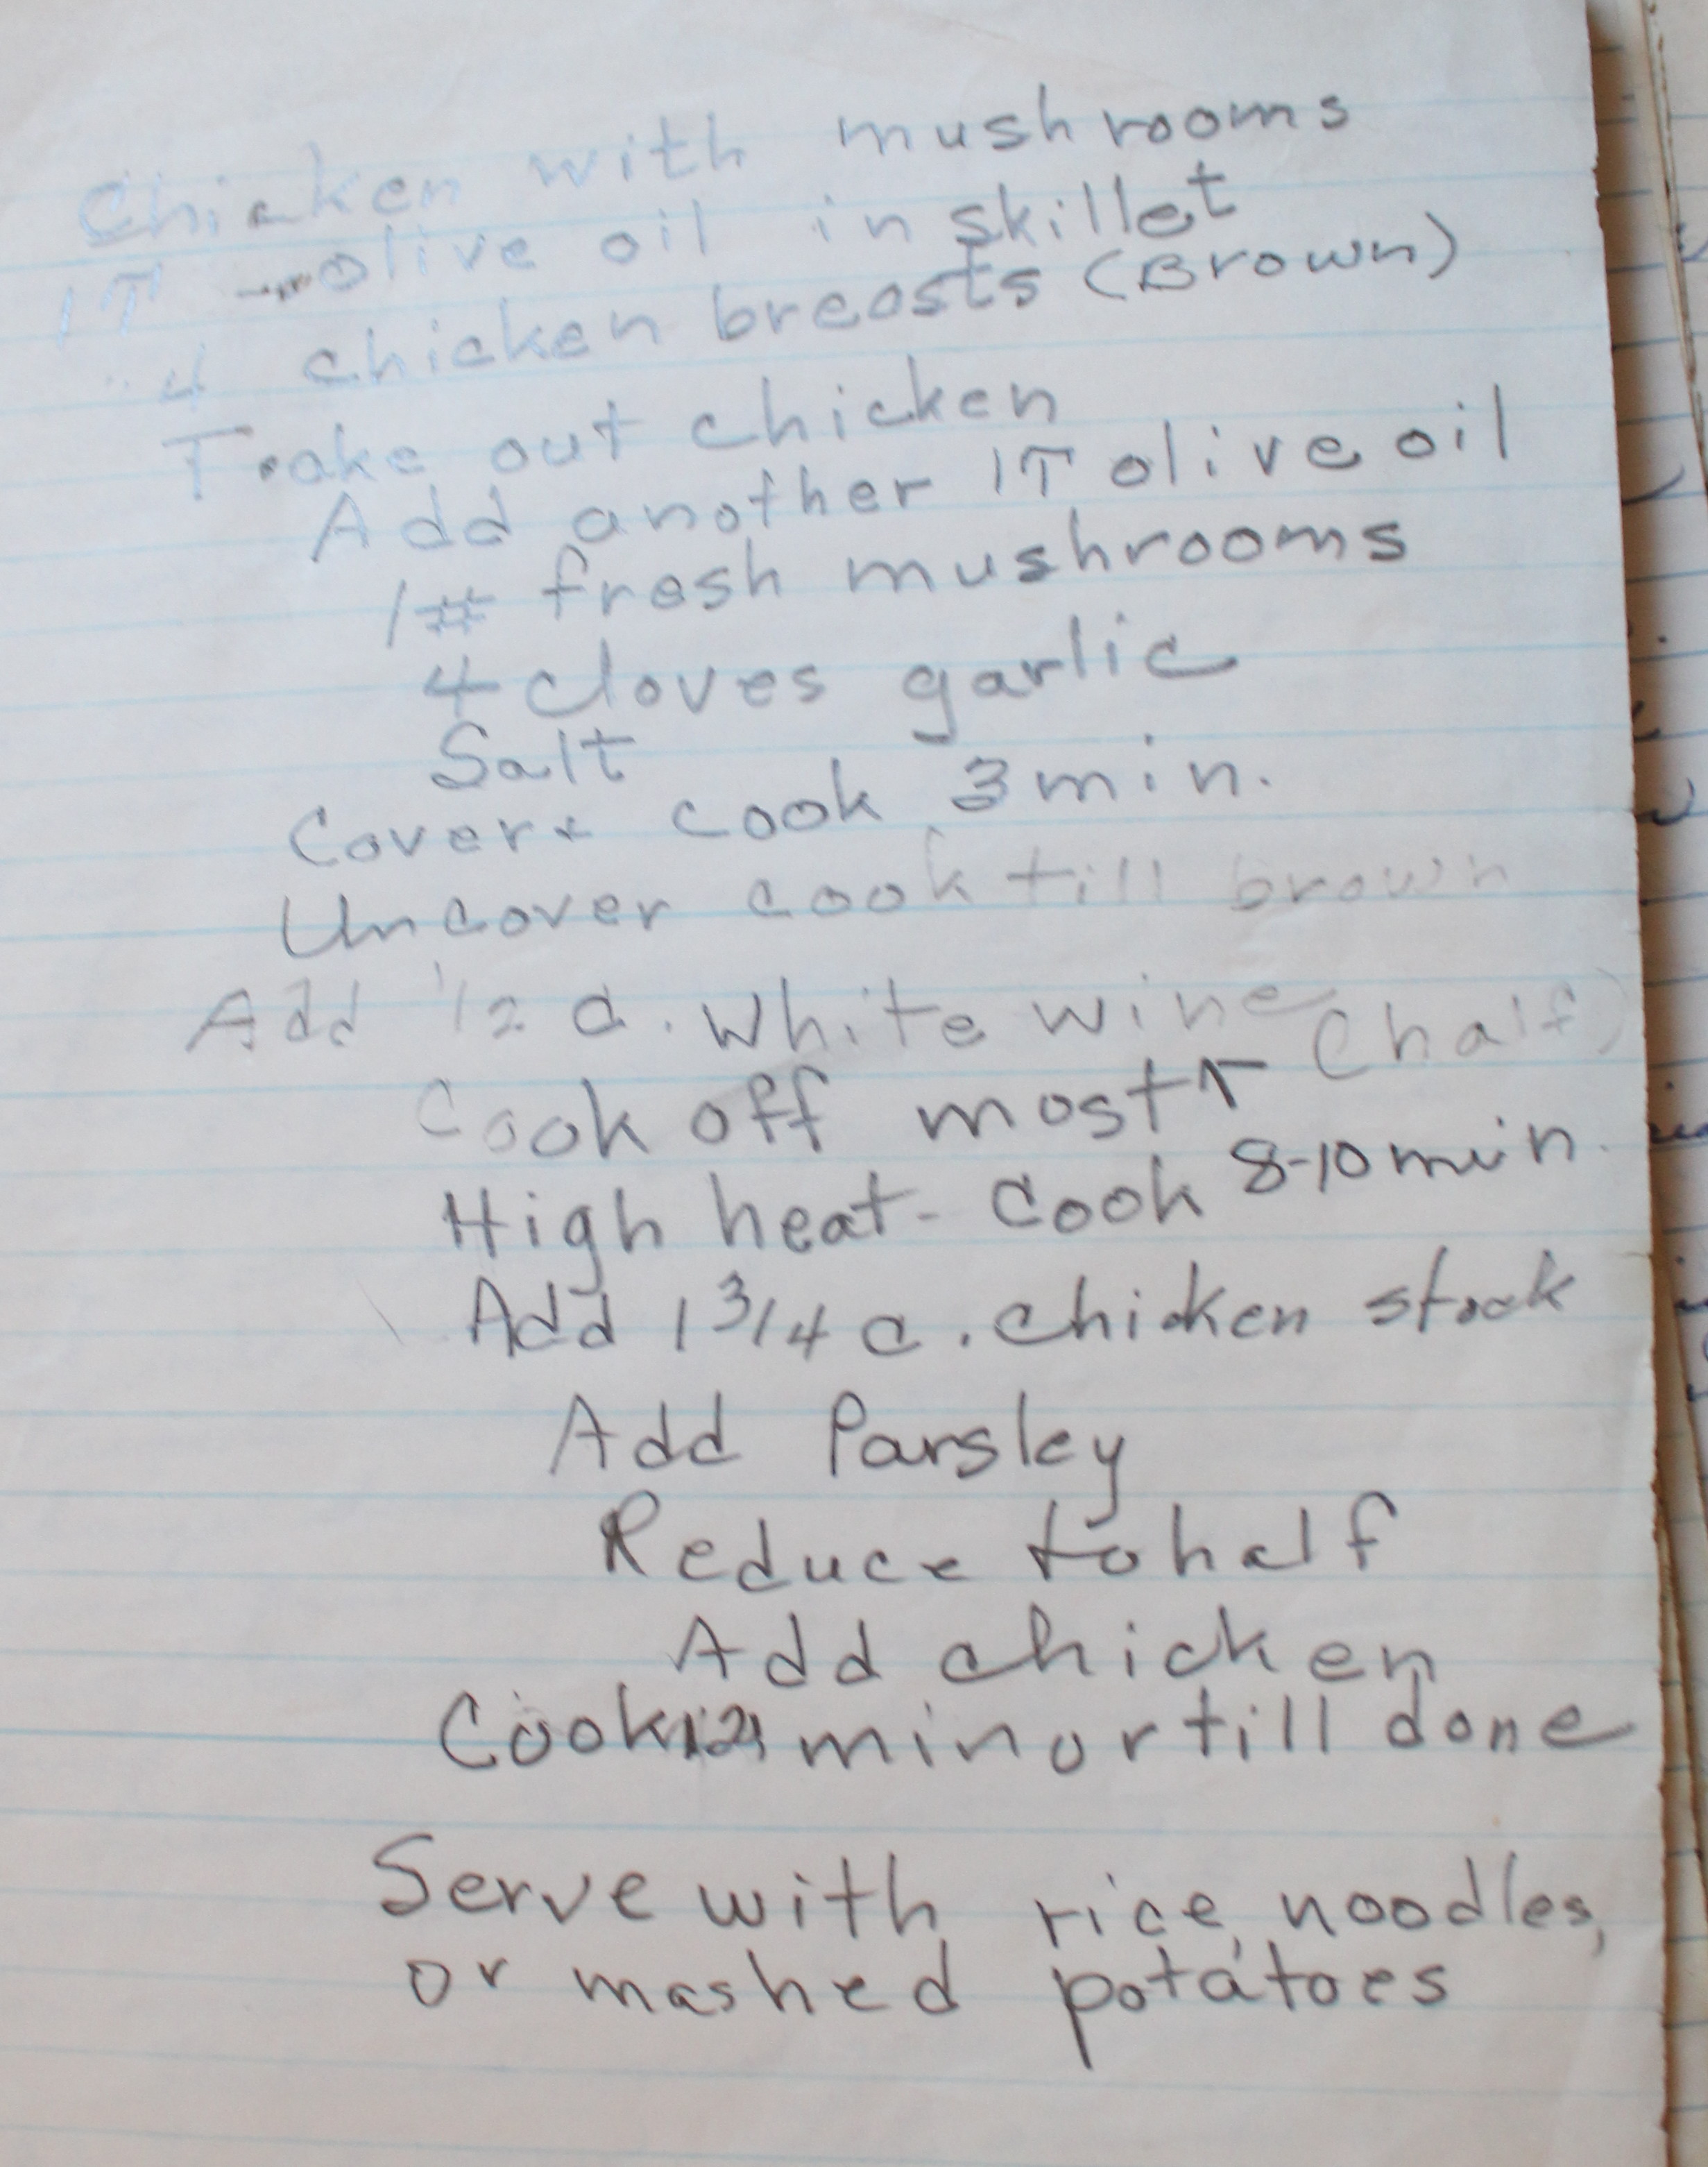
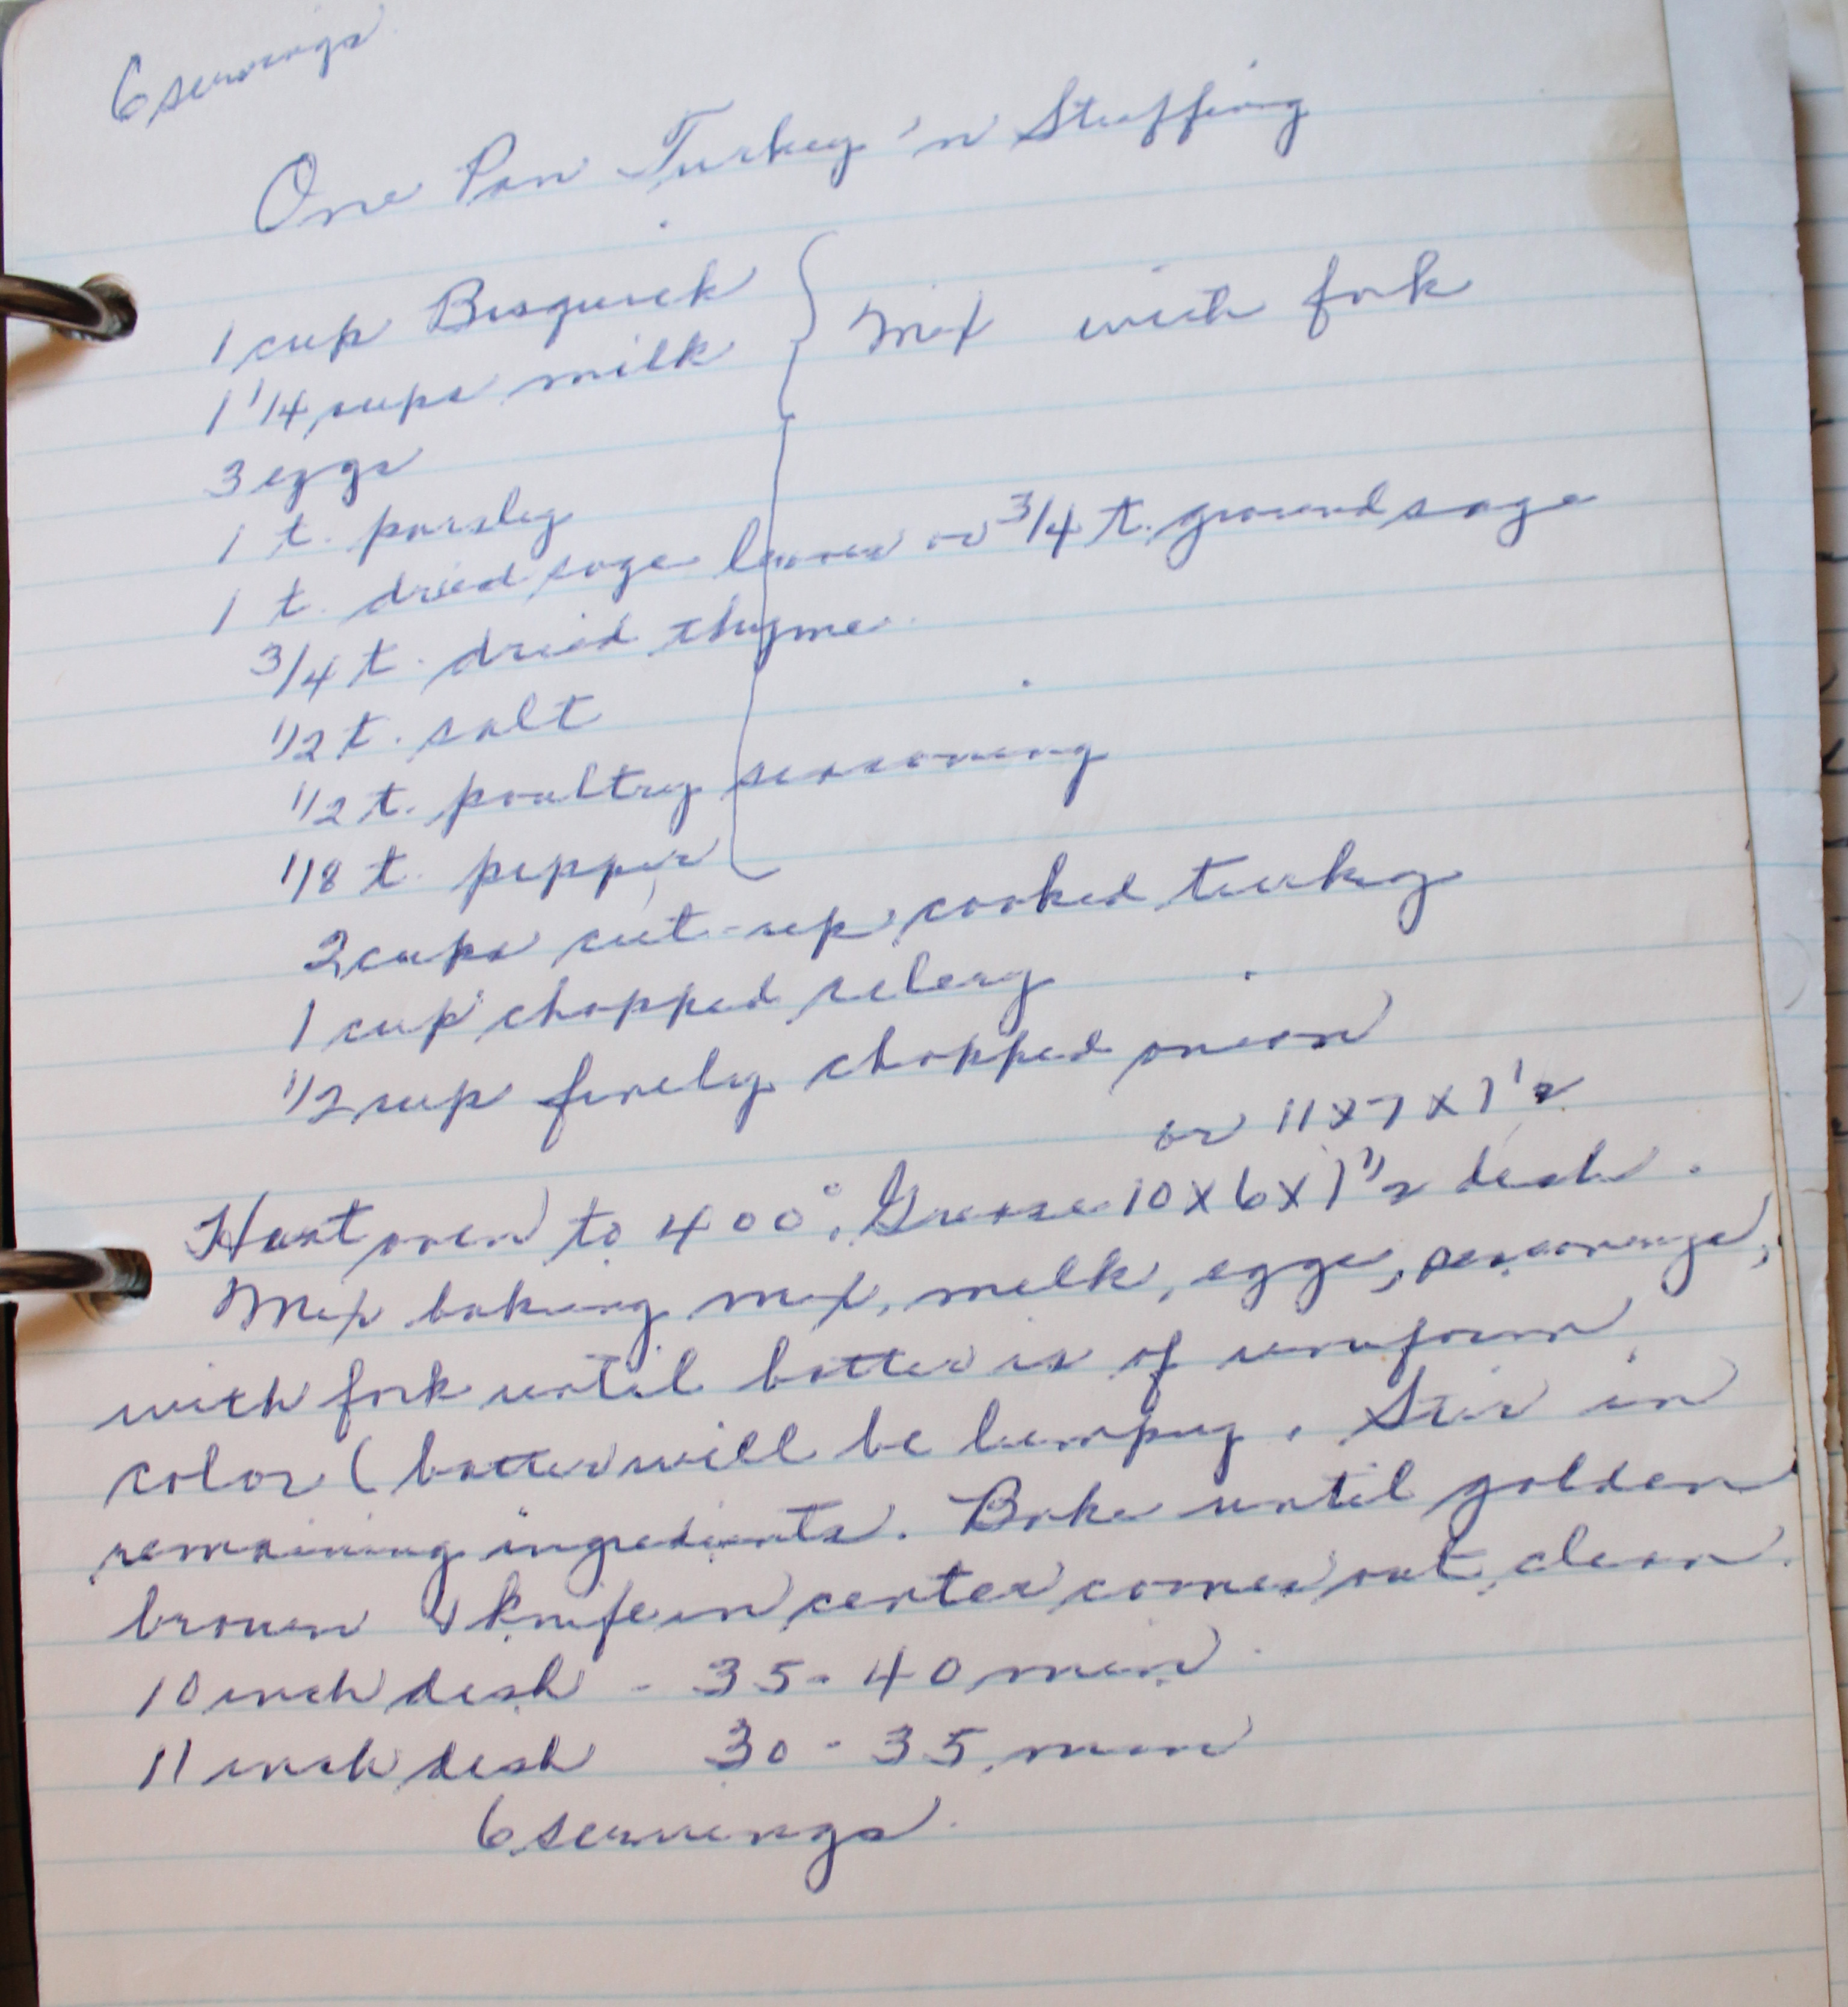
- 4 chicken breasts
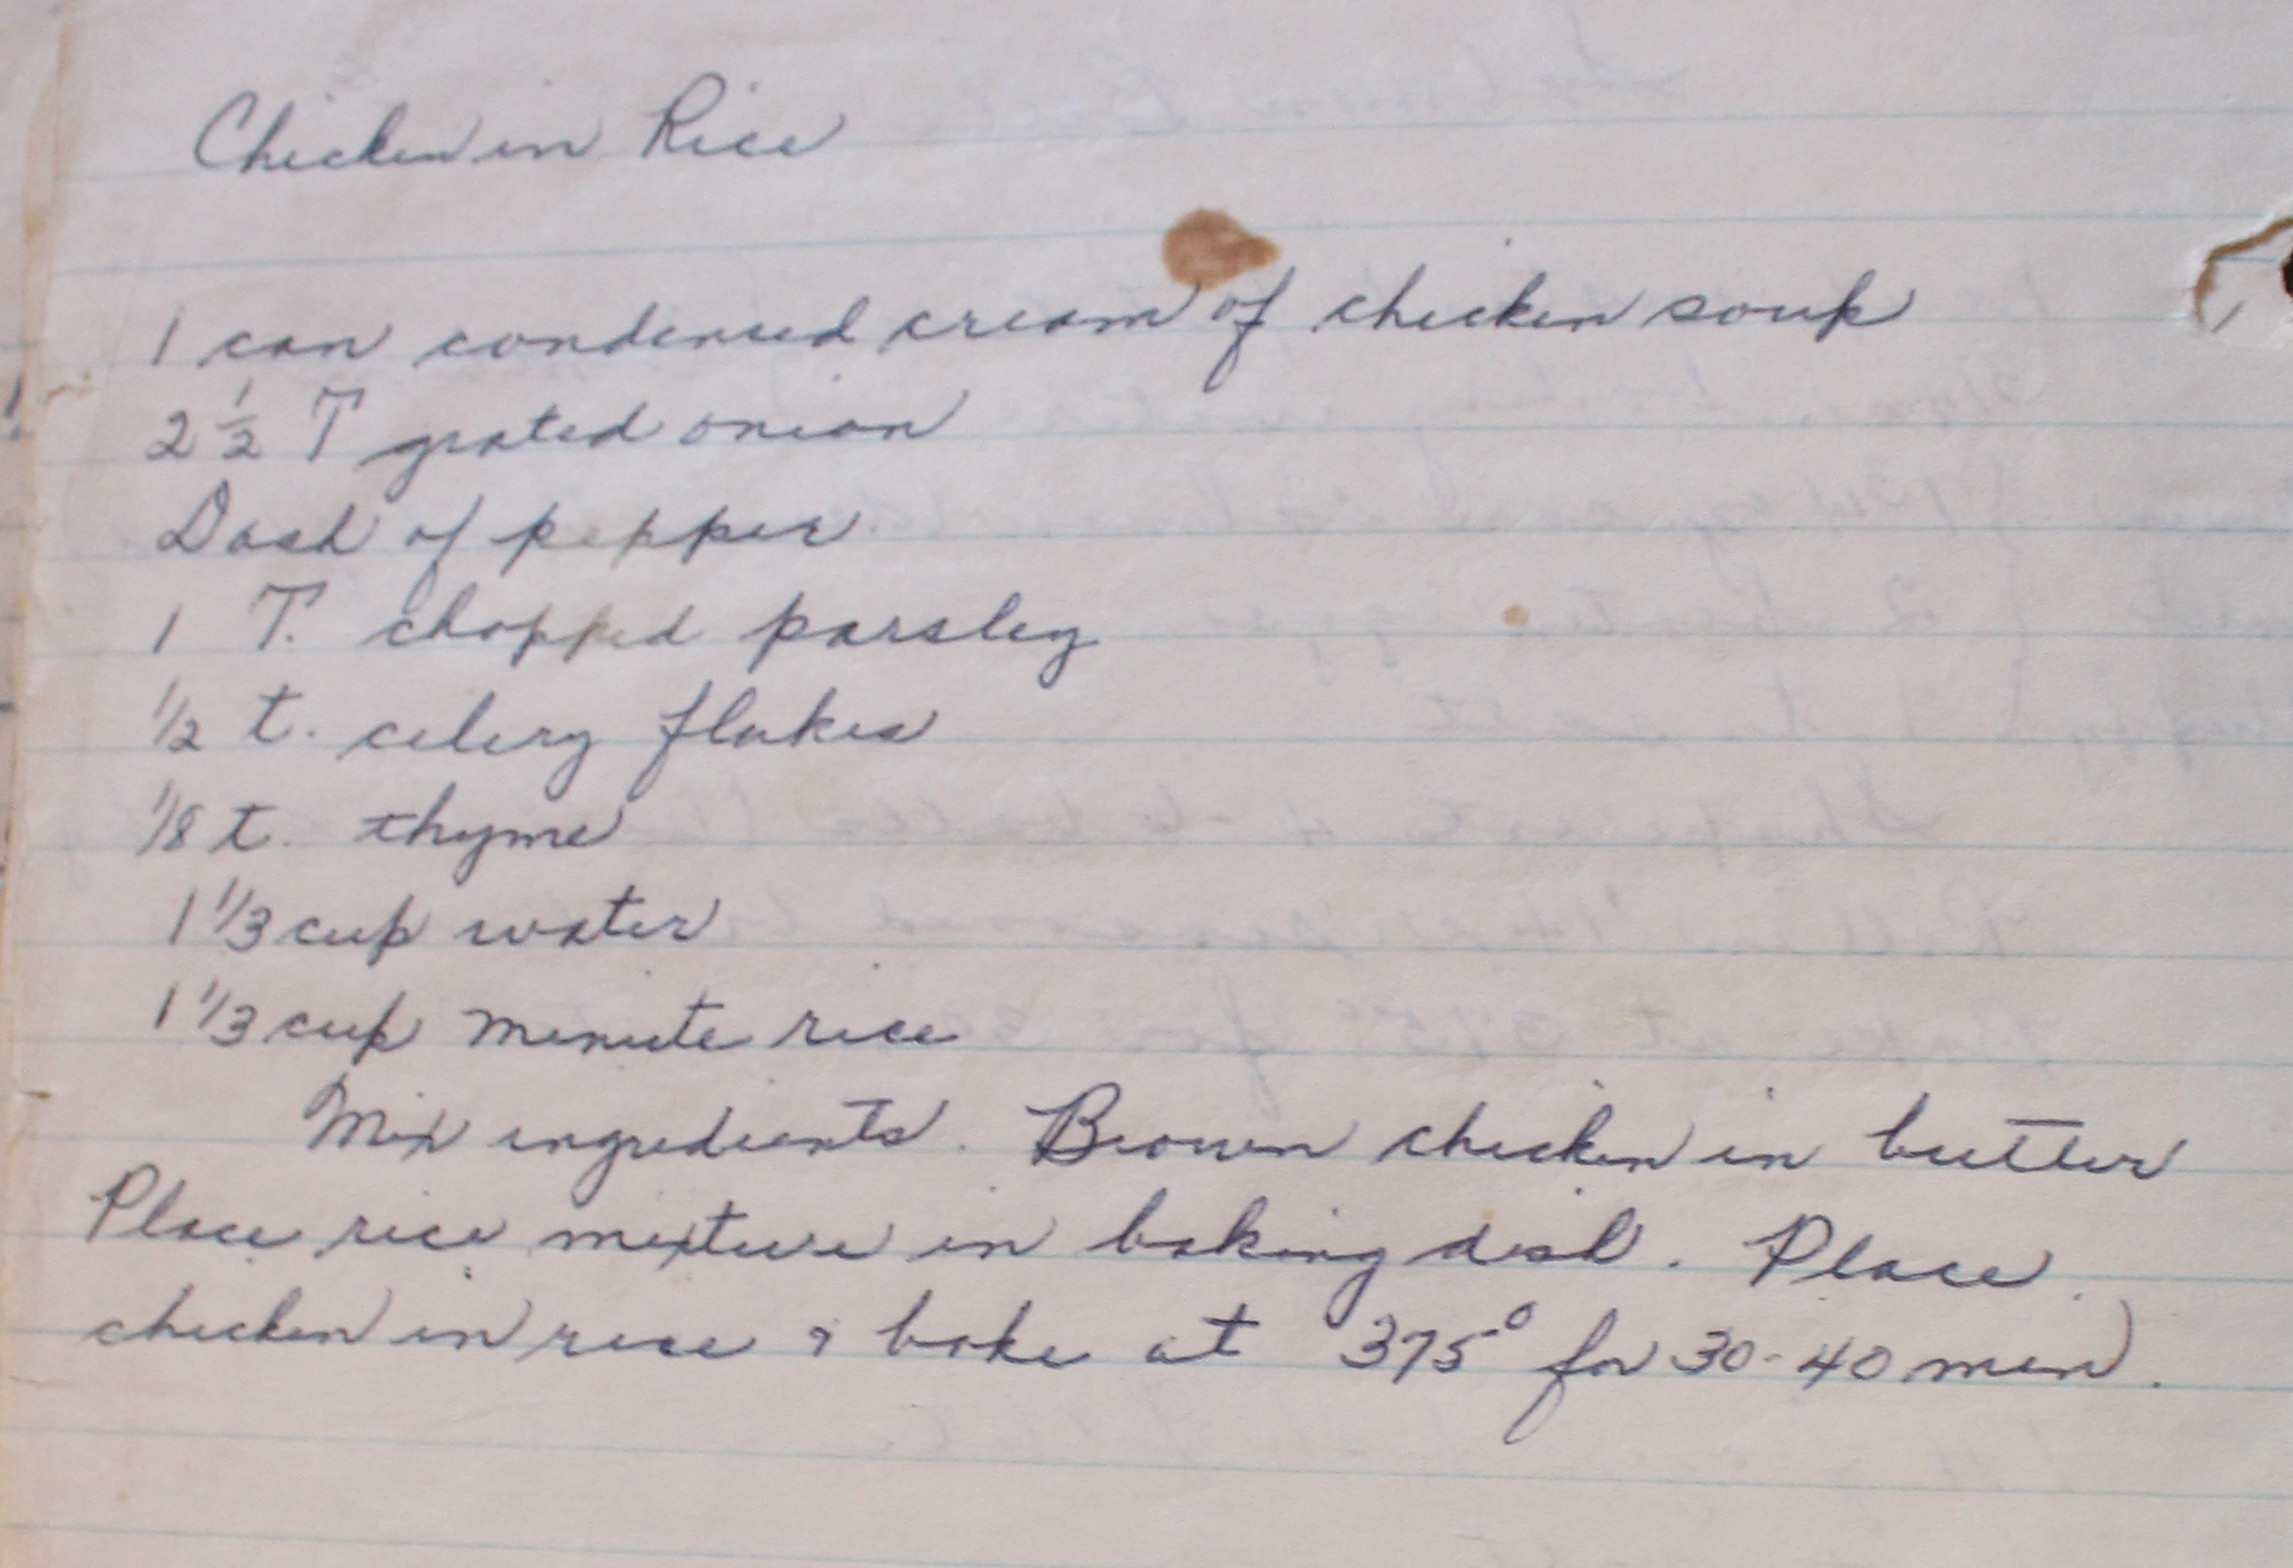
- 1 can condensed cream of chicken soup
- 1 tbsp minced onion
- Dash of pepper
- 1 tbsp parsley
- 1/2 tsp celery flakes
- 1/8 tsp thyme
- 1 1/3 cups water
- 1 1/3 cups minute rice
- Preheat oven to 375 degrees.
- Mix all ingredients together other than the chicken.
- Brown chicken in butter.
- Place rice mixture in baking dish. Place chicken in rice.
- Bake at 375 for 30-40 minutes.