Marguerites Cookbook

A cooking blog all about making vintage recipes from a cookbook we inherited from our grandmother

  • Home
  • Recipes
    • Main Dishes
    • Appetizers and Sides
    • Desserts
    • Breakfast
  • About
  • Contact

February 18, 2017 by: Shannon and Aaron

Cream Cheese Brownies

cream cheese brownies header

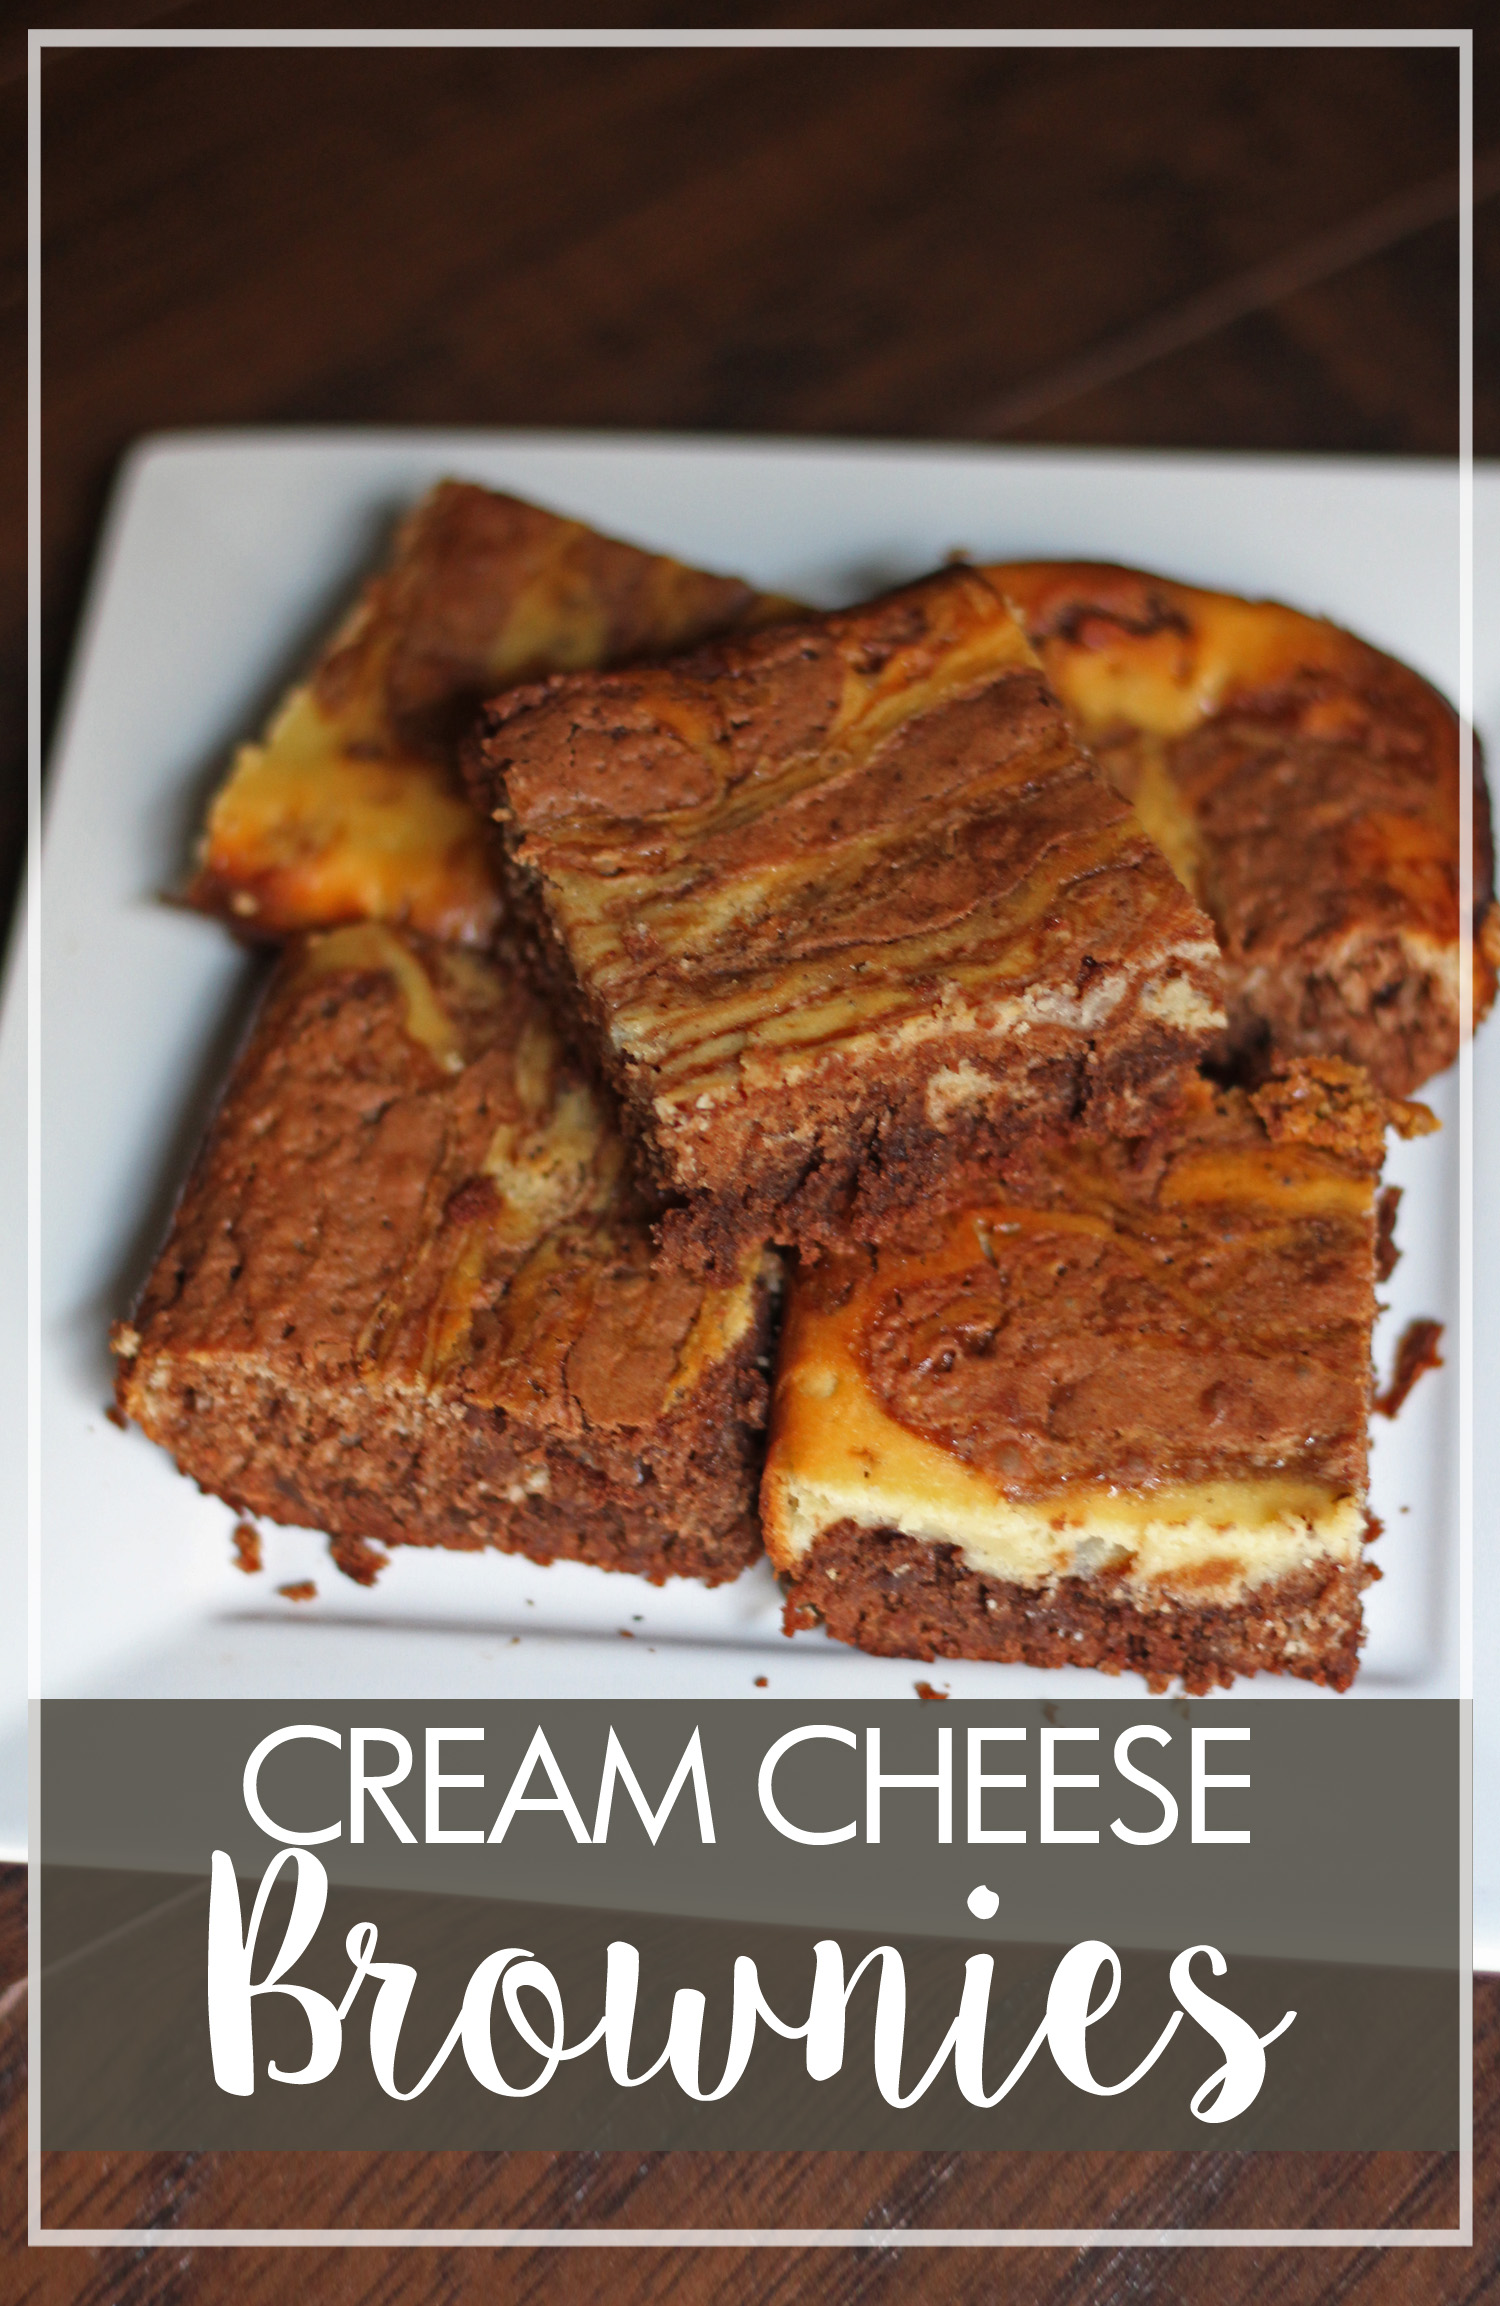
I’m not sure if I’ve made it clear enough (although I think I have), but I love desserts. Chocolate desserts might be my favorite, and brownies are near the top of the list. Since its been a few weeks since our last dessert, the Southern Lane Cake, I think it’s time to do another. These cream cheese brownies were a great treat.

Cream Cheese Brownies

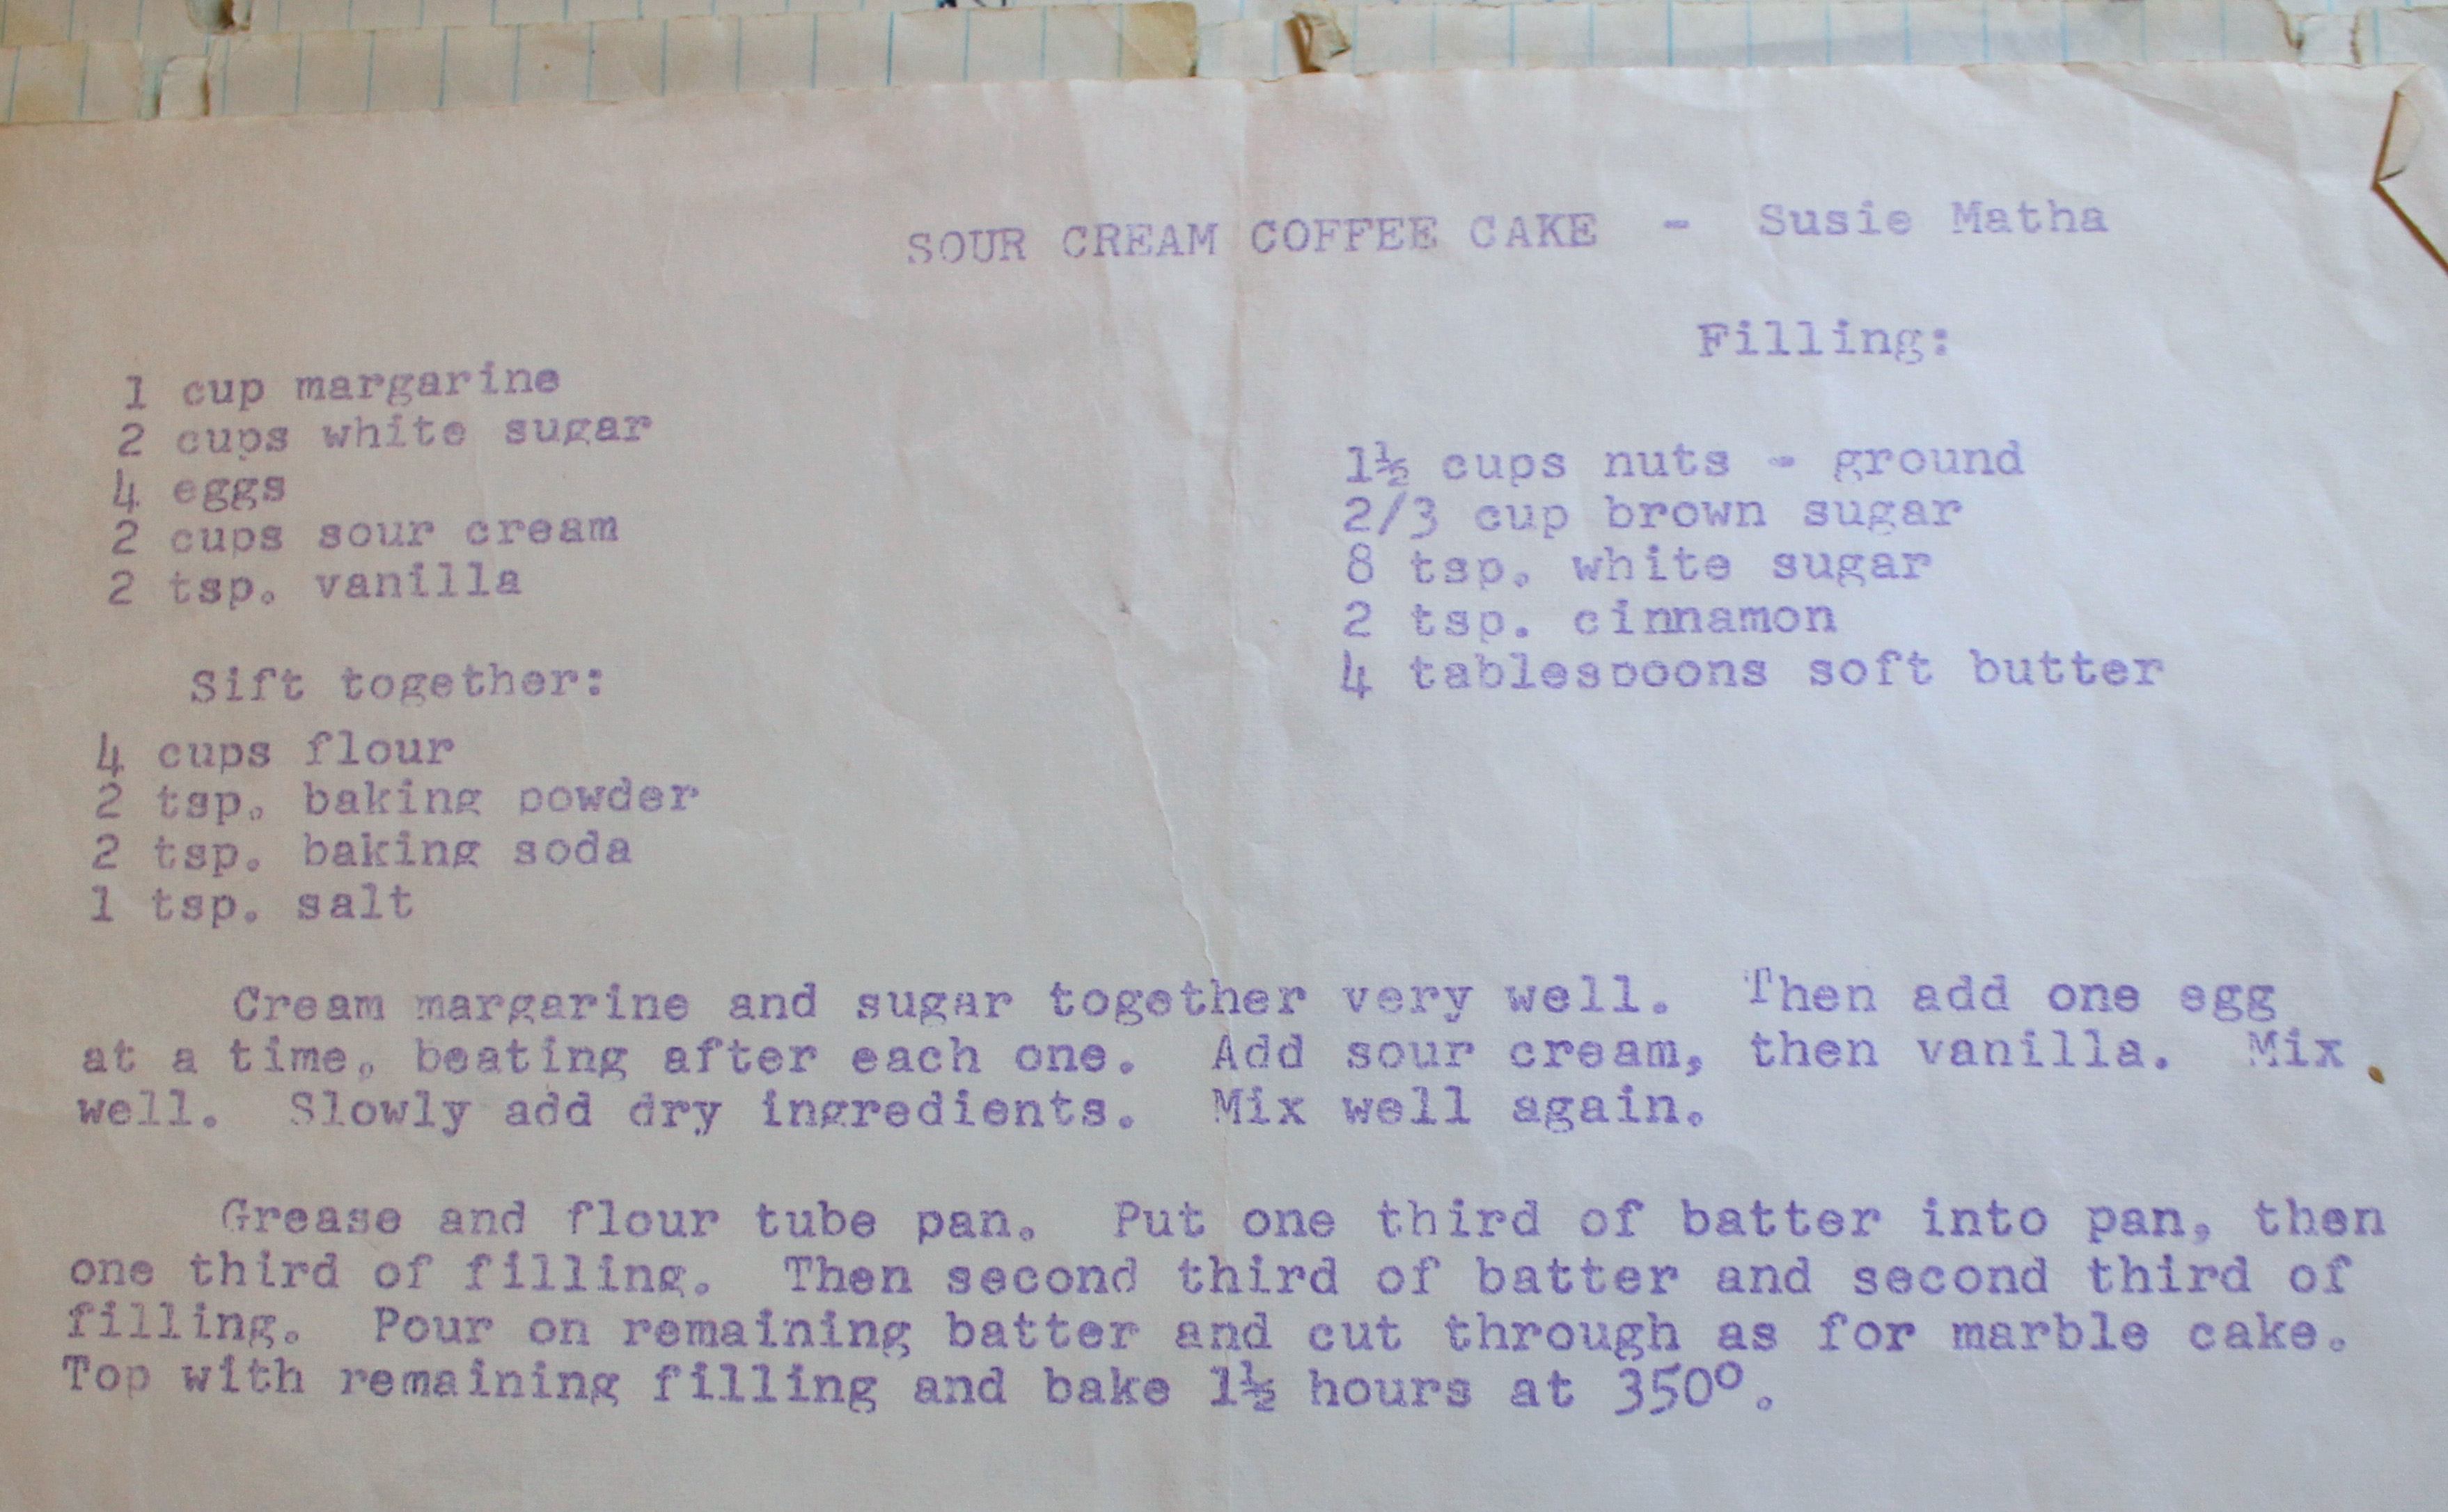
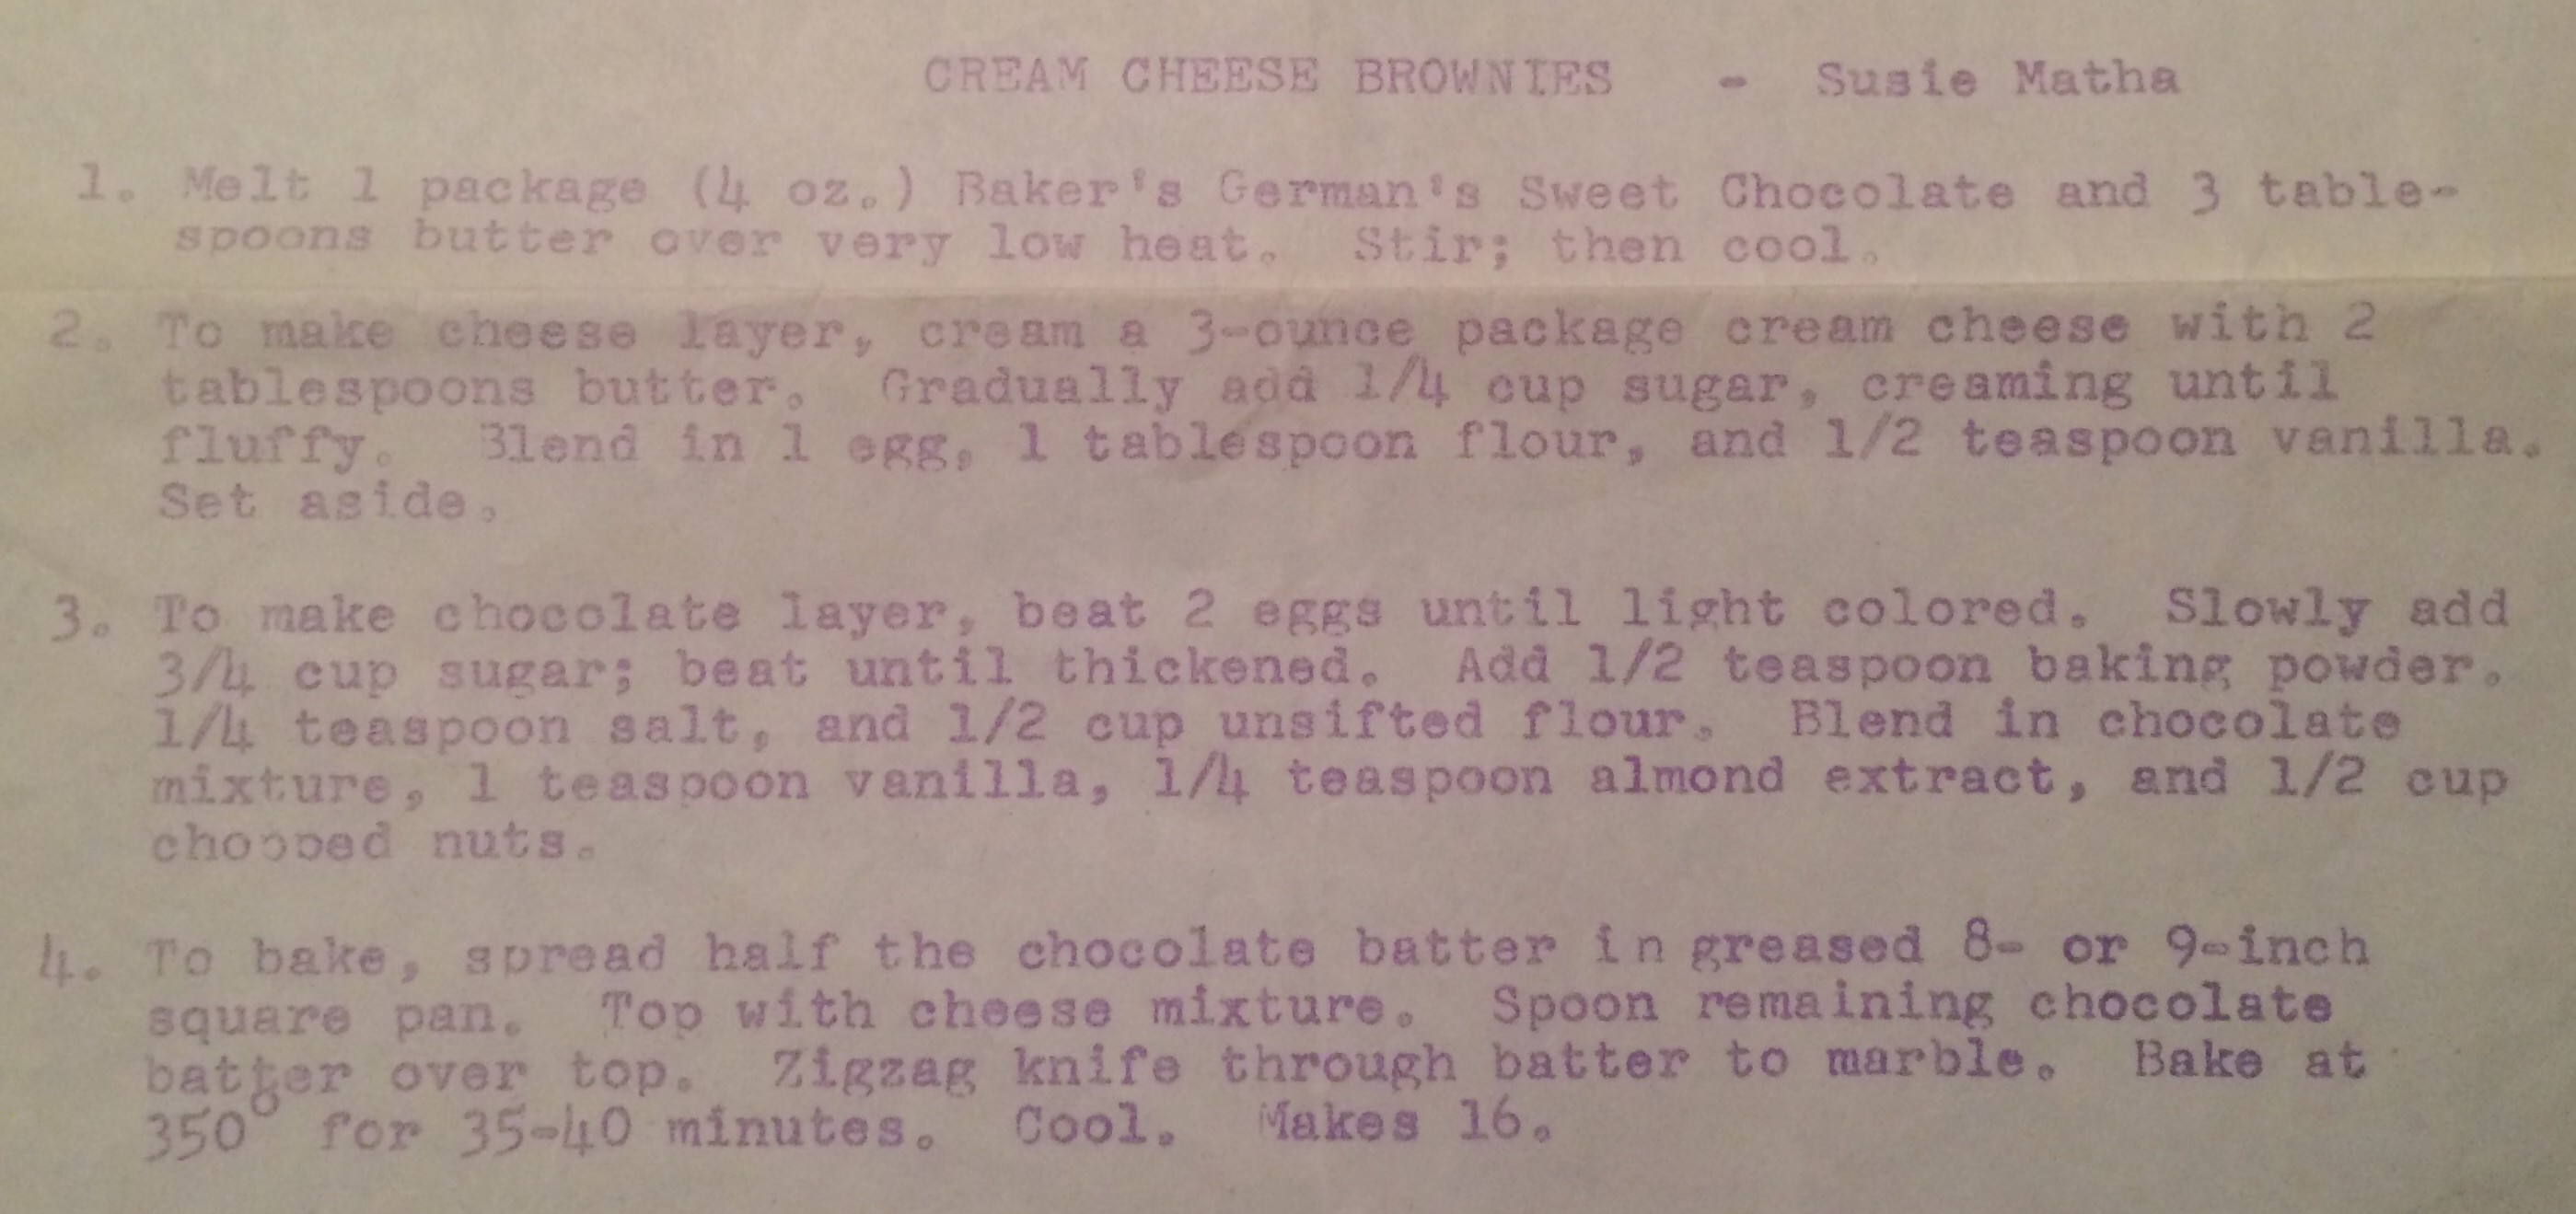
Here’s what Marguerite’s friend Susie Matha had to say:

cream cheese brownies recipe

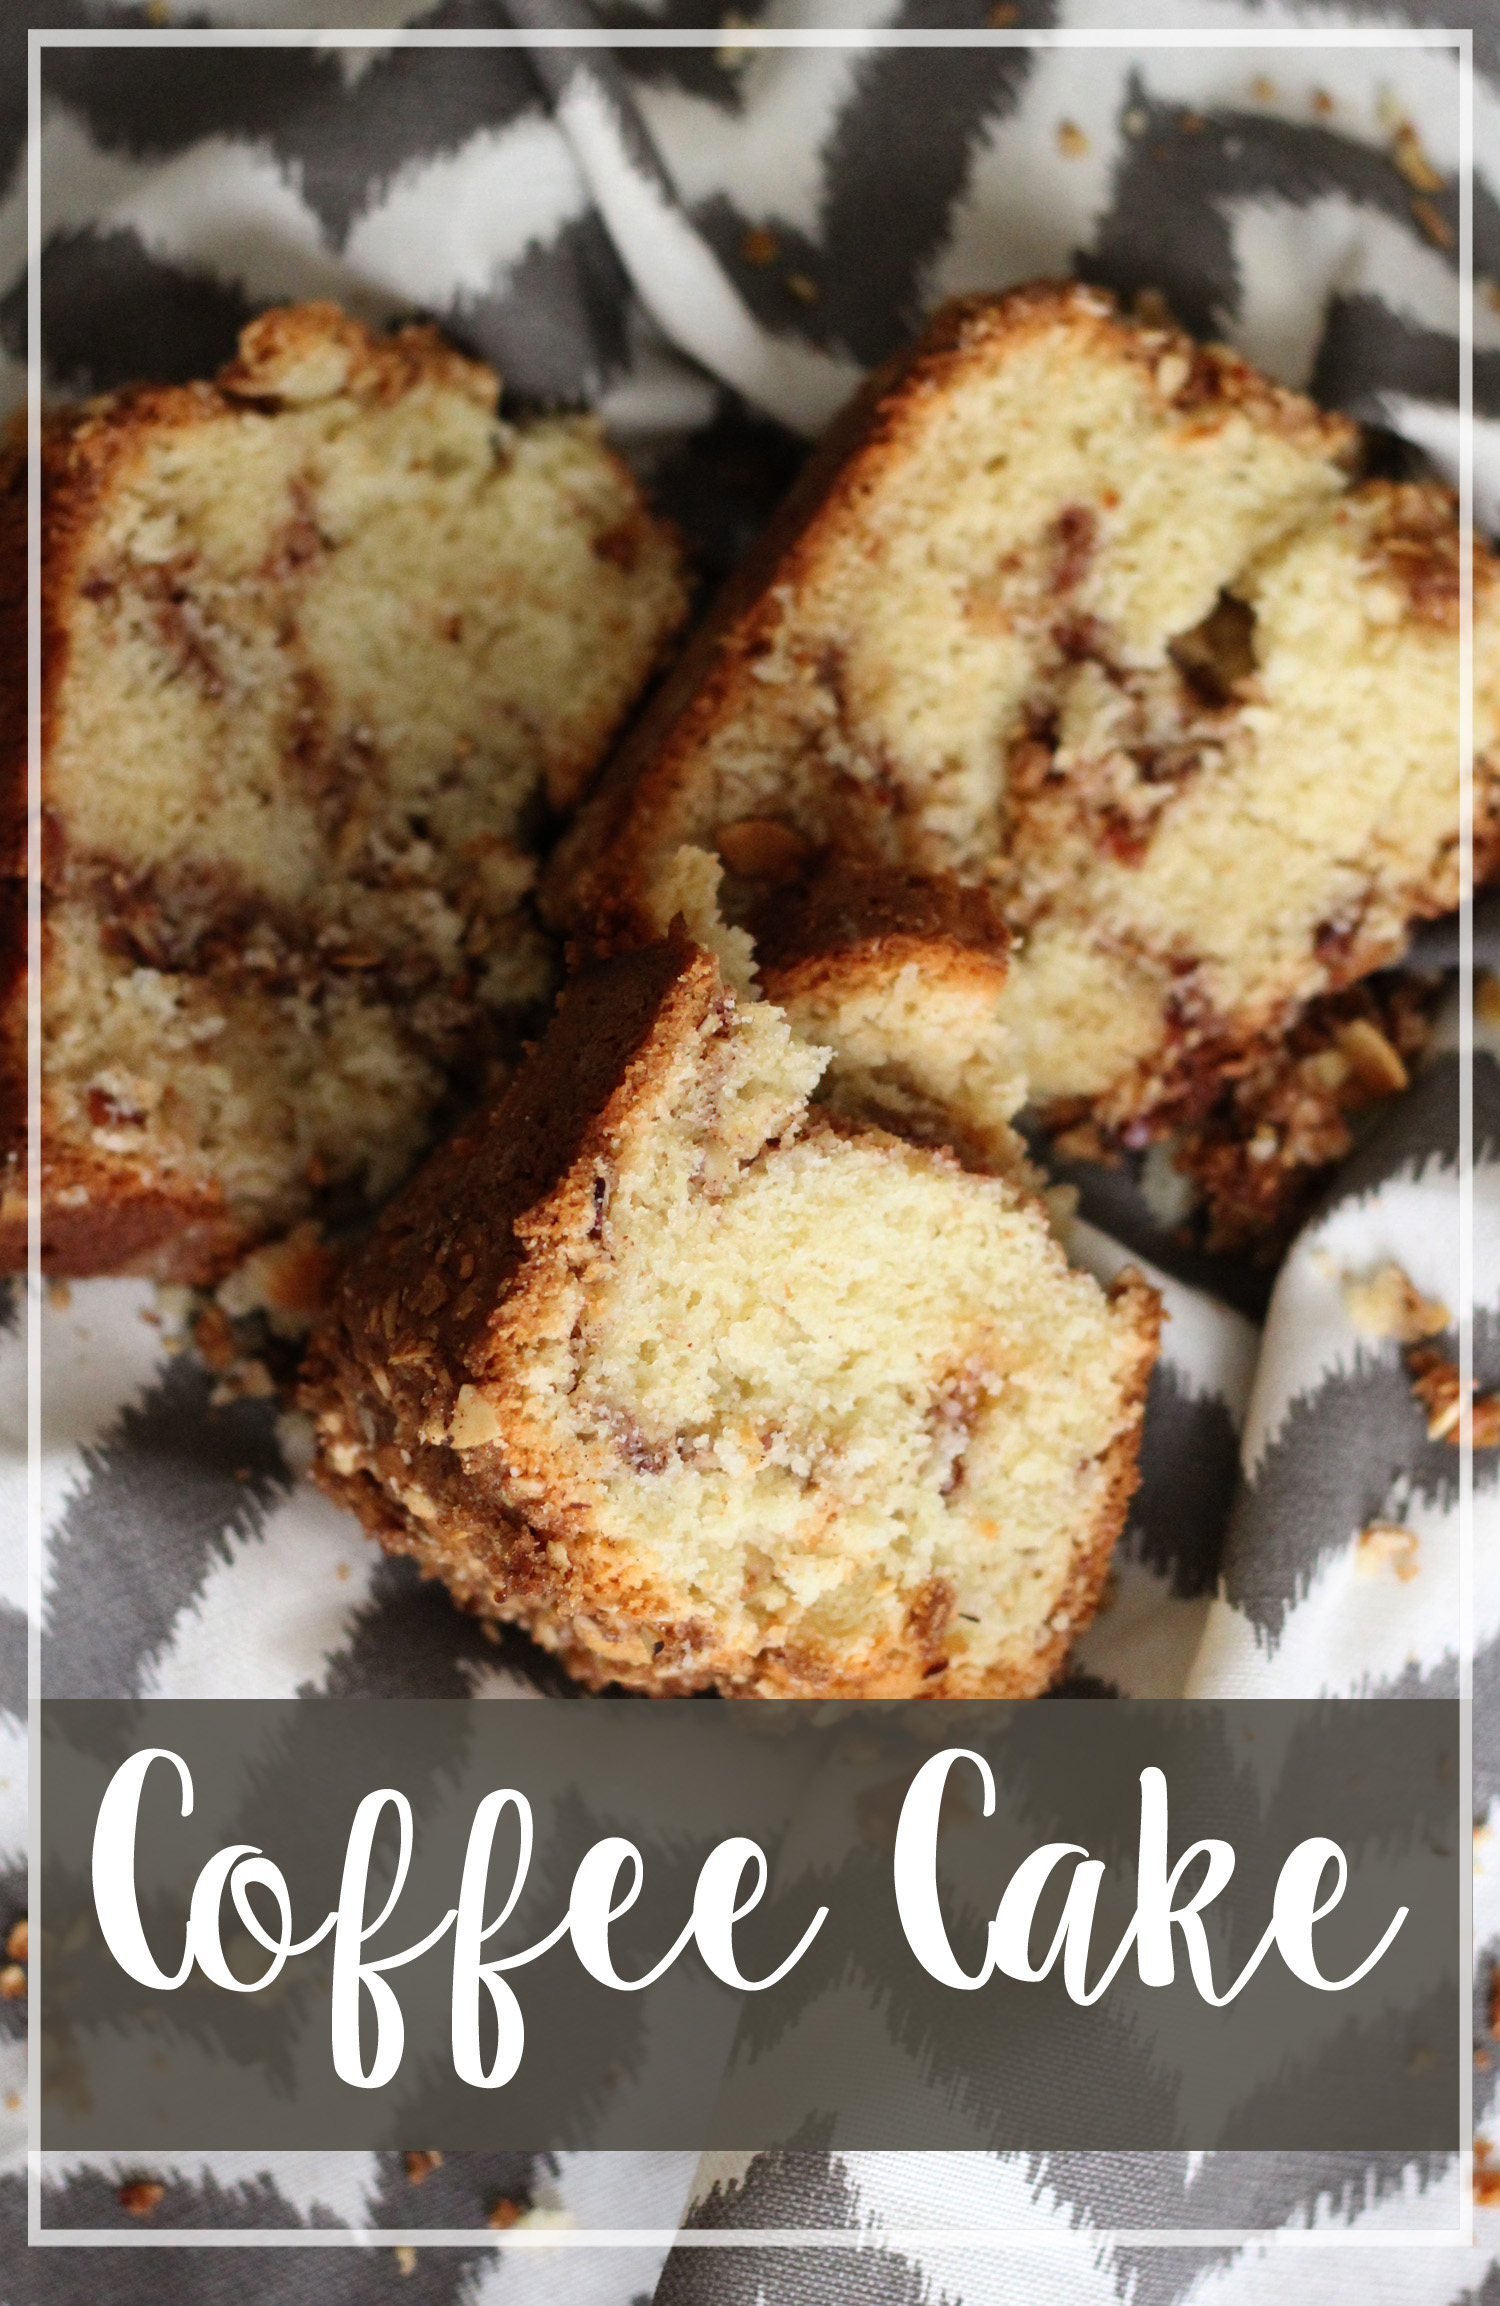
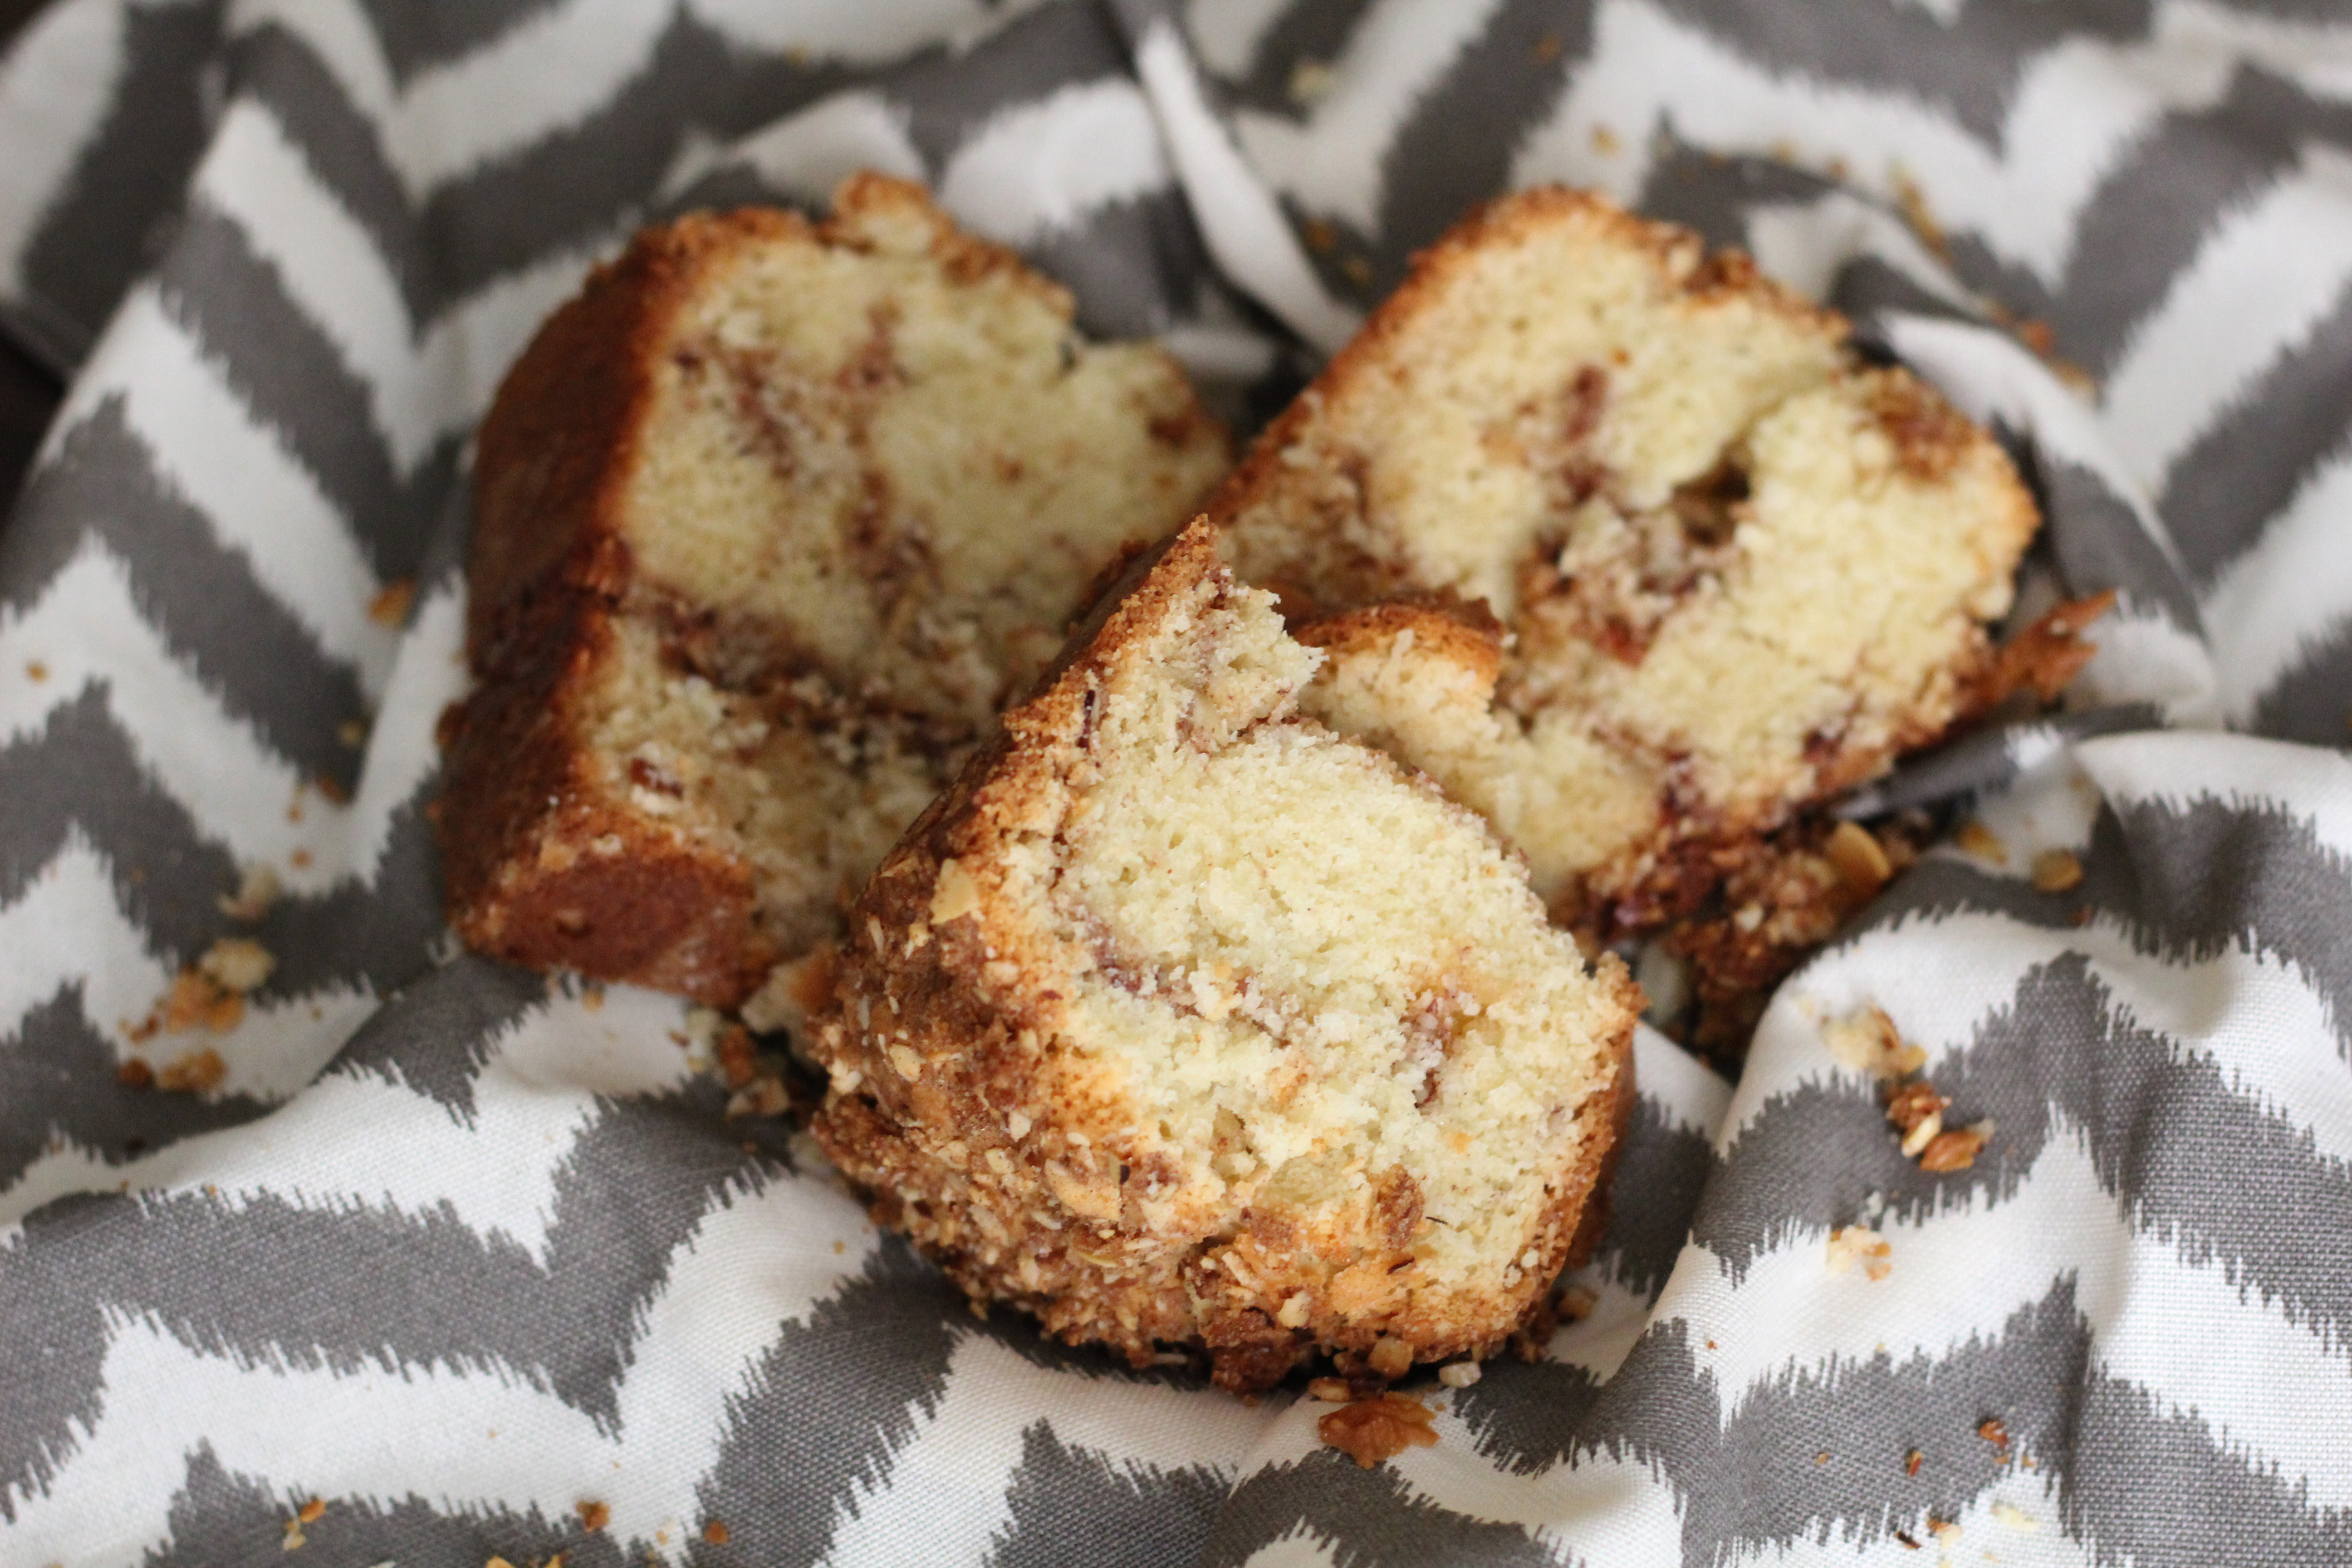
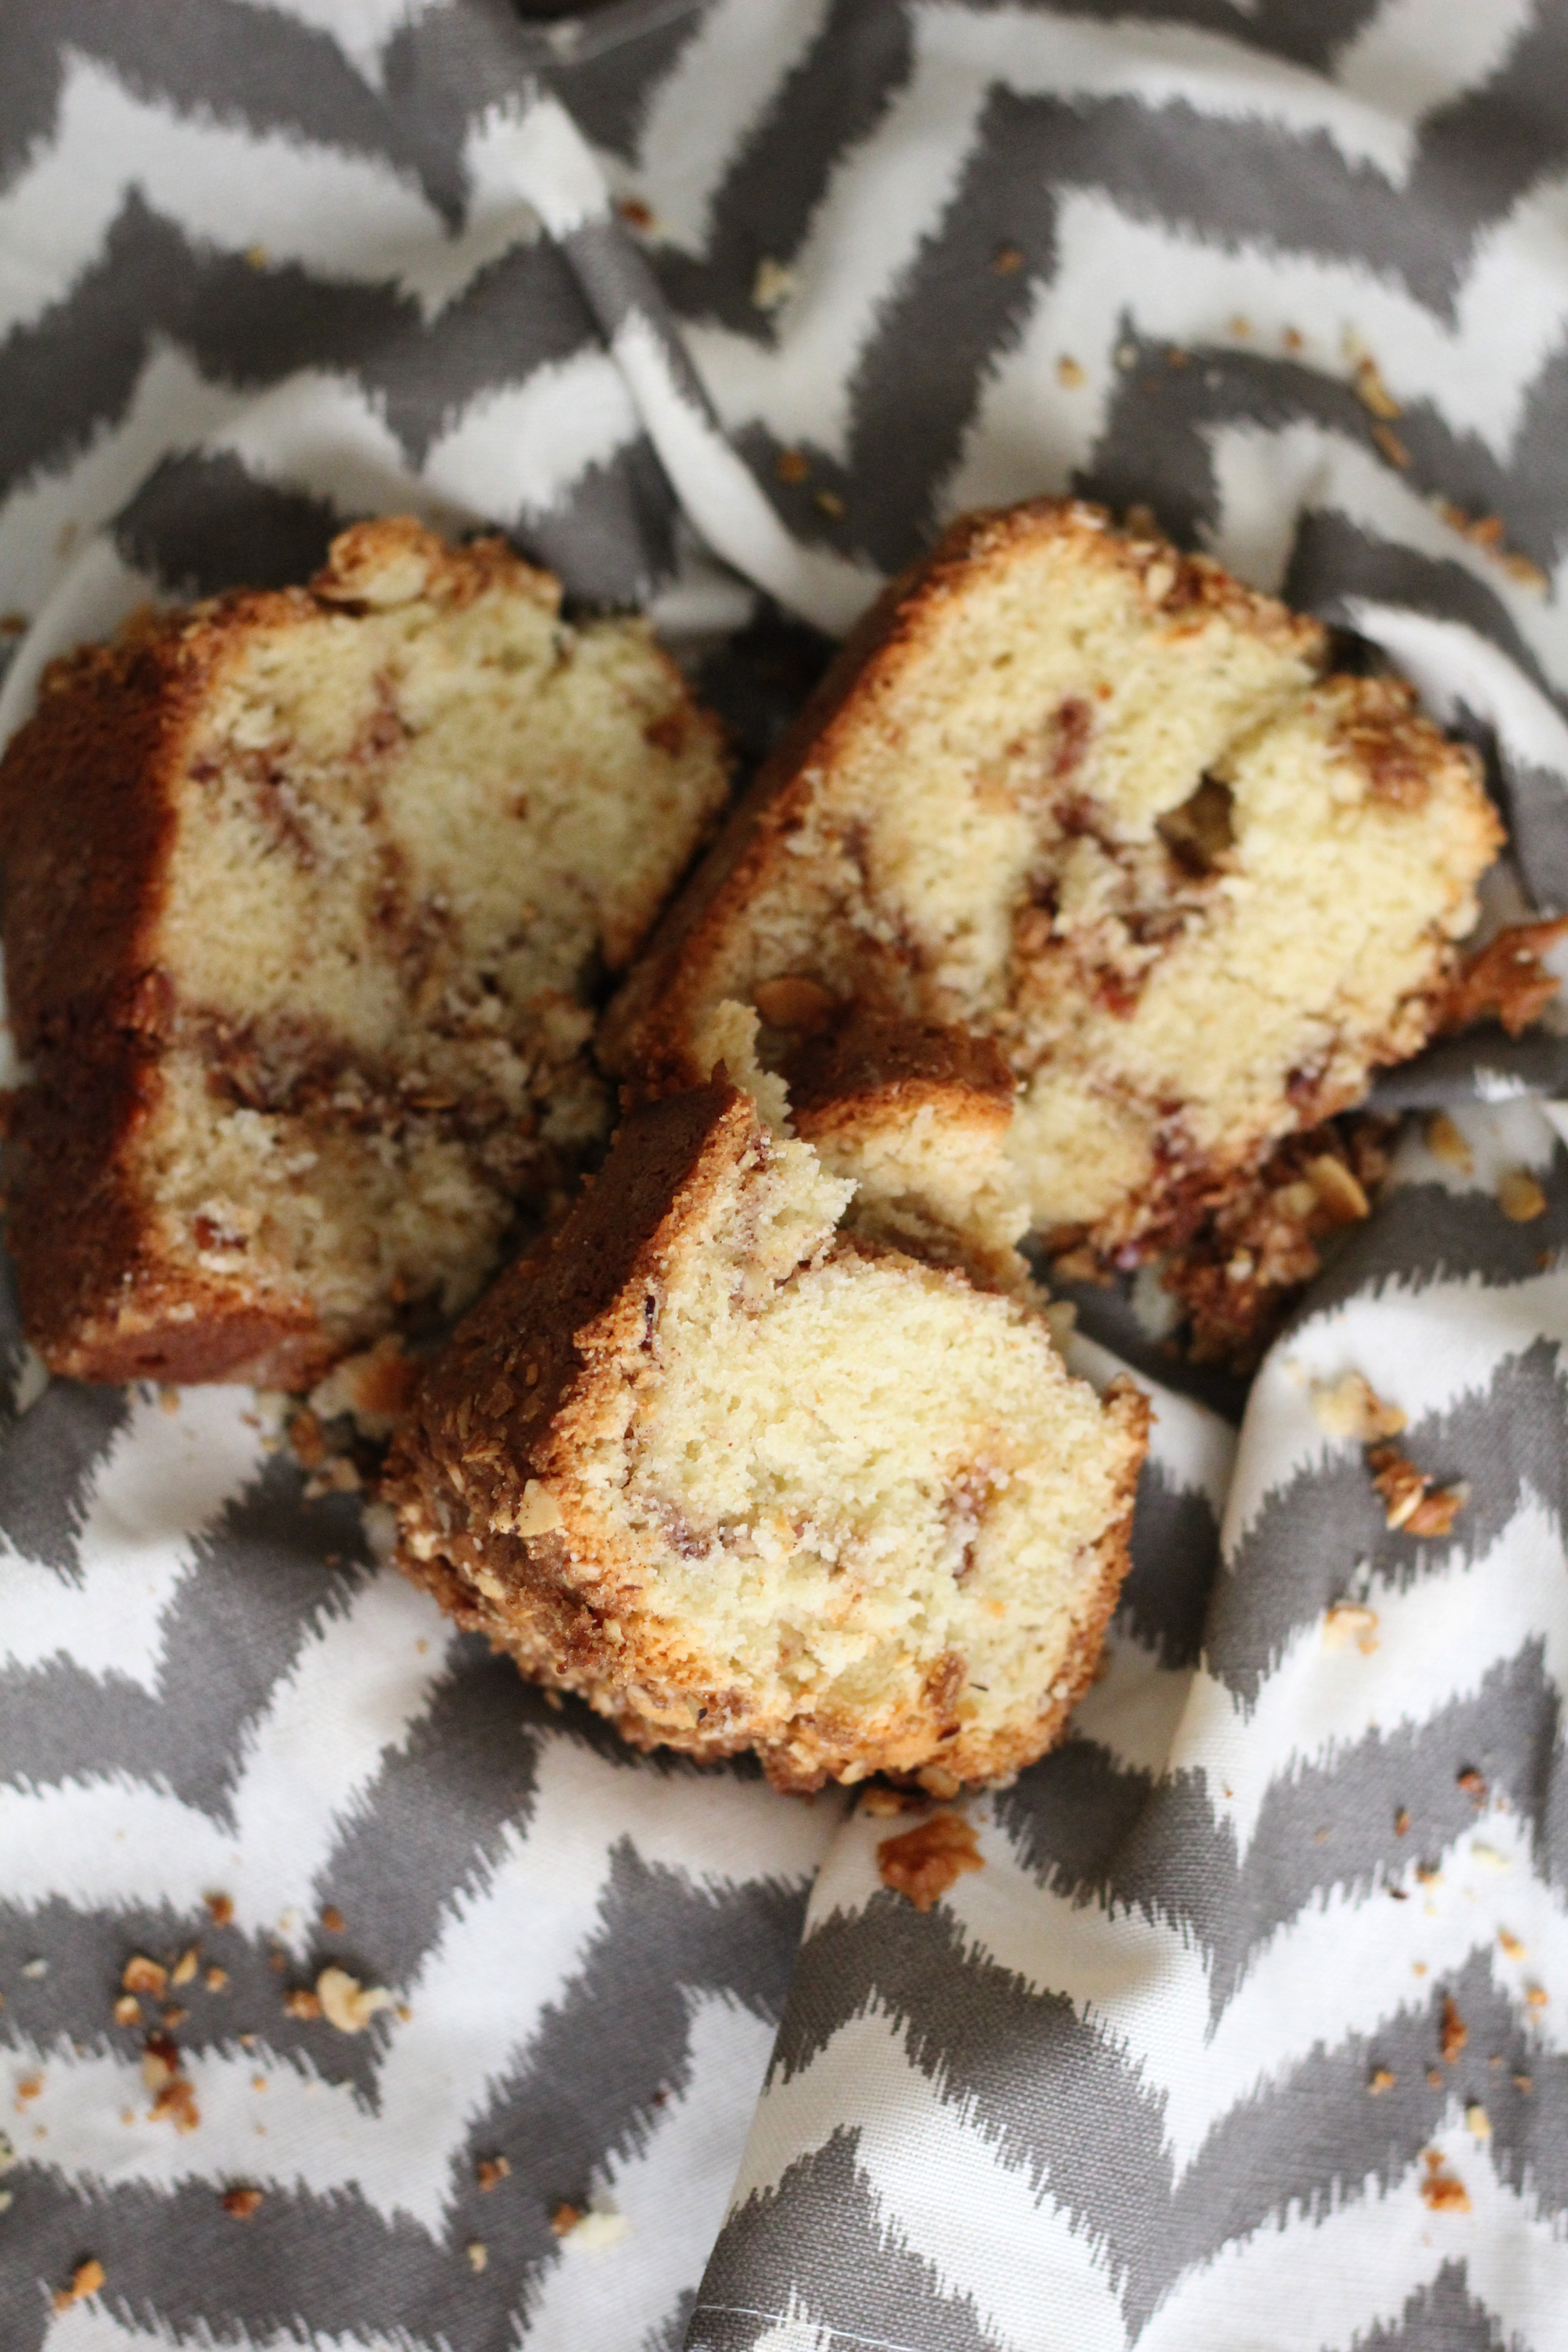
Susie also gave us the Coffee Cake recipe, which is one of my favorite recipes I think we’ve done on Marguerite’s Cookbook. So when it came time to make these brownies, I was hopeful they would be as much of a success as the coffee cake. To be honest, these brownies didn’t quite live up to the coffee cake, but they were still tasty. It was fun to make brownies completely from scratch, and we enjoyed working on making each of the layers for this interesting brownie recipe.

Brownies Cream Cheese

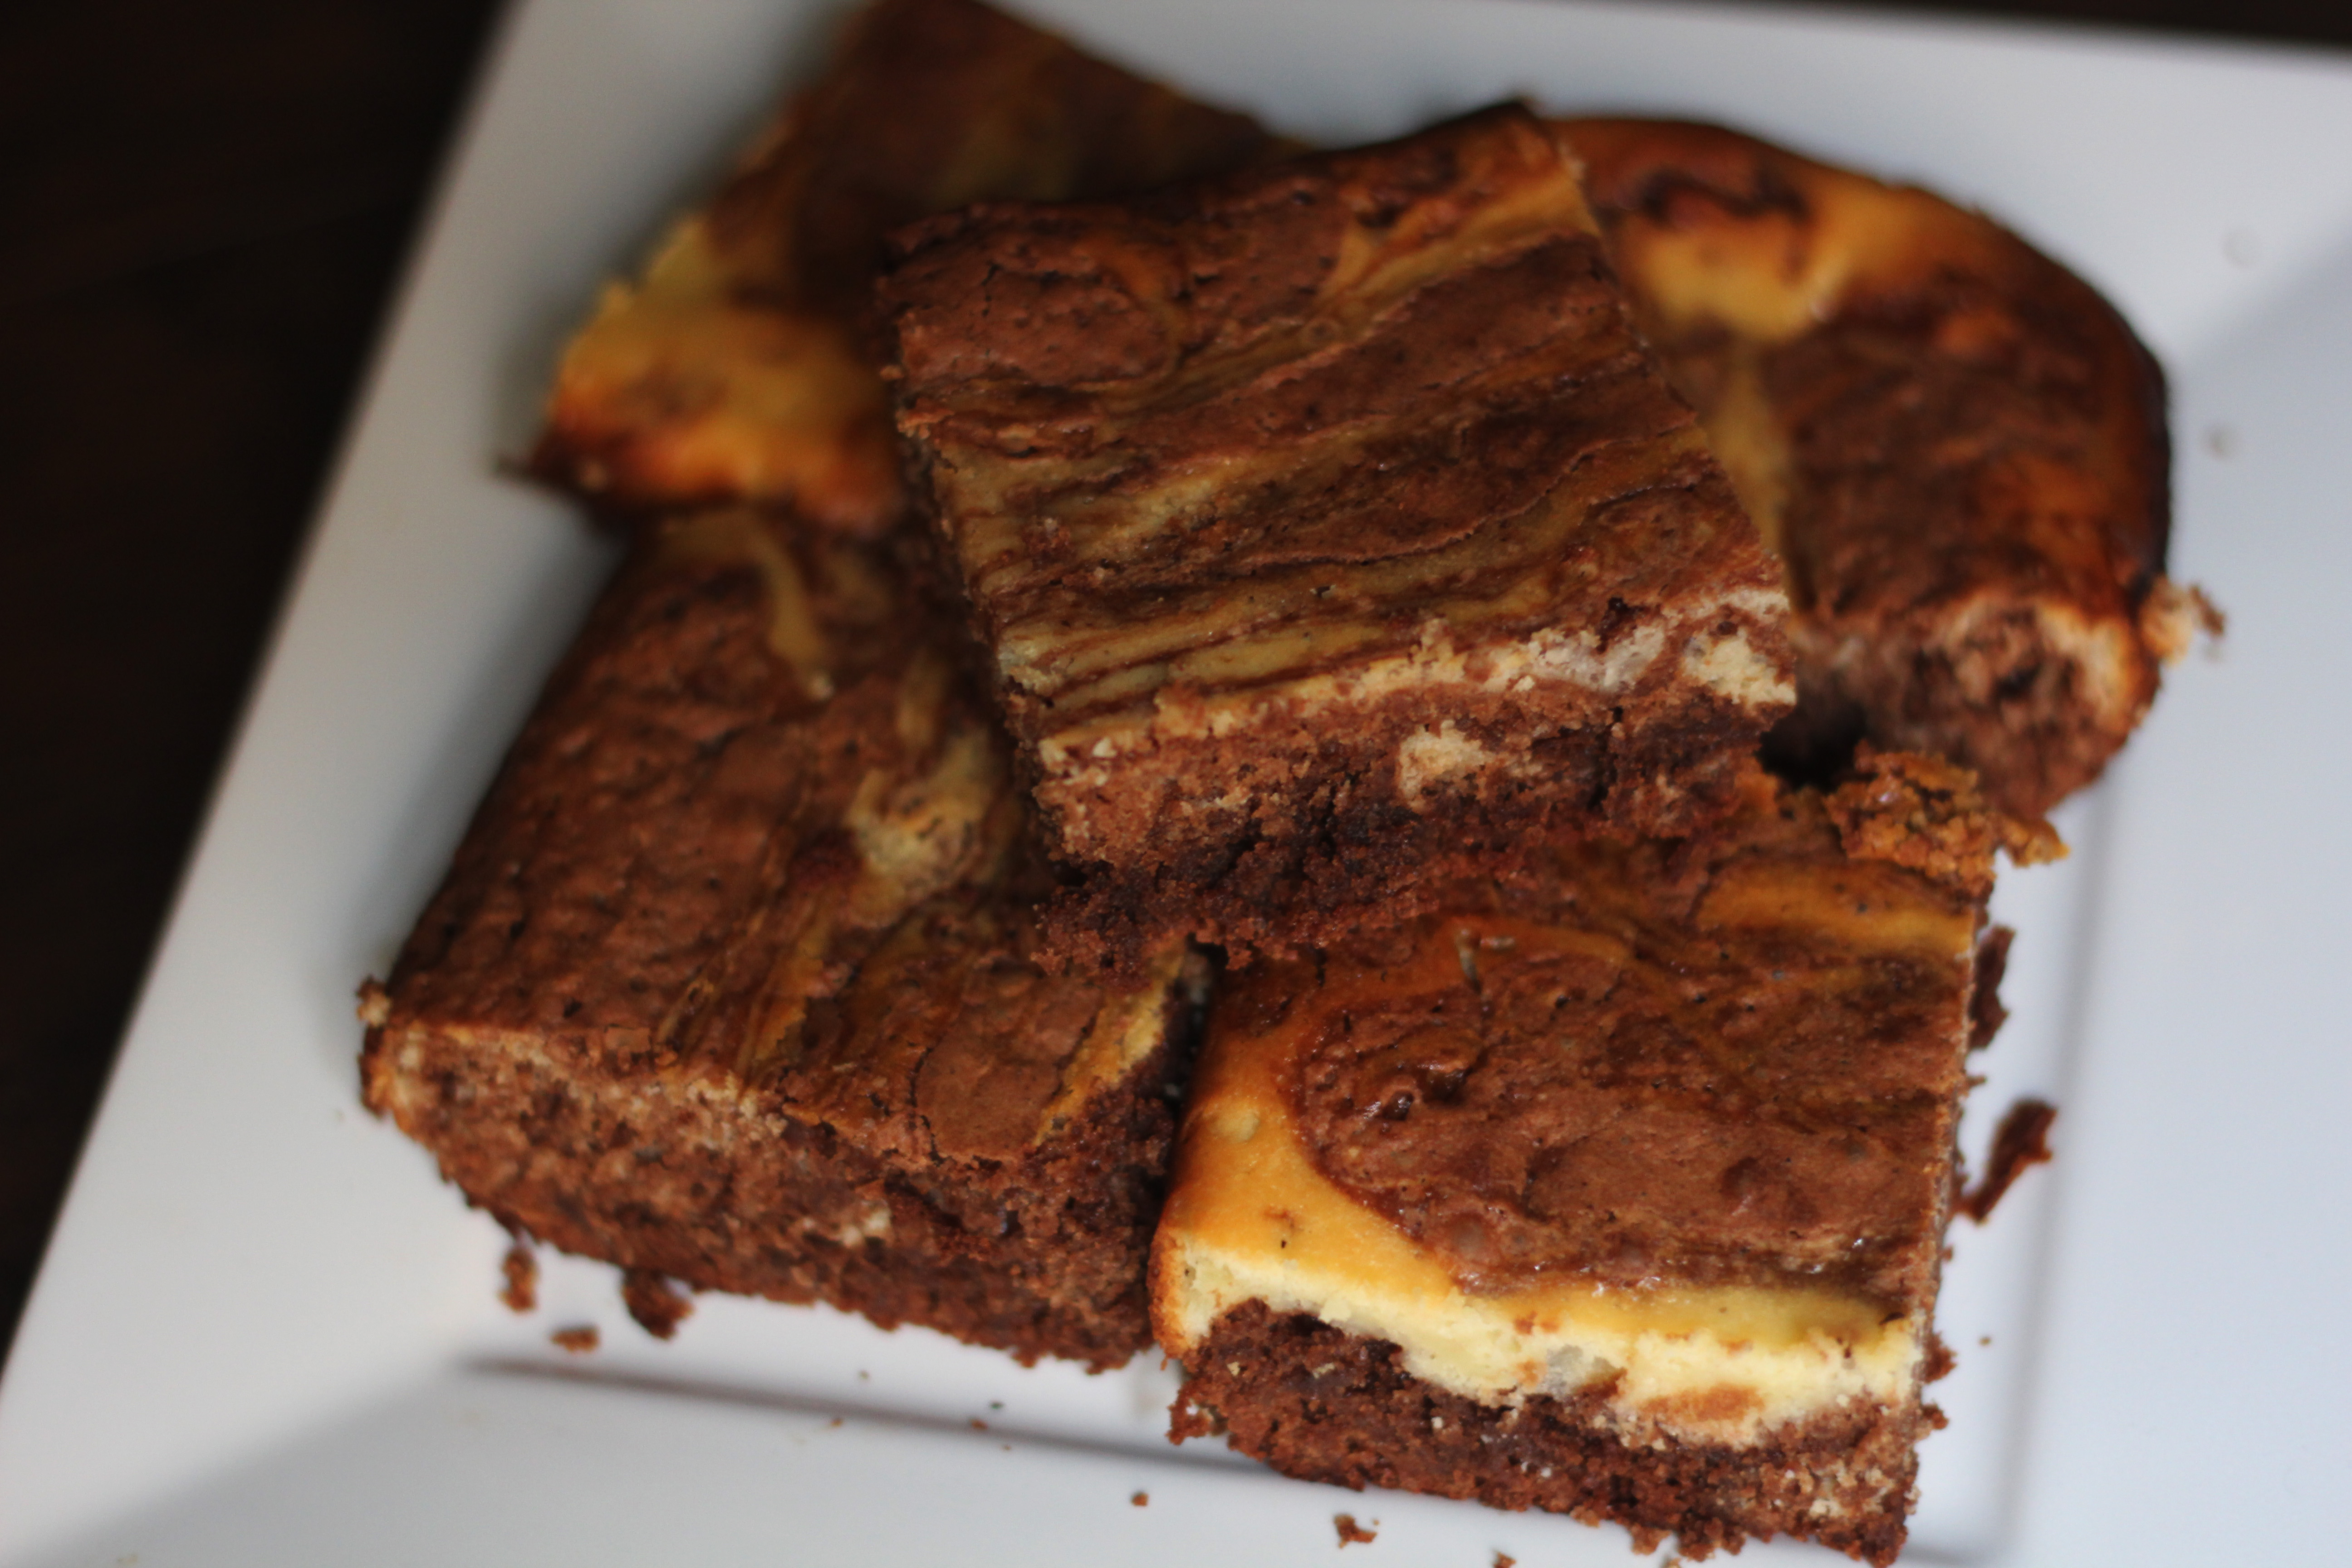
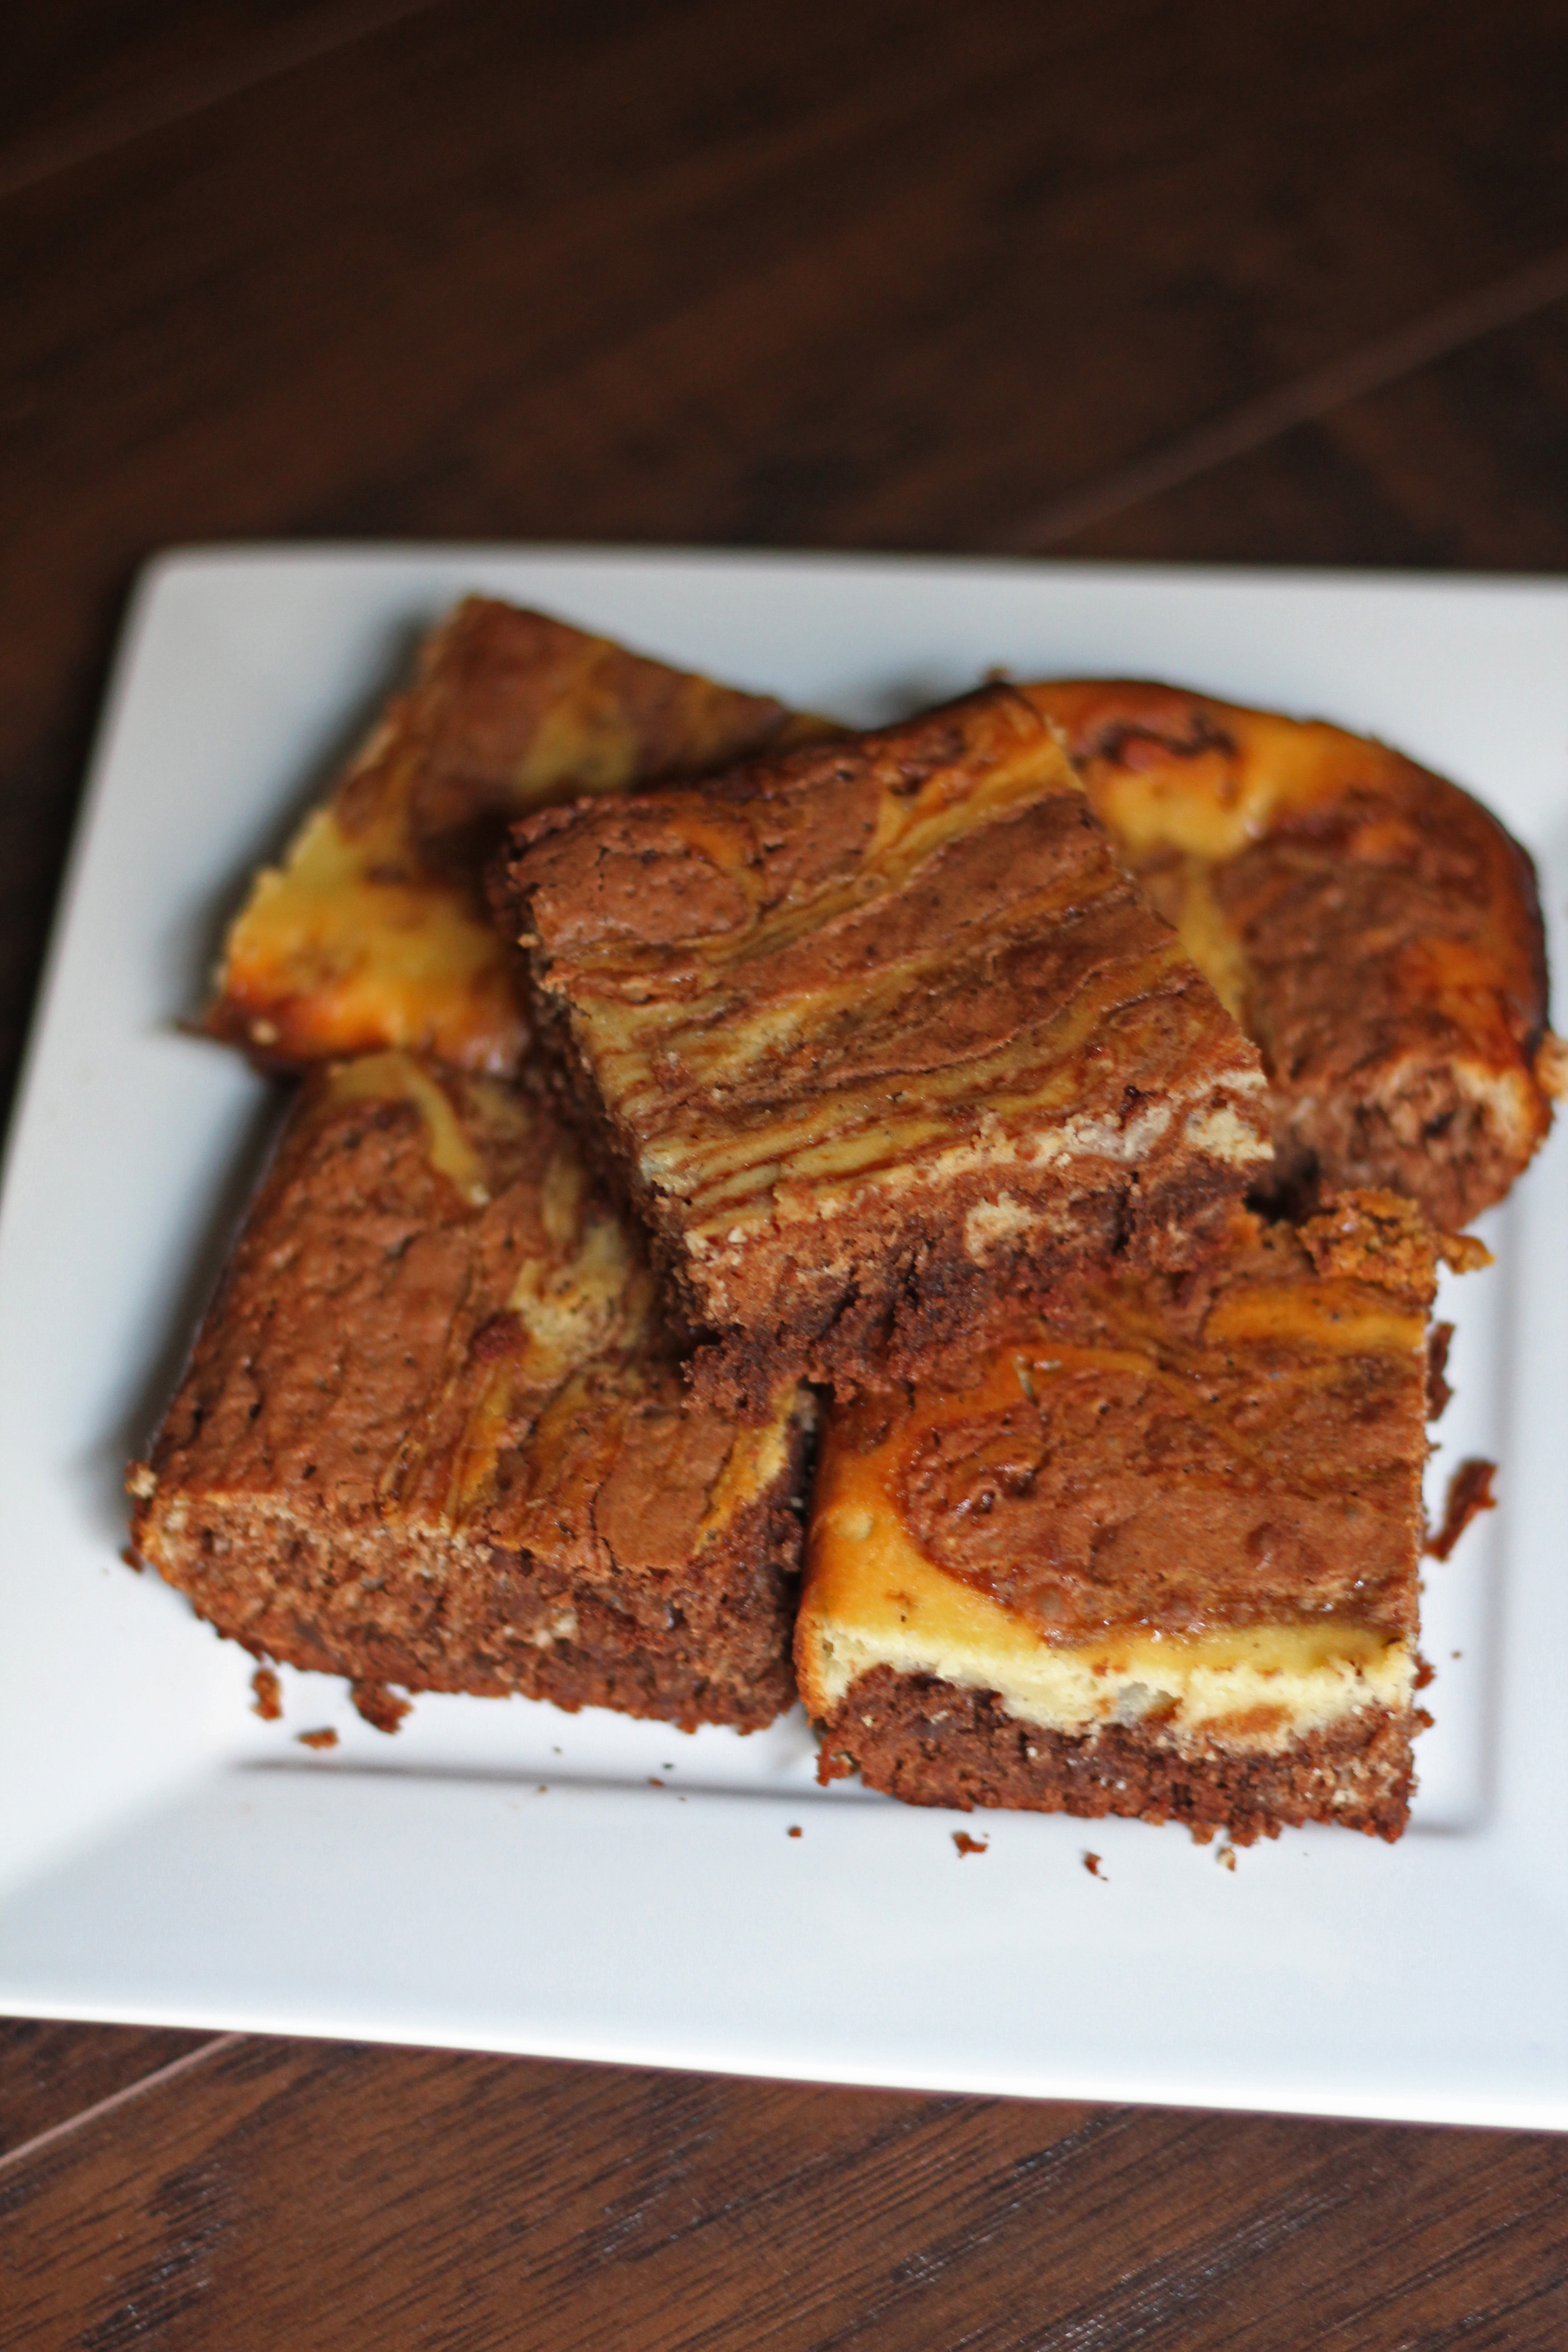
The cream cheese brownies turned out really nice. They were soft and moist and had great flavor. Both the chocolate layers and cream cheese layers were delicious, and the two mixed together well to make a wonderful brownie. We both enjoyed these brownies, and they disappeared pretty fast. I’m sure we’ll be making these again!

Marble Brownies

Cream Cheese Brownies
Print Recipe
  • CourseDesserts
Prep Time
25 minutes
Cook Time
40 minutes
Prep Time
25 minutes
Cook Time
40 minutes
Cream Cheese Brownies
Print Recipe
  • CourseDesserts
Prep Time
25 minutes
Cook Time
40 minutes
Prep Time
25 minutes
Cook Time
40 minutes
Ingredients
Chocolate Layer
  • 4 oz Baker's German Sweet Chocolate
  • 3 tbsp butter
  • 2 eggs
  • 3/4 cup sugar
  • 1/2 tsp baking powder
  • 1/4 tsp salt
  • 1/2 cup flour
  • 1 tsp vanilla
  • 1/4 tsp almond extract
Cheese Layer
  • 3 oz cream cheese
  • 2 tbsp butter
  • 1/4 cup sugar
  • 1 egg
  • 1 tbsp flour
  • 1/2 tsp vanilla
Servings:
Instructions
  1. Preheat oven to 350 degrees.
  2. Melt chocolate and 3 tablespoons of butter over very low heat. Stir frequently. Cool.
  3. To make cheese layer, cream 3 ounces of cream cheese with 2 tablespoons of butter. Gradually add 1/4 cup sugar, creaming until fluffy. Blend in 1 egg, 1 tablespoon flour, and 1/2 teaspoon vanilla. Set aside.
  4. To make chocolate layer, beat 2 eggs until lightly colored. Slowly add 3/4 cups sugar; beat until thickened. Add 1/2 teaspoon baking powder, 1/4 tsp salt, and 1/2 cup flour.
  5. Blend in chocolate mixture, 1 teaspoon vanilla, and 1/4 teaspoon almond extract.
  6. Spread half the chocolate batter in a greased 8 or 9 inch square pan. Top with cheese mixture. Spoon remaining chocolate patter over top. Zigzag knife through batter to marble. Bake for 35-40 minutes.
Share this Recipe
 
Powered byWP Ultimate Recipe

February 11, 2017 by: Shannon and Aaron

Fruit Bread

Fruit Bread header

I don’t know about you, but sometimes it definitely makes me feel better to bake. And eat the thing I’ve baked, but that’s besides the point. However, I really enjoyed making this “Fruit Bread” while we are in the depths of winter here in Chicago. It was also a great way to use up any extra candied cherries you might have leftover from making a delicious batch of Christmas cake cookies.

Here’s what Marguerite had to say:

Fruit Bread Recipe

I was really looking forward to making this bread, since our other bread recipes here at Marguerite’s Cookbook have been very successful. I was happy with how the bread turned out, but it sure was a process to get there! First of all, it took quite a while to chop up the candied cherries and they were extremely sticky of course. Then, as you may imagine, four cups of flour and a bunch of nuts and fruits make for a very thick batter. I was exhausted by the time the bread was all mixed together.

Fruit Bread

I did have a little trouble baking this bread. It seemed that when the time was up, the insides where just barely done but the bottom crust got burned a little bit. I suppose I may have put the bread too close to the bottom of the oven. That little issue aside, the fruit bread turned out to be quite tasty. The combination of candied fruit, nuts (we used walnuts), and orange juice added vibrant flavors to an already sweet tasting bread.

Fruit Bread

We both really enjoyed this bread. I’ll probably have some with my morning coffee, but its so sweet this may be more of a dessert bread. This might not be my favorite bread so far, but it is definitely close. I’m looking forward to sharing this with my coworkers, and I’m sure they’ll be happy to see some more delicious food coming into work with me.

Fruit Bread

Fruit Bread
Print Recipe
  • CourseAppetizers and Sides
Servings Prep Time
2 loaves 40 minutes
Cook Time
45-50 minutes
Servings Prep Time
2 loaves 40 minutes
Cook Time
45-50 minutes
Fruit Bread
Print Recipe
  • CourseAppetizers and Sides
Servings Prep Time
2 loaves 40 minutes
Cook Time
45-50 minutes
Servings Prep Time
2 loaves 40 minutes
Cook Time
45-50 minutes
Ingredients
  • 2 eggs
  • 2 cups sugar
  • 4 cups flour
  • 1 tsp salt
  • 1 tsp baking soda
  • 3 tsp baking powder
  • 1/4 cup corn oil
  • 1 cup orange juice
  • 1 cup chopped nuts
  • 2 cups chopped candied fruit
Servings: loaves
Instructions
  1. Preheat oven to 350 degrees.
  2. Beat together eggs and sugar.
  3. Sift together dry ingredients and add to eggs and sugar.
  4. Add the oil and orange juice.
  5. Chop the candied fruit and nuts (if not already done).
  6. Fold into batter.
  7. Grease and flour two loaf pans and fill with batter. Bake at 350 for 45-50 minutes.
Share this Recipe
 
Powered byWP Ultimate Recipe

December 28, 2016 by: Shannon and Aaron

One Pan Ham and Cheese

cheese ham header

Well, here we are in the midst of the holidays with plenty more leftovers to finish and we could all use a fresh idea or two on how to do that. Luckily, Marguerite had leftover casseroles and other one pan dishes for many different main ingredients. One of the best parts of this one pan ham and cheese bake is that it turned out to be more of a breakfast dish than anything else. A great twist and a different way to have dinner time leftovers!

Here’s what Marguerite had to say:

onepanhamcheeserecipe

The nice thing about the ingredients in this recipe is that they include a nice mix of fresh and pre-cooked ingredients. It was also extra quick and easy because Marguerite seemed to suggest the ingredients should be mixed right in the casserole that went in the oven. Baking was also simple and the time Marguerite said in her recipe was just about right on. Checking the middle with a knife was an easy way to make sure the one pan ham and cheese was done completely.

cheese ham quiche

Now this ham and cheese recipe was mostly eggs and Bisquick. That made it turn out incredibly quiche-like. This is much like another ham and cheese recipe, our Ham and Cheese Strata, which was also like the breakfast dish. However, the main difference in this recipe is that it had many more ingredients, which gave way to a more exciting dish with more flavor.

ham and cheese bake

While I like Bisquick because it is normally made into pancakes, I am not a huge fan of eggs for breakfast, so I wasn’t the craziest for this recipe. I did like that it was prettier than the aforementioned strata, having much more color due to the green onions, tomatoes, and the like. Aaron enjoys quiches and omelets, as well as the vegetables in the dish, so he did enjoy having it, and for breakfast no less, even though the ham had been for dinner! If you try this one pan ham and cheese recipe to use up some of your Christmas ham this season, we hope it makes your breakfast, or any meal you happen to have it for, a little more relaxing as 2016 winds down.

one pan ham cheese

One Pan Ham and Cheese
Print Recipe
  • CourseBreakfast, Main Dish
Servings Prep Time
4-6 20 minutes
Cook Time
45 minutes
Servings Prep Time
4-6 20 minutes
Cook Time
45 minutes
One Pan Ham and Cheese
Print Recipe
  • CourseBreakfast, Main Dish
Servings Prep Time
4-6 20 minutes
Cook Time
45 minutes
Servings Prep Time
4-6 20 minutes
Cook Time
45 minutes
Ingredients
  • 3/4 cup Bisquick
  • 1/2 cup milk
  • 1/2 tsp salt
  • 1/2 tsp dry mustard
  • 1/2 tsp parsley flakes
  • 1/4 tsp pepper
  • 6 eggs
  • 1 cup cooked ham cut up
  • 1 can (2 1/2 oz) sliced mushrooms drained
  • 2 green onions sliced
  • 1 medium tomato coarsely chopped
  • 3/4 cup shredded Swiss cheese
Servings:
Instructions
  1. Preheat oven to 350 degrees.
  2. Grease 8" x 8" x 2" square baking dish.
  3. Mix Bisquick, milk, salt, mustard, parsley, pepper, and eggs together in dish with fork until batter is a uniform color.
  4. Stir in remaining ingredients.
  5. Bake uncovered until a knife inserted in the center comes out clean, about 45 minutes.
Share this Recipe
 
Powered byWP Ultimate Recipe

December 24, 2016 by: Shannon and Aaron

Christmas Cake Cookies

christmas cake cookies header

A Merry Christmas Eve to everyone! As Christmas approaches, many of you have probably made countless desserts to share with family and friends this holiday season. If you haven’t started yet, or you’re looking for something different to add to your Christmas time cookie arsenal, we have a Christmas Cake Cookie recipe that is a fun and tasty twist on the traditional holiday fruitcake.

christmas cake cookies

Here’s what Marguerite had to say:

christmas cake cookies recipe

As you can see in Marguerite’s ingredient list, she called for dates in addition to quite a few other ingredients. We couldn’t find them easily and we also weren’t too keen on putting them in this recipe anyway. So we decided to skip them and just go with the ingredients we were more familiar with. Now, some of you may be looking at this and saying, ‘a pound of nuts and a pound of candied fruit is going to make a lot of cookies.’ Aaron really wishes he had thought that before he mixed all these ingredients together. Over an hour later and a lot of spooning of dough, Aaron had churned out almost 90 cookies! Now that we’ve made and tasted these cookies, we’re glad we made that many to share with our friends and families, but boy was it tiring at the time.

christmas cookies

I mentioned earlier that these Christmas Cake Cookies are a twist on the holiday fruitcake. We here at Marguerite’s Cookbook have never actually had a traditional fruitcake, but we know all about the negative stereotype fruitcake has been saddled with. If fruitcake has been labeled as dry and hard, these Christmas Cake Cookies are the exact opposite! The cookies were soft and cooked through perfectly, turning out to be yet another success.

cake cookies

We both really enjoyed these cookies, because well, they’re cookies. Having more brown sugar than other cookie recipes was a big plus for me, since I would bathe in brown sugar and butter if it we’re practical. Aaron liked the combination of nuts and candied fruit. The reds and greens of the candied cherries helped put us in a holiday mood and makes these cookies extra festive.We hope our friends and families enjoy these Christmas Cake Cookies as much as we did as we share them over the holidays!

christmas cake cookies and milk

Christmas Cake Cookies
Print Recipe
  • CourseDesserts
Servings Prep Time
90 cookies 1 hour
Cook Time
30 minutes
Servings Prep Time
90 cookies 1 hour
Cook Time
30 minutes
Christmas Cake Cookies
Print Recipe
  • CourseDesserts
Servings Prep Time
90 cookies 1 hour
Cook Time
30 minutes
Servings Prep Time
90 cookies 1 hour
Cook Time
30 minutes
Ingredients
  • 1/2 pound candied cherries
  • 1/2 pound candied pineapple
  • 1/2 pound walnuts
  • 1/2 pound pecans
  • 2 1/2 cups flour
  • 1 tsp salt
  • 1 tsp baking soda
  • 1 tsp cinnamon
  • 1 cup butter
  • 1 cup brown sugar
  • 1/2 cup white sugar
  • 2 eggs
Servings: cookies
Instructions
  1. Preheat oven to 350 degrees.
  2. Cream butter and sugar. Add eggs.
  3. Sift dry ingredients together and add fruits and nuts to dry ingredients.
  4. Add dry ingredients to the rest of the batter.
  5. Drop by teaspoonfuls into tea sized (mini) cupcake liners. Do not grease papers or trays.
  6. Bake for 13 minutes at 350.
Share this Recipe
 
Powered byWP Ultimate Recipe

December 17, 2016 by: Shannon and Aaron

Frank Tidbits

frank tidbit header

This week on Marguerite’s Cookbook we have another appetizer perfect for any parties this upcoming holiday season. If you remember, a few weeks ago we showed you a very simple cheese log recipe as a starter appetizer. Now we’ll show you a frank tidbits recipe that is a nice twist between mini corn dogs and pigs in a blanket.

Frank Tidbits

Here’s what Marguerite had to say:

Frank Tidbits Recipe

Marguerite had a deep fryer that she would make recipes in, and this is one of them. However, we don’t have a deep fryer, so we had to do it a different way. This was a very simple recipe, even though we hadn’t fried anything in oil before. We we’re both super nervous about having an open pan of oil on our stove and had a lid ready to smother any fire. Aaron didn’t realize what temperature the oil had to be at in order to brown the frank tidbits, and the first one blackened immediately. Once he turned the temperature down and the oil cooled a bit, it was smooth sailing from there. And no fires occurred!

Frank Tidbits Appetizer

The mustard was also very simple to mix together and heat, making the entirety of this appetizer quick and easy. These frank tidbits were tasty! The mixture of corn muffin mix and chili powder made for a great flavor combo. Aaron accidentally read “margarine” as “mayonnaise.” So our mustard was a little different. Honestly, you couldn’t taste the accidental mayo and the mustard was still delicious. It reminded Aaron a bit like the homemade sauce his mom makes with her cocktail meatballs. The mustard also was a fantastic color!

Frank Hot Dog Tidbits

This frank tidbit recipe was fun and different and we enjoyed making it. These appetizers are definitely best served hot and right away, so if you want to give them a try this holiday season, plan on putting them out not long after you’ve made them. We made way too many to eat in one sitting and they were a little soggy when we reheated them.

Hotdog Frank Tidbits

Frank Tidbits
Print Recipe
  • CourseAppetizers and Sides
Servings Prep Time
48 pieces 15 minutes
Cook Time
20 minutes
Servings Prep Time
48 pieces 15 minutes
Cook Time
20 minutes
Frank Tidbits
Print Recipe
  • CourseAppetizers and Sides
Servings Prep Time
48 pieces 15 minutes
Cook Time
20 minutes
Servings Prep Time
48 pieces 15 minutes
Cook Time
20 minutes
Ingredients
Franks
  • 1 lb hot dogs
  • 1 8.5 oz package corn muffin mix
  • 2/3 cup milk
  • 1/2 tsp chili powder
Mustard
  • 1 can tomato soup
  • 2 eggs slightly beaten
  • 1/4 cup prepared mustard
  • 2 Tbsp sugar
  • 2 Tbsp vinegar
  • 2 Tbsp margarine
Servings: pieces
Instructions
Franks
  1. Cut hot dogs in six pieces.
  2. Combine corn muffin mix, chili powder, and milk. Mix well.
  3. Add hot dogs, stirring to coat well.
  4. Drop one at a time from tablespoon into hot vegetable oil.
  5. Cook till lightly browned.
Mustard
  1. Stir all ingredients together. Heat until hot and bubbly.
Share this Recipe
 
Powered byWP Ultimate Recipe

November 26, 2016 by: Shannon and Aaron

One Pan Turkey ‘n Stuffing

One Pan Turkey and Stuffing Header

Happy Thanksgiving from Marguerite’s Cookbook! We hope everyone had a nice and relaxing holiday surrounded by the ones you love. We couldn’t make it home for Thanksgiving this year, so we had a Thanksgiving for two that Aaron made for us. You may have seen it on our Instagram.

We’re going to take a quick break from pies, but we’ve got our final one of the month coming later this week. So if you made more food than you could eat, or couldn’t send enough leftovers home with your dinner guests, we have a one pan turkey and stuffing recipe that’ll give you a nice twist on the same old leftovers. And spare you from some turkey sandwiches!

Here’s what Marguerite had to say:

one pan turkey recipe

As you can see, the only leftover from the meal you actually use is the turkey, but I find that it is the thing you have the most of and it sits in the refrigerator the longest. It is nice that this recipe includes “stuffing” without having to use any leftovers, or have another box of stuffing around. The Bisquick is a nice substitute for the dried bread crumbs in stuffing and it is a good way to hold onto all those seasonings in this one pan turkey and stuffing.

One Pan Turkey and Stuffing

This recipe is meant to be almost a full meal in itself. Marguerite suggests that this only serves six, which means everyone is supposed to take a sizable portion. Since there aren’t any vegetables in it, that could be a good option to pair with it to round out your meal. Because we know you’re still swimming in green beans and corn. Now on to taste, but first, an unpopular opinion. Turkey may honestly be my least favorite part of the Thanksgiving meal, as I live for all the sides. But this wasn’t bad. Aaron liked it of course. He found it to be an interesting twist and a nice way to switch up eating all that turkey. He especially liked it because Marguerite made so many different dishes with pre-cooked, leftover meat and it reminder him of her.

One Pan Turkey

We felt the best way to surround this one pan turkey and stuffing dish in our pictures was with photos of the people we are thankful for and missed seeing this Thanksgiving. If you try this recipe with your leftovers this weekend, we hope you enjoy it, but not as much as you enjoyed time with your friends and family.

One Pan Turkey n' Stuffing

One Pan Turkey 'n Stuffing
Print Recipe
  • CourseMain Dish
Servings Prep Time
6 10 minutes
Cook Time
30 minutes
Servings Prep Time
6 10 minutes
Cook Time
30 minutes
One Pan Turkey 'n Stuffing
Print Recipe
  • CourseMain Dish
Servings Prep Time
6 10 minutes
Cook Time
30 minutes
Servings Prep Time
6 10 minutes
Cook Time
30 minutes
Ingredients
  • 1 cup Bisquick
  • 1 1/4 cups milk
  • 3 eggs
  • 1 tsp parsley
  • 3/4 tsp ground sage
  • 3/4 tsp dried thyme
  • 1/2 tsp salt
  • 1/2 tsp poultry seasoning
  • 1/8 tsp pepper
  • 2 cups cooked turkey cut up
  • 2 Tbsp dried minced onion
Servings:
Instructions
  1. Preheat oven to 400 degrees. Grease casserole dish.
  2. Mix Bisquick, milk, eggs, and seasonings with a fork until batter is a uniform color. The batter will still be lumpy.
  3. Stir in remaining ingredients.
  4. Bake until golden brown and knife inserted in center comes out clean.
Share this Recipe
 
Powered byWP Ultimate Recipe

November 12, 2016 by: Shannon and Aaron

Pumpkin Pie

Pumpkin Pie Header

What pie would be better to make as we approach Thanksgiving, than a classic homemade pumpkin pie?! Nothing quite beats a well executed pumpkin pie, and we were able to do just that. Of course, we used Marguerite’s perfect pie crust to go with this timeless pie.

Here’s what Marguerite had to say:

mother's pumpkin pie recipe

As you can see, this recipe is titled Mother’s pumpkin pie. That would be Marguerite’s mother, or Aaron’s great grandmother,  Allen. One of the best stories from Aaron’s mom regarding this pumpkin pie recipe is that she remembers Marguerite pouring the milk for this recipe straight out of a glass bottle (that was delivered by an honest to goodness Milkman!) As usual, Marguerite didn’t give us too much direction.

Pie Recipe

For as short as the ingredient list is, we should have had an easier time. The pie you see in these pictures may or may not be the third one we made (don’t ask.) But in our first failed attempts, we learned things to improve our process. On our first try, we just added all the ingredients together without any real order, rhyme, or reason. The successful change we made was to mix the dry ingredients into the pumpkin thoroughly first.  Then we beat the eggs well and add them, followed by the milk. The baking step was also a bit tricky for us, but in the end the pie came out of the oven looking just fine.

Pumpkin Recipe

Now, on to taste. Mercedes gave us the insight that those who tried Marguerite’s pumpkin pie liked it for its more mild pumpkin flavor, which Aaron also noted. Marguerite attributed this milder flavor to the higher concentration of eggs and milk versus pumpkin. Aaron liked this pumpkin pie well enough, although pumpkin is a little farther down his list of favorite pie flavors than others. I care not for pumpkin, and the small bite I sampled was not appealing to me. The crust, I could eat all day though.

Pumpkin Pie Piece

So where could we take this pumpkin pie to find willing taste testers? That’s right, Aaron’s co-workers. They all enjoyed it, and Aaron’s pretty sure they weren’t just being polite! One of them, who claimed to like pumpkin pie even more than any cake, ate a quarter of it in one sitting! We hope if you try Marguerite’s pumpkin pie this fall that you like it as much as Aaron’s work pals.

Pumpkin Pie

Pumpkin Pie
Print Recipe
  • CourseDesserts
Servings Prep Time
1 pie 30 minutes
Cook Time Passive Time
60-70 minutes 30 minutes
Servings Prep Time
1 pie 30 minutes
Cook Time Passive Time
60-70 minutes 30 minutes
Pumpkin Pie
Print Recipe
  • CourseDesserts
Servings Prep Time
1 pie 30 minutes
Cook Time Passive Time
60-70 minutes 30 minutes
Servings Prep Time
1 pie 30 minutes
Cook Time Passive Time
60-70 minutes 30 minutes
Ingredients
Filling
  • 3 eggs well beaten
  • 1/4 tsp salt
  • 1/2 tsp nutmeg
  • 1 cup pumpkin
  • 1/2 cup sugar
  • 1 pint whole milk
Crust
  • 1/2 stick Crisco OR
  • 1/2 cup Crisco
  • 1 1/3 cup flour
  • 1/2 tsp salt
  • 6-7 tbsp water
Servings: pie
Instructions
Crust
  1. Blend flour and salt in large bowl. Cut shortening into flour mixture using pasty blender or fork. Stir in just enough water with fork until dough holds together.
  2. TIP Test dough for proper moistness by squeezing a marble-sized ball of dough in your hand. If it holds together firmly, do not any additional water. If the dough crumbles, add more water by the tablespoonful, until dough is moist enough to form a smooth ball when pressed together.
  3. Shape dough into a ball. Flatten ball into a 1/2 inch round disk.
  4. Chill for 30 minutes or up to two days.
  5. Roll dough from center outward into a circle 2 inches wider than pie plate on lightly floured surface. Transfer dough to pie plate.
Filling
  1. Preheat oven to 425 degrees.
  2. Mix pumpkin, salt, nutmeg, and sugar well.
  3. Beat eggs well, and add to pumpkin. Mix together well.
  4. Slowly add milk, mixing ingredients together well.
  5. Pour into shell.
  6. Cook in oven at 425 degrees for 15 minutes, then lower temperature to 350 and cook until a knife inserted in the pumpkin comes out dry, around 40-50 minutes.
Share this Recipe
 
Powered byWP Ultimate Recipe

October 8, 2016 by: Shannon and Aaron

Zucchini Torte

Zucchini Torte Header

It’s fall, and one of the most popular ingredients in fall cooking is zucchini. This is the time that zucchini are in season, and Marguerite took advantage of that with quite a few zucchini recipes. We planned on making this recipe back in August, but skipped it due to moving. However, the recipe that was supposed to be on the blog this week turned into such a failure we had to switch it up.  Don’t worry, though, we will share all of our recipe fails with you sometime around Christmas!

Until then, here is what Marguerite had to say about this zucchini torte recipe:

Zucchini Torte Recipe

As you can see, this recipe has an interesting set of ingredients. So, as with a lot of our recipes, Aaron asked his mom for some clarification. She said a torte can either be like a cake or like a quiche in her experience. She also suggested which pan we should cook the zucchini torte in since Marguerite did not specify.

Zucchini Torte

Making this zucchini torte was simple and straightforward. Cubing the zucchini was obviously a bit time consuming but mixing all the ingredients took no time at all. I do not like zucchini very much, so I did not even want to try this zucchini torte. I did think that it looked nice, and might appeal to someone who likes zucchini. Aaron did try it, because one of us had to, and he will eat almost anything. He did not enjoy this zucchini torte. It tasted strongly of zucchini, and not of much else. He also felt it didn’t taste enough like a cake or a quiche.

Zucchini Torte

Aaron said to me, “if I had extra zucchini around, I’d put it in some bread before this any day.” But if you like zucchini, this torte is probably for you. We hope you enjoy Marguerite’s zucchini torte!

Zucchini Torte
Print Recipe
Servings Prep Time
10 20 minutes
Cook Time
40 minutes
Servings Prep Time
10 20 minutes
Cook Time
40 minutes
Zucchini Torte
Print Recipe
Servings Prep Time
10 20 minutes
Cook Time
40 minutes
Servings Prep Time
10 20 minutes
Cook Time
40 minutes
Ingredients
  • 4 cups zucchini cubed
  • 1 cup Bisquick
  • 1 Tbsp minced onion
  • 1 tsp salt
  • 1/2 tsp oregano
  • 3/4 cup shredded cheese
  • 3 eggs
  • 1/2 cup oil
Servings:
Instructions
  1. Preheat oven to 350 degrees.
  2. Chop zucchini into cubes.
  3. Mix together zucchini, Bisquick, onion, salt, oregano, and cheese.
  4. Pour into pan.
  5. Beat eggs and oil together and add to dry mixture until zucchini is covered.
  6. Bake uncovered at 350 for 40 minutes.
Share this Recipe
 
Powered byWP Ultimate Recipe

October 1, 2016 by: Shannon and Aaron

Pumpkin Bread

pumpkinbreadheader Happy Autumn everyone! As the weather cools down around us and the leaves begin to change, that brings to mind one of the most popular fall flavors. Pumpkin. The most famous pumpkin recipe is probably pumpkin pie, but we’ve got that coming for you a bit closer to Thanksgiving.  Today we have a delicious pumpkin bread that really ushers in the fall season.

Here’s what Marguerite had to say:


This recipe is actually from another of Marguerite’s teaching colleagues and friends from her many years of teaching, Kathy Hoffman. You may notice it appears one thing is missing from this recipe. While making it, Aaron wasn’t sure the flour was mistakenly forgotten, but it was obvious once all the other ingredients were mixed together that this wasn’t going to turn into bread without flour.

Pumpkin Bread Loaf

After that, this pumpkin bread recipe was very simple to make. It was actually on the same page in the book as our zucchini bread recipe, and is very similar as far as ingredients and prep. I do not like pumpkin flavored things, but I found this pumpkin bread to be delicious! It tasted like autumn. That is, the spices masked the pumpkin flavor enough that I was able to enjoy this. I had too many pieces!

Pumpkin Bread

Aaron also loved how this pumpkin bread tasted more like spices than pumpkin. He also loved the color once it was baked, as well as the smell of the bread baking. He was so excited after tasting it, that he went right back into the kitchen and made another loaf with the remaining pumpkin we had! This was mostly because he knows his coworkers will eat it all up and there will be none left for us! We hope you enjoy this pumpkin bread recipe this fall with us.

Pumpkin Bread Recipe

Pumpkin Bread
Print Recipe
  • CourseAppetizers and Sides, Desserts
Prep Time
15 minutes
Cook Time
45 minutes
Prep Time
15 minutes
Cook Time
45 minutes
Pumpkin Bread
Print Recipe
  • CourseAppetizers and Sides, Desserts
Prep Time
15 minutes
Cook Time
45 minutes
Prep Time
15 minutes
Cook Time
45 minutes
Ingredients
  • 1 1/2 cups white sugar
  • 1 1/2 cups flour
  • 1 tsp baking powder
  • 1 tsp baking soda
  • 3/4 tsp salt
  • 1/2 tsp cloves
  • 1/2 tsp cinnamon
  • 1/2 tsp nutmeg
  • 2 eggs
  • 1/2 cup salad oil
  • 1/2 cup water
  • 1 cup pumpkin
Servings:
Instructions
  1. Preheat oven to 350 degrees.
  2. Mix all ingredients together.
  3. Grease one pan for a large loaf or two pans for two smaller loafs.
  4. Bake approximately 45 minutes to 1 hour.
Share this Recipe
 
Powered byWP Ultimate Recipe

September 24, 2016 by: Shannon and Aaron

Coffee Cake

coffee cake header

Coffee cake is one of those desserts that can be made in so many different ways and with many different flavors. This is just a basic coffee cake recipe given to Marguerite by another of her teaching colleagues, Susie Matha. Sometimes, plain and simple recipes are the way to go.


Here is what Susie had to say:

sour-cream-coffee-cake-recipe

First things first, Aaron was confused that this recipe was called sour cream coffee cake and he was confused that the recipe did, in fact, contain sour cream. He did not realize that sour cream can be a common ingredient in baked goods. He also didn’t realize how much work could go in to preparing a baked good to be made. We both felt that it took a bit too long of a time to put together, between the combining of ingredients, the grinding of nuts, and the layering of batter and filling in the pan. But it was sooooooo delicious.

sour cream coffee cake

It was soft and spongy like a well made cake should be, plus the cinnamon, sugar, and nuts (we used almonds), made a delicious filling. We made sure to grease and flour the pan before pouring the batter, which was great help in removing the pieces of cake after baking.


The aroma of this cake filled our apartment for like two hours. By the time we cut into it, we we’re impatient and hungry. Cutting the coffee cake a little too soon caused it to be too soft and to crumble as we tried to take it out. Once cooled the cake was easy to cut and plate to eat. Was it ever delicious! I wasn’t crazy about how brown the sides and bottom got, and that may be due to over baking it, or even due to the type of tube pan we used. But I did enjoy the insides of the coffee cake. Aaron enjoyed it greatly as well. He, of course, enjoyed several pieces along with coffee.

coffee cake

Thankfully for both of us, Aaron took the extra to share with his coworkers. They also really enjoyed it and upon cleaning out the container it was in, told Aaron he could “take it home and fill it with more coffee cake!” I think we would consider that a great success.

Coffee Cake
Print Recipe
  • CourseDesserts
Servings Prep Time
1 cake 40 minutes
Cook Time
90 minutes
Servings Prep Time
1 cake 40 minutes
Cook Time
90 minutes
Coffee Cake
Print Recipe
  • CourseDesserts
Servings Prep Time
1 cake 40 minutes
Cook Time
90 minutes
Servings Prep Time
1 cake 40 minutes
Cook Time
90 minutes
Ingredients
Batter
  • 1 cup butter
  • 2 cups sugar
  • 4 eggs
  • 2 cups sour cream
  • 2 tsp vanilla
  • 4 cups flour
  • 2 tsp baking soda
  • 2 tsp baking powder
  • 1 tsp salt
Filling
  • 1 1/2 cups ground nuts
  • 2/3 cups brown sugar
  • 8 tsp white sugar
  • 2 tsp cinnamon
  • 4 Tbsp butter softened
Servings: cake
Instructions
  1. Preheat oven to 350 degrees.
  2. Cream butter and sugar together very well.
  3. Add one egg at a time, beating after each one.
  4. Add sour cream, then vanilla.
  5. Mix well.
  6. Sift together dry ingredients, then slowly add dry ingredients to wet ingredients. Mix well again.
  7. Combine filling ingredients.
  8. Grease and flour tube pan. Put one third of batter into pan, then one third of filling. Then second third of batter and second third of filling. Pour on remaining batter and cut through as for marble cake. Top with remaining filling and bake one and a half hours at 350.
Share this Recipe
 
Powered byWP Ultimate Recipe
  • 1
  • 2
  • Next Page »

Hey There!

We're Aaron and Shannon, the cooks behind Marguerite’s Cookbook. We are a husband and wife cooking/blogging team who love food, fun, and family.

Give us a follow

Twitter

Sign up for our monthly newsletter and receive exclusive content from us in your inbox once a month.

  • Policies
  • Contact

© 2026 · Fun Genesis WordPress Theme by, Pretty Darn Cute Design