Marguerites Cookbook

A cooking blog all about making vintage recipes from a cookbook we inherited from our grandmother

  • Home
  • Recipes
    • Main Dishes
    • Appetizers and Sides
    • Desserts
    • Breakfast
  • About
  • Contact

February 18, 2017 by: Shannon and Aaron

Cream Cheese Brownies

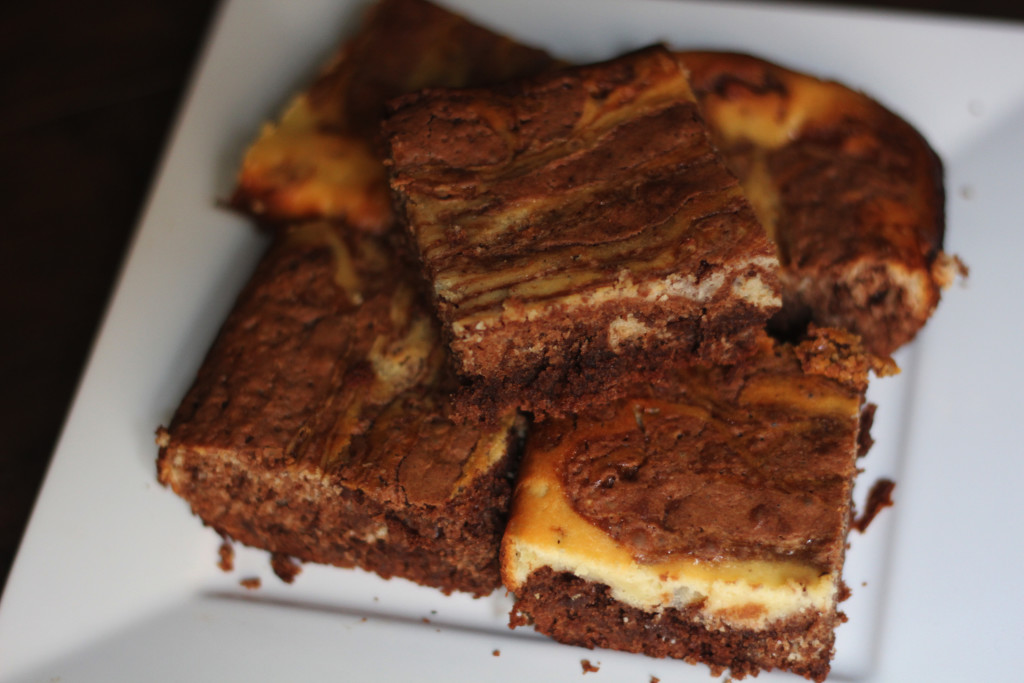
cream cheese brownies header

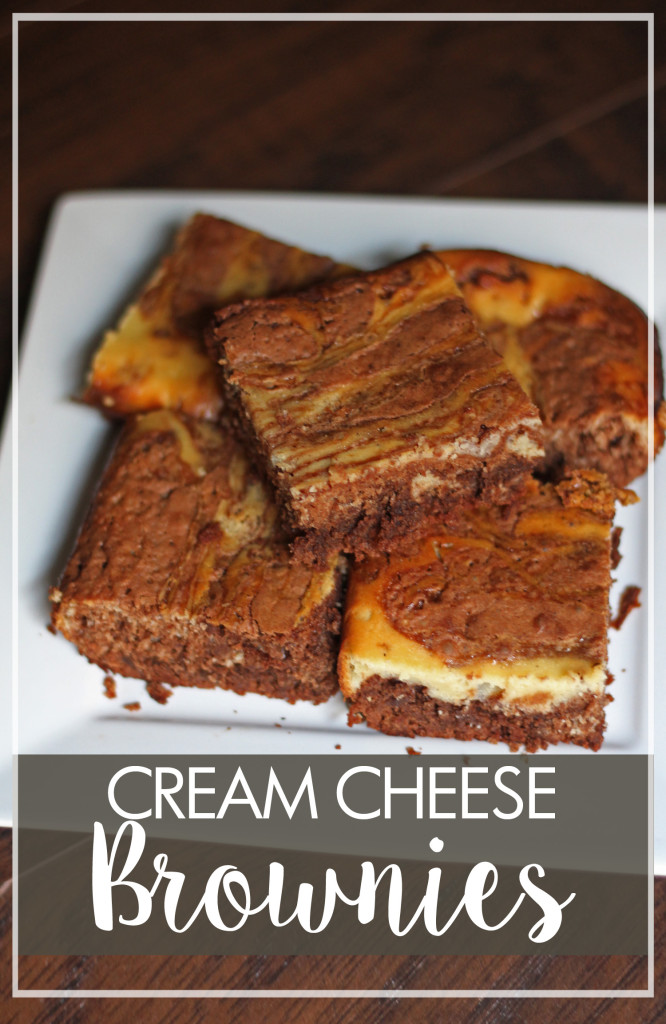
I’m not sure if I’ve made it clear enough (although I think I have), but I love desserts. Chocolate desserts might be my favorite, and brownies are near the top of the list. Since its been a few weeks since our last dessert, the Southern Lane Cake, I think it’s time to do another. These cream cheese brownies were a great treat.

Cream Cheese Brownies

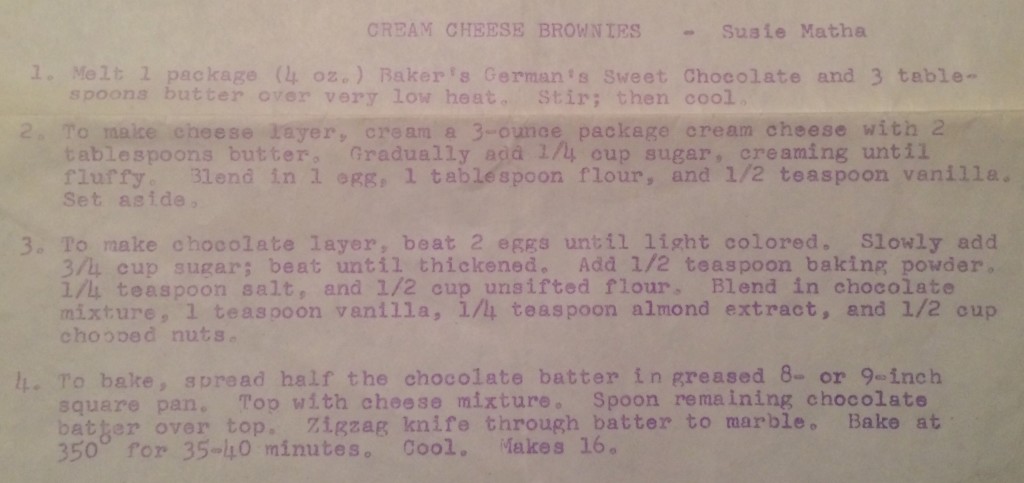
Here’s what Marguerite’s friend Susie Matha had to say:

cream cheese brownies recipe

Susie also gave us the Coffee Cake recipe, which is one of my favorite recipes I think we’ve done on Marguerite’s Cookbook. So when it came time to make these brownies, I was hopeful they would be as much of a success as the coffee cake. To be honest, these brownies didn’t quite live up to the coffee cake, but they were still tasty. It was fun to make brownies completely from scratch, and we enjoyed working on making each of the layers for this interesting brownie recipe.

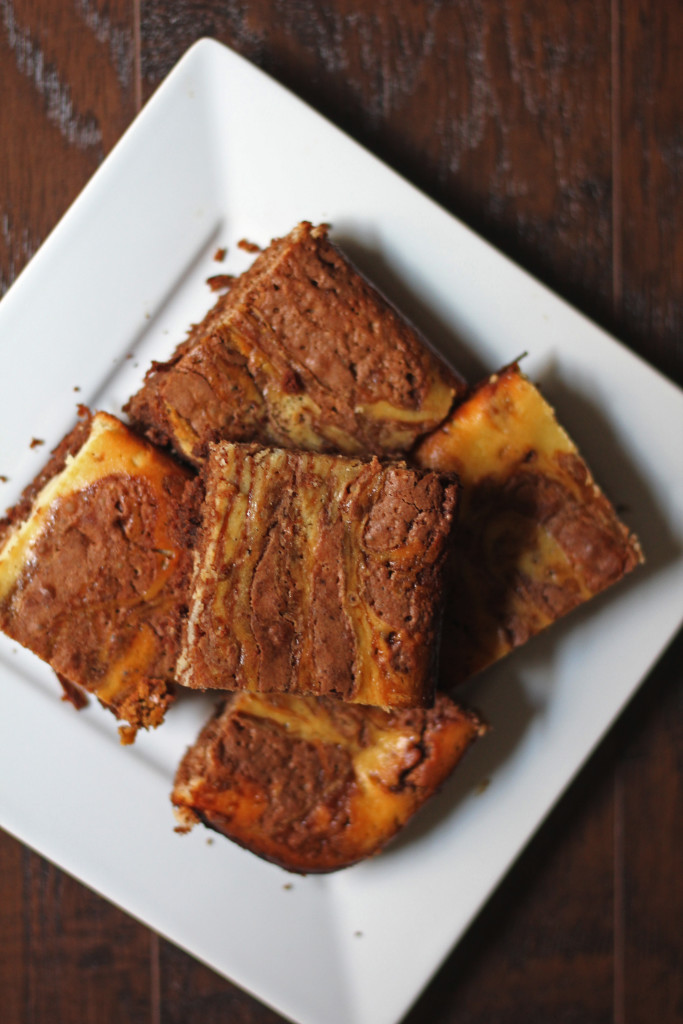
Brownies Cream Cheese

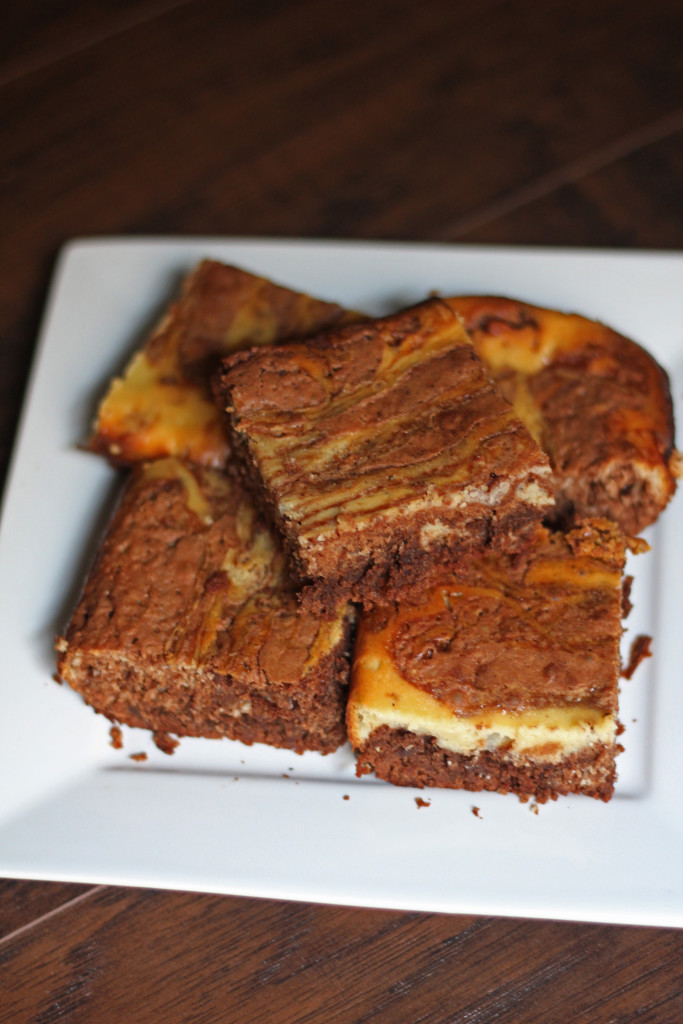
The cream cheese brownies turned out really nice. They were soft and moist and had great flavor. Both the chocolate layers and cream cheese layers were delicious, and the two mixed together well to make a wonderful brownie. We both enjoyed these brownies, and they disappeared pretty fast. I’m sure we’ll be making these again!

Marble Brownies

Cream Cheese Brownies
Print Recipe
  • CourseDesserts
Prep Time
25 minutes
Cook Time
40 minutes
Prep Time
25 minutes
Cook Time
40 minutes
Cream Cheese Brownies
Print Recipe
  • CourseDesserts
Prep Time
25 minutes
Cook Time
40 minutes
Prep Time
25 minutes
Cook Time
40 minutes
Ingredients
Chocolate Layer
  • 4 oz Baker's German Sweet Chocolate
  • 3 tbsp butter
  • 2 eggs
  • 3/4 cup sugar
  • 1/2 tsp baking powder
  • 1/4 tsp salt
  • 1/2 cup flour
  • 1 tsp vanilla
  • 1/4 tsp almond extract
Cheese Layer
  • 3 oz cream cheese
  • 2 tbsp butter
  • 1/4 cup sugar
  • 1 egg
  • 1 tbsp flour
  • 1/2 tsp vanilla
Servings:
Instructions
  1. Preheat oven to 350 degrees.
  2. Melt chocolate and 3 tablespoons of butter over very low heat. Stir frequently. Cool.
  3. To make cheese layer, cream 3 ounces of cream cheese with 2 tablespoons of butter. Gradually add 1/4 cup sugar, creaming until fluffy. Blend in 1 egg, 1 tablespoon flour, and 1/2 teaspoon vanilla. Set aside.
  4. To make chocolate layer, beat 2 eggs until lightly colored. Slowly add 3/4 cups sugar; beat until thickened. Add 1/2 teaspoon baking powder, 1/4 tsp salt, and 1/2 cup flour.
  5. Blend in chocolate mixture, 1 teaspoon vanilla, and 1/4 teaspoon almond extract.
  6. Spread half the chocolate batter in a greased 8 or 9 inch square pan. Top with cheese mixture. Spoon remaining chocolate patter over top. Zigzag knife through batter to marble. Bake for 35-40 minutes.
Share this Recipe
 
Powered byWP Ultimate Recipe

February 11, 2017 by: Shannon and Aaron

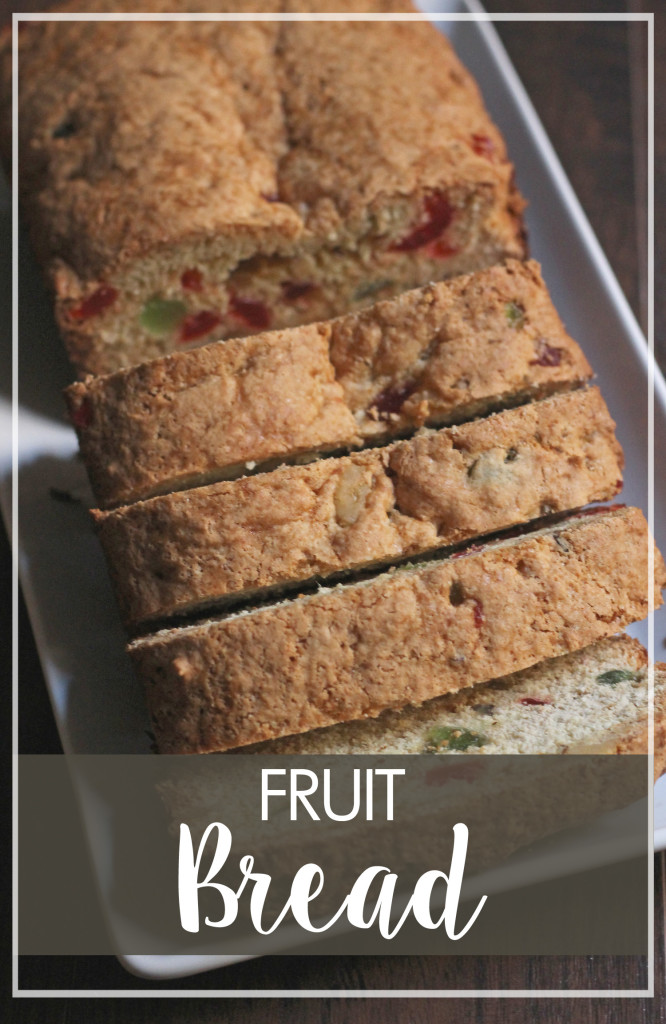
Fruit Bread

Fruit Bread header

I don’t know about you, but sometimes it definitely makes me feel better to bake. And eat the thing I’ve baked, but that’s besides the point. However, I really enjoyed making this “Fruit Bread” while we are in the depths of winter here in Chicago. It was also a great way to use up any extra candied cherries you might have leftover from making a delicious batch of Christmas cake cookies.

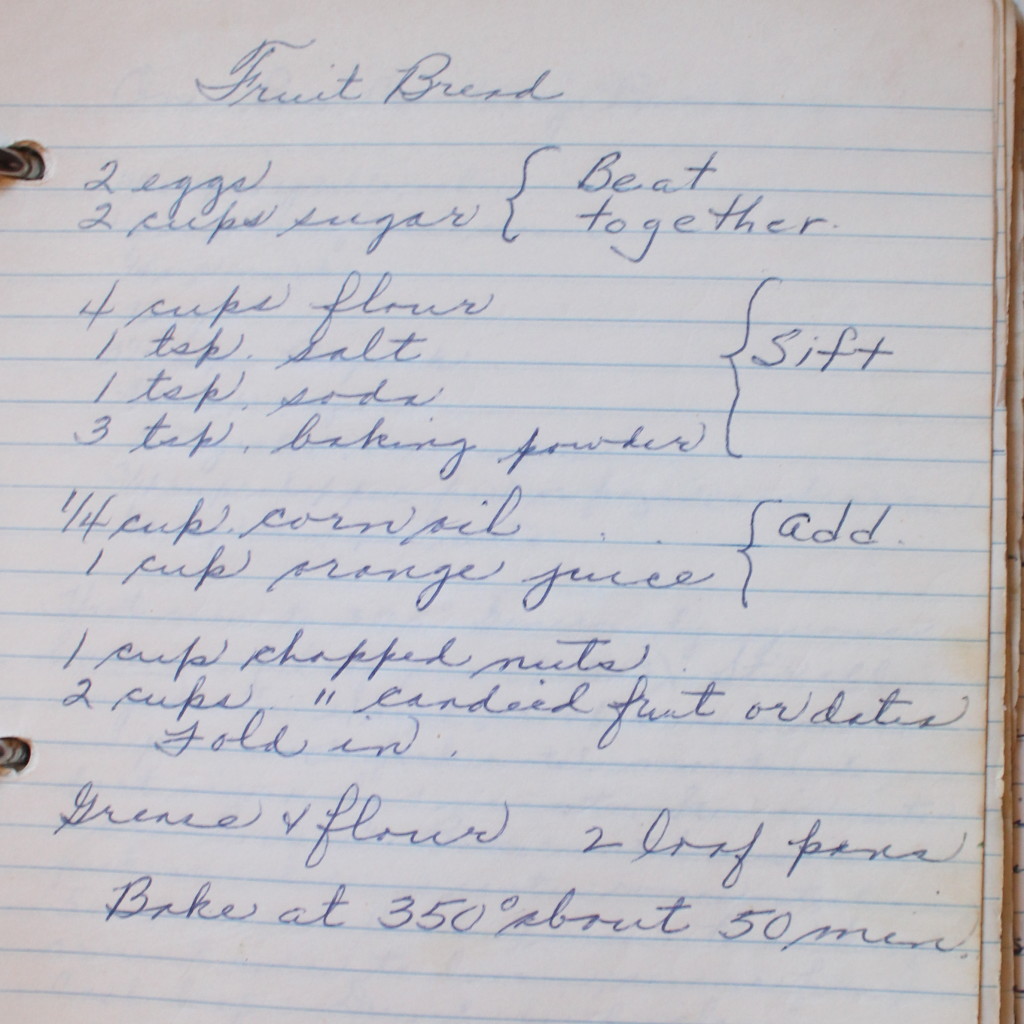
Here’s what Marguerite had to say:

Fruit Bread Recipe

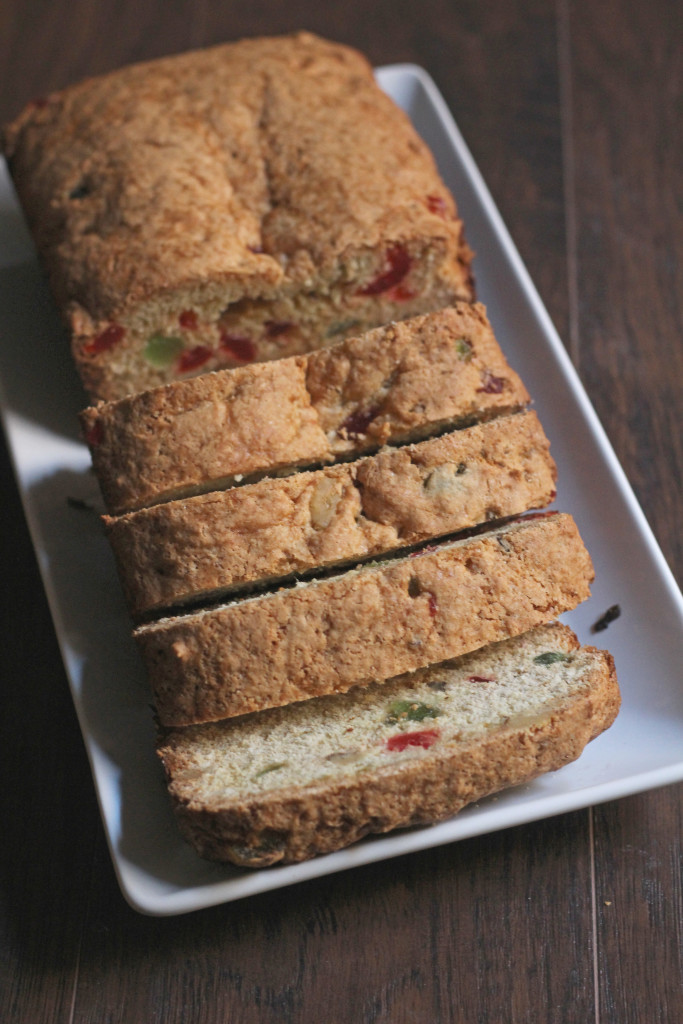
I was really looking forward to making this bread, since our other bread recipes here at Marguerite’s Cookbook have been very successful. I was happy with how the bread turned out, but it sure was a process to get there! First of all, it took quite a while to chop up the candied cherries and they were extremely sticky of course. Then, as you may imagine, four cups of flour and a bunch of nuts and fruits make for a very thick batter. I was exhausted by the time the bread was all mixed together.

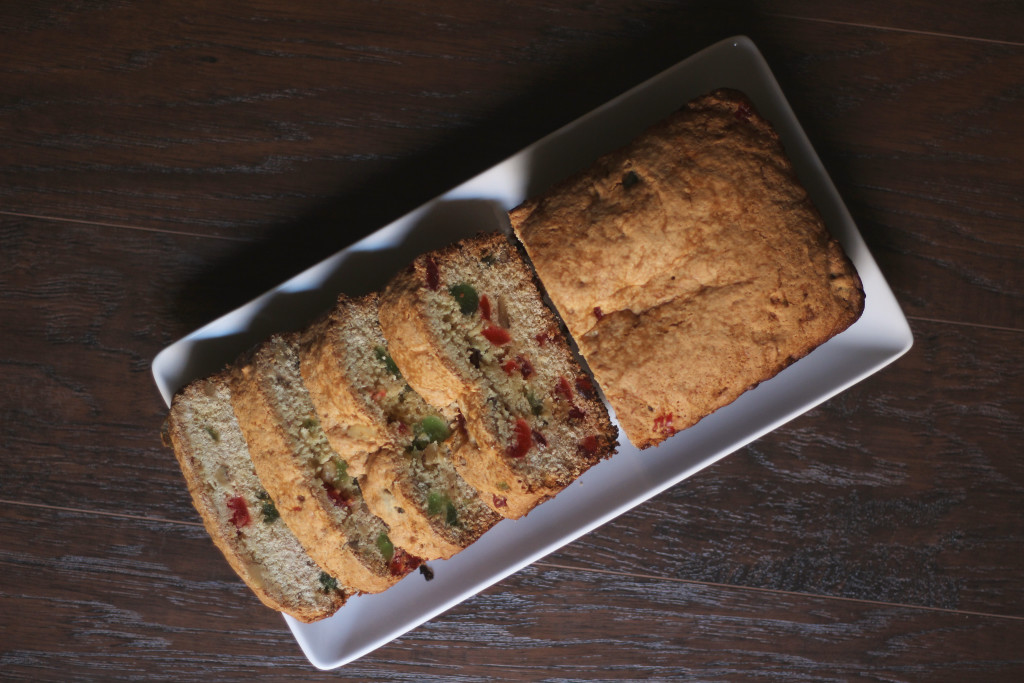
Fruit Bread

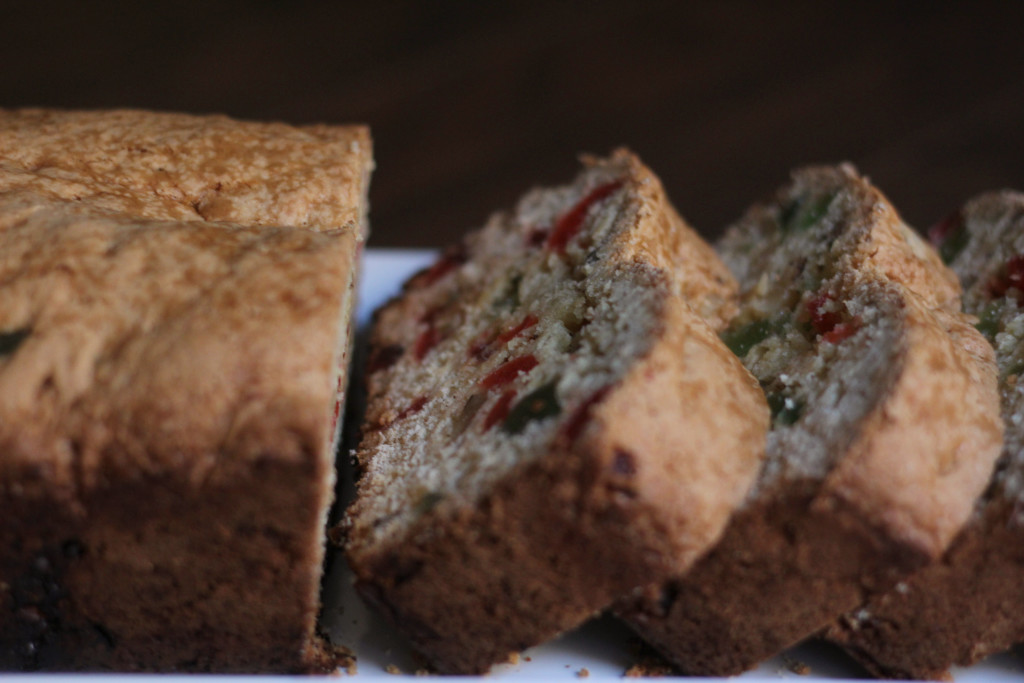
I did have a little trouble baking this bread. It seemed that when the time was up, the insides where just barely done but the bottom crust got burned a little bit. I suppose I may have put the bread too close to the bottom of the oven. That little issue aside, the fruit bread turned out to be quite tasty. The combination of candied fruit, nuts (we used walnuts), and orange juice added vibrant flavors to an already sweet tasting bread.

Fruit Bread

We both really enjoyed this bread. I’ll probably have some with my morning coffee, but its so sweet this may be more of a dessert bread. This might not be my favorite bread so far, but it is definitely close. I’m looking forward to sharing this with my coworkers, and I’m sure they’ll be happy to see some more delicious food coming into work with me.

Fruit Bread

Fruit Bread
Print Recipe
  • CourseAppetizers and Sides
Servings Prep Time
2 loaves 40 minutes
Cook Time
45-50 minutes
Servings Prep Time
2 loaves 40 minutes
Cook Time
45-50 minutes
Fruit Bread
Print Recipe
  • CourseAppetizers and Sides
Servings Prep Time
2 loaves 40 minutes
Cook Time
45-50 minutes
Servings Prep Time
2 loaves 40 minutes
Cook Time
45-50 minutes
Ingredients
  • 2 eggs
  • 2 cups sugar
  • 4 cups flour
  • 1 tsp salt
  • 1 tsp baking soda
  • 3 tsp baking powder
  • 1/4 cup corn oil
  • 1 cup orange juice
  • 1 cup chopped nuts
  • 2 cups chopped candied fruit
Servings: loaves
Instructions
  1. Preheat oven to 350 degrees.
  2. Beat together eggs and sugar.
  3. Sift together dry ingredients and add to eggs and sugar.
  4. Add the oil and orange juice.
  5. Chop the candied fruit and nuts (if not already done).
  6. Fold into batter.
  7. Grease and flour two loaf pans and fill with batter. Bake at 350 for 45-50 minutes.
Share this Recipe
 
Powered byWP Ultimate Recipe

January 14, 2017 by: Shannon and Aaron

Southern Lane Cake

Southern Lane Cake Header

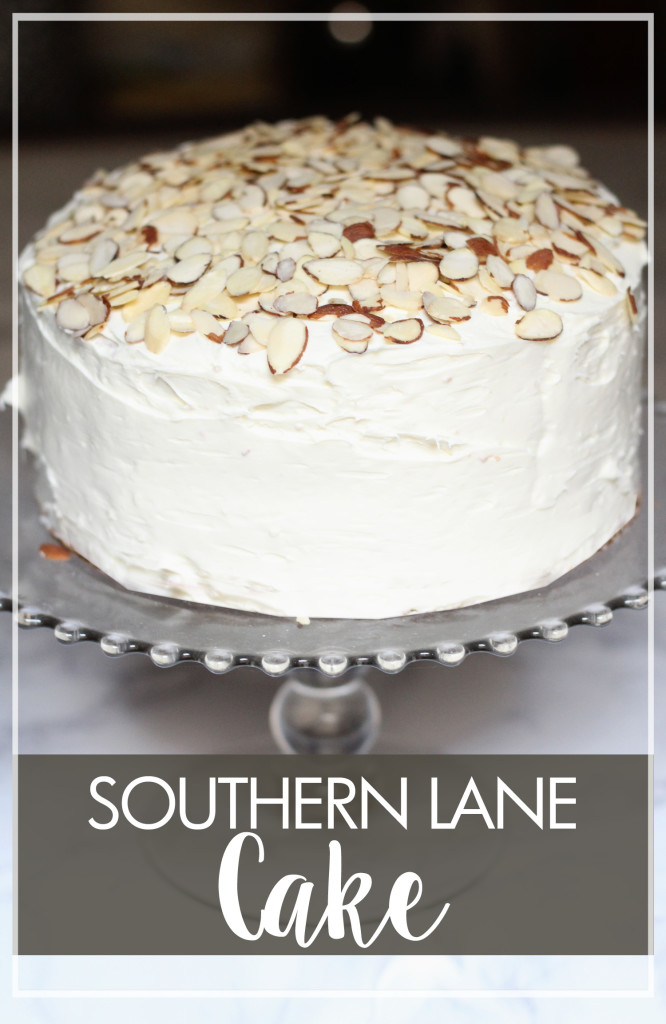
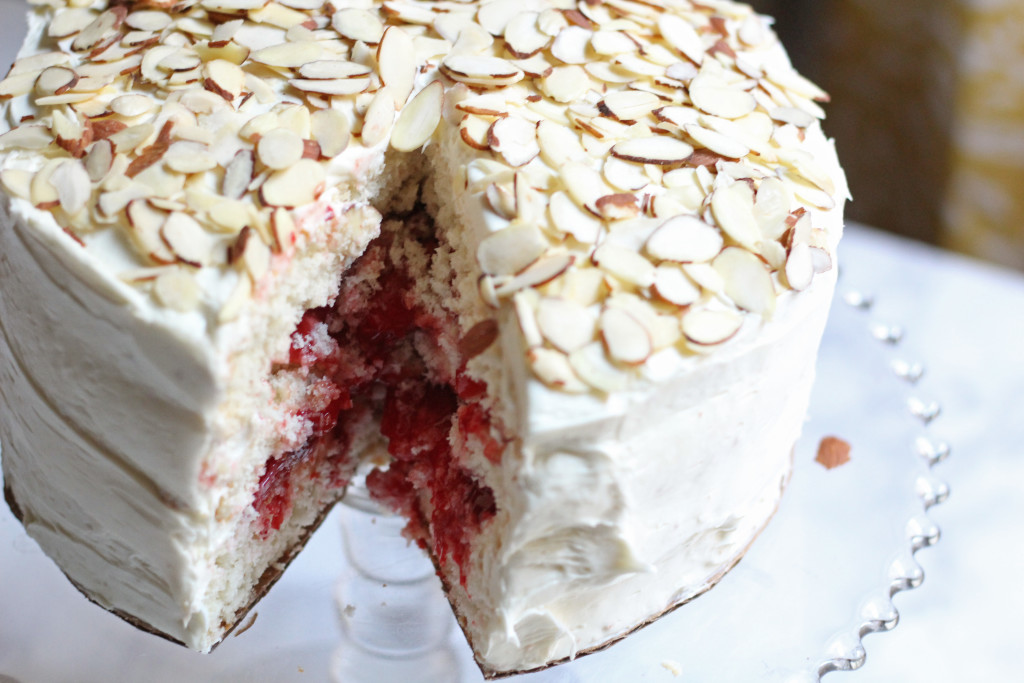
I hope everyone out there is having a good start to their new year. Some of you may be working on a resolution to eat healthier. While we are also attempting that goal, there is an important milestone that requires this week’s recipe to be a cake. It’s Marguerite’s Cookbook’s birthday! That’s right, we launched Marguerite’s Cookbook a whole year ago, and knew that we wanted to do one of Marguerite’s many cake recipes as a birthday treat to ourselves. This Southern Lane Cake turned out to be an excellent choice that was fun to make and delicious to eat.

Southern Lane Cake

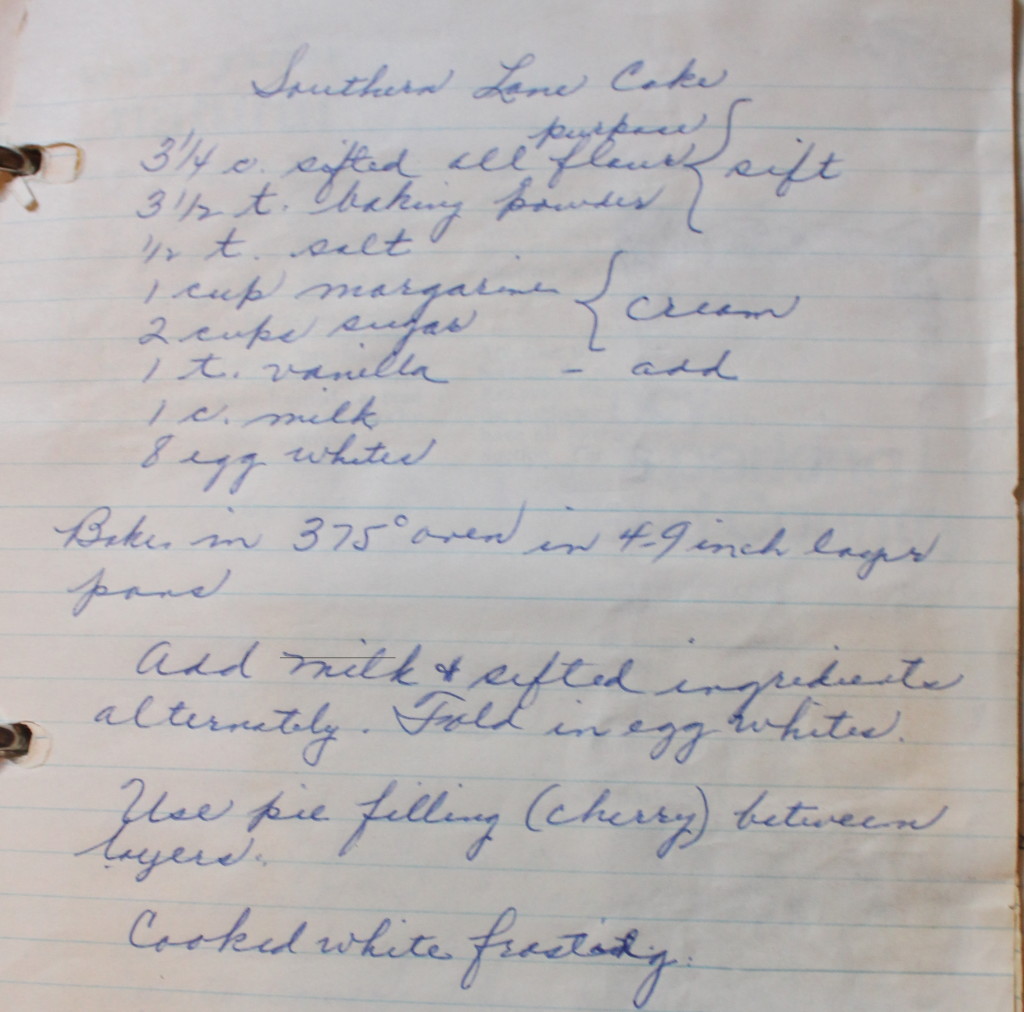
Here’s what Marguerite had to say:

Southern Lane Cake Recipe

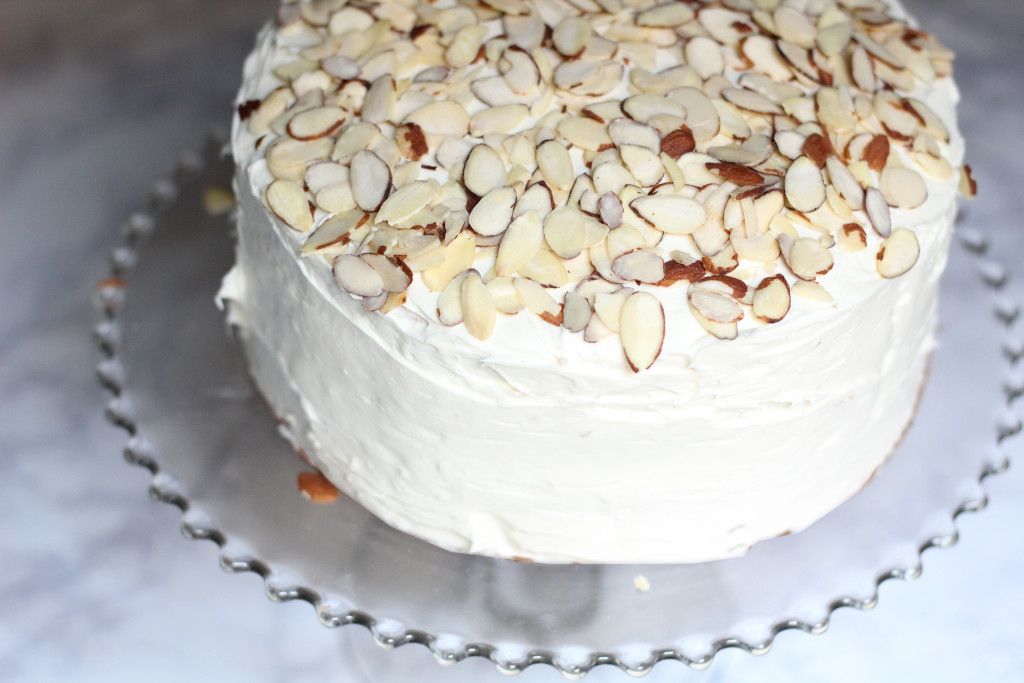
As usual, the planning for this recipe required a little more work than just reading Marguerite’s notes. I had to research how long to bake the layers for, what a cooked white frosting was (more on that later), and a little more about just what a Southern Lane Cake was. That’s where I discovered that some fillings or icings included things like nuts, which is why I decided to put some almonds on top of the cake.

Southern Lane Cake up close

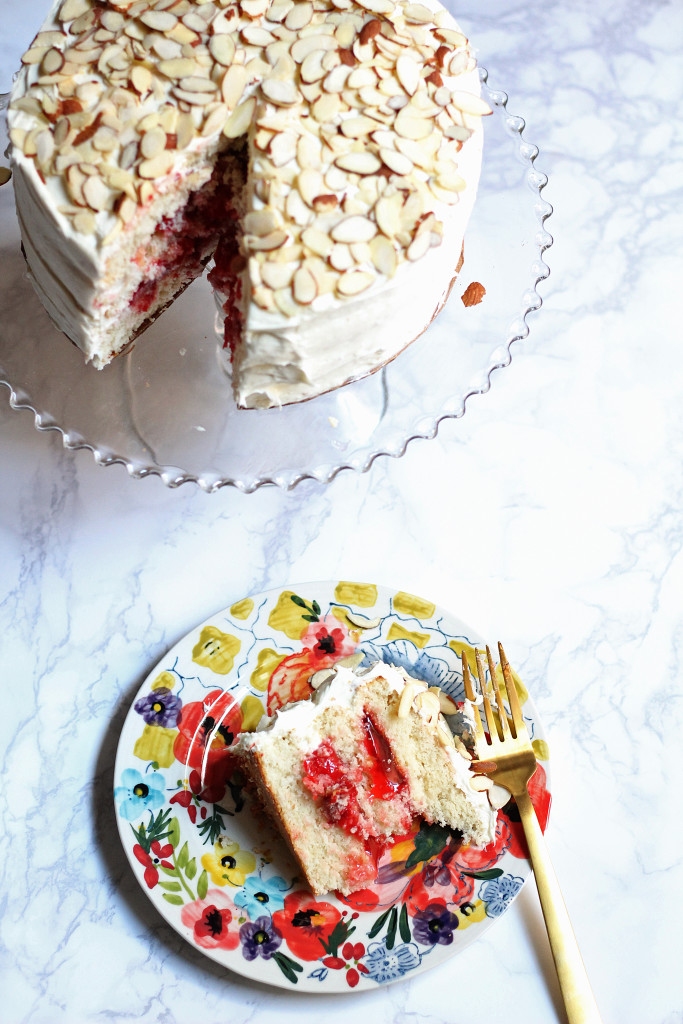
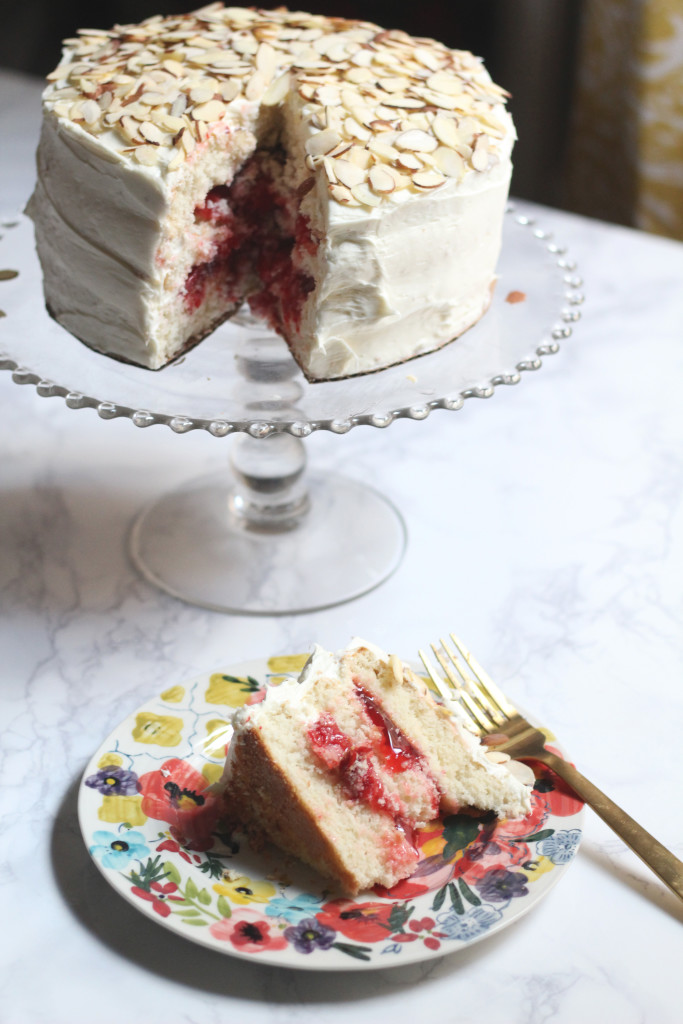
As you may or may not be able to tell, there are only three layers in the final product here. I’d like to say that is on purpose, but of course I made a little mistake and was forced into the decision. We have a tiny oven in our current kitchen, and it was a struggle fitting two 8″ and two 9″ pans into it. On top of that, the two sets of pans are not the same ages and not the same shade of aluminum. In the end, one of the four layers burned while the others turned out great, so the height of our cake was decided for me. I do think a three layer cake looks great though!

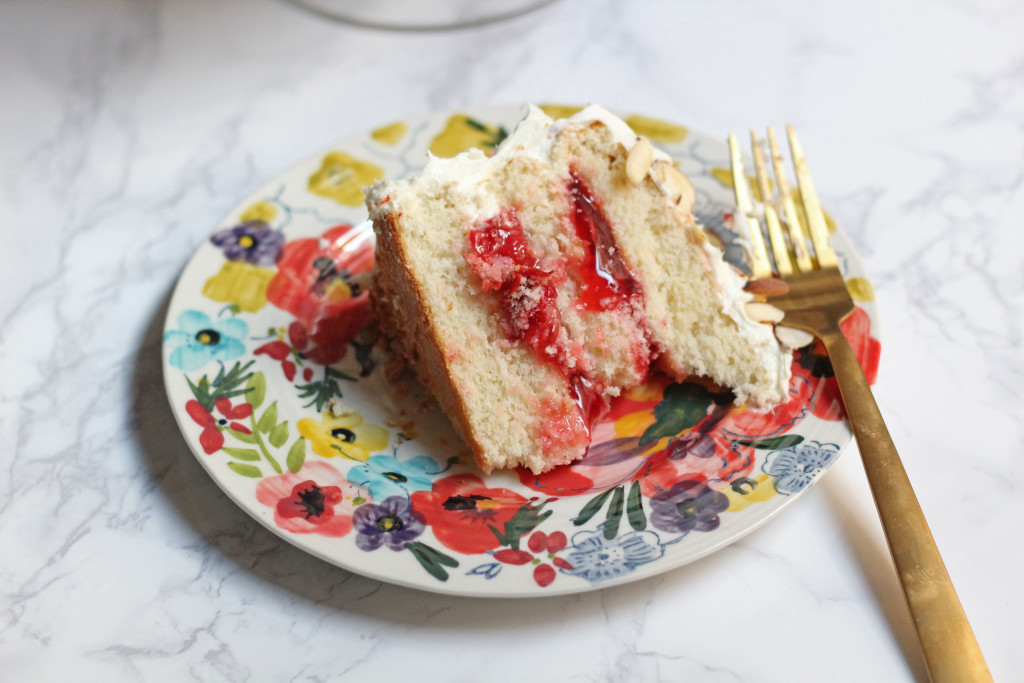
Southern Lane Cake with piece

I also had some trouble in attempting to make a homemade icing, so instead I just used some plain store bought white icing. That is why there is no accompanying icing recipe to go along with the cake. As great as it can be to make something by hand, Marguerite knew the value of making it easier when she needed to, too! In my opinion, the lack of homemade icing did not take away from this cake at all!

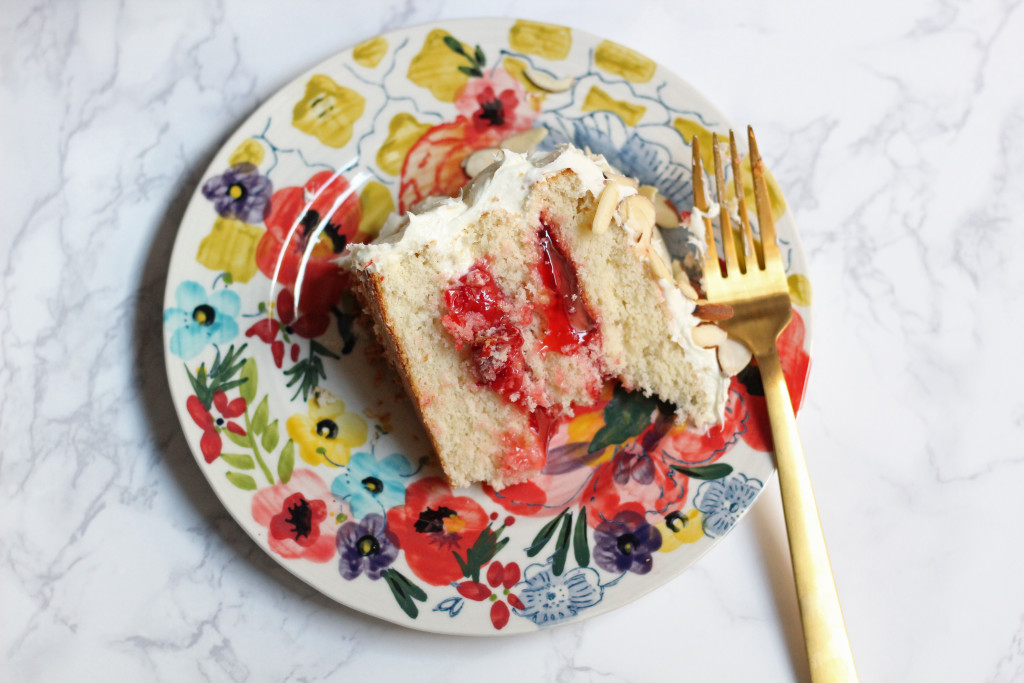
Southern Lane Cake piece

This “blogiversary” cake was delicious. I used to not like cakes with fillings, or filling that wasn’t more icing. Now that I am older and wiser I have seen the error of my ways and am less narrow-minded towards filled cakes. The actual cake parts cooked great, and were light and moist. The combination of the cake, cherry pie filling, and icing worked very well together to make this a very enjoyable dessert. Shannon agreed that this cake was tasty, but was happy to see it go to work with me so we didn’t eat it all.

Southern Lane Cake

My favorite part of this Southern Lane Cake was putting it together and decorating it with Shannon. She took a Wilton cake decorating class before so she is the resident cake expert. Making icing walls to hold the cherry pie filling and stacking the layers on top of each other together was a lot of fun. I also love spreading icing, so I got to do that over the whole cake, too. Here’s to the first year of Marguerite’s Cookbook. Thanks for spending some time with us and with Marguerite. We had a great first year, and hope to have many more to come!

Southern Lane Cake

Southern Lane Cake
Print Recipe
  • CourseDesserts
Servings Prep Time
1 cake 25 minutes
Cook Time Passive Time
20-25 minutes 1 hour
Servings Prep Time
1 cake 25 minutes
Cook Time Passive Time
20-25 minutes 1 hour
Southern Lane Cake
Print Recipe
  • CourseDesserts
Servings Prep Time
1 cake 25 minutes
Cook Time Passive Time
20-25 minutes 1 hour
Servings Prep Time
1 cake 25 minutes
Cook Time Passive Time
20-25 minutes 1 hour
Ingredients
  • 3 1/4 cups flour
  • 3 1/2 tsps baking powder
  • 1/2 tsp salt
  • 1 cup butter softened
  • 2 cups sugar
  • 1 tsp vanilla
  • 1 cup milk
  • 8 egg whites
  • 1 can cherry pie filling
Servings: cake
Instructions
  1. Preheat oven to 375 degrees. Grease and flour 4 nine inch round layer pans.
  2. Cream butter and sugar. Add vanilla.
  3. Combine dry ingredients (flour, powder, salt). Alternately add dry ingredients and milk to creamed butter and sugar.
  4. Fold in egg whites.
  5. Bake 20-25 minutes.
  6. Let layers cool before constructing cake using cherry pie filling and icing. Add nuts like almonds to the top if desired.
Share this Recipe
 
Powered byWP Ultimate Recipe

October 1, 2016 by: Shannon and Aaron

Pumpkin Bread

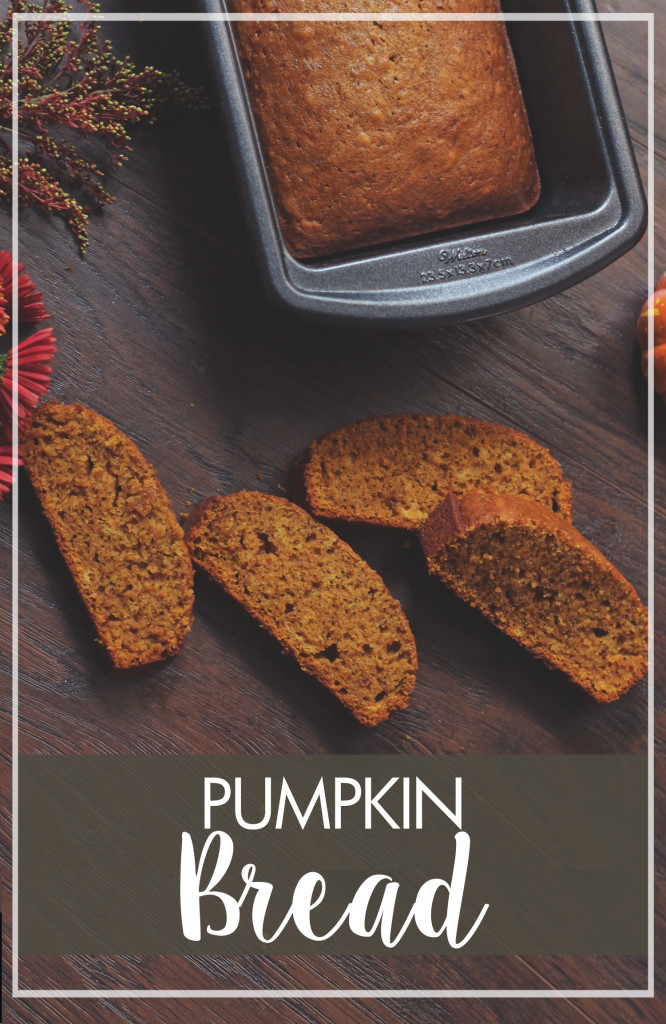
pumpkinbreadheader Happy Autumn everyone! As the weather cools down around us and the leaves begin to change, that brings to mind one of the most popular fall flavors. Pumpkin. The most famous pumpkin recipe is probably pumpkin pie, but we’ve got that coming for you a bit closer to Thanksgiving.  Today we have a delicious pumpkin bread that really ushers in the fall season.

Here’s what Marguerite had to say:


This recipe is actually from another of Marguerite’s teaching colleagues and friends from her many years of teaching, Kathy Hoffman. You may notice it appears one thing is missing from this recipe. While making it, Aaron wasn’t sure the flour was mistakenly forgotten, but it was obvious once all the other ingredients were mixed together that this wasn’t going to turn into bread without flour.

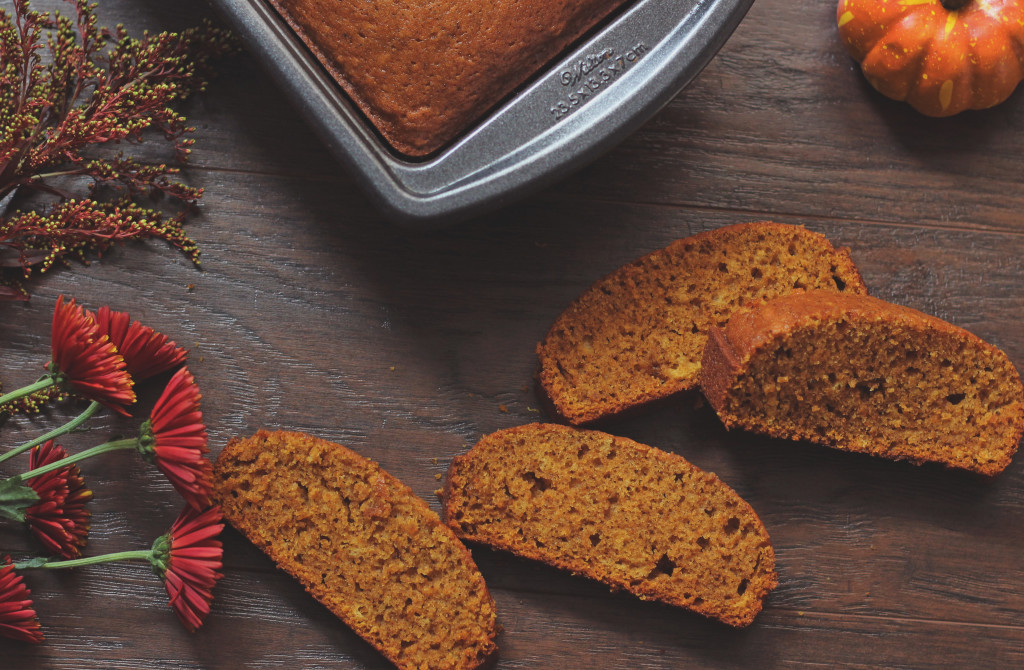
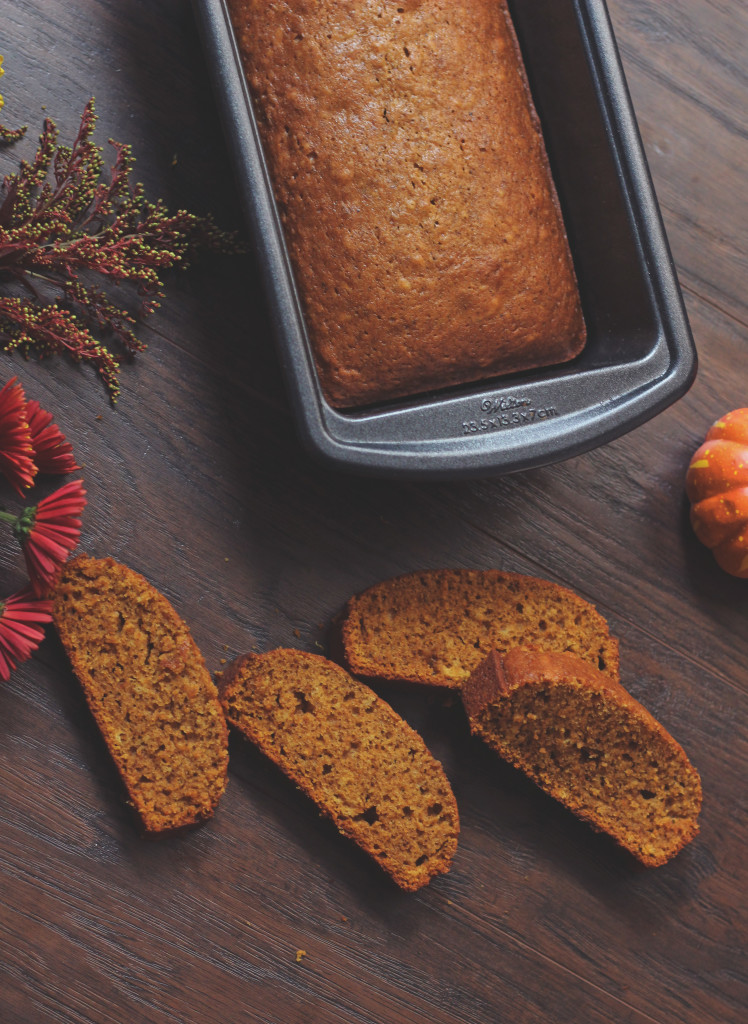
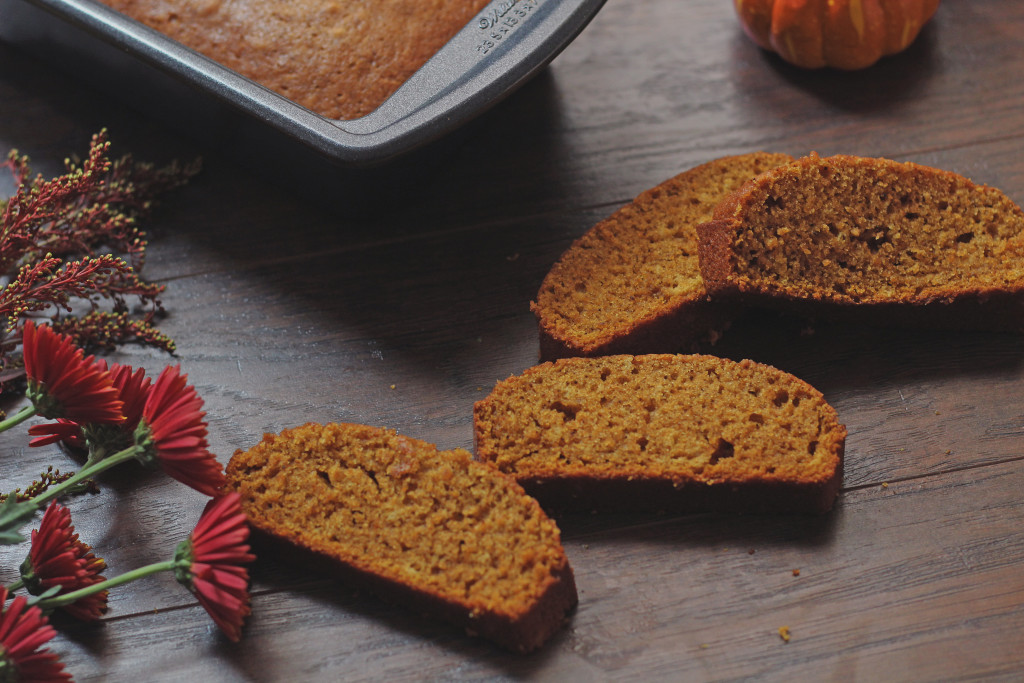
Pumpkin Bread Loaf

After that, this pumpkin bread recipe was very simple to make. It was actually on the same page in the book as our zucchini bread recipe, and is very similar as far as ingredients and prep. I do not like pumpkin flavored things, but I found this pumpkin bread to be delicious! It tasted like autumn. That is, the spices masked the pumpkin flavor enough that I was able to enjoy this. I had too many pieces!

Pumpkin Bread

Aaron also loved how this pumpkin bread tasted more like spices than pumpkin. He also loved the color once it was baked, as well as the smell of the bread baking. He was so excited after tasting it, that he went right back into the kitchen and made another loaf with the remaining pumpkin we had! This was mostly because he knows his coworkers will eat it all up and there will be none left for us! We hope you enjoy this pumpkin bread recipe this fall with us.

Pumpkin Bread Recipe

Pumpkin Bread
Print Recipe
  • CourseAppetizers and Sides, Desserts
Prep Time
15 minutes
Cook Time
45 minutes
Prep Time
15 minutes
Cook Time
45 minutes
Pumpkin Bread
Print Recipe
  • CourseAppetizers and Sides, Desserts
Prep Time
15 minutes
Cook Time
45 minutes
Prep Time
15 minutes
Cook Time
45 minutes
Ingredients
  • 1 1/2 cups white sugar
  • 1 1/2 cups flour
  • 1 tsp baking powder
  • 1 tsp baking soda
  • 3/4 tsp salt
  • 1/2 tsp cloves
  • 1/2 tsp cinnamon
  • 1/2 tsp nutmeg
  • 2 eggs
  • 1/2 cup salad oil
  • 1/2 cup water
  • 1 cup pumpkin
Servings:
Instructions
  1. Preheat oven to 350 degrees.
  2. Mix all ingredients together.
  3. Grease one pan for a large loaf or two pans for two smaller loafs.
  4. Bake approximately 45 minutes to 1 hour.
Share this Recipe
 
Powered byWP Ultimate Recipe

September 24, 2016 by: Shannon and Aaron

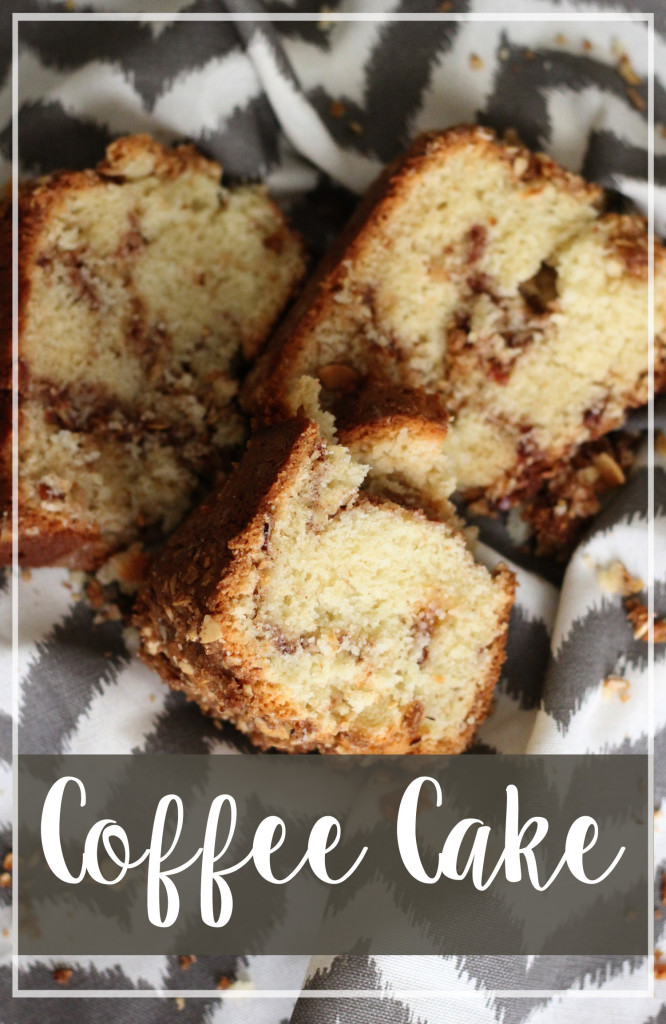
Coffee Cake

coffee cake header

Coffee cake is one of those desserts that can be made in so many different ways and with many different flavors. This is just a basic coffee cake recipe given to Marguerite by another of her teaching colleagues, Susie Matha. Sometimes, plain and simple recipes are the way to go.


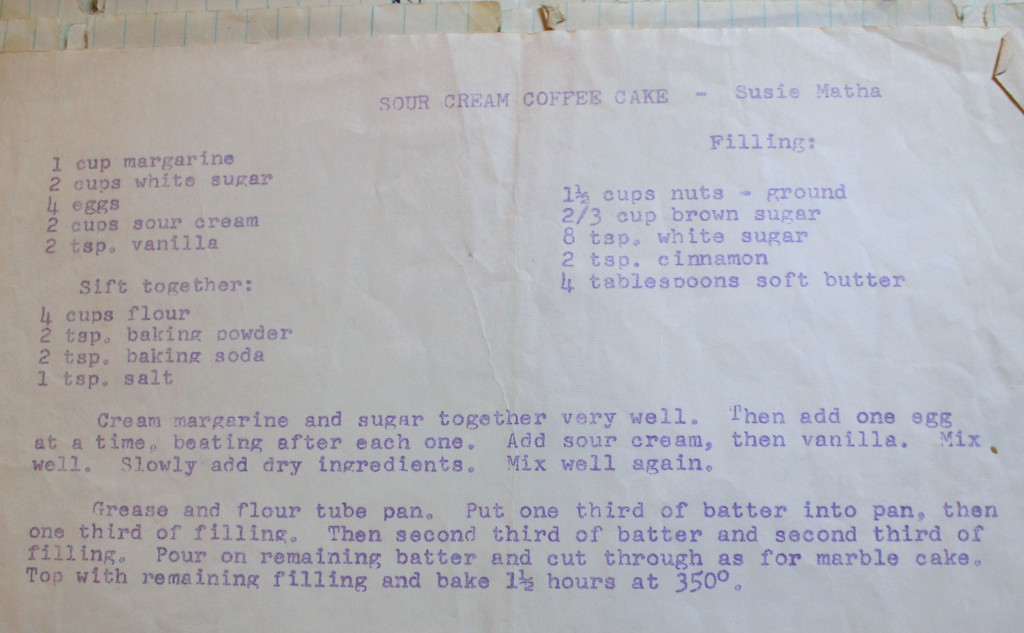
Here is what Susie had to say:

sour-cream-coffee-cake-recipe

First things first, Aaron was confused that this recipe was called sour cream coffee cake and he was confused that the recipe did, in fact, contain sour cream. He did not realize that sour cream can be a common ingredient in baked goods. He also didn’t realize how much work could go in to preparing a baked good to be made. We both felt that it took a bit too long of a time to put together, between the combining of ingredients, the grinding of nuts, and the layering of batter and filling in the pan. But it was sooooooo delicious.

sour cream coffee cake

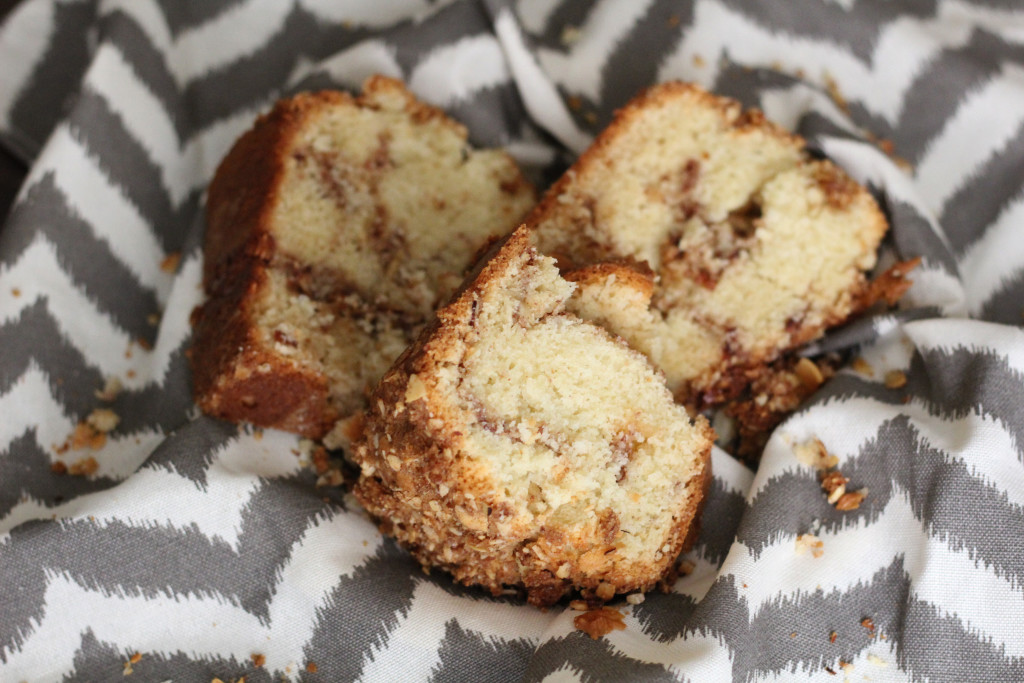
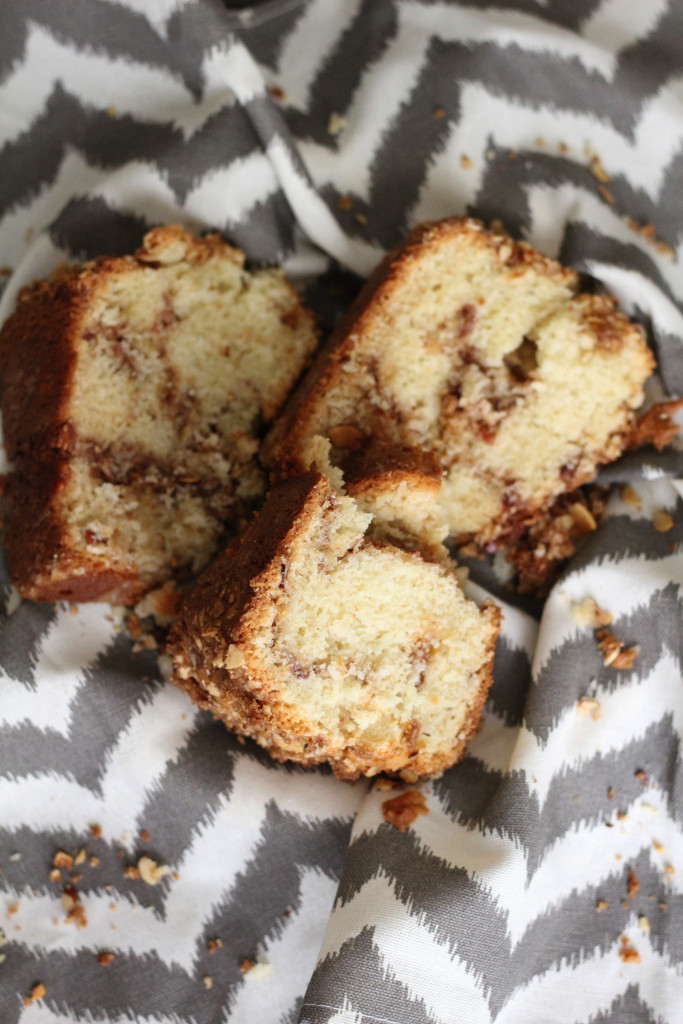
It was soft and spongy like a well made cake should be, plus the cinnamon, sugar, and nuts (we used almonds), made a delicious filling. We made sure to grease and flour the pan before pouring the batter, which was great help in removing the pieces of cake after baking.


The aroma of this cake filled our apartment for like two hours. By the time we cut into it, we we’re impatient and hungry. Cutting the coffee cake a little too soon caused it to be too soft and to crumble as we tried to take it out. Once cooled the cake was easy to cut and plate to eat. Was it ever delicious! I wasn’t crazy about how brown the sides and bottom got, and that may be due to over baking it, or even due to the type of tube pan we used. But I did enjoy the insides of the coffee cake. Aaron enjoyed it greatly as well. He, of course, enjoyed several pieces along with coffee.

coffee cake

Thankfully for both of us, Aaron took the extra to share with his coworkers. They also really enjoyed it and upon cleaning out the container it was in, told Aaron he could “take it home and fill it with more coffee cake!” I think we would consider that a great success.

Coffee Cake
Print Recipe
  • CourseDesserts
Servings Prep Time
1 cake 40 minutes
Cook Time
90 minutes
Servings Prep Time
1 cake 40 minutes
Cook Time
90 minutes
Coffee Cake
Print Recipe
  • CourseDesserts
Servings Prep Time
1 cake 40 minutes
Cook Time
90 minutes
Servings Prep Time
1 cake 40 minutes
Cook Time
90 minutes
Ingredients
Batter
  • 1 cup butter
  • 2 cups sugar
  • 4 eggs
  • 2 cups sour cream
  • 2 tsp vanilla
  • 4 cups flour
  • 2 tsp baking soda
  • 2 tsp baking powder
  • 1 tsp salt
Filling
  • 1 1/2 cups ground nuts
  • 2/3 cups brown sugar
  • 8 tsp white sugar
  • 2 tsp cinnamon
  • 4 Tbsp butter softened
Servings: cake
Instructions
  1. Preheat oven to 350 degrees.
  2. Cream butter and sugar together very well.
  3. Add one egg at a time, beating after each one.
  4. Add sour cream, then vanilla.
  5. Mix well.
  6. Sift together dry ingredients, then slowly add dry ingredients to wet ingredients. Mix well again.
  7. Combine filling ingredients.
  8. Grease and flour tube pan. Put one third of batter into pan, then one third of filling. Then second third of batter and second third of filling. Pour on remaining batter and cut through as for marble cake. Top with remaining filling and bake one and a half hours at 350.
Share this Recipe
 
Powered byWP Ultimate Recipe

February 6, 2016 by: Shannon and Aaron

Zucchini Bread Recipe

Zucchini Bread

Zucchini + Bread is the way to a girl’s heart. More specifically Shannon’s heart. I love bread and zucchini dishes get me hyped up. Needless to say, I was excited for this recipe.
When we initially picked this, I browsed over it quickly and saw “bread” and “zucchini.” I actually thought we were making breaded/fried zucchini. Oops.

I was disappointed for a hot second, but then I got very excited to try something new.

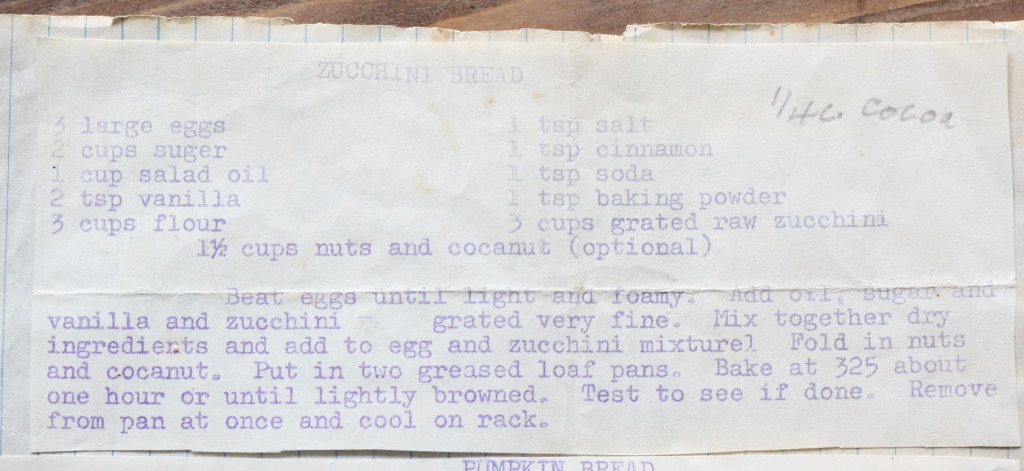
Here is what Marguerite had to say:

Original Zucchini Bread

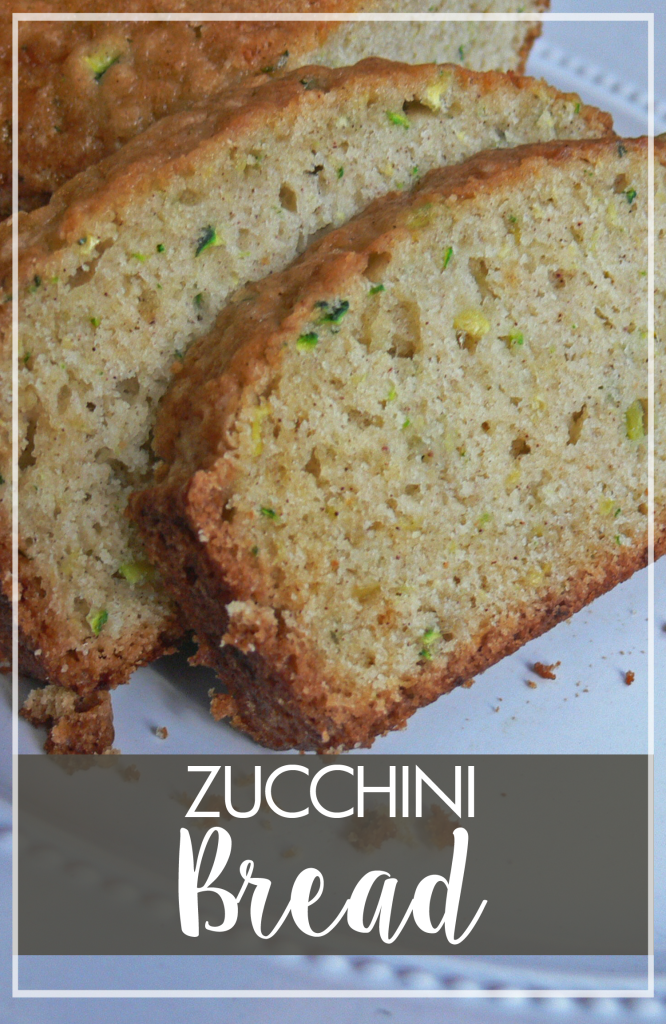
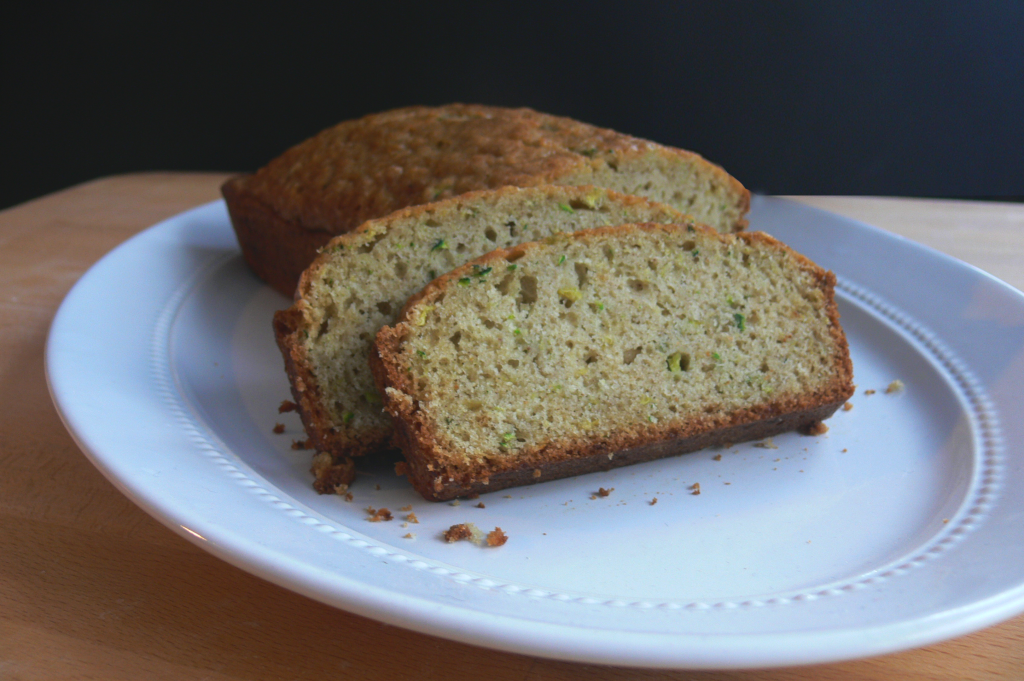
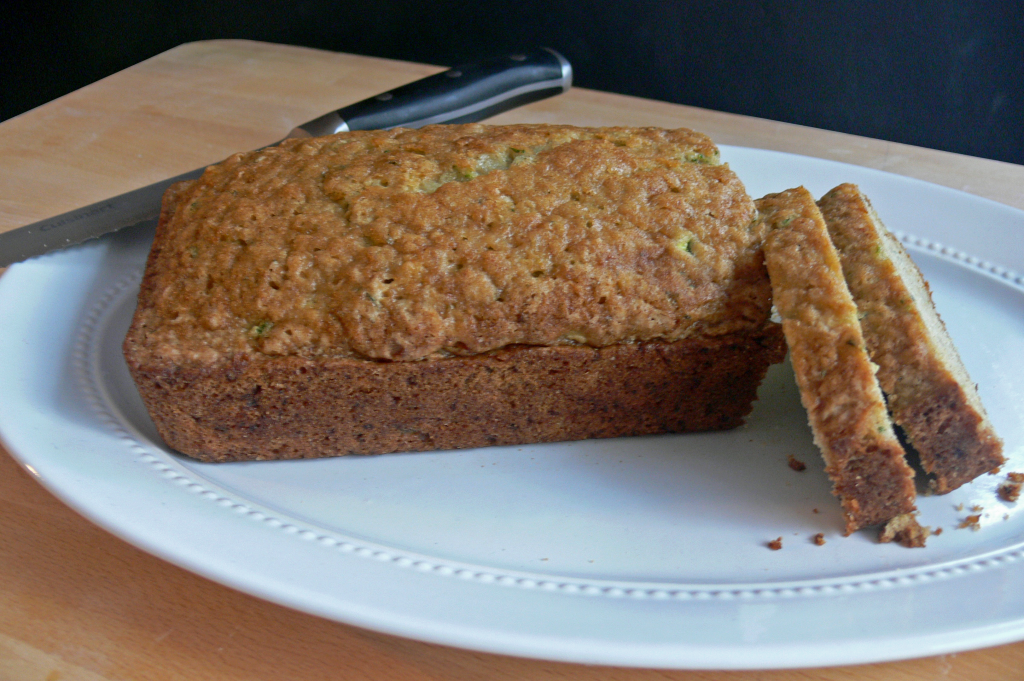
The best way to describe this bread is a flavor-packed, fluffy slice of deliciousness. Seriously, if you want an appetizer that’s rich and easy to make, try this zucchini bread.

Zucchini BreadNot only did we enjoy this zucchini bread, but we shared it twice with friends and family over the past month and it was a smash success both times.

Aaron took the leftovers of our first attempt to work and his co-workers raved. Then we hosted my parents and Aaron’s mom for dinner so that we could share some of the cool things Marguerite’s book has been teaching us. Again, the bread was a hit. The other dishes were also enjoyed, but more on those later.

Zucchini Bread

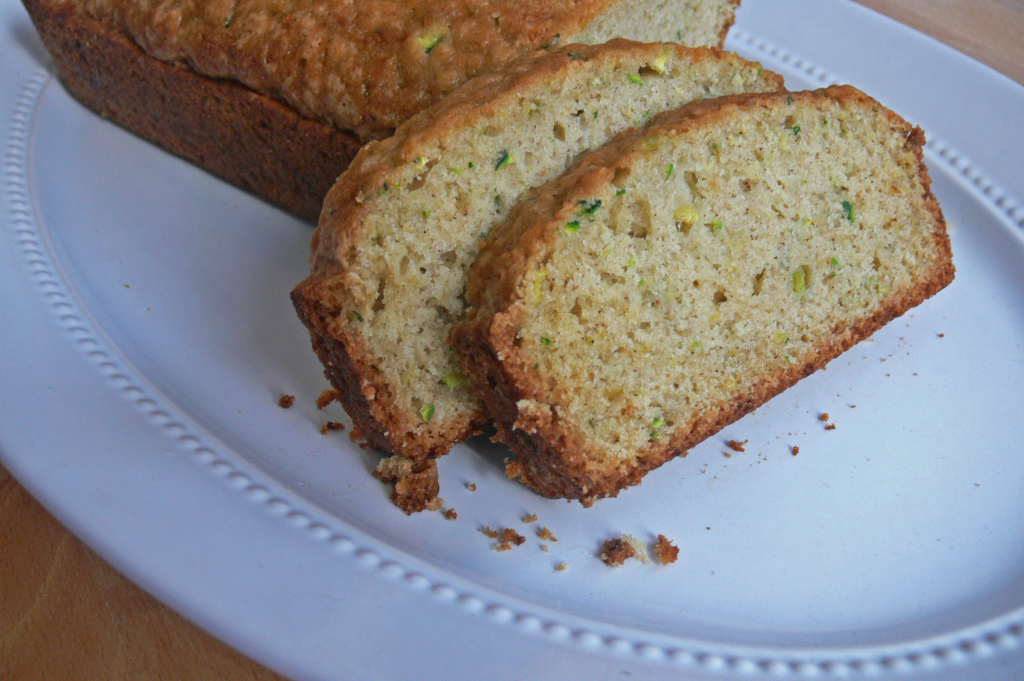
Our favorite thing about this bread was how easy it was to make and how moist it turned out. Based on our very limited cooking knowledge, we believed achieving moistness in bread to be a difficult thing to do. If that is the case, this zucchini bread recipe is the exception.

Zucchini Bread

As much as I love zucchini dishes, I actually felt like this was just a little too heavy on the zucchini flavor. Say what? I guess I was expecting more of a bread with a hint of zucchini, instead of the packed in flavor this bread delivers. It may just be a personal preference as well.

Aaron loved the consistency of the bread. Each time we made it, he was in charge of zucchini prep and felt chopping it then blending it was “tedious.” I think he just wanted to try it sooner…

Other than a somewhat laborious prep (if you have a food processor, this won’t be as much of an issue) this bread is very easy to make. Once you’ve got everything chopped up, it’s as simple as mixing and throwing it in the oven.

PinterestBread
Zucchini Bread
Print Recipe
  • CourseAppetizers and Sides
Servings Prep Time
2 loaves 30 minutes
Cook Time
45-60 minutes
Servings Prep Time
2 loaves 30 minutes
Cook Time
45-60 minutes
Zucchini Bread
Print Recipe
  • CourseAppetizers and Sides
Servings Prep Time
2 loaves 30 minutes
Cook Time
45-60 minutes
Servings Prep Time
2 loaves 30 minutes
Cook Time
45-60 minutes
Ingredients
  • 3 large eggs
  • 2 cups sugar
  • 1 cup salad oil
  • 2 tsp vanilla
  • 3 cups flour
  • 1 tsp salt
  • 1 tsp cinnamon
  • 1 tsp baking soda
  • 1 tsp baking powder
  • 3 cups grated raw zucchini
Servings: loaves
Instructions
  1. Grate the zucchini to whatever thickness you'd like. For this, very fine works best.
  2. Beat eggs until light and foamy.
  3. Add oil, sugar, vanilla, and grated zucchini.
  4. Mix together dry ingredients and add to egg and zucchini mixture.
  5. Put in two greased loaf pans.
  6. Bake at 325 degrees for 45-60 minutes or until lightly browned. Test to see if done. Remove from pan at once and cool on rack.
Share this Recipe
 
Powered byWP Ultimate Recipe

Hey There!

We're Aaron and Shannon, the cooks behind Marguerite’s Cookbook. We are a husband and wife cooking/blogging team who love food, fun, and family.

Give us a follow

Twitter

Sign up for our monthly newsletter and receive exclusive content from us in your inbox once a month.

  • Policies
  • Contact

© 2025 · Fun Genesis WordPress Theme by, Pretty Darn Cute Design