Marguerites Cookbook

A cooking blog all about making vintage recipes from a cookbook we inherited from our grandmother

  • Home
  • Recipes
    • Main Dishes
    • Appetizers and Sides
    • Desserts
    • Breakfast
  • About
  • Contact

February 27, 2016 by: Shannon and Aaron

Ham Cheese Strata

Ham and Cheese Strata

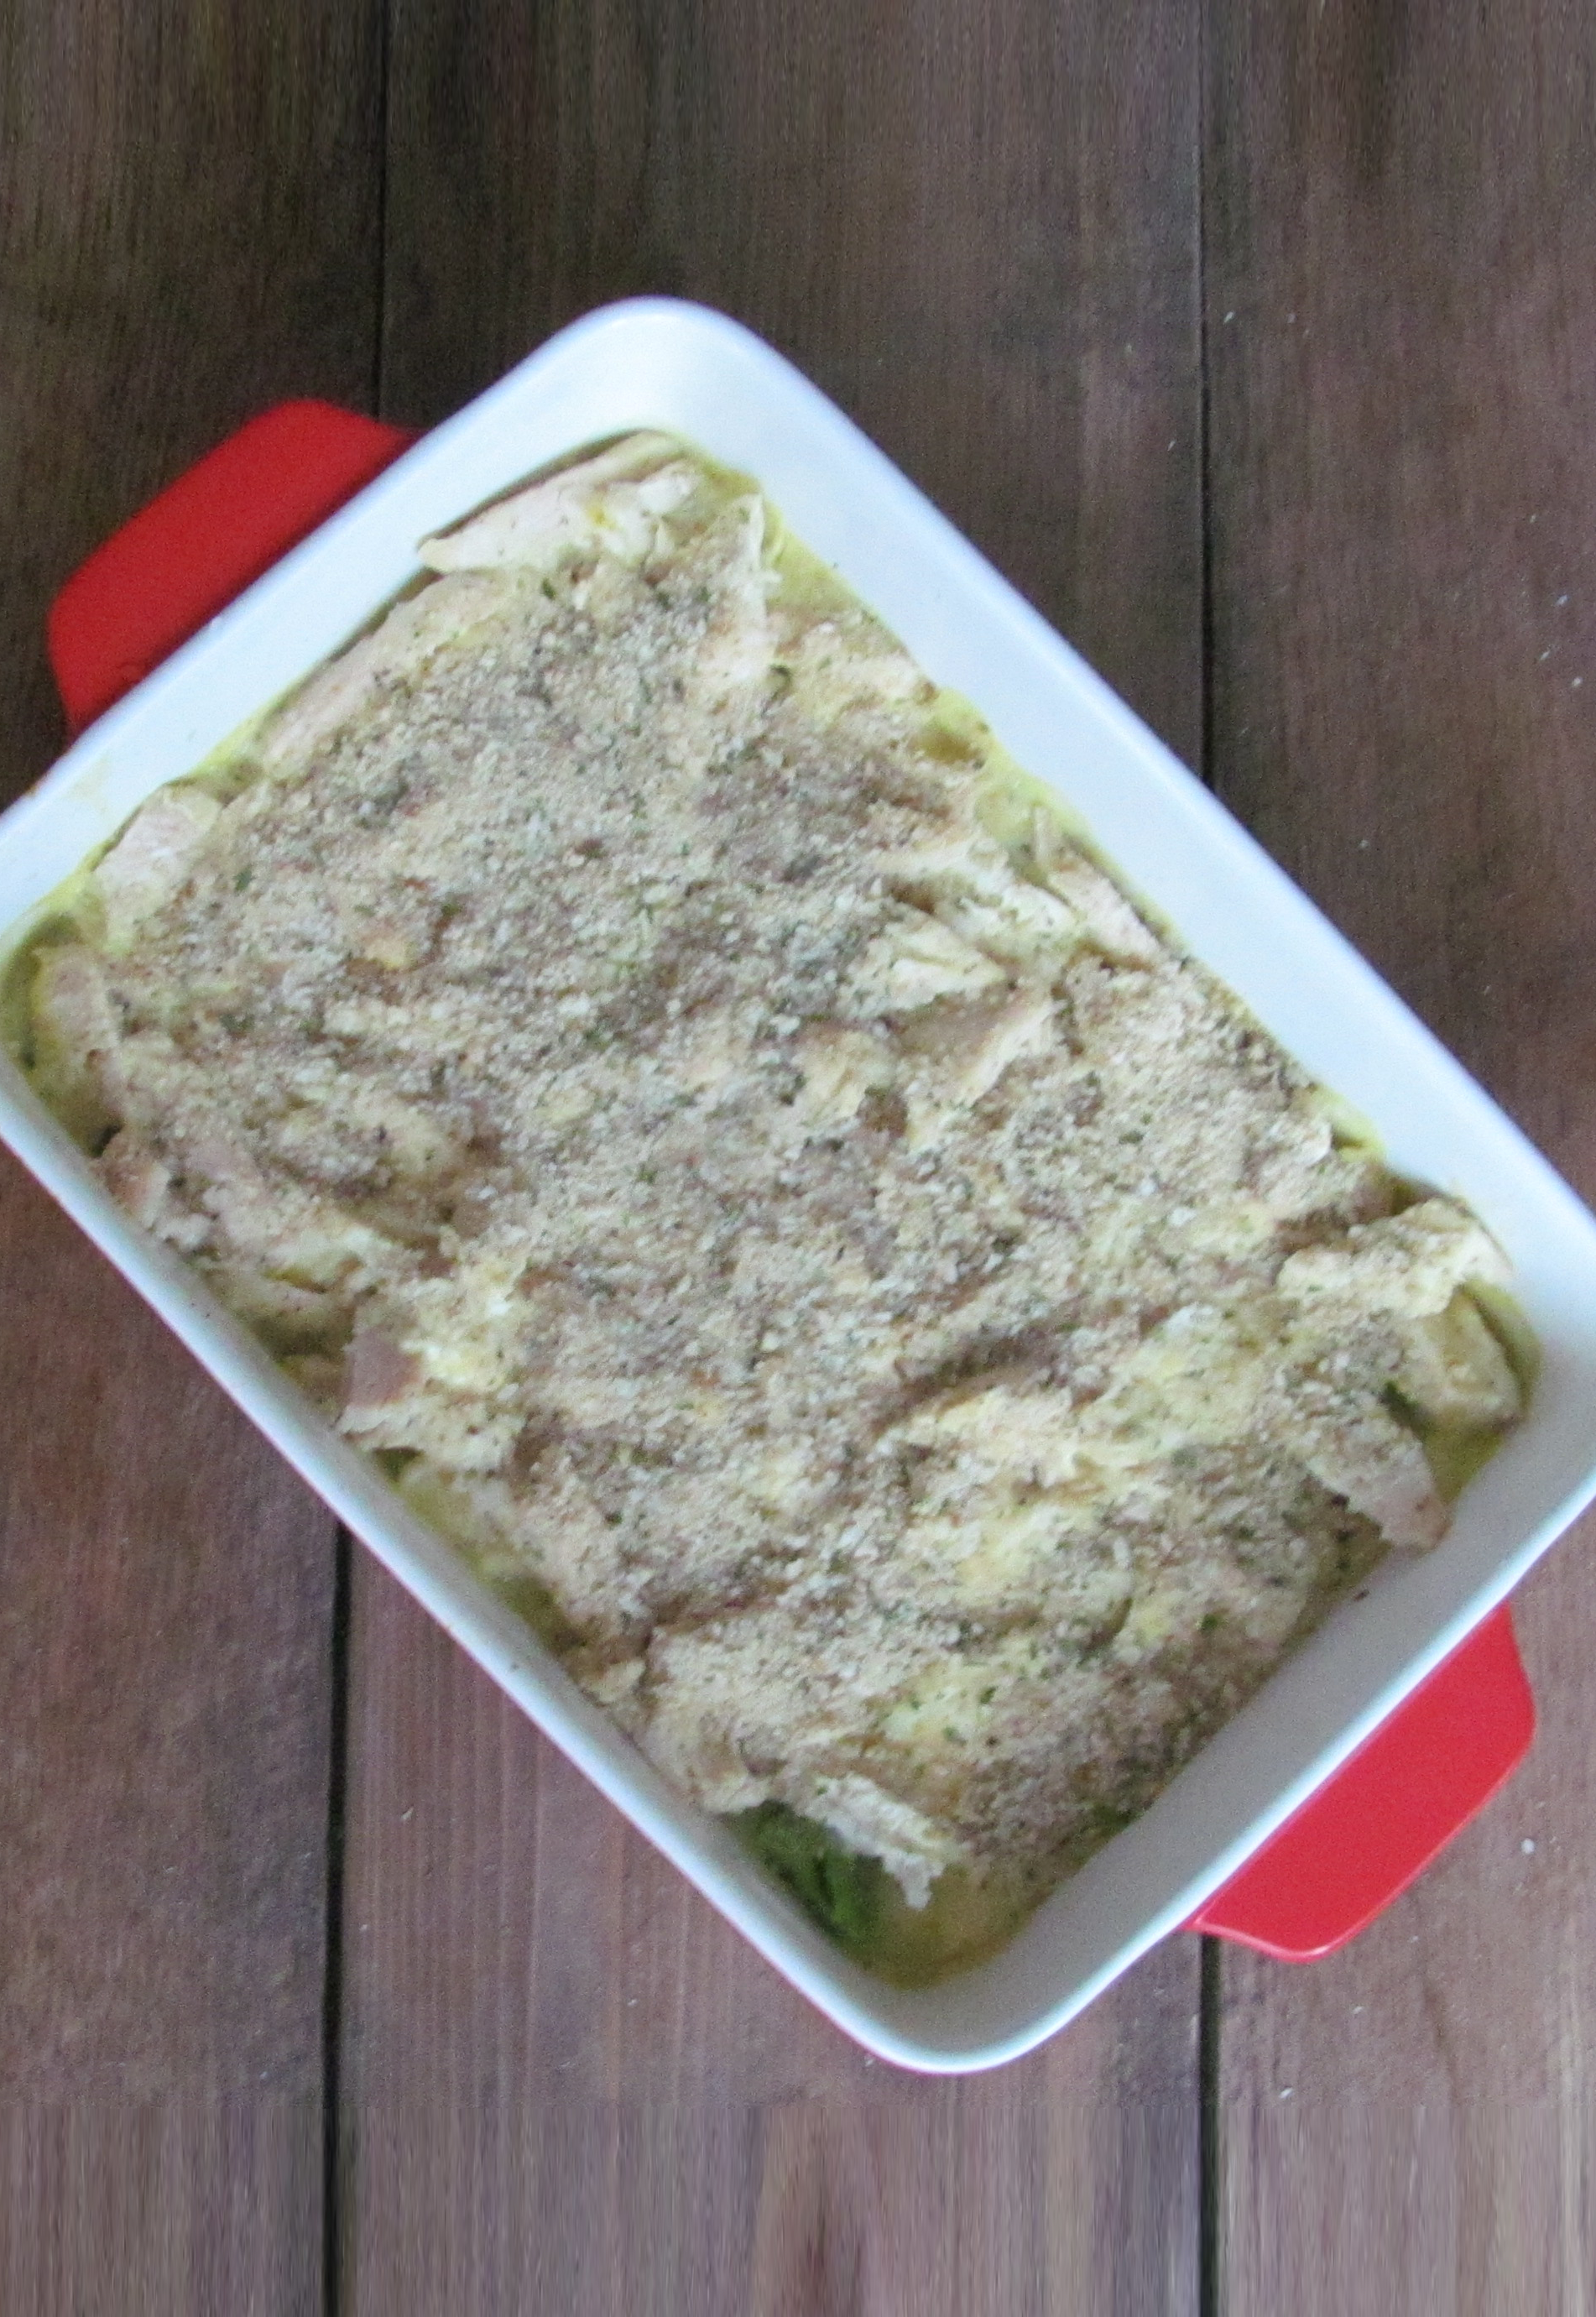
When we started this recipe, neither of us really knew what to expect.  But, I thought, “Bread and cheese and warm, maybe it’ll be like grilled cheese and I’ll love it!”  That’s not quite how it turned out, and since I love a good grilled cheese sandwich, was a little disappointed.

Ham and Cheese Strata

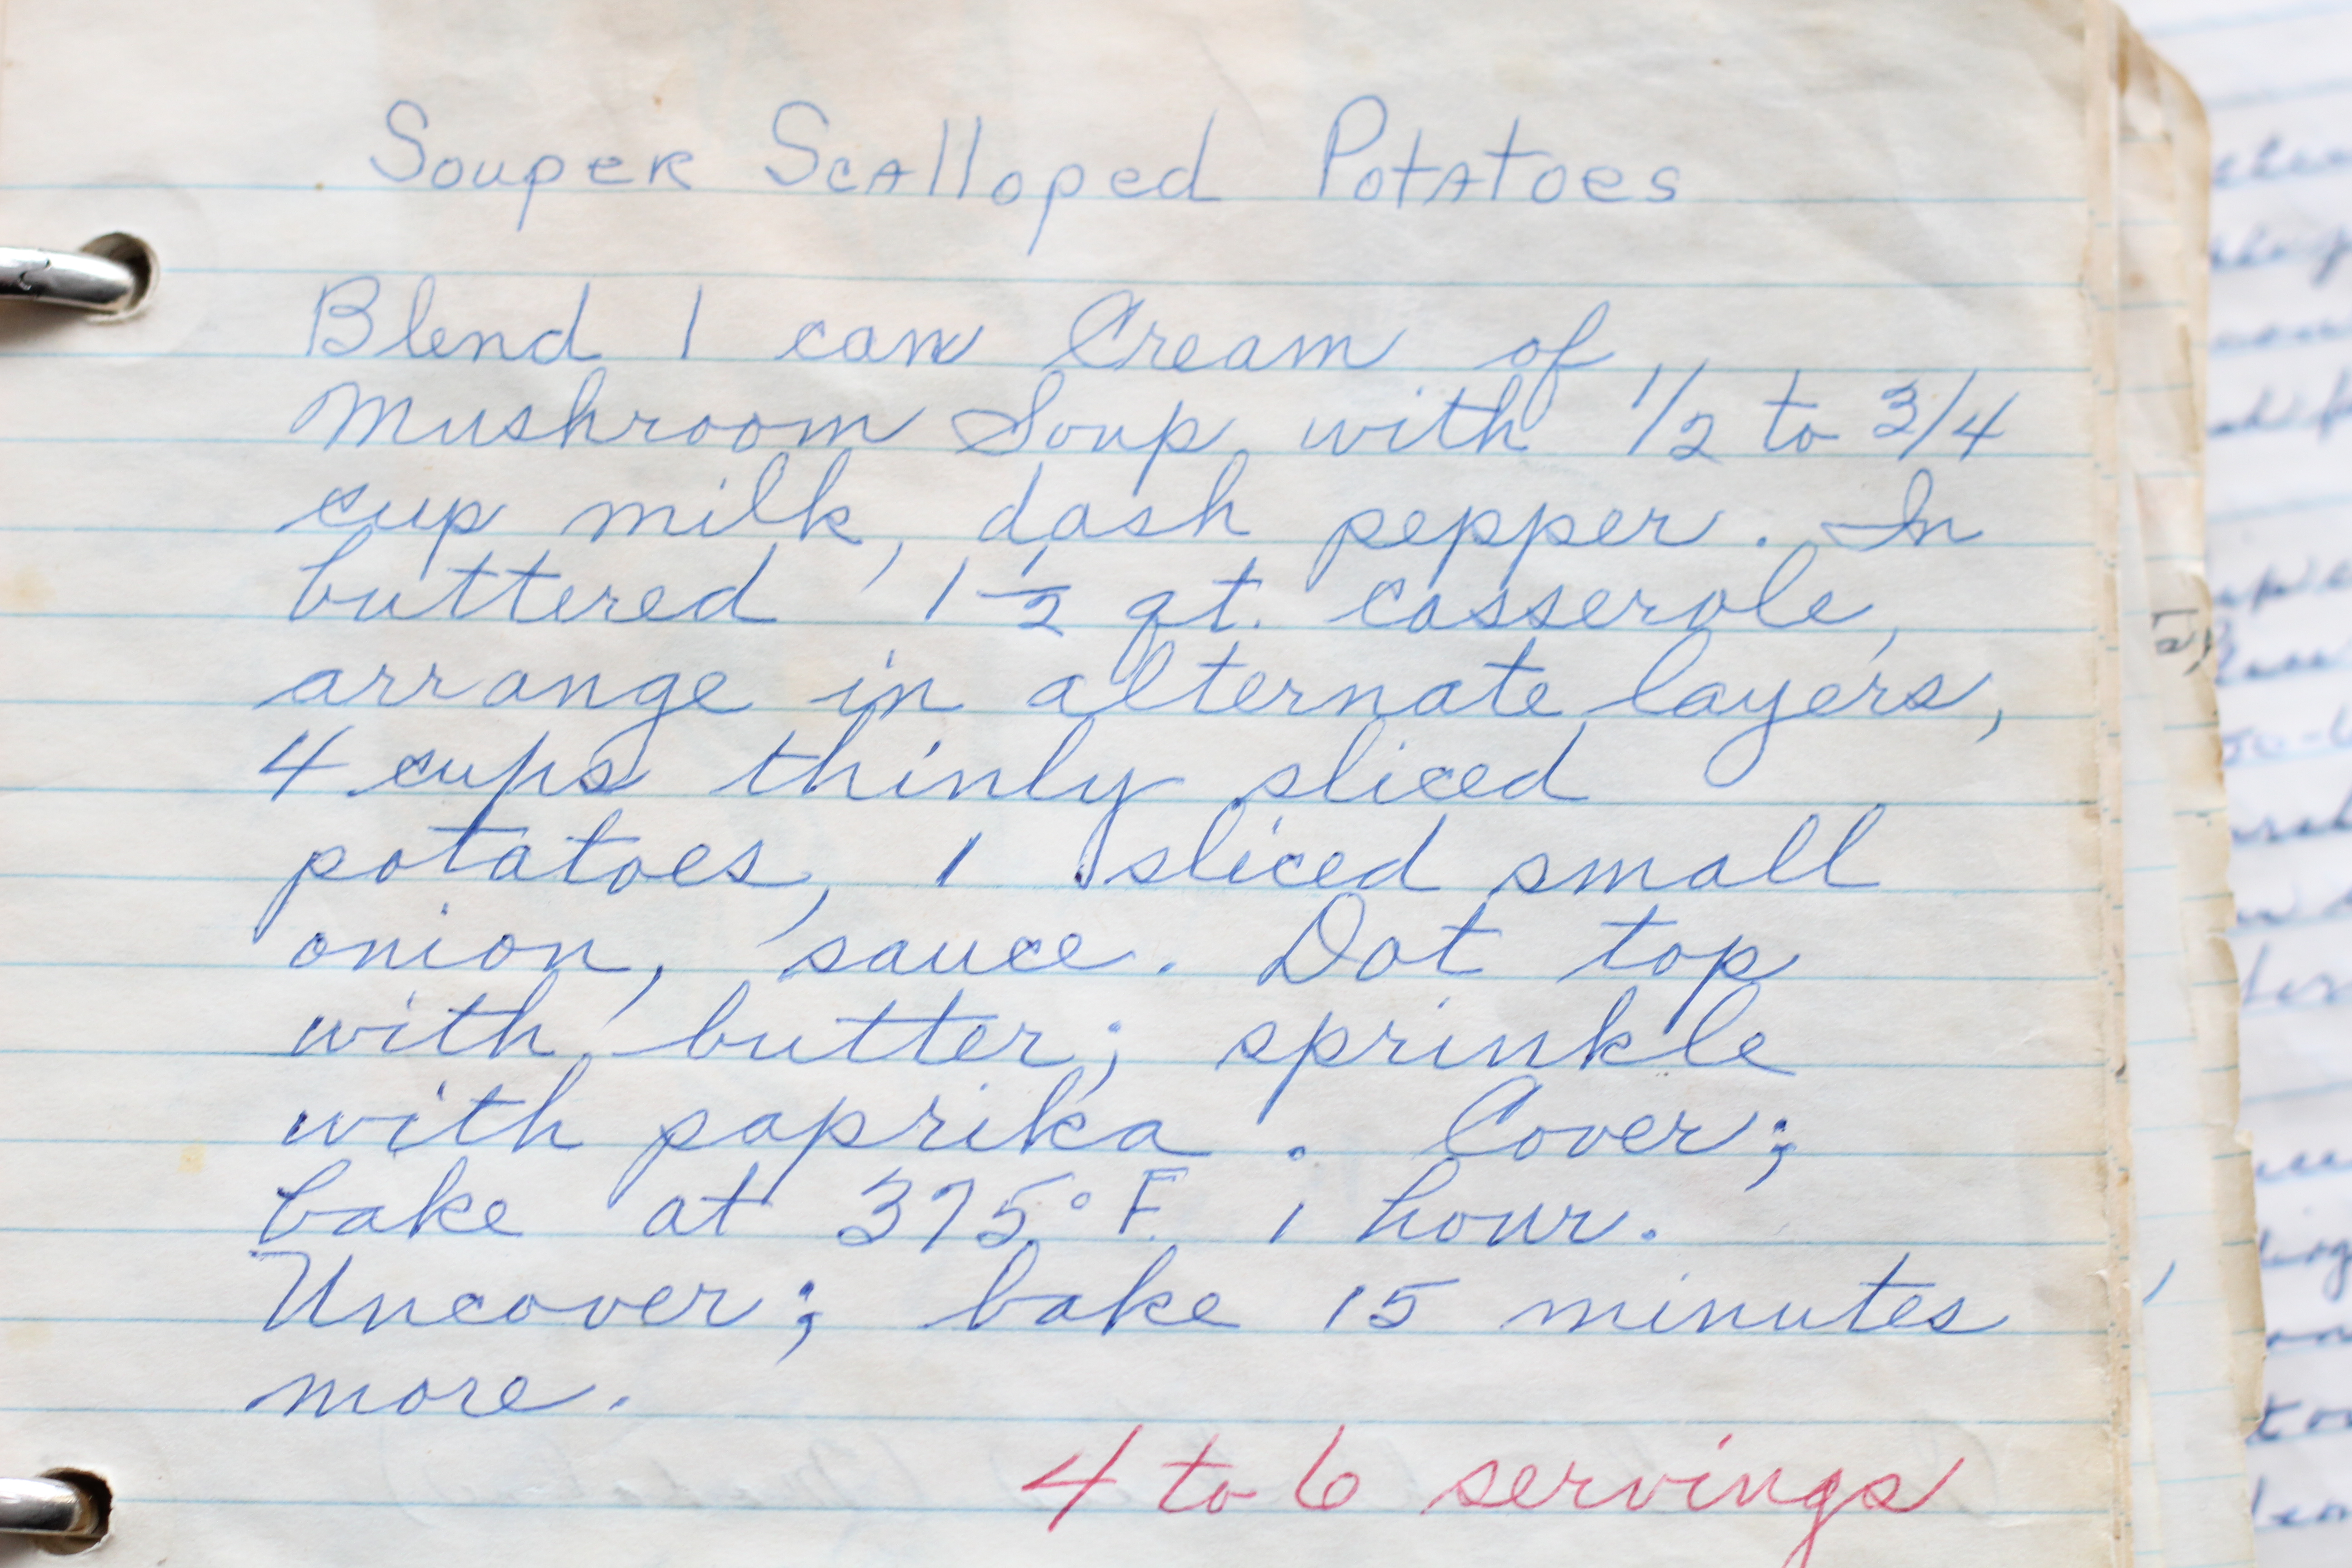
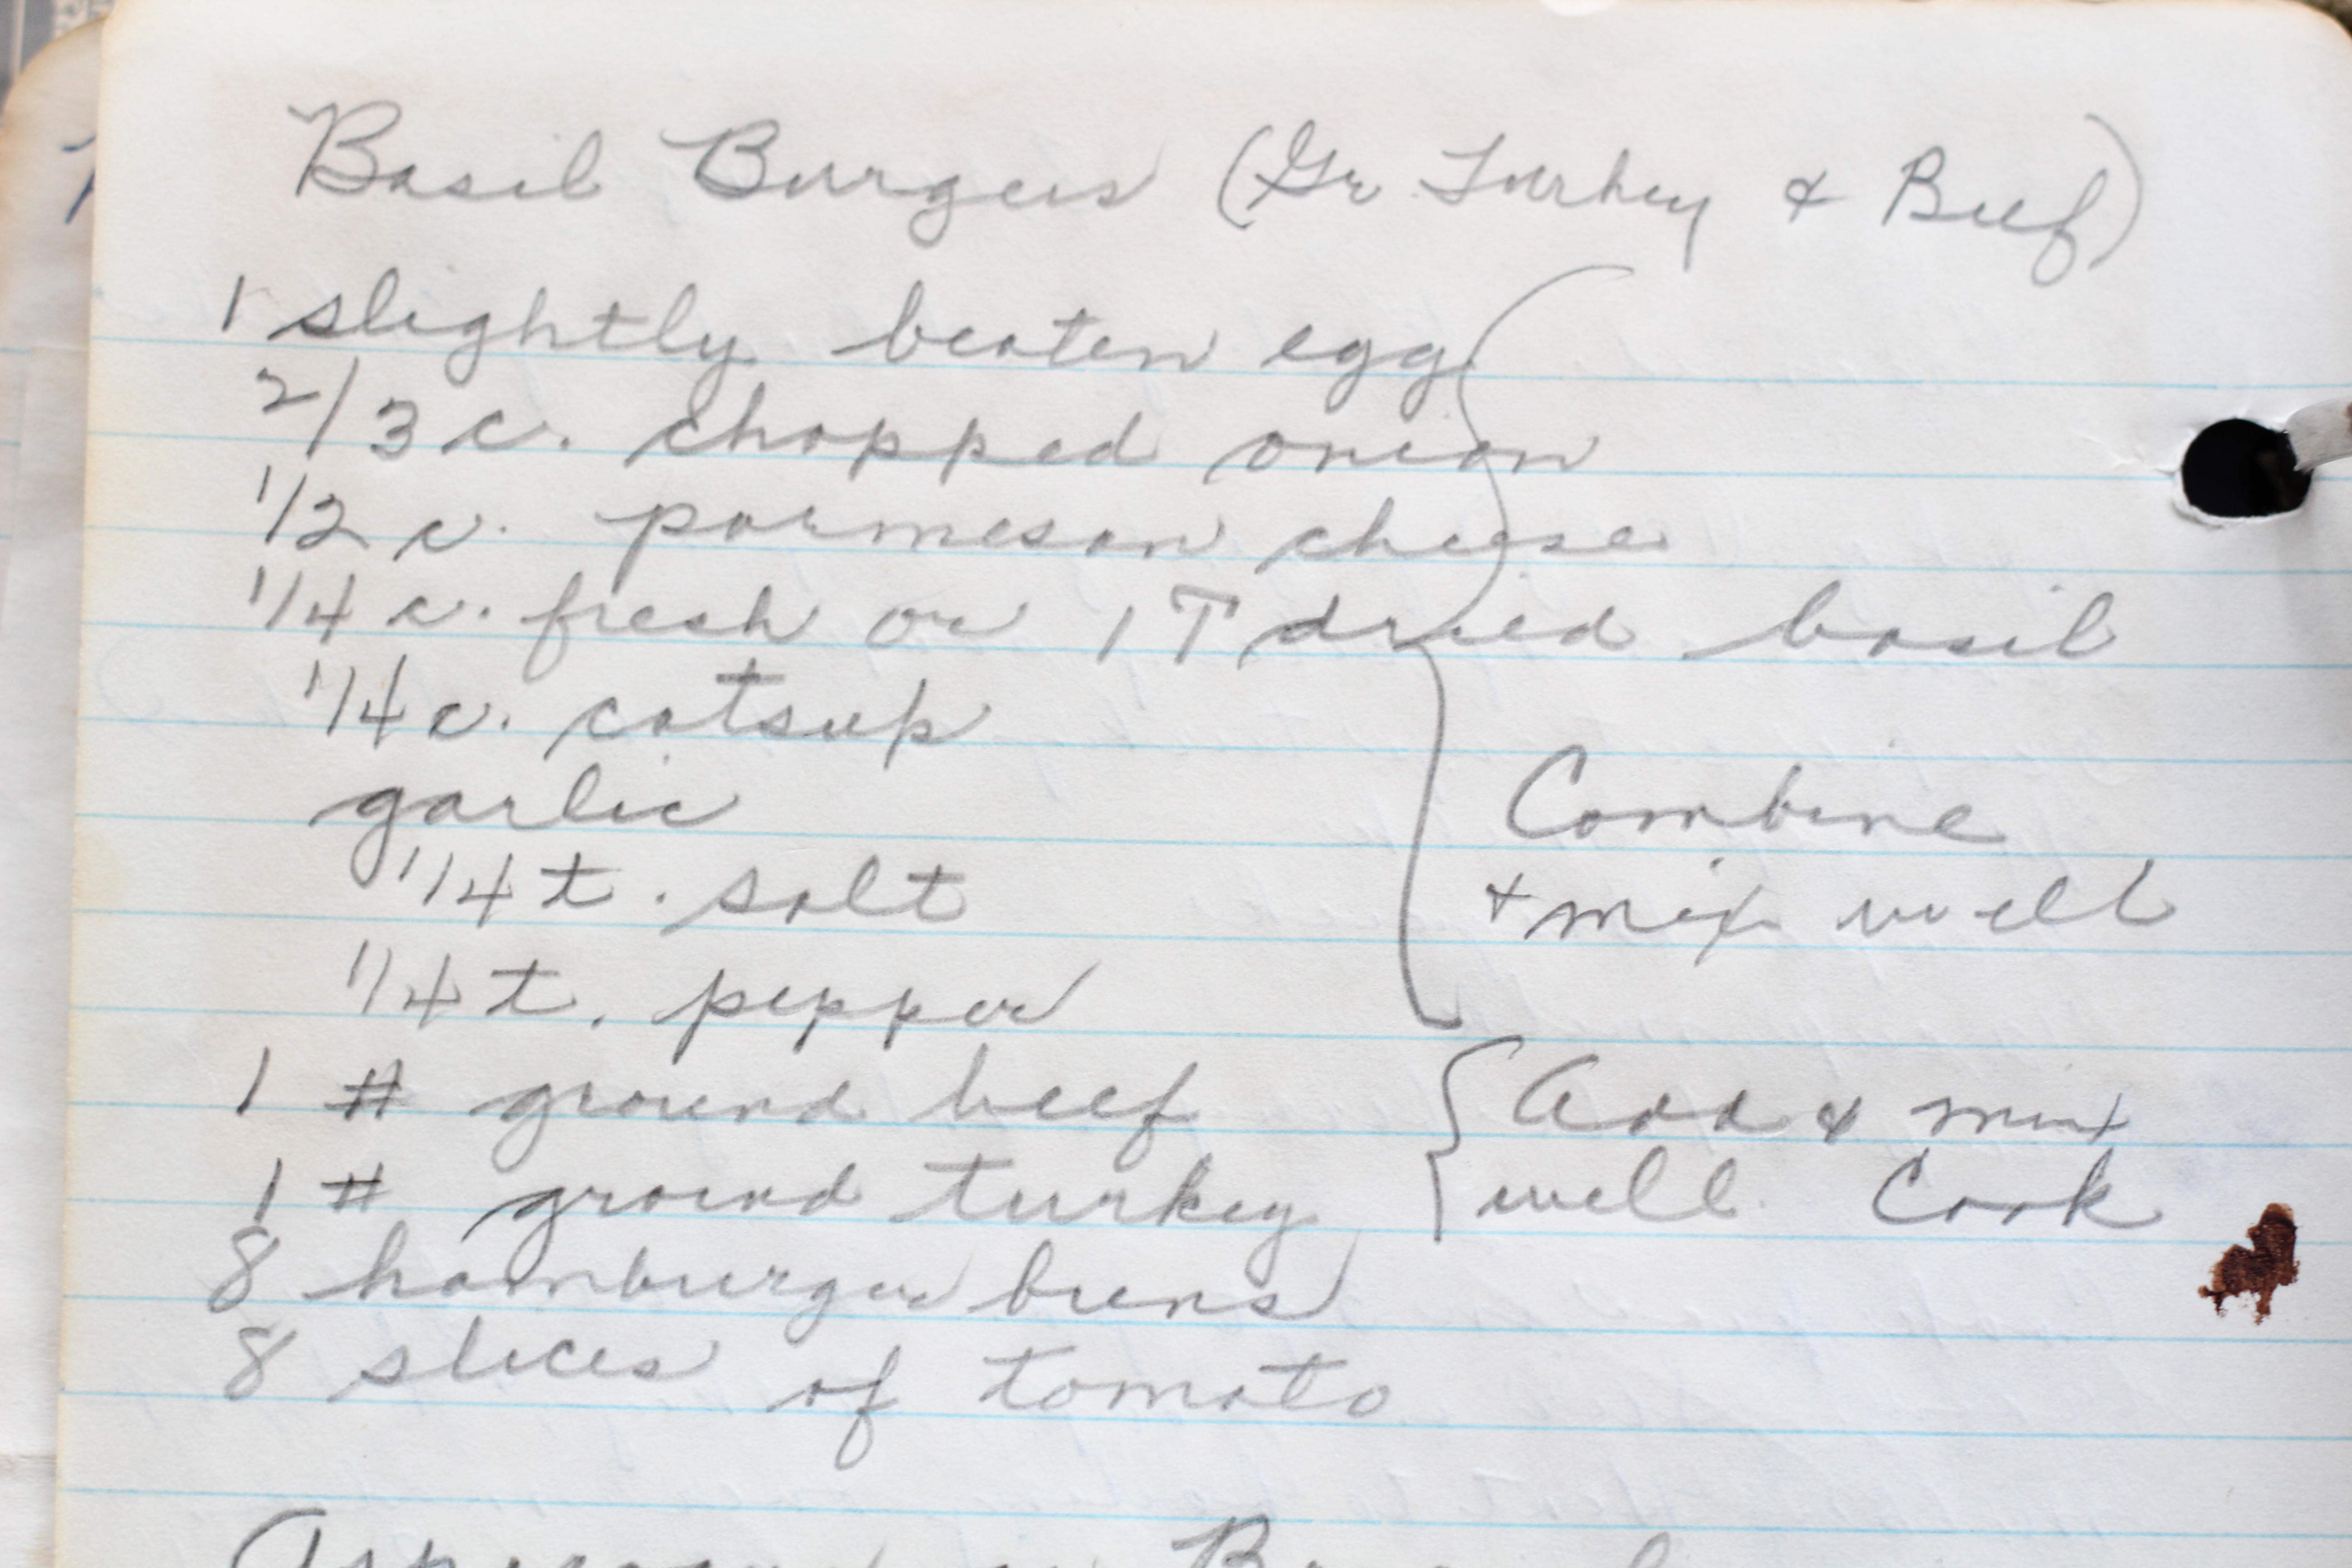
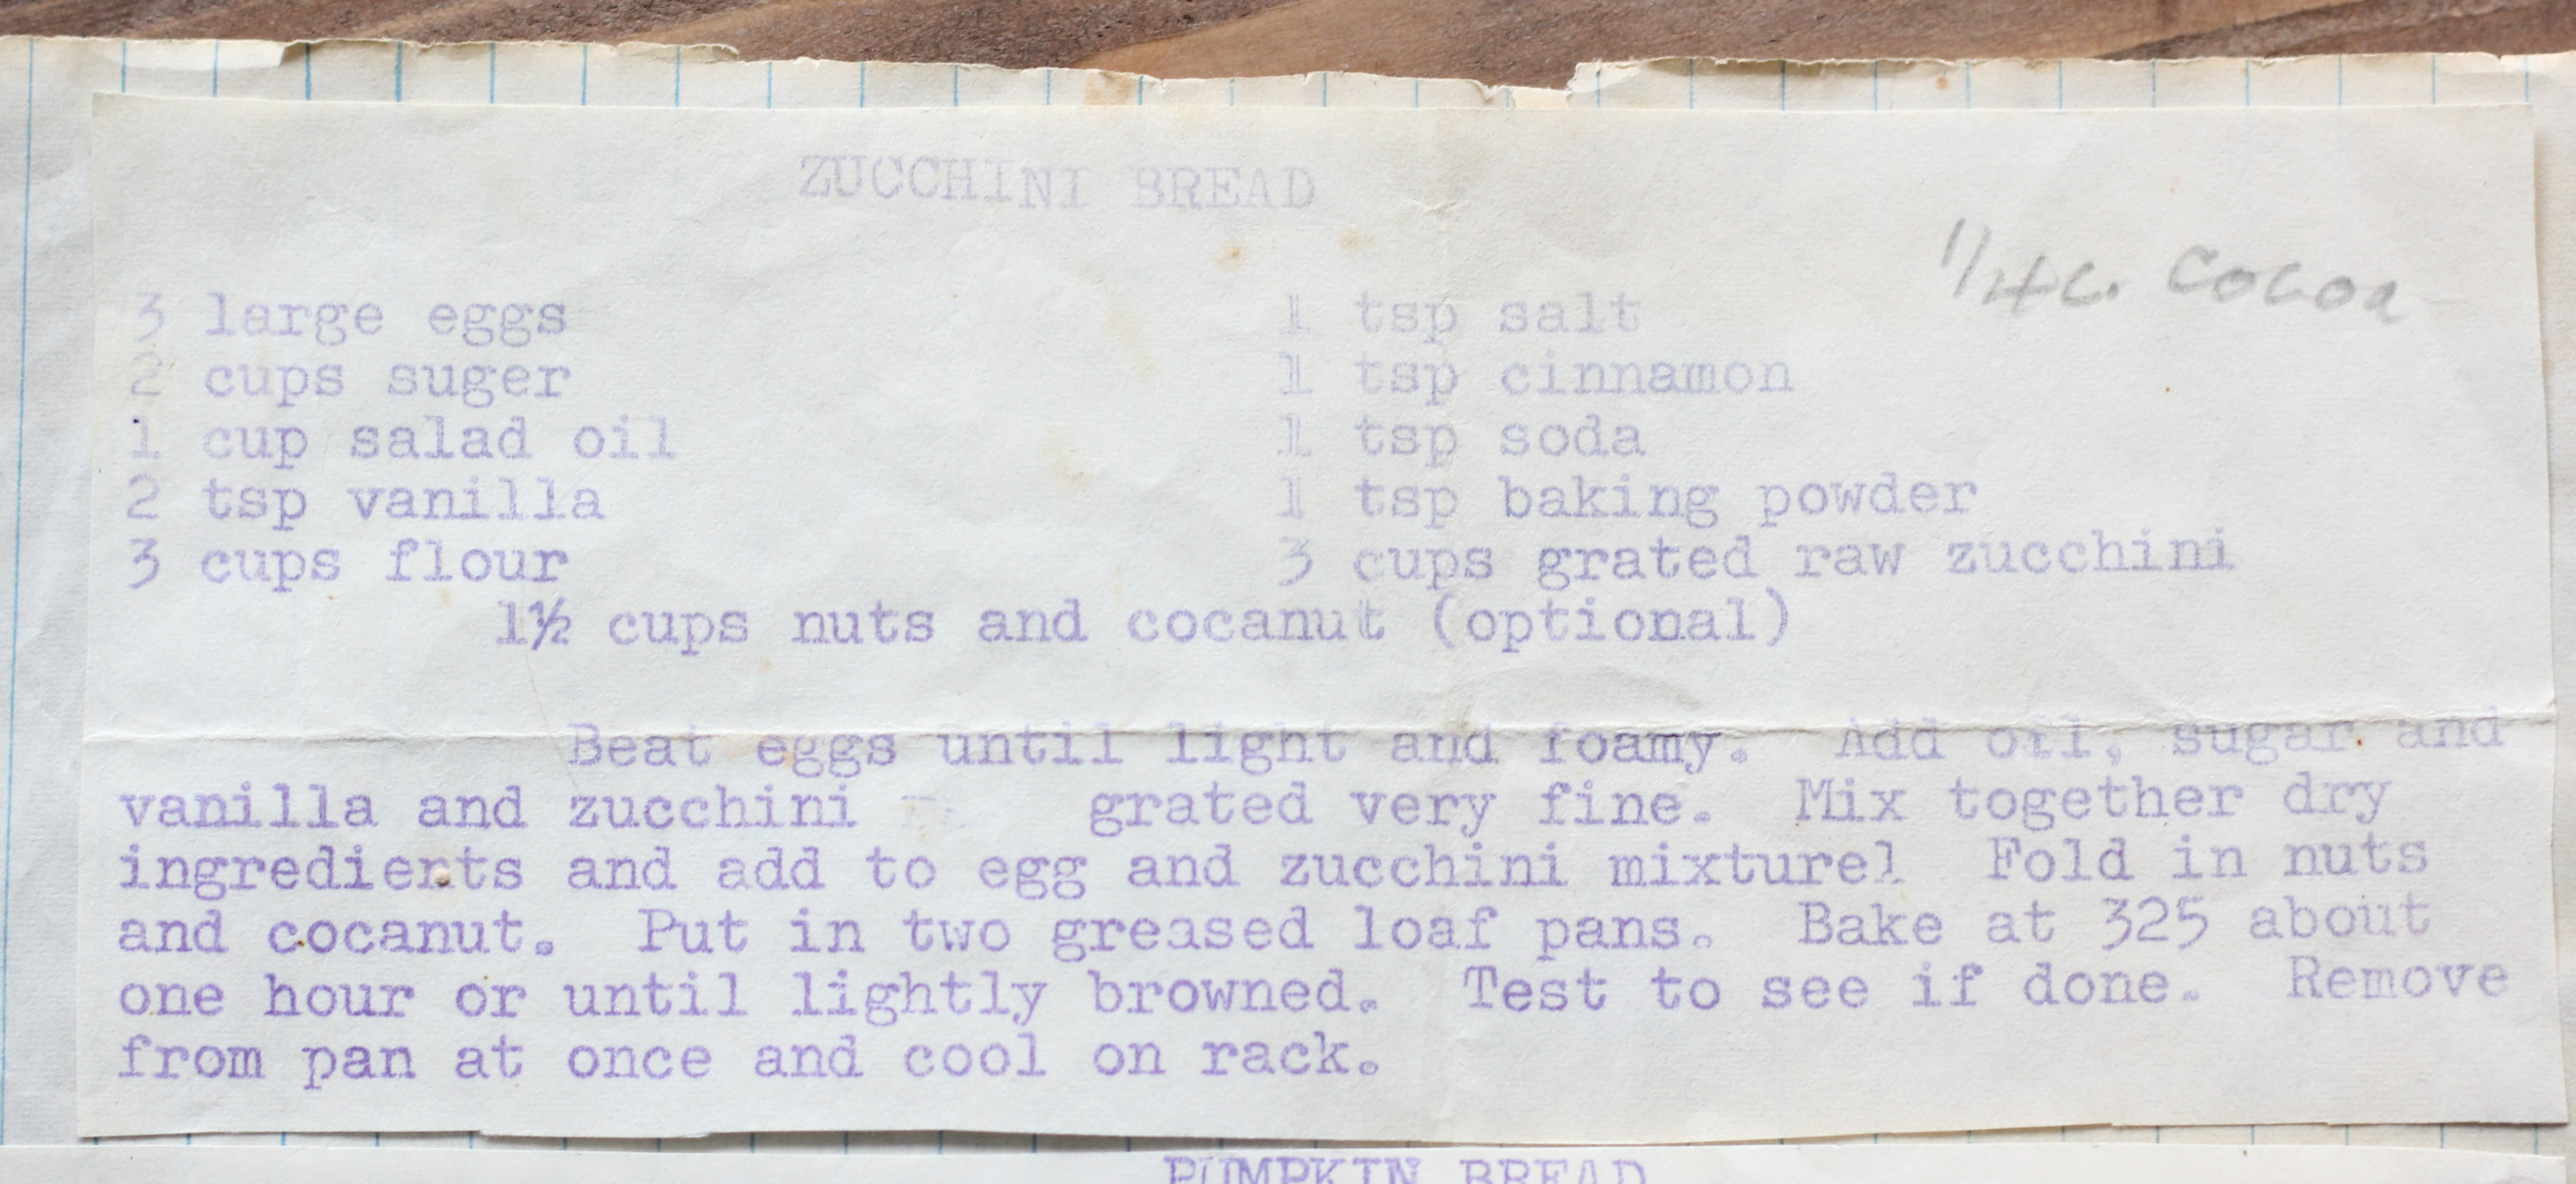
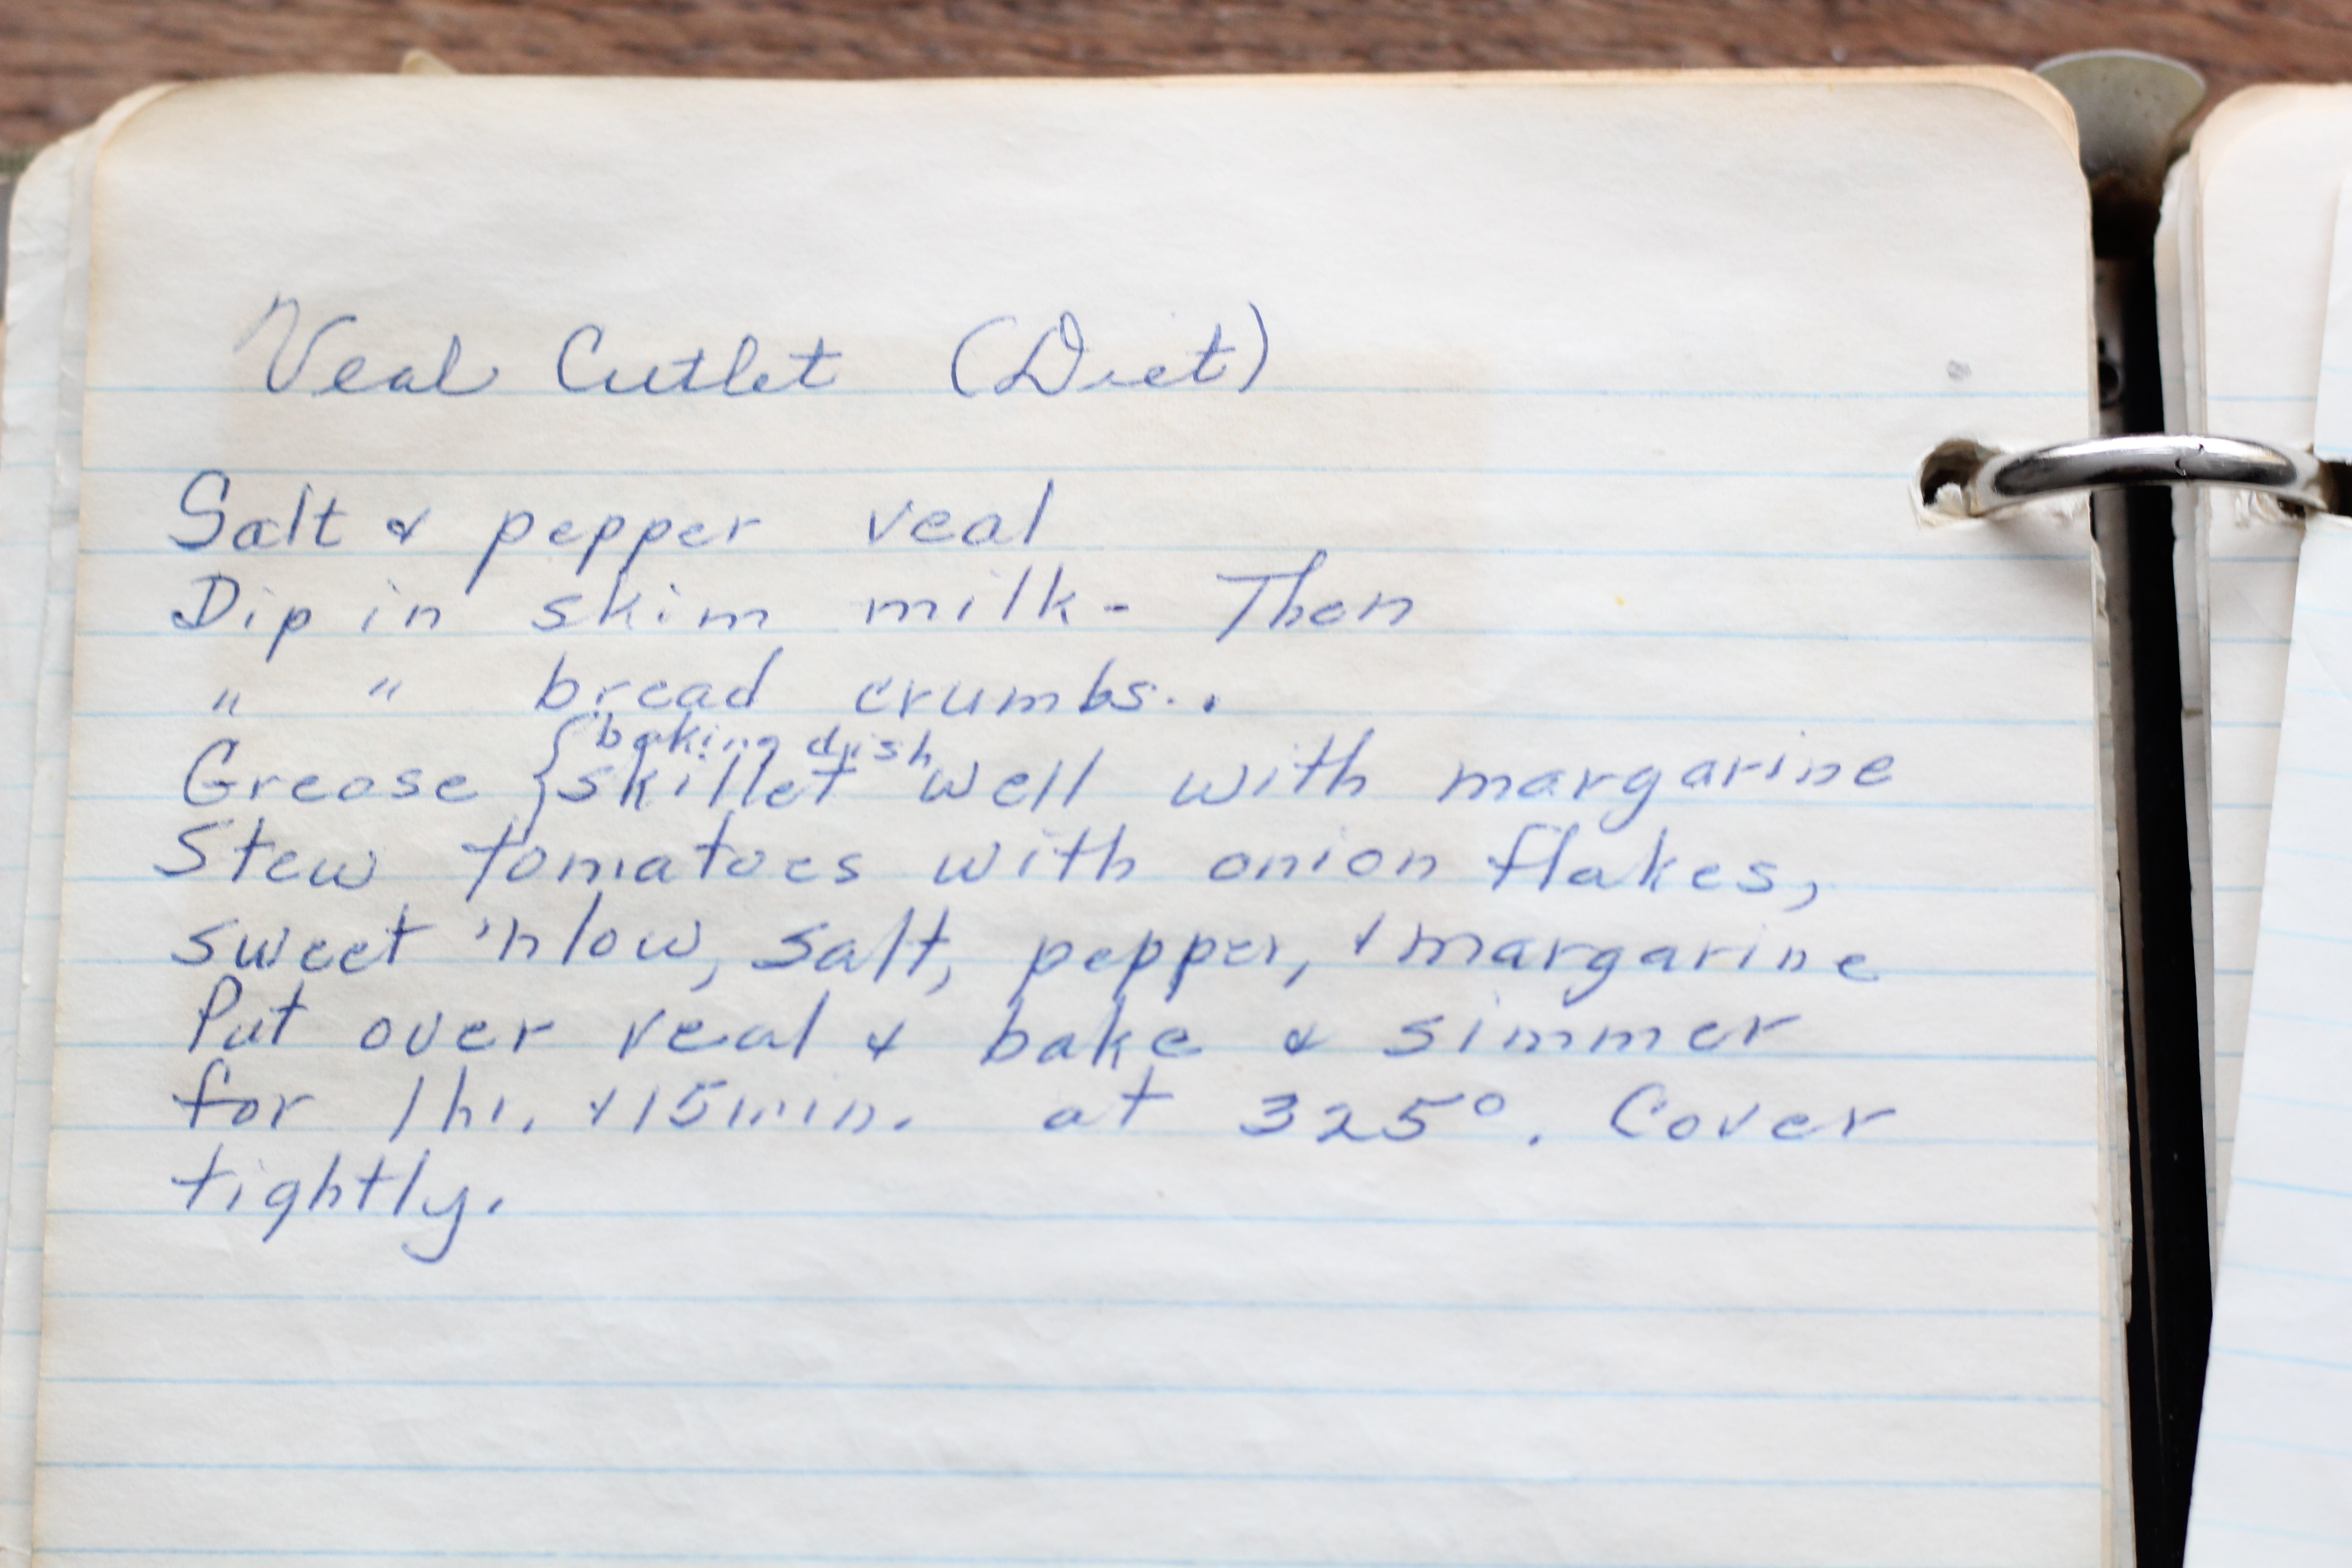
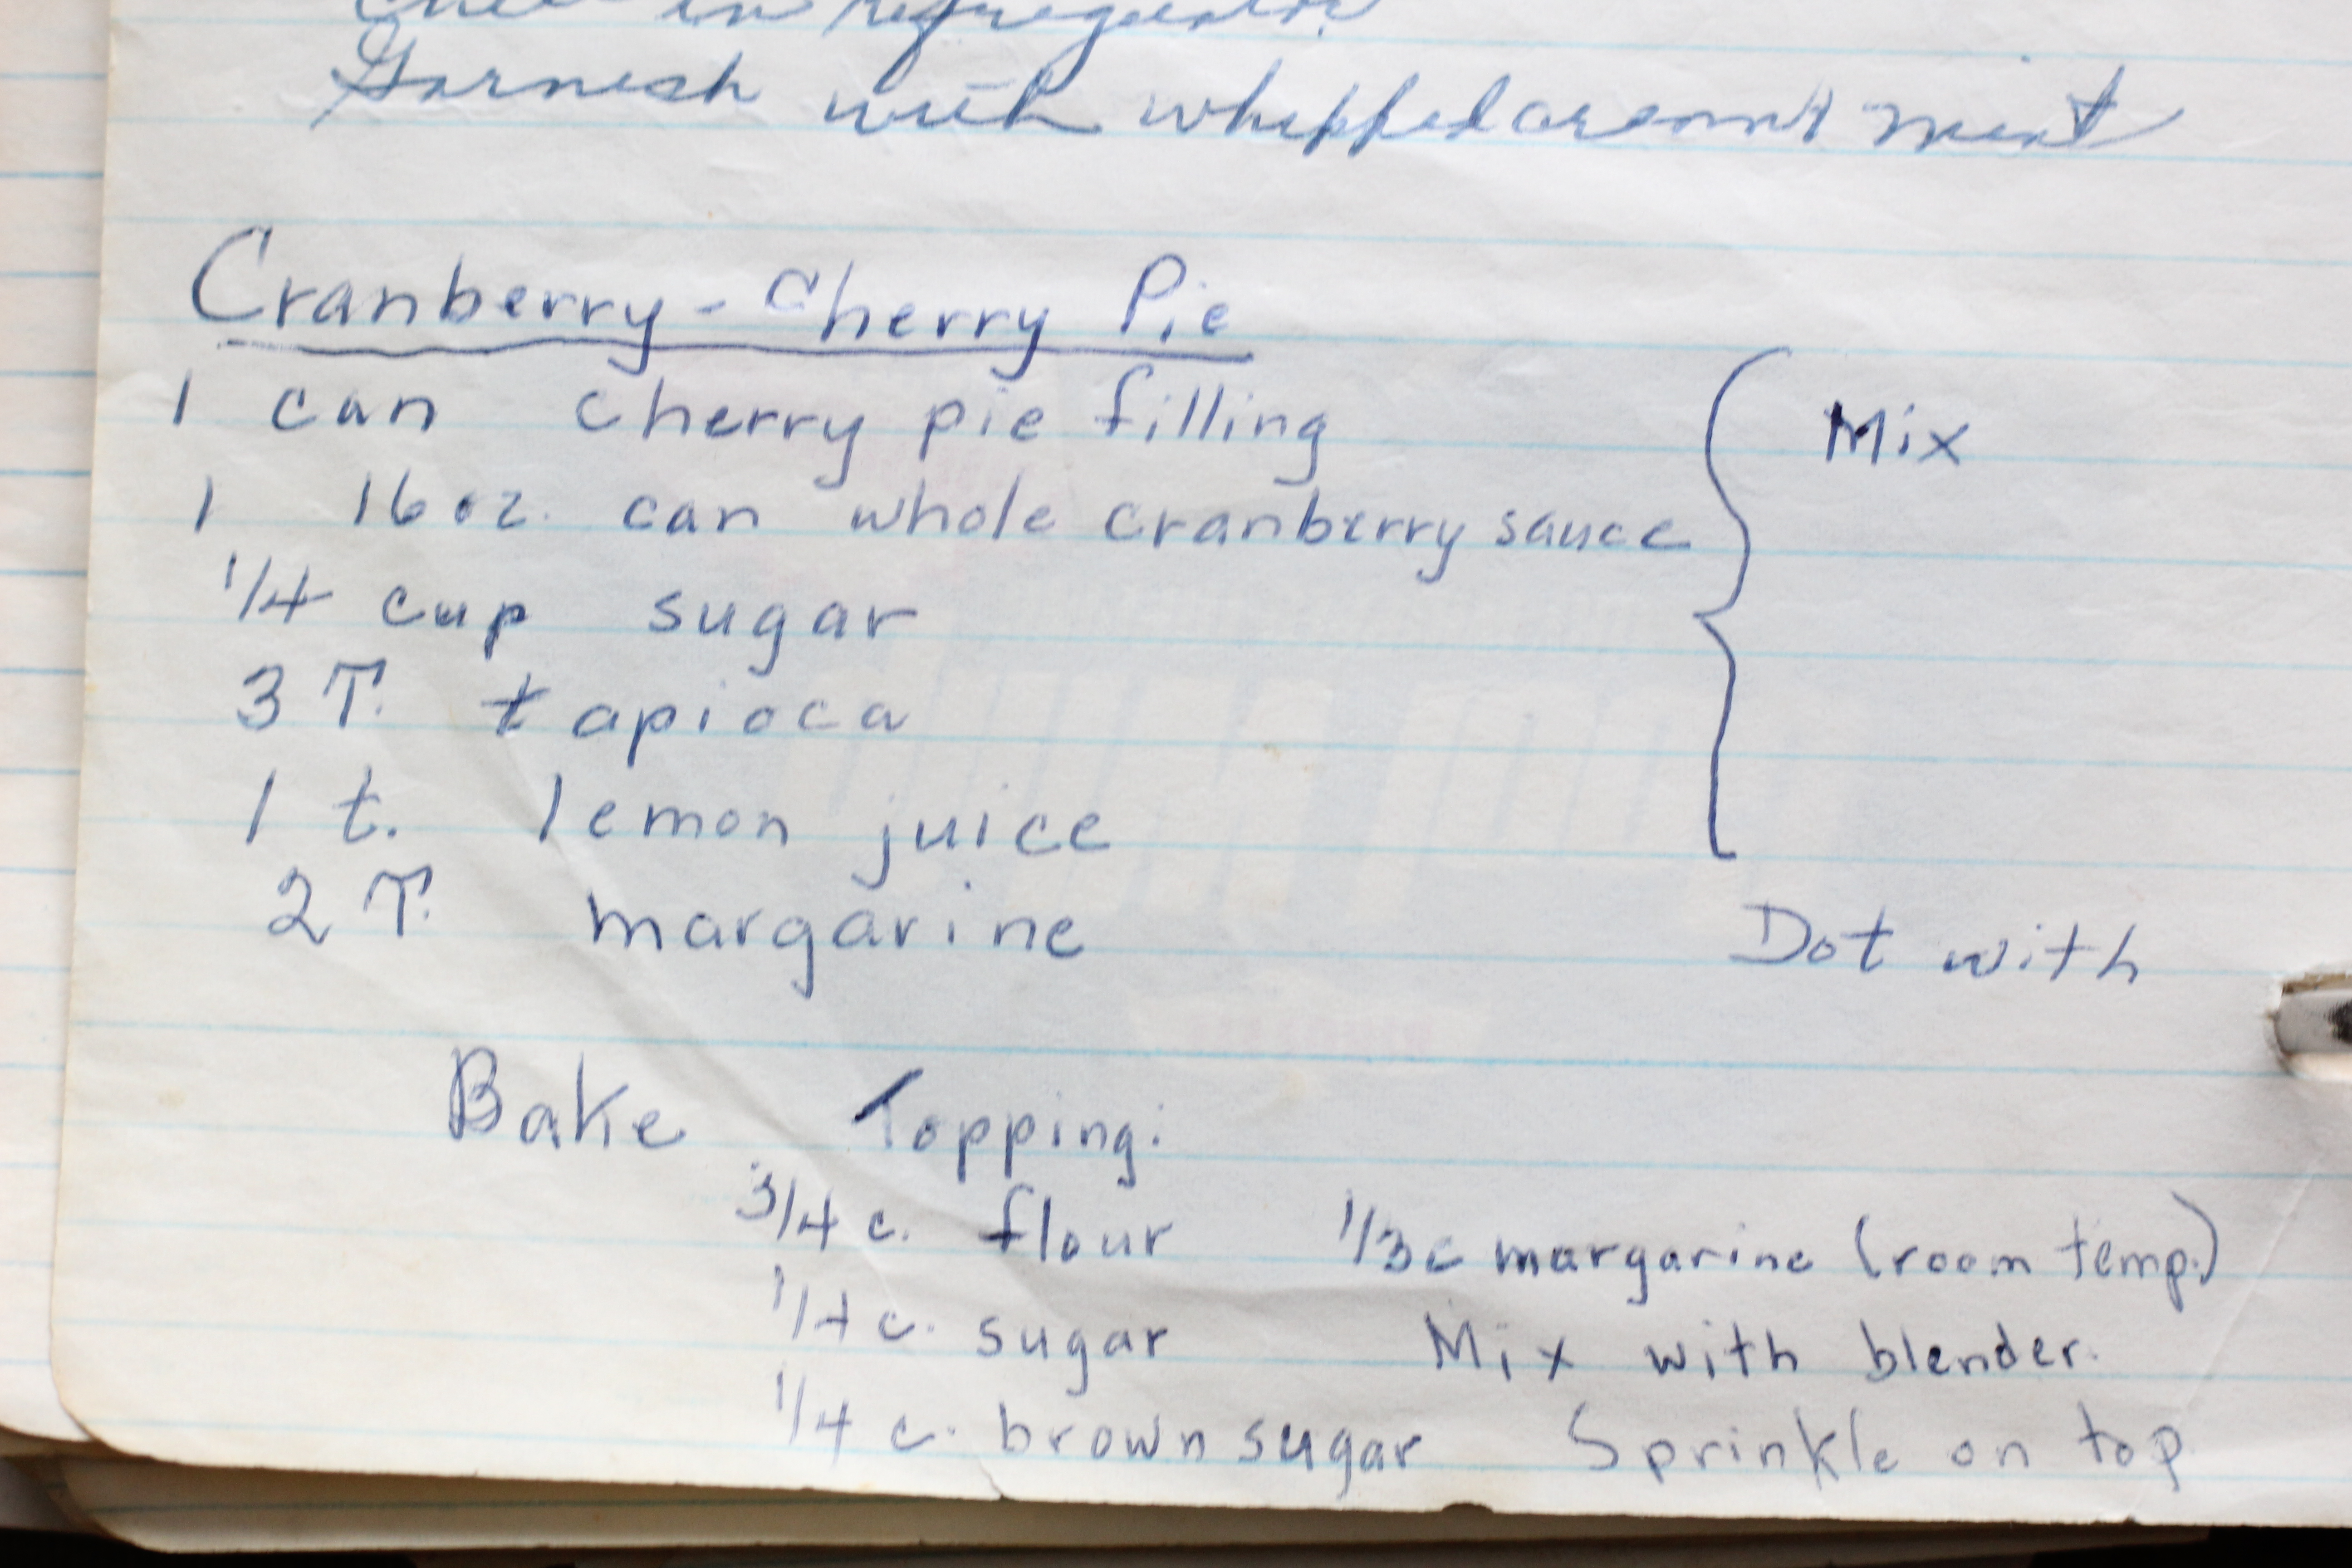
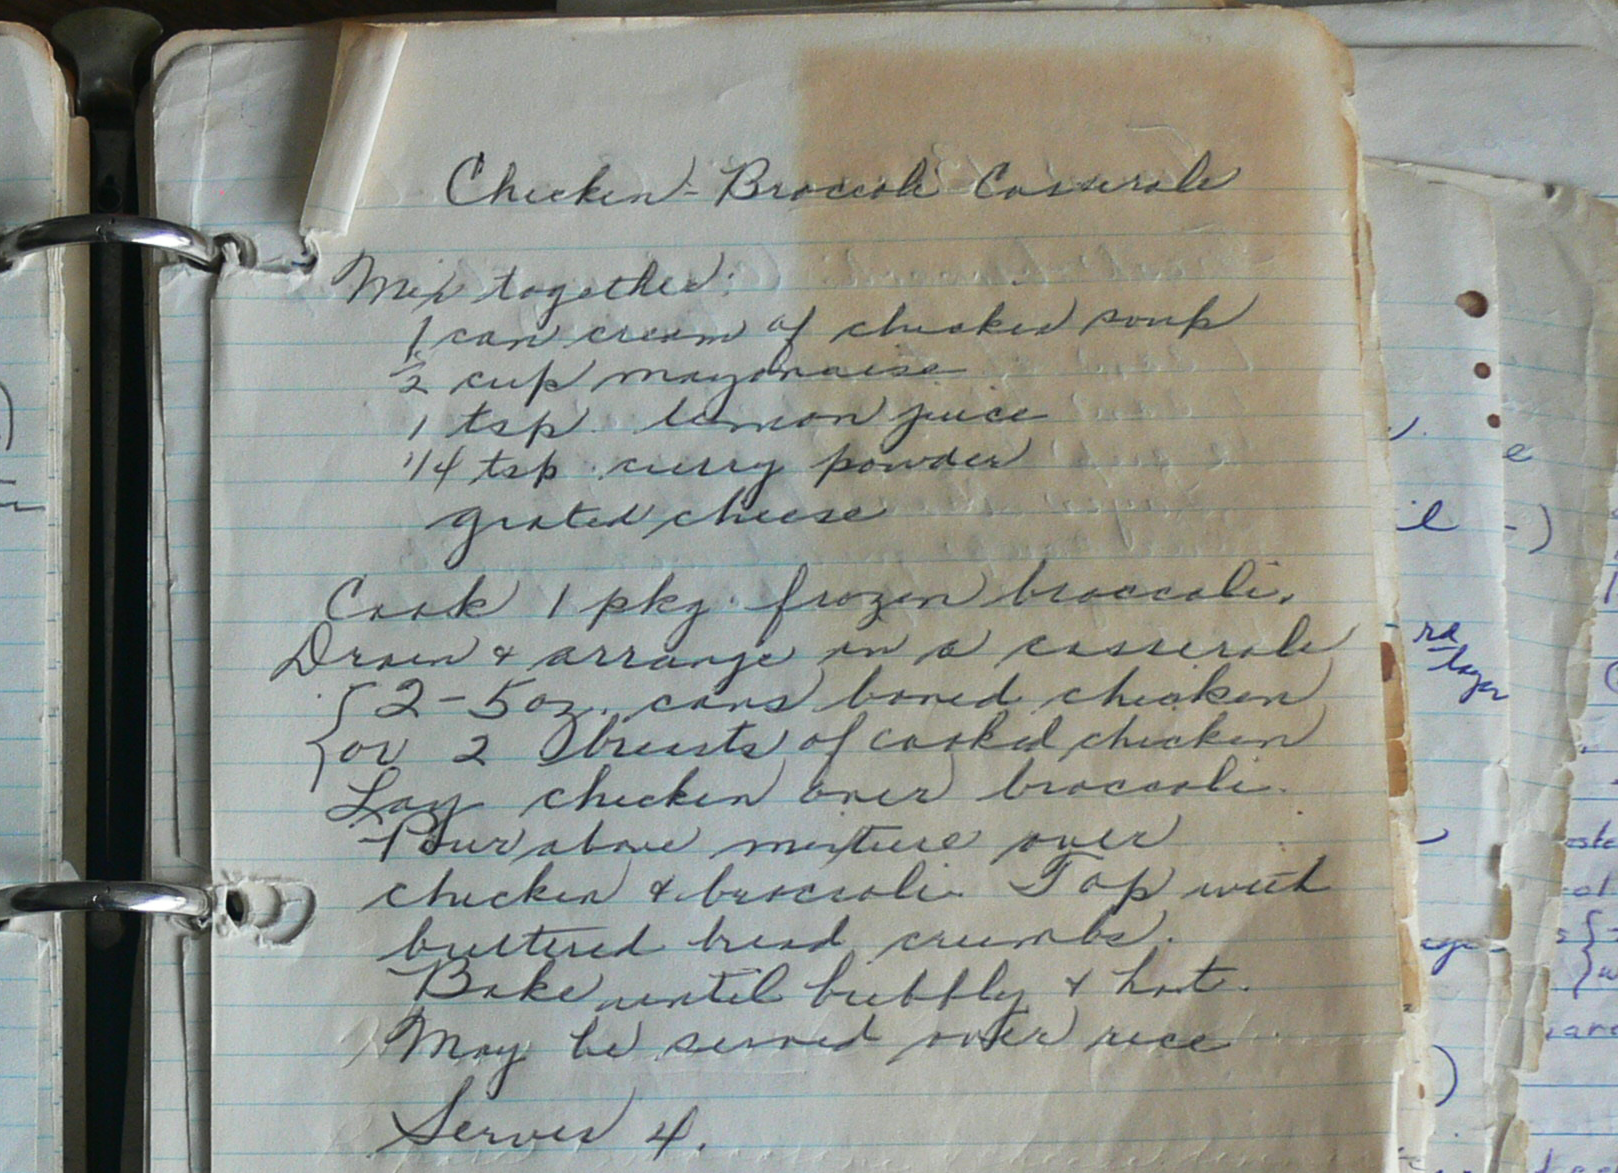
We really couldn’t discern a lot of details about what this recipe had in store for us from just what Marguerite wrote.  Take a look for yourself:

Original Ham and Cheese

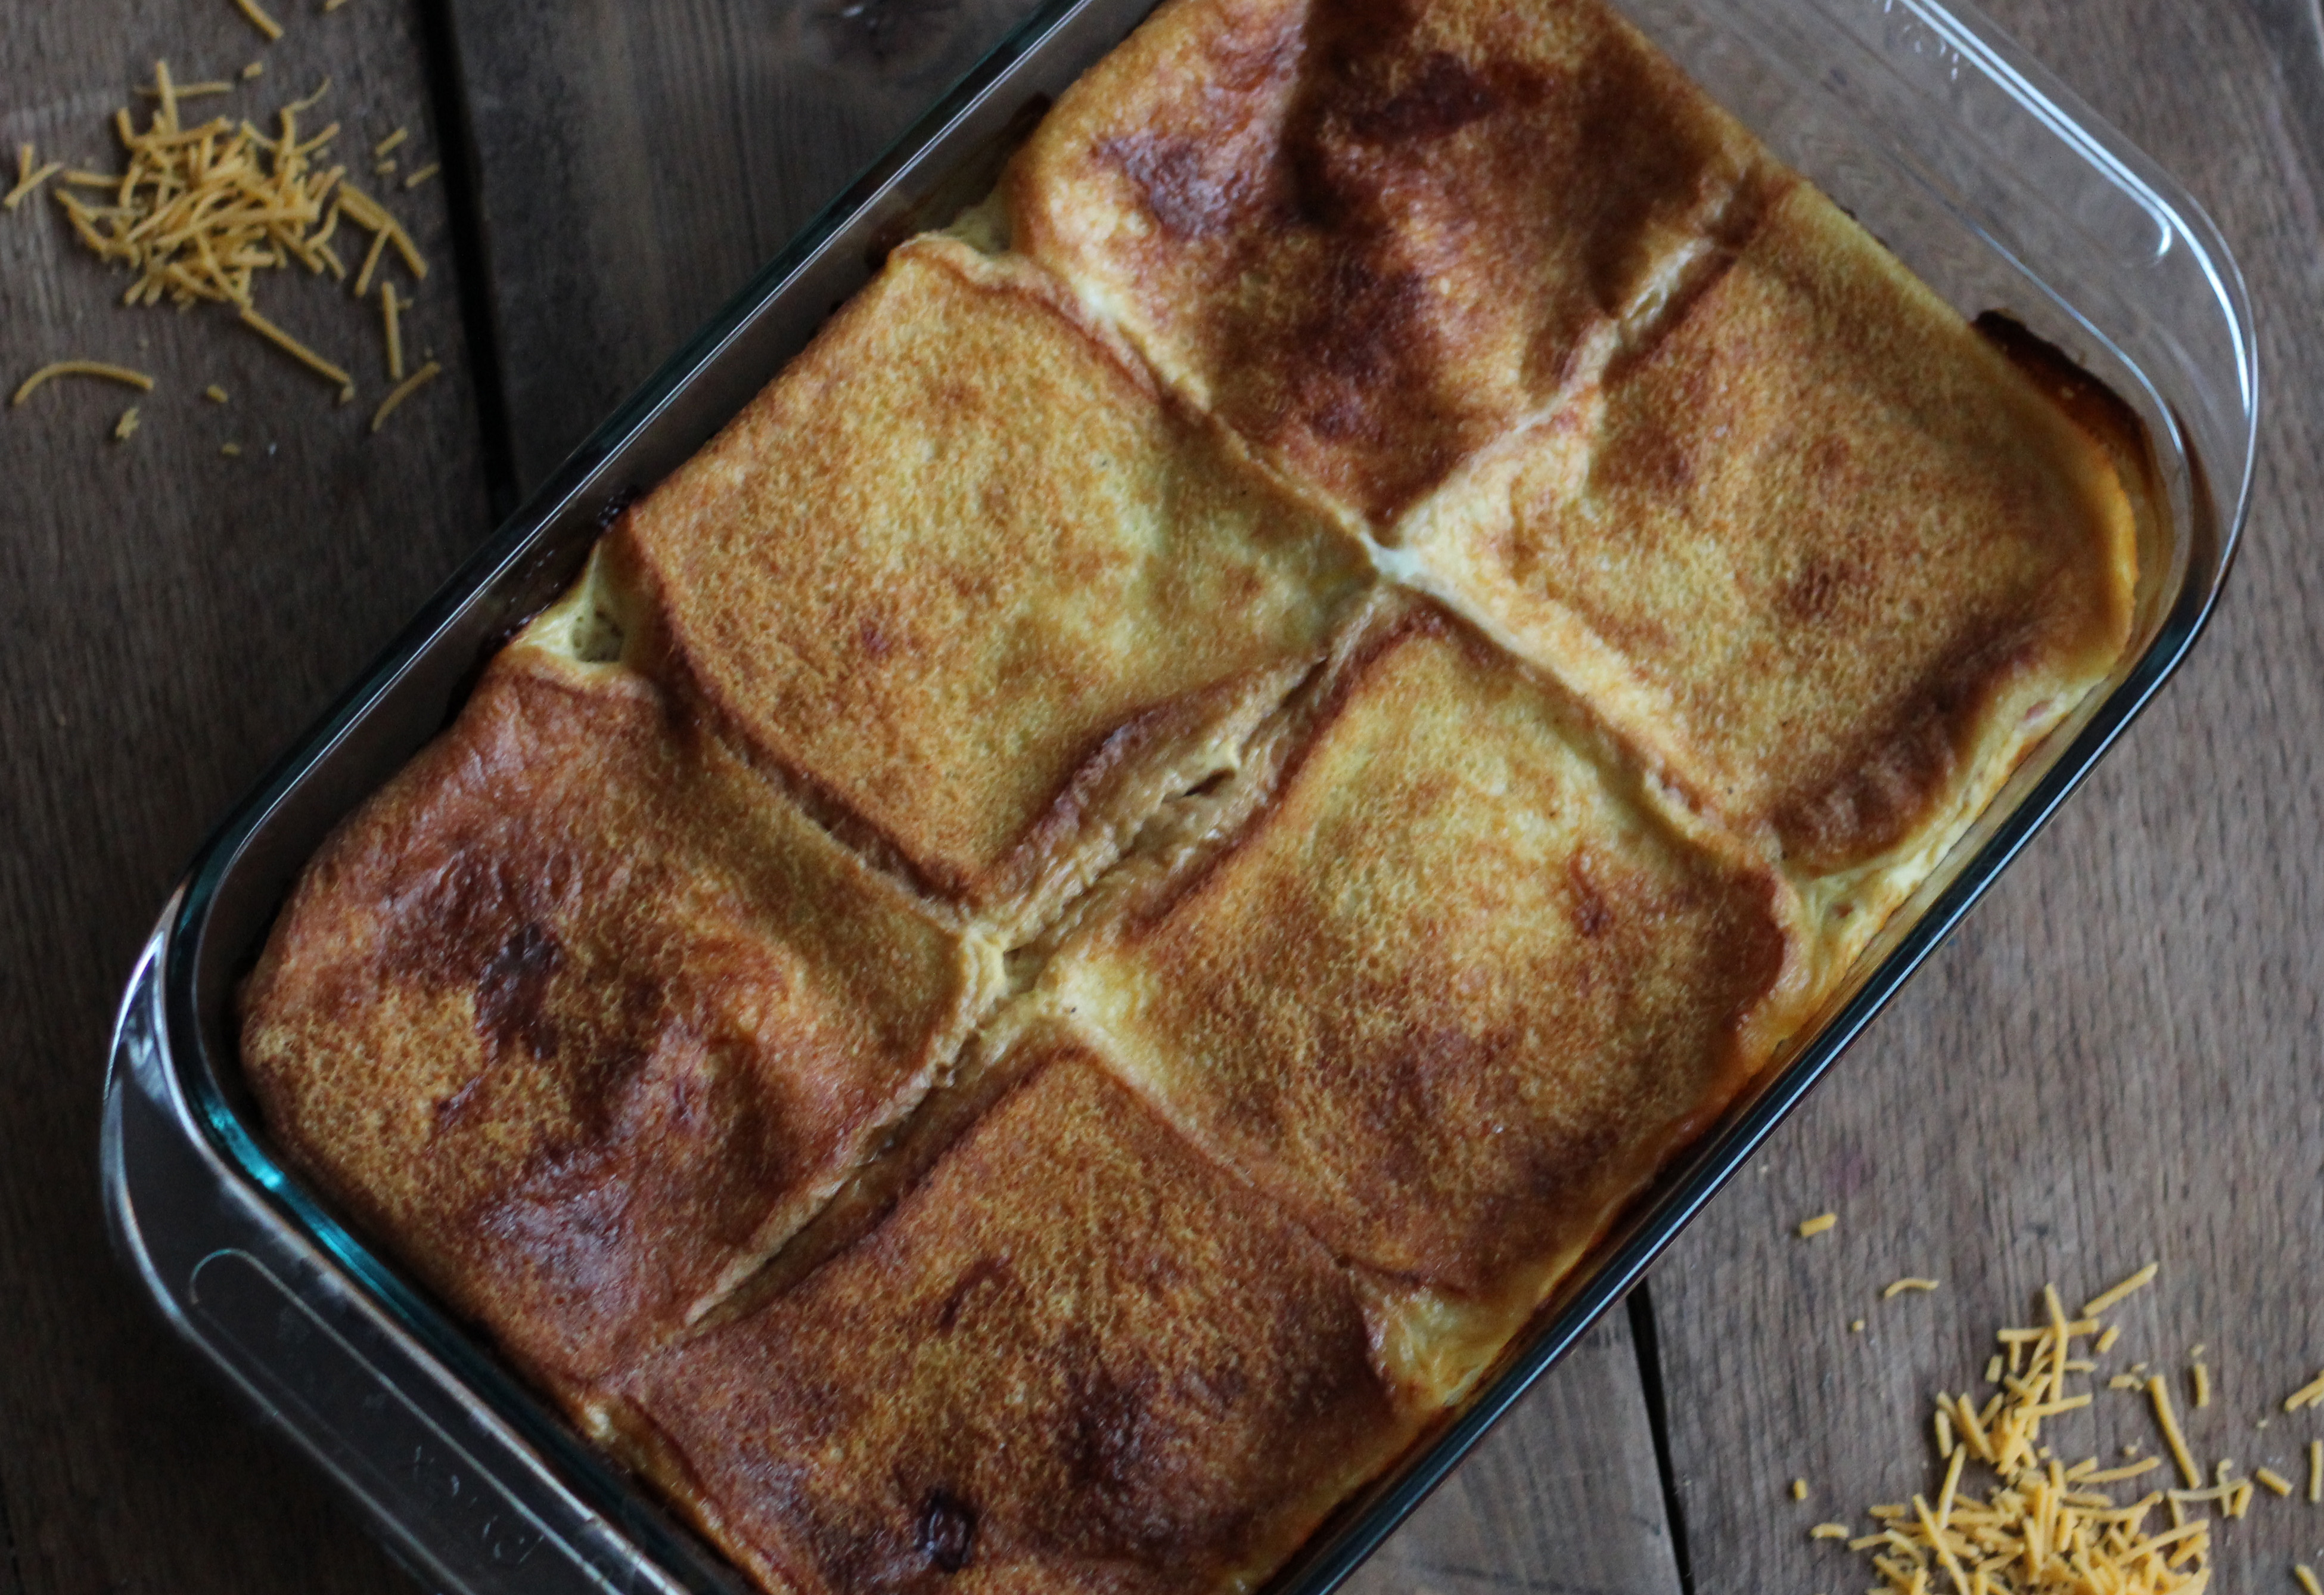
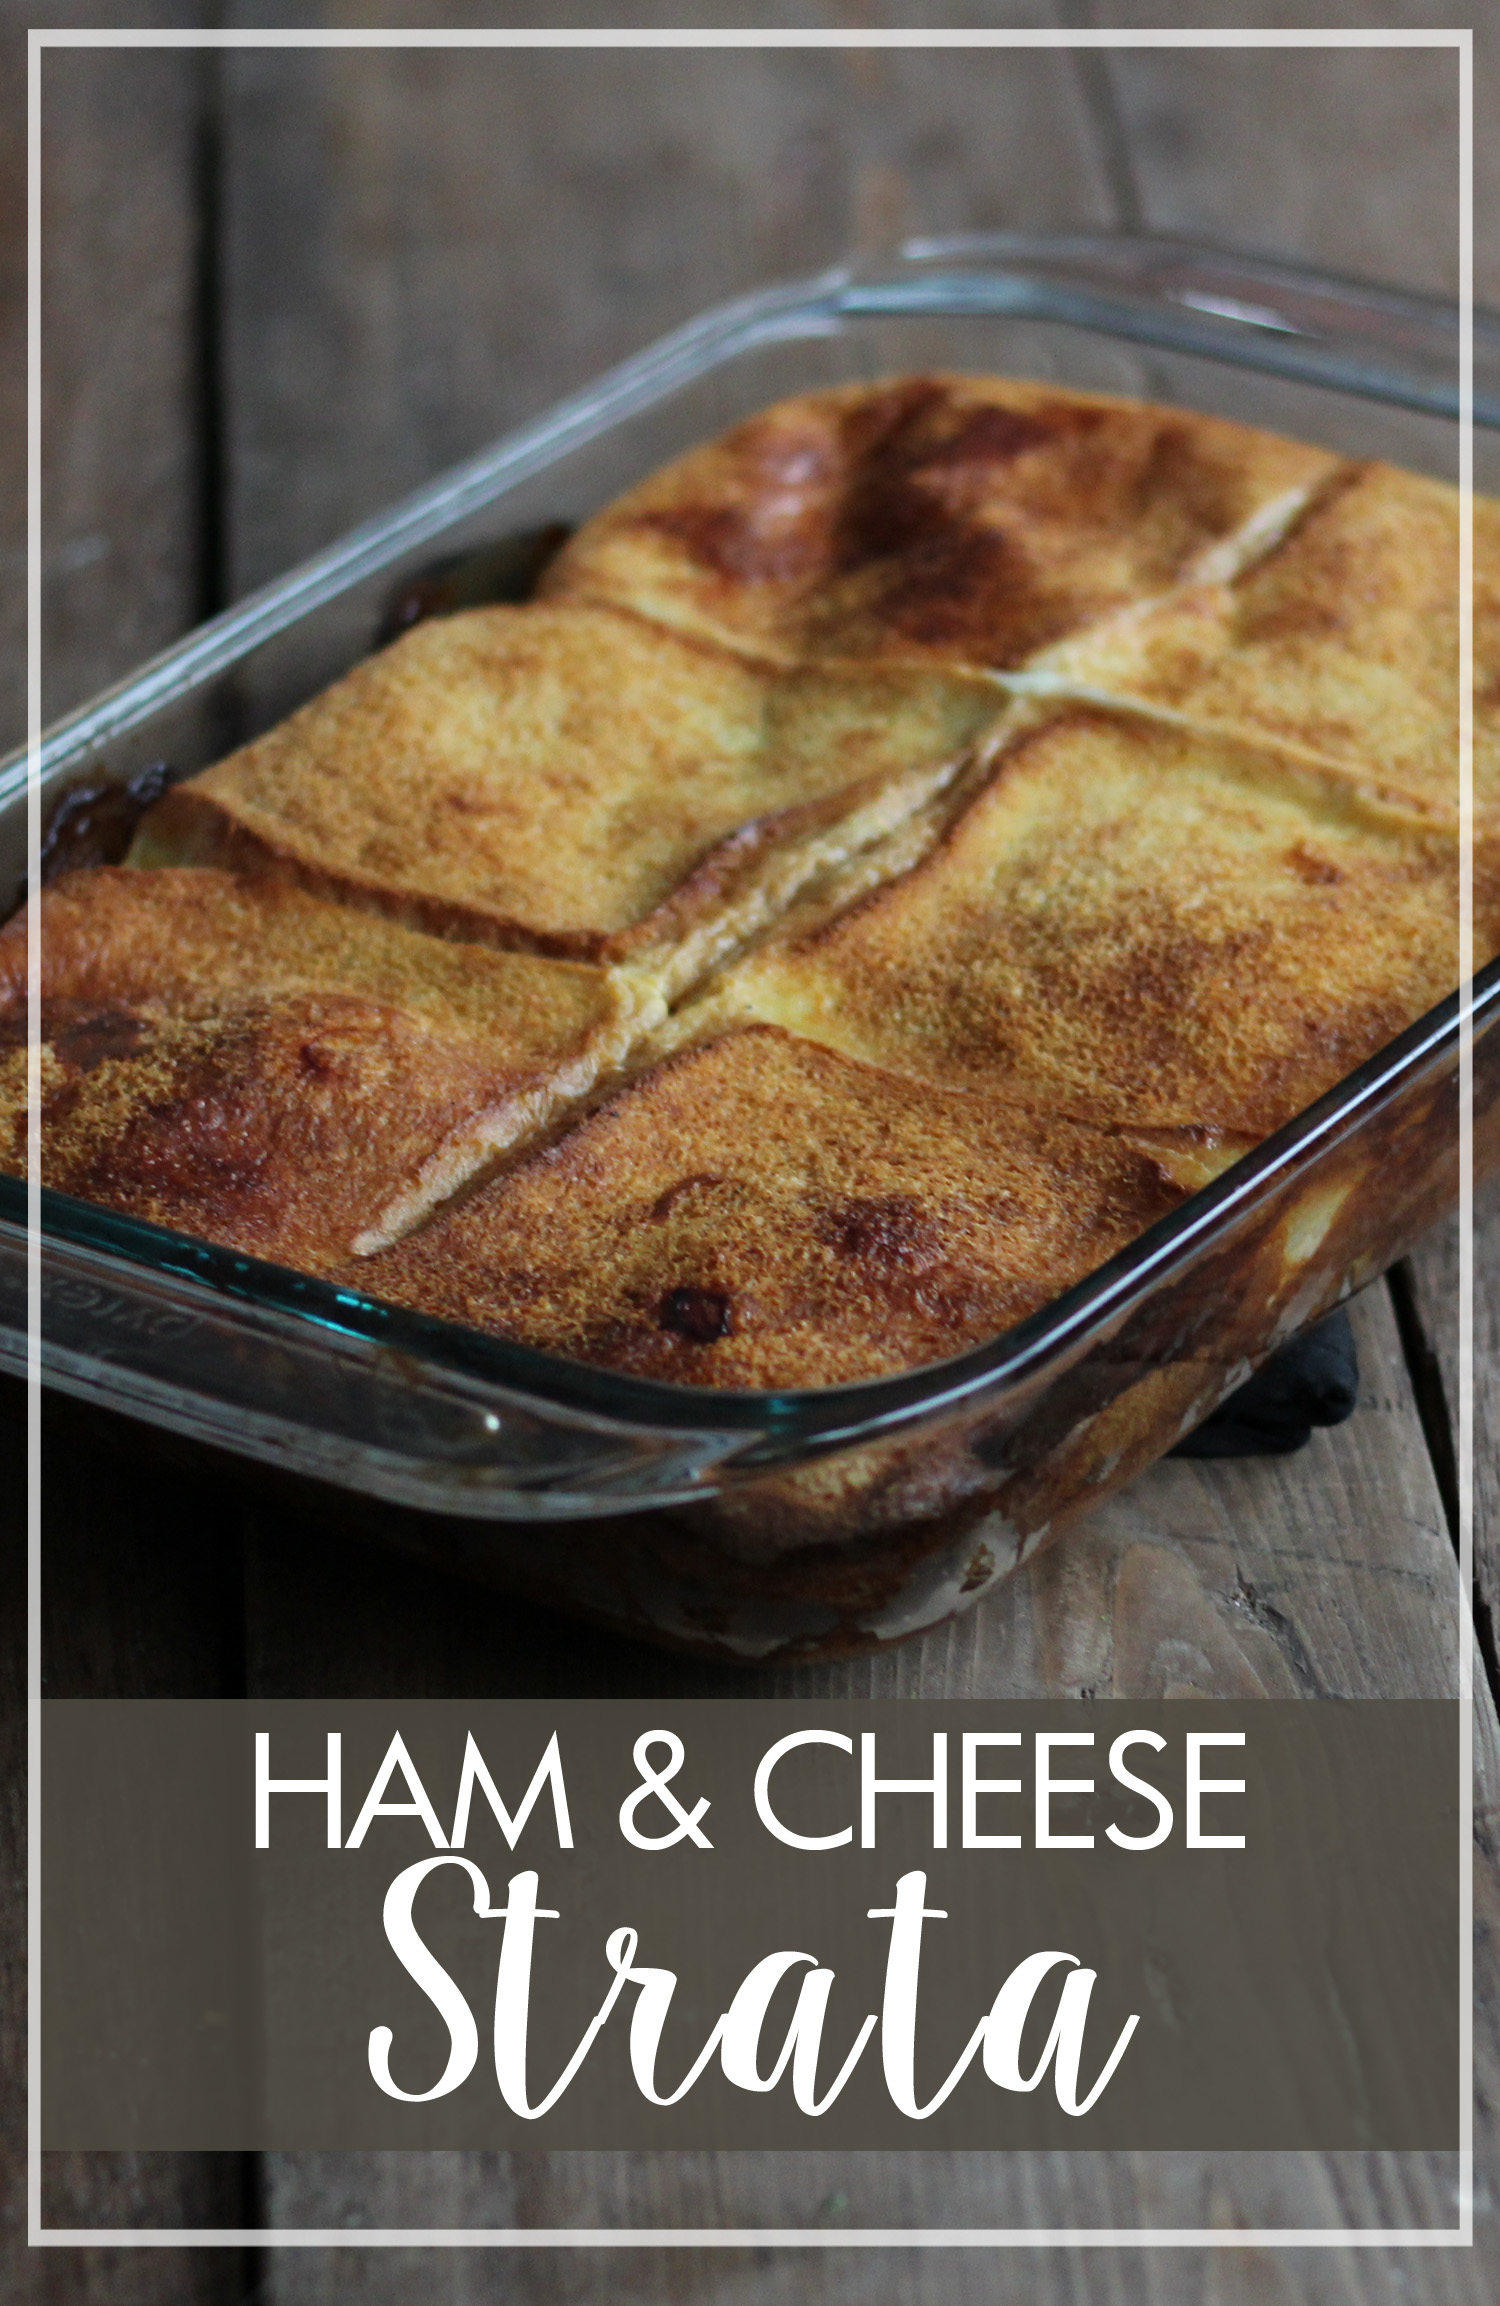
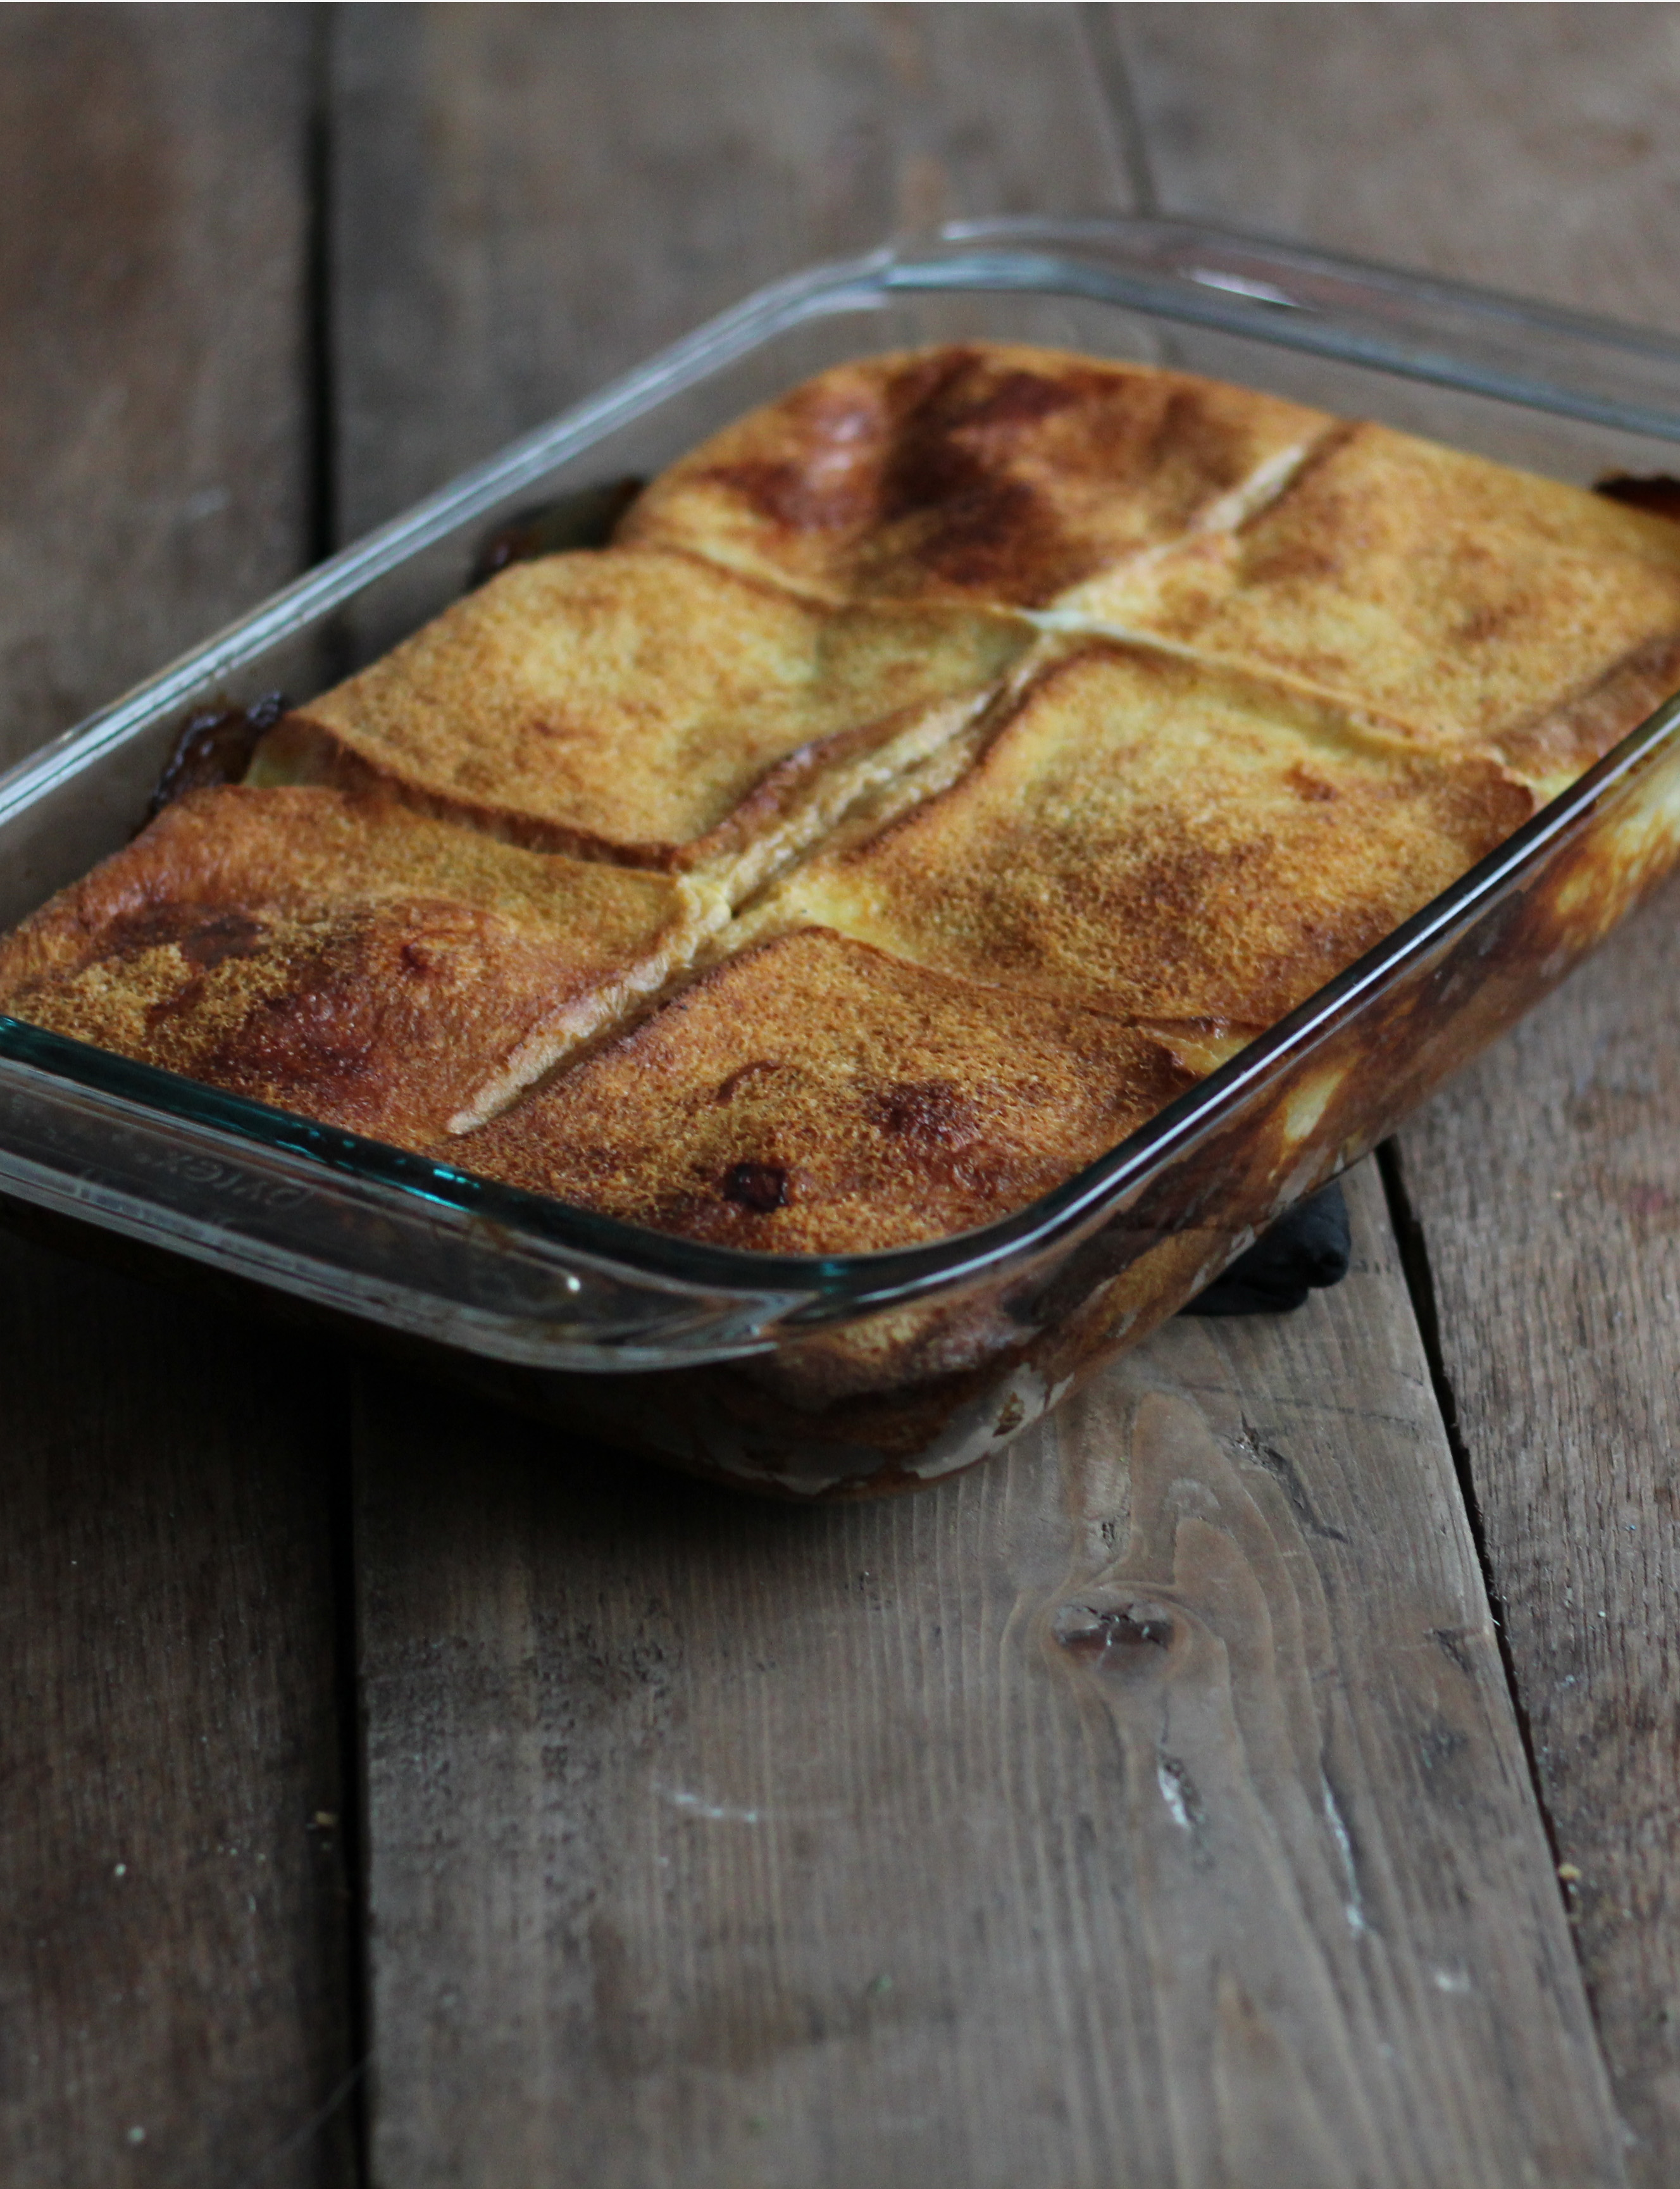
It really started to make sense when Aaron called his mother to ask her opinion about part of the recipe.  After getting our question answered, Aaron asked her if she remembered having it.  She did remember.  Although not well, she did recall it tasting like and reminding her of quiche.  Of course, soaking the whole thing in an egg mixture, it does start to make sense as a breakfast dish once it is pointed out to you.  Upon further research, it turns out that the Strata is a layered casserole dish, whose most common modern variation is a brunch dish similar to a quiche or frittata!

Ham and Cheese Strata

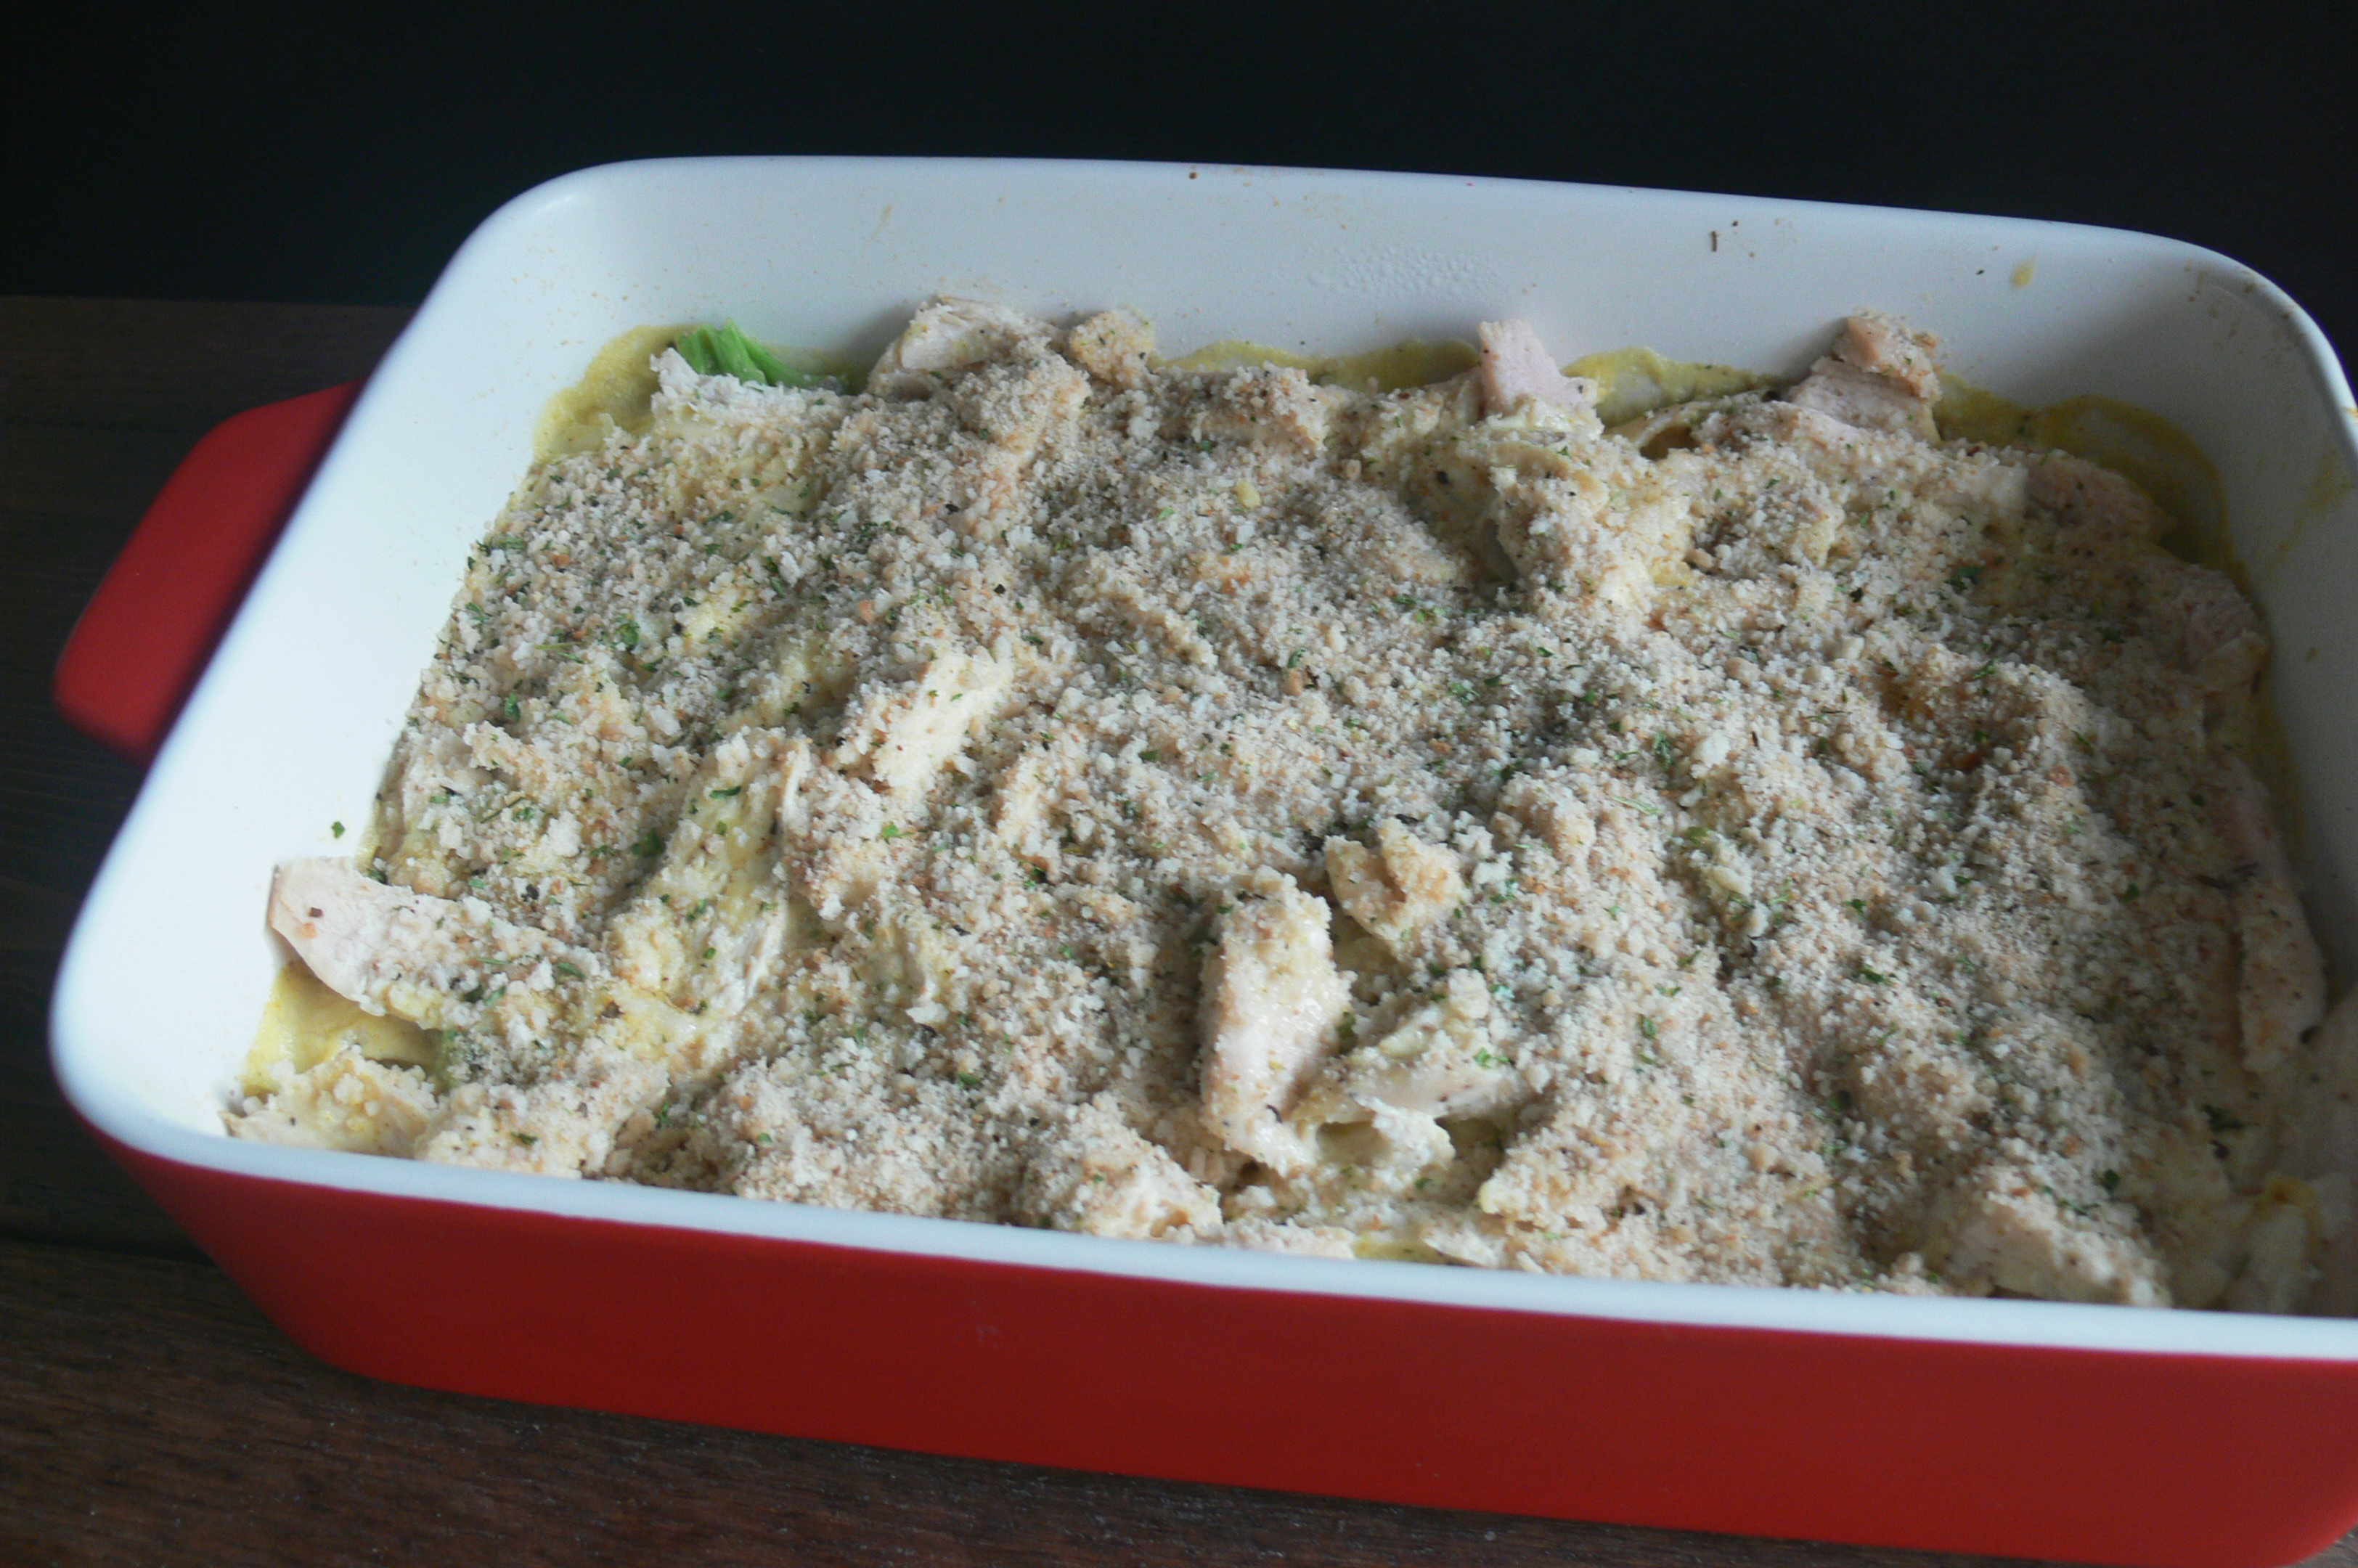
I was not a fan, although I couldn’t tell you why exactly.  However, Aaron loves breakfast foods, and was pleasantly surprised that this dish tasted quiche-like.  He actually heated it up almost every morning the week we made it and had some for breakfast.  A few improvements he would make:

  • More Meat: The recipe had no instruction on the amount of ham to put in.  Aaron put in less than one pound and found it to be a pitiful amount, so we have suggested two pounds in the recipe
  • More Cheese: Because, why not?  But really, it lacked overall in cheesy-ness as well.

Ham and Cheese Strata

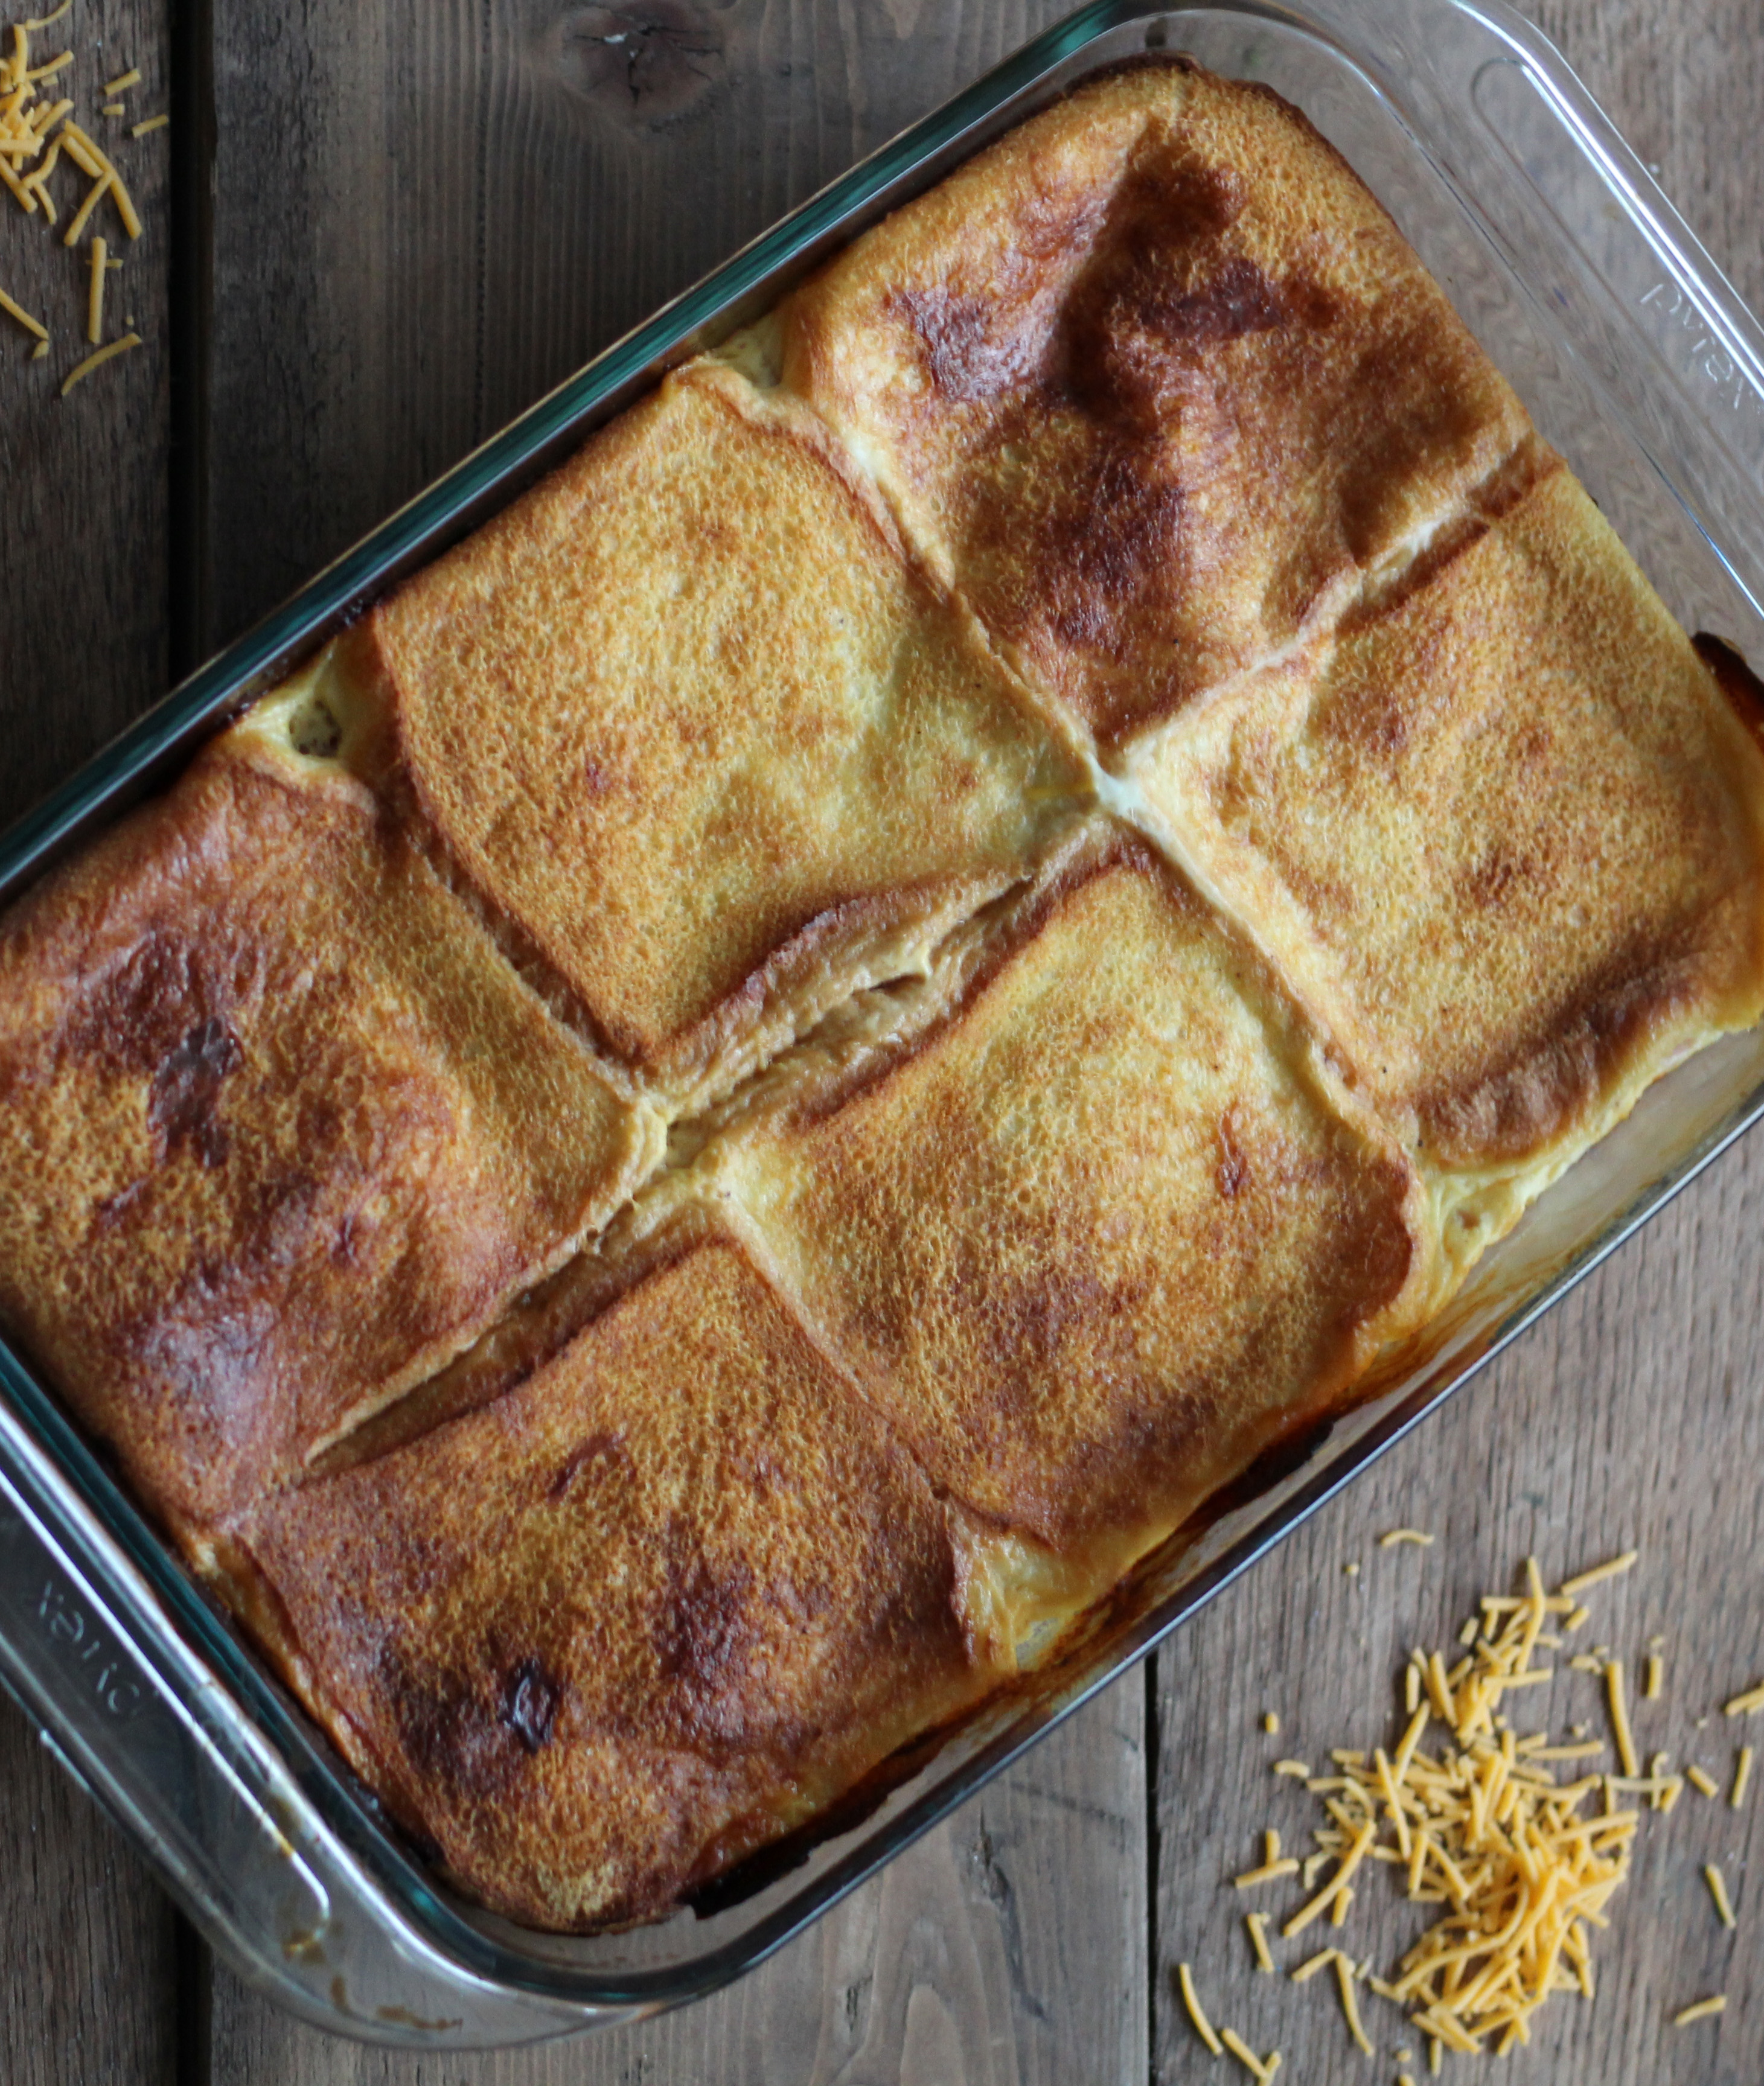
Aaron’s mom also told us this was a dish Marguerite would often prepare the night before an let saturate overnight (as the recipe suggests.)  All in all, this is a simple dish to make that you can prepare the night before, and then pop in the oven in the morning before the kiddos (or your husband or wife) wake up.  Enjoy!

Ham Cheese Strata
Print Recipe
Servings Prep Time
6-12 10 minutes
Cook Time Passive Time
1 hour 2-8 hours
Servings Prep Time
6-12 10 minutes
Cook Time Passive Time
1 hour 2-8 hours
Ham Cheese Strata
Print Recipe
Servings Prep Time
6-12 10 minutes
Cook Time Passive Time
1 hour 2-8 hours
Servings Prep Time
6-12 10 minutes
Cook Time Passive Time
1 hour 2-8 hours
Ingredients
  • 12 slices bread with or without crusts (your choice)
  • 6 slices American cheese
  • 2 lbs ham diced
  • dried minced onion
  • 5 eggs slightly beaten
  • 3 1/4 cups milk
  • 1/2 tsp salt
  • dash pepper
Servings:
Instructions
  1. Arrange six slices of bread in a 9 x 13 pan.
  2. Cover with slices of American cheese.
  3. Scatter diced ham over each slice.
  4. Sprinkle a little dried minced onion over each slice.
  5. Cover with six more slices of bread.
  6. Mix slightly beaten eggs with milk. Add salt and pepper. Pour over sandwiches.
  7. Refrigerate at least two hours or even overnight.
  8. Bake 1 hour at 350 degrees. Let set 10 minutes before serving.
Share this Recipe
 
Powered byWP Ultimate Recipe

February 20, 2016 by: Shannon and Aaron

Scalloped Potatoes

Scalloped Potatoes

“Potatoes, mash em, boil em, stick em in a stew”

Potatoes of any kind are one way to both Samwise Gamgee and Aaron’s hearts. This scalloped potatoes recipe also involves cream and paprika, so I’m pretty sure it’s the way to anyone’s heart.

Scalloped Potatoes

We have our first guest post here on Marguerite’s Cookbook!

Let me explain.  There are handfuls of recipes in Marguerite’s cookbook that she added from the kitchens of other people in her life.  We decided the authors of this recipe would be a great place to introduce this feature.  The ladies who gave Marguerite this recipe were her Aunt Florence and Aunt Estella.  They were younger sisters of her father, and they were both good cooks whose cooking made it into Marguerite’s cookbook a number of times.  Now, back to the scalloped potatoes.


Here’s what Florence and Estella had to say (in their handwriting):

Potatoes REcipe

We actually attempted this recipe twice.  The only differences between the two times we made this were that the second time we did not skin the potatoes, and we added more paprika to the top of the dish.  I did not notice a major difference in the taste with or without the skins, but Aaron did prefer it without the potato skins.

Scalloped Potatoes

Now, other than the time consuming processes of skinning and thinly slicing the potatoes, this is an extremely simple recipe.  When arranging the layers, you could take your time and arrange the potato slices in a neat and orderly pattern.  We chose to just toss them in and let them fall however they wanted!

Scalloped Potatoes

The first time we made these potatoes was over the holidays with our parents.  They all enjoyed them too.  We had them the second time just the two of us and had them with a few different meals.  The final verdict: these scalloped potatoes are a delicious addition to any meal.

Thanks Florence and Estella!


Scalloped Potatoes
Print Recipe
Servings Prep Time
4-6 30 minutes
Cook Time
75 minutes
Servings Prep Time
4-6 30 minutes
Cook Time
75 minutes
Scalloped Potatoes
Print Recipe
Servings Prep Time
4-6 30 minutes
Cook Time
75 minutes
Servings Prep Time
4-6 30 minutes
Cook Time
75 minutes
Ingredients
  • 4 cups potatoes, thinly sliced
  • 1 small onion, sliced
  • 1 can cream of mushroom soup
  • 1/2 cup milk
  • dash pepper
  • paprika
  • butter
Servings:
Instructions
  1. Blend one cup of cream of mushroom soup with 1/2 to 3/4 cup milk and a dash of pepper.
  2. In buttered 1 1/2 qt. casserole dish arrange 4 cups thinly sliced potatoes, 1 small onion sliced, and sauce - alternating ingredients.
  3. Dot the top with butter, sprinkle with paprika.
  4. Cover and bake at 375 degrees for one hour. Uncover and bake 15 minutes more.
Share this Recipe
 
Powered byWP Ultimate Recipe

February 13, 2016 by: Shannon and Aaron

Basil Burgers

Basil Burgers

A flavorful burger in the middle of winter? Why not!

As excited as we are to try these again in the summer, these basil burgers were a great meal to enjoy on a cold, Chicago night. We also live in an apartment and have no outdoor space to grill, so trying these in the summer won’t make a huge difference.

Here is what Marguerite had to say:

Basil Burgers Original

Last week I mentioned we hosted our parents for a “try our blog food” dinner. Technically, my mother hosted and we cooked because we live 500ish miles away from our parents and needed a place to host while we were in town. In addition to the zucchini bread, the basil burgers were on the menu for the main course. Again, total hit. That was a huge compliment especially from my dad who is the grill master.

Basil Burgers

These burgers have a nice hint of basil which compliments the onion flavor. Neither Aaron nor myself is a huge fan of heavy onion, but paired with the ground beef and turkey it packed a positive punch.

The addition of parmesan cheese “made it” for Aaron. He loved how that flavor worked with the basil and felt like it added that something special to the burgers.

I loved how the basil burgers were 50% beef and 50% turkey, making them just a little leaner and  healthier.

Basil Burgers

When we made these for ourselves, we cooked them in a skillet on the stove. For our parents, we used my mother’s George Foreman grill. We also have one at our place, but forgot to use it until after dinner was ready. Both methods of cooking worked well and there wasn’t a noticeable difference in the flavor, however the grilled burgers had a more consistent texture. Which is to say they were less charred on the outside. If you prefer a more blackened burger, go for the skillet!

Basil Burger

Again, I have a feeling we’ll be throwing this recipe into the regular dinner rotation.

Basil Burgers
Print Recipe
A simple yet flavorful burger recipe.
Servings Prep Time
8 Burgers 20 minutes
Cook Time
10-15 minutes
Servings Prep Time
8 Burgers 20 minutes
Cook Time
10-15 minutes
Basil Burgers
Print Recipe
A simple yet flavorful burger recipe.
Servings Prep Time
8 Burgers 20 minutes
Cook Time
10-15 minutes
Servings Prep Time
8 Burgers 20 minutes
Cook Time
10-15 minutes
Ingredients
  • 1 egg slightly beaten
  • 2/3 cup chopped onion
  • 1/2 cup Parmesan cheese
  • 1/4 cup fresh basil OR
  • 1 Tbsp dried basil
  • 1/4 cup ketchup
  • garlic
  • 1/4 tsp salt
  • 1/4 tsp pepper
  • 1 lbs ground beef
  • 1 lbs ground turkey
  • 8 Hamburger buns
  • 8 slices tomato
Servings: Burgers
Instructions
  1. Combine and mix well the following ingredients: Egg, onion, parmesan cheese, basil, ketchup, garlic, salt, and pepper.
  2. Add the ground beef and ground turkey and mix well.
  3. Cook.
Share this Recipe
 
Powered byWP Ultimate Recipe

February 6, 2016 by: Shannon and Aaron

Zucchini Bread Recipe

Zucchini Bread

Zucchini + Bread is the way to a girl’s heart. More specifically Shannon’s heart. I love bread and zucchini dishes get me hyped up. Needless to say, I was excited for this recipe.
When we initially picked this, I browsed over it quickly and saw “bread” and “zucchini.” I actually thought we were making breaded/fried zucchini. Oops.

I was disappointed for a hot second, but then I got very excited to try something new.

Here is what Marguerite had to say:

Original Zucchini Bread

The best way to describe this bread is a flavor-packed, fluffy slice of deliciousness. Seriously, if you want an appetizer that’s rich and easy to make, try this zucchini bread.

Zucchini BreadNot only did we enjoy this zucchini bread, but we shared it twice with friends and family over the past month and it was a smash success both times.

Aaron took the leftovers of our first attempt to work and his co-workers raved. Then we hosted my parents and Aaron’s mom for dinner so that we could share some of the cool things Marguerite’s book has been teaching us. Again, the bread was a hit. The other dishes were also enjoyed, but more on those later.

Zucchini Bread

Our favorite thing about this bread was how easy it was to make and how moist it turned out. Based on our very limited cooking knowledge, we believed achieving moistness in bread to be a difficult thing to do. If that is the case, this zucchini bread recipe is the exception.

Zucchini Bread

As much as I love zucchini dishes, I actually felt like this was just a little too heavy on the zucchini flavor. Say what? I guess I was expecting more of a bread with a hint of zucchini, instead of the packed in flavor this bread delivers. It may just be a personal preference as well.

Aaron loved the consistency of the bread. Each time we made it, he was in charge of zucchini prep and felt chopping it then blending it was “tedious.” I think he just wanted to try it sooner…

Other than a somewhat laborious prep (if you have a food processor, this won’t be as much of an issue) this bread is very easy to make. Once you’ve got everything chopped up, it’s as simple as mixing and throwing it in the oven.

PinterestBread
Zucchini Bread
Print Recipe
  • CourseAppetizers and Sides
Servings Prep Time
2 loaves 30 minutes
Cook Time
45-60 minutes
Servings Prep Time
2 loaves 30 minutes
Cook Time
45-60 minutes
Zucchini Bread
Print Recipe
  • CourseAppetizers and Sides
Servings Prep Time
2 loaves 30 minutes
Cook Time
45-60 minutes
Servings Prep Time
2 loaves 30 minutes
Cook Time
45-60 minutes
Ingredients
  • 3 large eggs
  • 2 cups sugar
  • 1 cup salad oil
  • 2 tsp vanilla
  • 3 cups flour
  • 1 tsp salt
  • 1 tsp cinnamon
  • 1 tsp baking soda
  • 1 tsp baking powder
  • 3 cups grated raw zucchini
Servings: loaves
Instructions
  1. Grate the zucchini to whatever thickness you'd like. For this, very fine works best.
  2. Beat eggs until light and foamy.
  3. Add oil, sugar, vanilla, and grated zucchini.
  4. Mix together dry ingredients and add to egg and zucchini mixture.
  5. Put in two greased loaf pans.
  6. Bake at 325 degrees for 45-60 minutes or until lightly browned. Test to see if done. Remove from pan at once and cool on rack.
Share this Recipe
 
Powered byWP Ultimate Recipe

January 30, 2016 by: Shannon and Aaron

Breaded Veal Cutlets

Breaded Veal Cutlets

As far as easy dinners go, these veal cutlets definitely make the list.

In an attempt to be real adults, we’re always on the lookout for “real” food to make for dinner. By real food we mean basically anything that isn’t EasyMac. This veal recipe is one to add to our regular dinner rotation and not just as part of our adventure in cooking through Marguerite’s book. Few ingredients, lots of flavor, and a quick prep time equate to a perfect meal for us and this veal brings it.

Veal Cutlets

Here is what Marguerite had to say:

IMG_0262

Another reason we love this recipe is because it could be very easy to try with other kinds of meats. Veal is pricey and we usually have other meats in our freezer for everyday use. Basically any kind of beef cut would compliment this recipe well, as well as chicken. Pork perhaps? We’ll have to try a few and report back.

Veal Cutlet Recipe

The preparation of the meat was very simple, which is a huge factor for us when making dinner every night. It was also super flavorful, despite the meat being a little tough. That, of course, had to do with the meat we selected, and not the recipe itself.  All-in-all, another success!

Breaded Veal

The only issue we ran into with this dish was actually finding veal cutlets. Hence why the meat we picked was so tough. We went to 3 grocery stores before we found anything, and even then the selection was not so fabulous. So if anyone is aware of a good butcher in the Chicago area, let us know!


Breaded Veal Cutlets


Breaded Veal Cutlets
Print Recipe
  • CourseMain Dish
Servings Prep Time
4 People 10 minutes
Cook Time
1 hr 15 minutes
Servings Prep Time
4 People 10 minutes
Cook Time
1 hr 15 minutes
Breaded Veal Cutlets
Print Recipe
  • CourseMain Dish
Servings Prep Time
4 People 10 minutes
Cook Time
1 hr 15 minutes
Servings Prep Time
4 People 10 minutes
Cook Time
1 hr 15 minutes
Ingredients
  • 16 oz veal
  • skim milk
  • bread crumbs
  • 2 tomatoes
  • onion flakes
  • salt
  • pepper
  • 1 tbsp sugar
  • margarine
Servings: People
Instructions
  1. Salt and pepper veal to taste.
  2. Dip in skim milk then dip in break crumbs.
  3. Grease baking dish well with margarine and place veal in dish.
  4. Grease skillet well with margarine.
  5. Stew tomatoes with onion flakes, sugar, salt, pepper, and margarine.
  6. Put over veal and back for one hour and 15 minutes at 325 degrees. Cover tightly.
Share this Recipe
 
Powered byWP Ultimate Recipe

January 23, 2016 by: Shannon and Aaron

Cranberry Cherry Pie

Cranberry Cherry Pie

This Cranberry Cherry Pie is the perfect pairing to any Thanksgiving dinner. We made this recipe twice: the first time for Aaron’s family on Thanksgiving and the second time just for the two of us to enjoy.

Cranberry Cherry Pie

This will also be the first of many dessert recipes here on Marguerite’s Cookbook.  Dessert recipes were the most popular in Marguerite’s collection and the cookbook is about 50% desserts. Her pies were one of the best desserts to have, because she was so good at hand making pie crust.  For as long as Aaron can remember, his mother and other members of their family always talked about how no one could make pie crust like Marguerite.  When Marguerite tried to teach Aaron’s mom how to perfect the pie crust, the main advice she gave was “touch the dough as little as possible.”

Here is what the original recipe said:

Cranberry Cherry Pie Original

First to tackle was the crust itself, the previously mentioned hardest part.  Marguerite used a standard Crisco pie crust recipe, which we have included below.  When we made it the first time for Thankgiving, the family commented that the cranberry and cherry filling, along with the topping, tasted delicious.  Aaron’s mom, who was the best one to judge the crust, said that while it was good, it was not as soft and flakey as Marguerite’s.

Darn.

We attributed this to over handling the crust, as well as not putting enough water in it.  We also over baked the pie because there were no baking instructions on Marguerite’s recipe.  We were determined to get it right, so we tried it again.

Cranberry Cherry Pie

Despite being advised to, we didn’t chill the Crisco the second time. This seemed to make it much easier to play with the crust less. More water was also added.

In both attempts we omitted the Tapioca pudding from her recipe because neither of us care for it and we decided that it wouldn’t negatively affect the recipe to skip it.

Slice of Cranberry Cherry Pie

The other challenge with this recipe: Marguerite left no instructions on how long to bake the pie and at what temperature! For the first attempt we baked it for too long.  The second time turned out much better!

Cranberry Cherry pie and slice

I’m not a huge fan of pie, so I only sampled a small amount. Not the worst pie I’ve ever tried though.

Aaron loved it, despite not being a huge fan of cranberries.

Slice of PieWe hope you attempt this recipe for your next holiday to share with your family!


Cranberry Cherry Pie
Cranberry Cherry pie and slice
Cranberry Cherry Pie
Print Recipe
A berry pie recipe with a crumble topping
  • CourseDesserts
Servings Prep Time
1 Pie 30 minutes
Cook Time Passive Time
30 minutes 30 minutes
Servings Prep Time
1 Pie 30 minutes
Cook Time Passive Time
30 minutes 30 minutes
Cranberry Cherry pie and slice
Cranberry Cherry Pie
Print Recipe
A berry pie recipe with a crumble topping
  • CourseDesserts
Servings Prep Time
1 Pie 30 minutes
Cook Time Passive Time
30 minutes 30 minutes
Servings Prep Time
1 Pie 30 minutes
Cook Time Passive Time
30 minutes 30 minutes
Ingredients
Crust
  • 1 1/3 cup flour
  • 1/2 tsp salt
  • 1/2 stick Crisco OR
  • 1/2 cup Crisco
  • 3-6 Tbps ice cold water
Pie Filling
  • 1 can cherry pie filling
  • 1 can whole cranberry sauce 14 or 16 oz. can
  • 1/4 cup sugar
  • 1 tsp lemon juice
  • 2 Tbps margarine
Topping
  • 3/4 cup flour
  • 1/4 cup sugar
  • 1/4 cup brown sugar
  • 1/3 cup margarine room temperature
Servings: Pie
Instructions
Crust
  1. Blend flour and salt in large bowl. Cut shortening into flour mixture using pastry blender or fork. Stir in just enough water with fork until dough holds together.
  2. TIP Test dough for proper moistness by squeezing a marble-sized ball of dough in your hand. If it holds together firmly, do not add any additional water. If the dough crumbles, add more water by the tablespoonful, until dough is moist enough to form a smooth ball when pressed together.
  3. Shape dough into a ball. Flatten ball into a 1/2 inch round disk.
  4. Chill for 30 minutes or up to two days.
  5. Roll dough from center outward into a circle 2-inches wider than pie plate on lightly floured surface. Transfer dough to pie plate.
Filling and Topping
  1. Mix the cherry pie filling, cranberry sauce, sugar, and lemon juice.
  2. Pour the filling mixture into the crust.
  3. Dot with margarine
  4. Mix the flour, sugar, brown sugar, and margarine for the topping with a blender.
  5. Sprinkle the topping on top of the pie.
  6. Bake at 350 for 25-30 minutes
Share this Recipe
Powered byWP Ultimate Recipe

January 14, 2016 by: Shannon and Aaron

Homemade Spaghetti Sauce (Meatless)

Homemade Sauce

If you’re looking for an easy homemade sauce recipe, this is about as easy as it gets. The ingredients are few and the steps are simple.

My Italian roots came out in full while making this. You know that Family Guy episode where Peter thinks he can speak Italian and just shouts “Boopa-dee bappa-dee” at people? That was me the entire time we were in the kitchen making this. Aaron was not amused.

Here is what Marguerite had to say:

Meatless Spaghetti Sauce Original

We’re pretty sure the above recipe meant she was using canned tomatoes most of the time, but we wanted to do this “right” so we went for fresh ingredients. Neither of us knew what to do with the tomatoes, and Marguerite, being an accomplished cook, did not need to leave herself notes on the subject for when she was using fresh tomatoes.

Fresh Pasta Sauce Ingredients

Look at those fresh ingredients!

Google and our mothers proved to be immensely helpful in figuring out how to start on this homemade sauce.

After figuring out how many tomatoes we needed and how to peel them (more on that later), we were able to get on with the sauce.

Pasta SauceFor our version, we only used one onion instead of the three originally called for. We’re assuming back in the day onions were quite a bit smaller because a lack of pesticides and such.

Next time we make this, we’ll probably cut back on the green pepper as well, because it overpowered the other flavors. We’ve noted in our version below to only use half a green pepper instead of a whole. We’ll also try to cube the tomatoes a bit smaller because the sauce was a little too chunky.

Homemade Pasta Sauce

Our whole apartment smelled delicious while we made this (as did our entire floor. You’re welcome, neighbors!) We started a batch of spaghetti just as the sauce was finishing so we could enjoy it right away. When everything was cooked, we poured on the sauce, topped it all with basil and parmesan, and enjoyed a delicious meal.

Meatless Sauce Recipe


We had plenty left over, which we promptly jarred up and froze for later use.


Homemade Sauce in jar

If you try this recipe, let us know how you adjusted the ingredients to suit the pasta sauce to your taste!

Homemade Sauce


Homemade Sauce
Homemade Sauce (Meatless)
Print Recipe
A traditional, homemade sauce. Uses all fresh ingredients and no meat.
  • CourseOthers
Servings Prep Time
4-6 (depending on how much sauce you like on your pasta) 25 minutes
Cook Time
1.5 hours
Servings Prep Time
4-6 (depending on how much sauce you like on your pasta) 25 minutes
Cook Time
1.5 hours
Ingredients
  • 10 large tomatoes (or 1 quart if using canned)
  • 1 can tomato paste
  • 1 large onion
  • 2 tablespoons sugar
  • 1 clove garlic
  • 1/2 green pepper
  • butter
  • salt and pepper to taste
Servings: (depending on how much sauce you like on your pasta)
Instructions
Fresh Tomato Prep
  1. If you're using canned tomatoes, skip these steps. If using fresh tomatoes, you'll need to peel them. We used the boil method.
  2. Bring a pot of water to boil. Next to the stove, have a bowl of cold water (as cold as you can get it. Maybe even add ice cubes.)
  3. Cut off the stems and things from the top of the tomatoes. Cut an x in the bottom of each tomato.
  4. Drop a few tomatoes at a time into the boiling water. Spoon out after 25 seconds (don't leave them in any longer) and drop into cold water.
  5. Once they're in the cold water for a few seconds, the x on the bottom should already begin the peeling process. Remove them from the cold water and peel the rest of the skin right off.
  6. Cube the tomatoes. How small you cube them will depend on how chunky you want your sauce.
Main Instructions
  1. Once your tomatoes are prepped, put them in a pot with the paste and sugar. Salt and pepper to taste.
  2. Simmer while you prep the other ingredients.
  3. Chop onion, pepper, and garlic. Steam and slightly brown in a pan with butter.
  4. Add to the tomato mixture. Turn your stove top to a low/medium heat. Cook for an hour and a half.
  5. If you're planning on using this right away, start the water for your pasta with about 20 minutes left on the sauce. Preserve any leftovers in a jar and refrigerate or freeze.
Recipe Notes

Be sure to use a larger pot so the sauce is more evenly spread over the heat and doesn't burn on the bottom. Also be sure to use a low enough heat.

Share this Recipe
Powered byWP Ultimate Recipe

November 9, 2015 by: Shannon and Aaron

Chicken and Broccoli Casserole

Chicken and Broccoli Casserole

This recipe was a great place for us to start in the cookbook. It was easy, fast, and great for these chilly nights. It’s basically a left-overs casserole, which is going to be a great thing to try again when we don’t feel like eating the same thing two nights in a row.

Here’s what Marguerite had to say about it:

Grandmas Chicken and Broccoli Casserole

Isn’t her handwriting beautiful?

We were kind of confused for about two seconds until we realized the chicken needed to be pre-cooked. Thank goodness Aaron’s mom is just a quick phone call away to clarify. She explained Marguerite used this as mostly a left-overs thing. So we had to go through the extra step of cooking and slicing some chicken.

We chose to do a very basic chicken in olive oil in the oven, since we figured the casserole would provide tons of flavor.

Chicken and Broccoli Casserole


Modifications we made from the original: We choose to layer the cheese on top of the broccoli instead of adding it to the casserole mixture.

Chicken and Broccoli Casserole

The soup mixture left me (Shannon) feeling a little nauseous, as it did not look appealing when being mixed. Once cooked over chicken, however, it was amazing.

Chicken and Broccoli Casserole

Overall, we really liked this one. It was comfort food and delicious. It would have tasted better if the entire bag of broccoli we used wasn’t almost all broccoli stems. Aaron especially love the extra kick from the curry powder.

Chicken and Broccoli Casserole

Chicken and Broccoli Casserole
Print Recipe
  • CourseMain Dish
Servings Prep Time
4 15 (if the chicken is pre-cooked)
Cook Time
5-10 Minutes
Servings Prep Time
4 15 (if the chicken is pre-cooked)
Cook Time
5-10 Minutes
Chicken and Broccoli Casserole
Print Recipe
  • CourseMain Dish
Servings Prep Time
4 15 (if the chicken is pre-cooked)
Cook Time
5-10 Minutes
Servings Prep Time
4 15 (if the chicken is pre-cooked)
Cook Time
5-10 Minutes
Ingredients
  • 1 can cream of chicken soup
  • 1/2 cup mayonnaise
  • 1 teaspoon lemon juice
  • 1/4 teaspoon curry powder
  • grated cheese
  • 1 package frozen broccoli
  • 2 pre-cooked chicken breasts
  • bread crumbs
Servings:
Instructions
  1. If you're not using leftover chicken, cook two breasts to your liking and slice into strips
  2. Pre-heat oven to 350 degrees (farenheight)
  3. Mix together soup, mayo, lemon juice, and curry powder
  4. Microwave the broccoli, arrange in a casserole dish
  5. Layer as much grated cheese on top as you want. In my opinion, the cheesier the better!
  6. Lay the chicken strips over the cheese and broccoli
  7. Pour in the mixture and spread into an even layer over the chicken
  8. Top with bread crumbs and bake for 5-10 minutes, until bubbly and hot
Recipe Notes

Marguerite recommends serving over rice. We had it by itself and it was delicious.

Share this Recipe
Powered byWP Ultimate Recipe
  • « Previous Page
  • 1
  • …
  • 4
  • 5
  • 6

Hey There!

We're Aaron and Shannon, the cooks behind Marguerite’s Cookbook. We are a husband and wife cooking/blogging team who love food, fun, and family.

Give us a follow

Twitter

Sign up for our monthly newsletter and receive exclusive content from us in your inbox once a month.

  • Policies
  • Contact

© 2025 · Fun Genesis WordPress Theme by, Pretty Darn Cute Design