Marguerites Cookbook

A cooking blog all about making vintage recipes from a cookbook we inherited from our grandmother

  • Home
  • Recipes
    • Main Dishes
    • Appetizers and Sides
    • Desserts
    • Breakfast
  • About
  • Contact

January 14, 2017 by: Shannon and Aaron

Southern Lane Cake

Southern Lane Cake Header

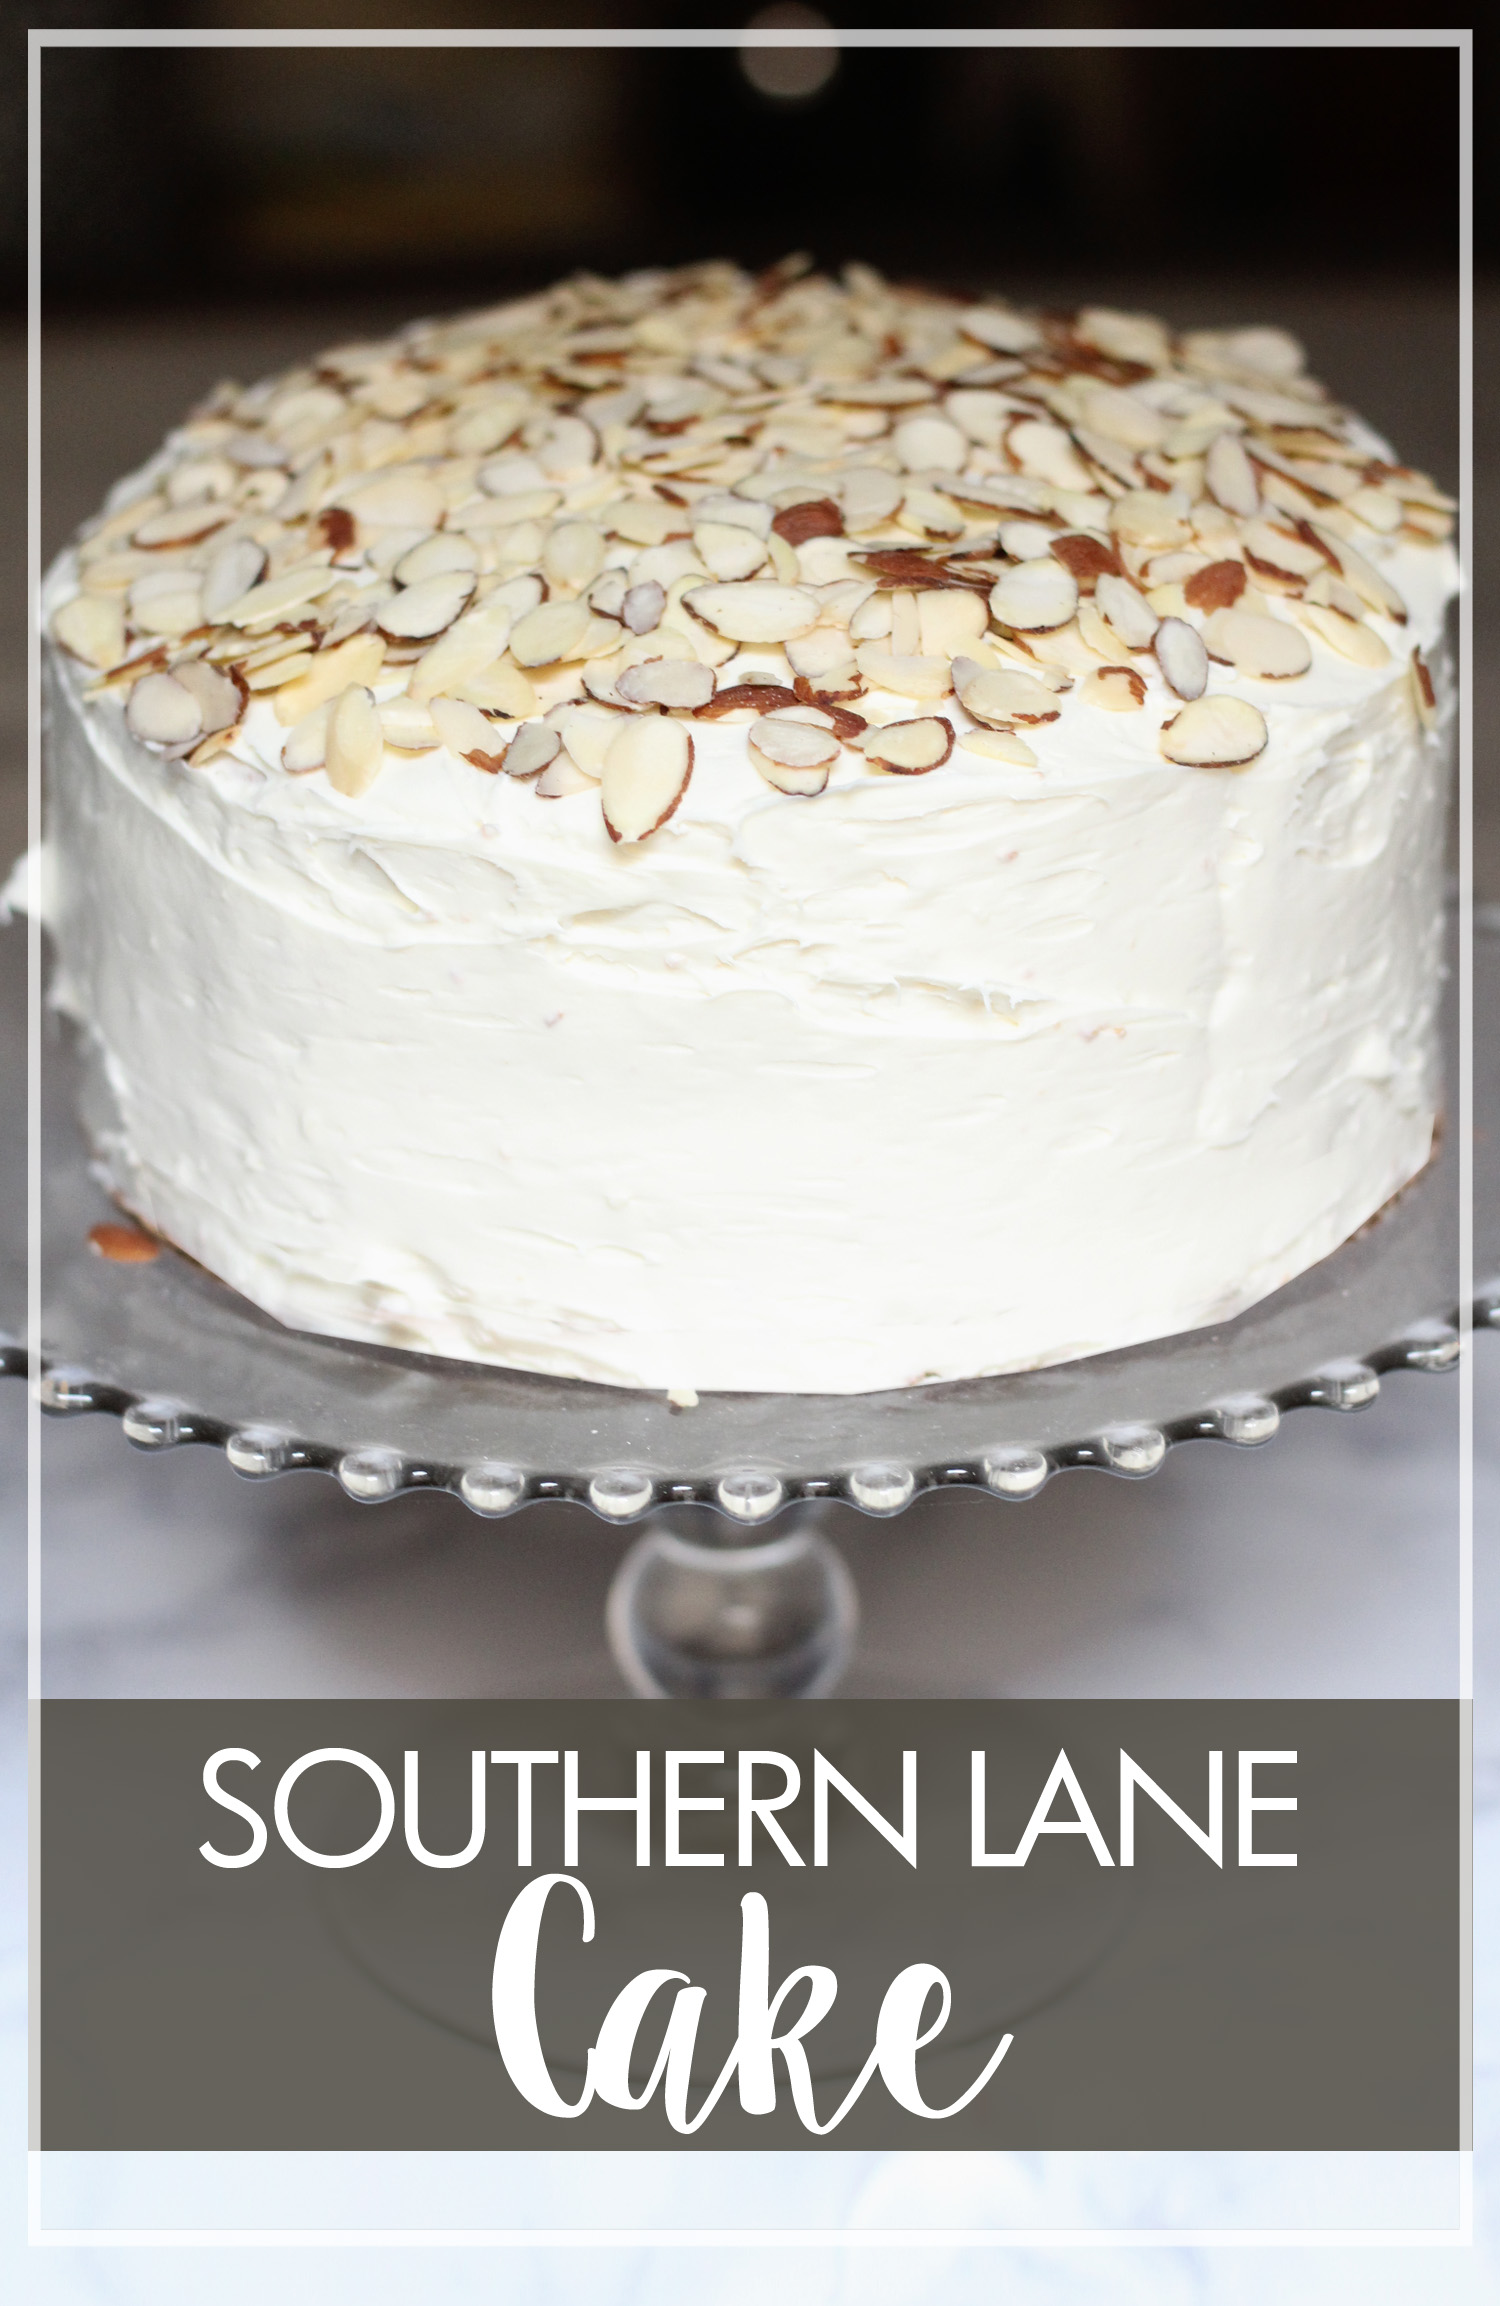
I hope everyone out there is having a good start to their new year. Some of you may be working on a resolution to eat healthier. While we are also attempting that goal, there is an important milestone that requires this week’s recipe to be a cake. It’s Marguerite’s Cookbook’s birthday! That’s right, we launched Marguerite’s Cookbook a whole year ago, and knew that we wanted to do one of Marguerite’s many cake recipes as a birthday treat to ourselves. This Southern Lane Cake turned out to be an excellent choice that was fun to make and delicious to eat.

Southern Lane Cake

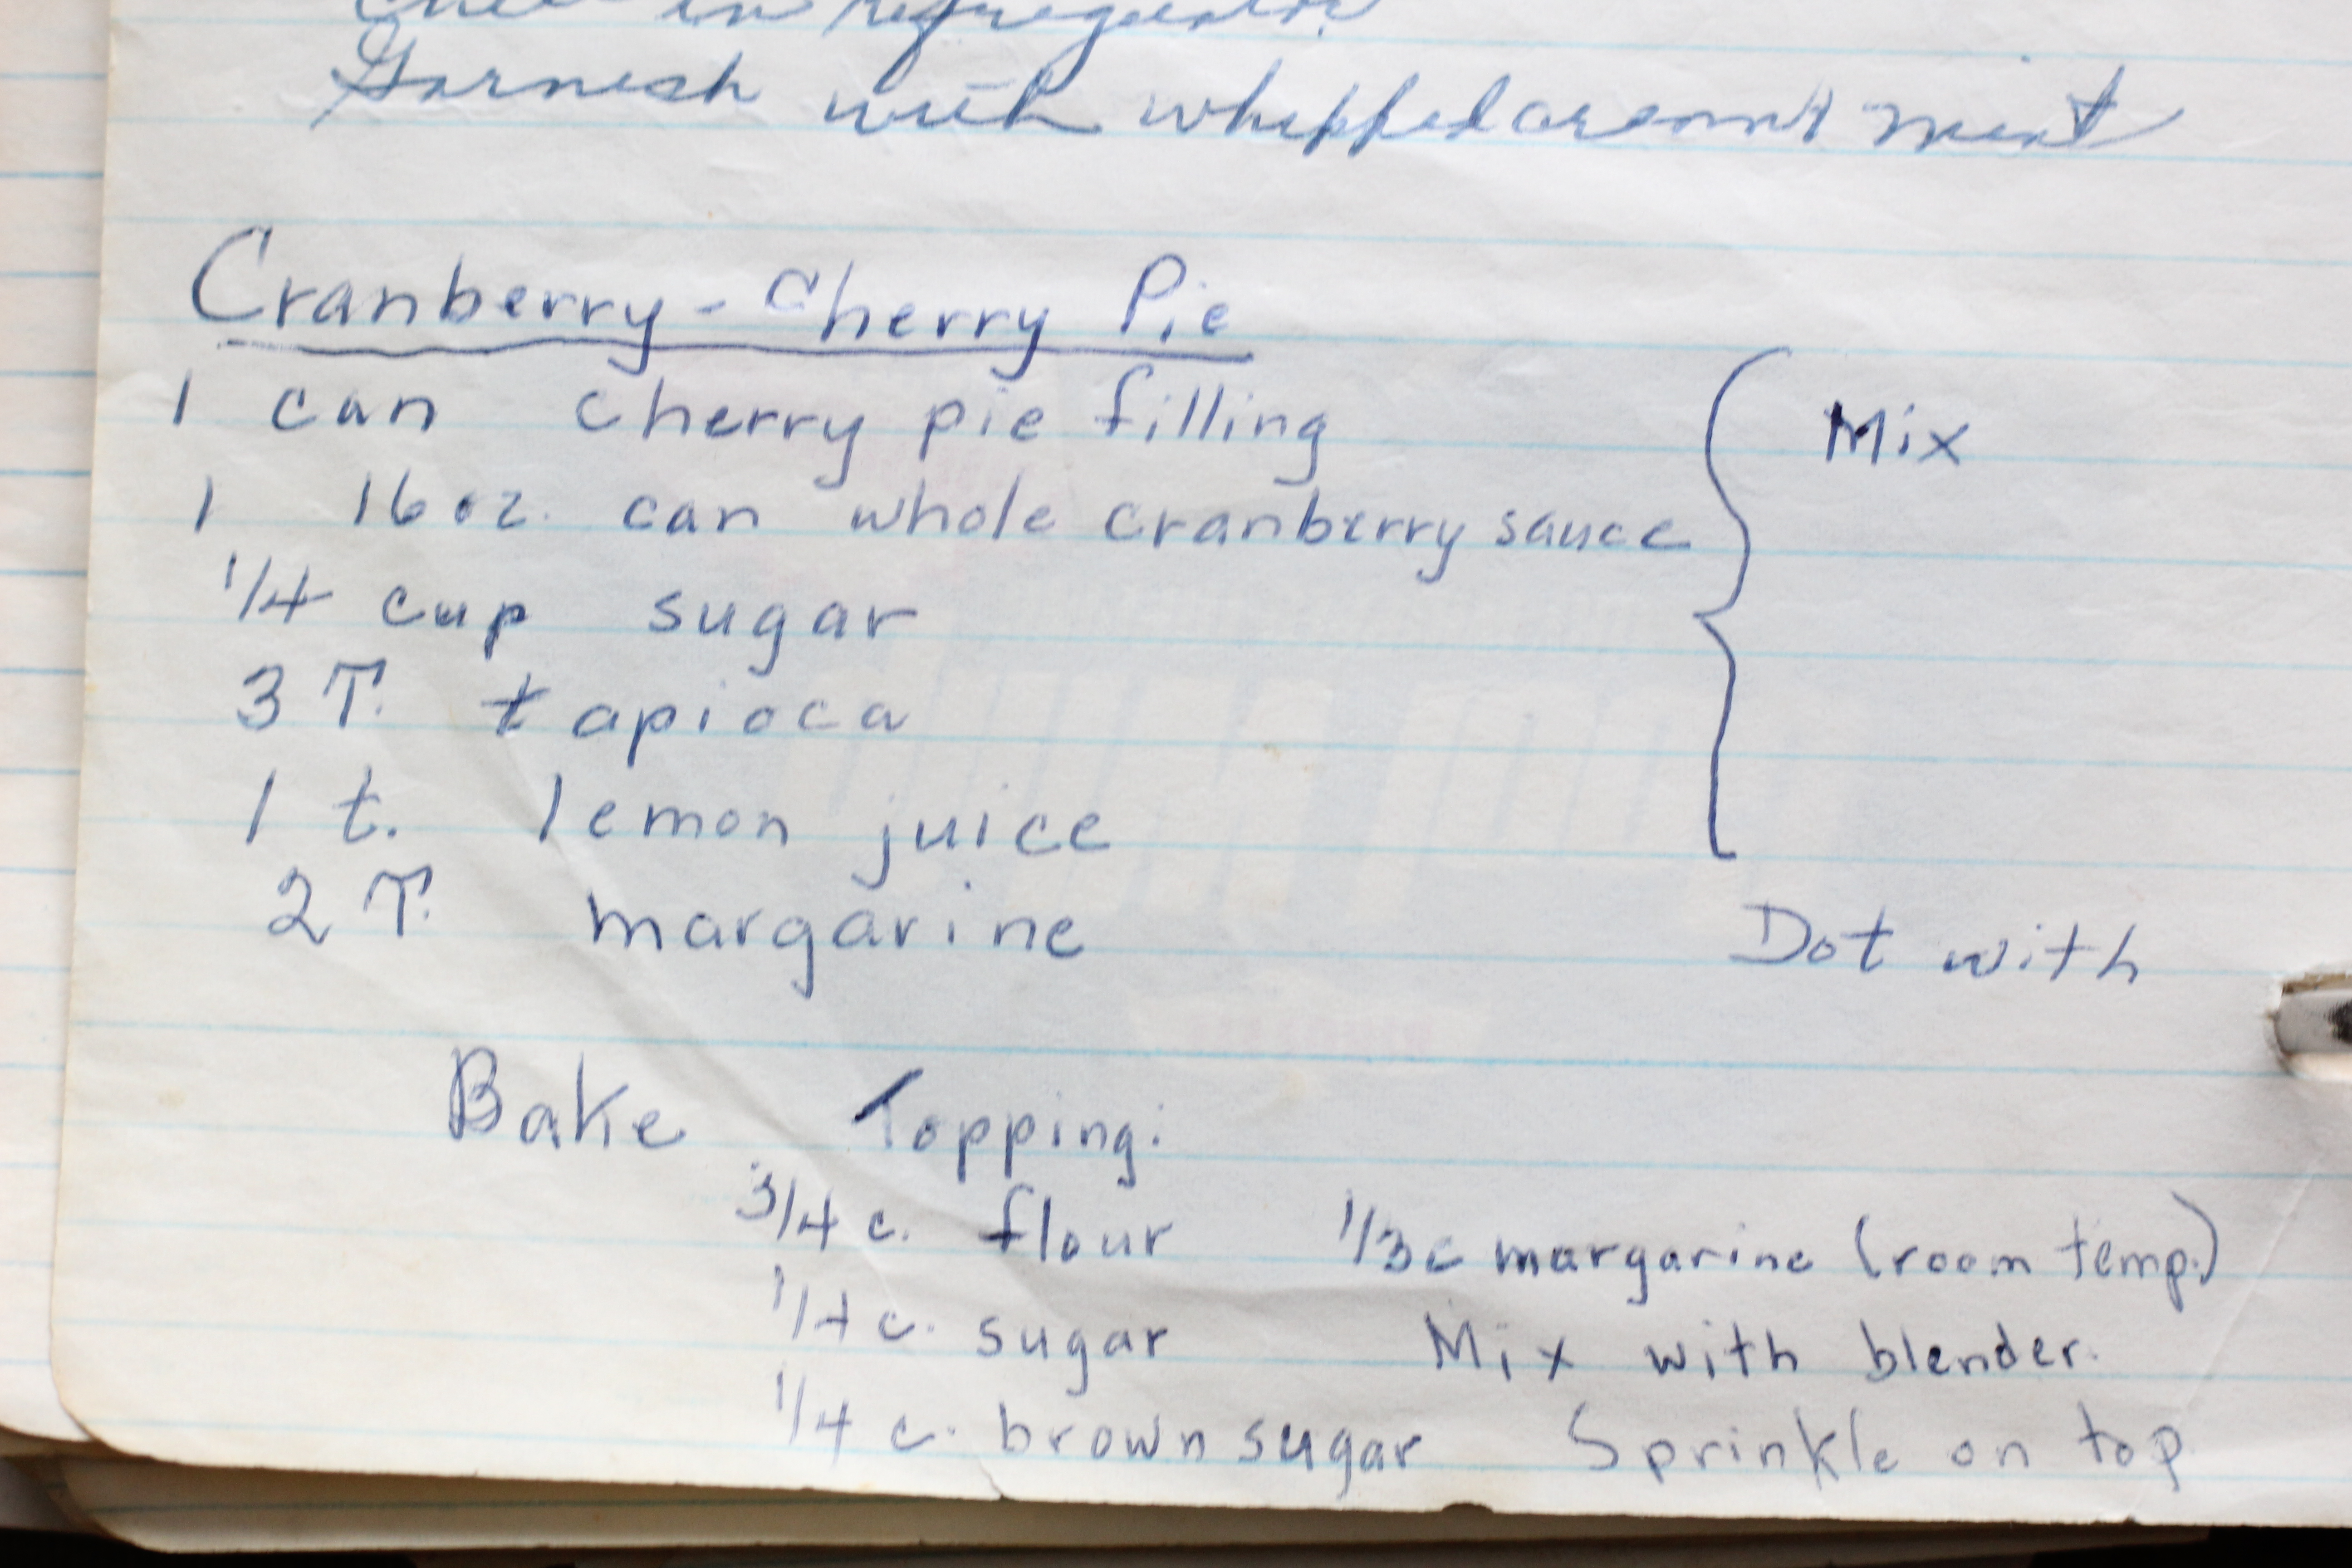
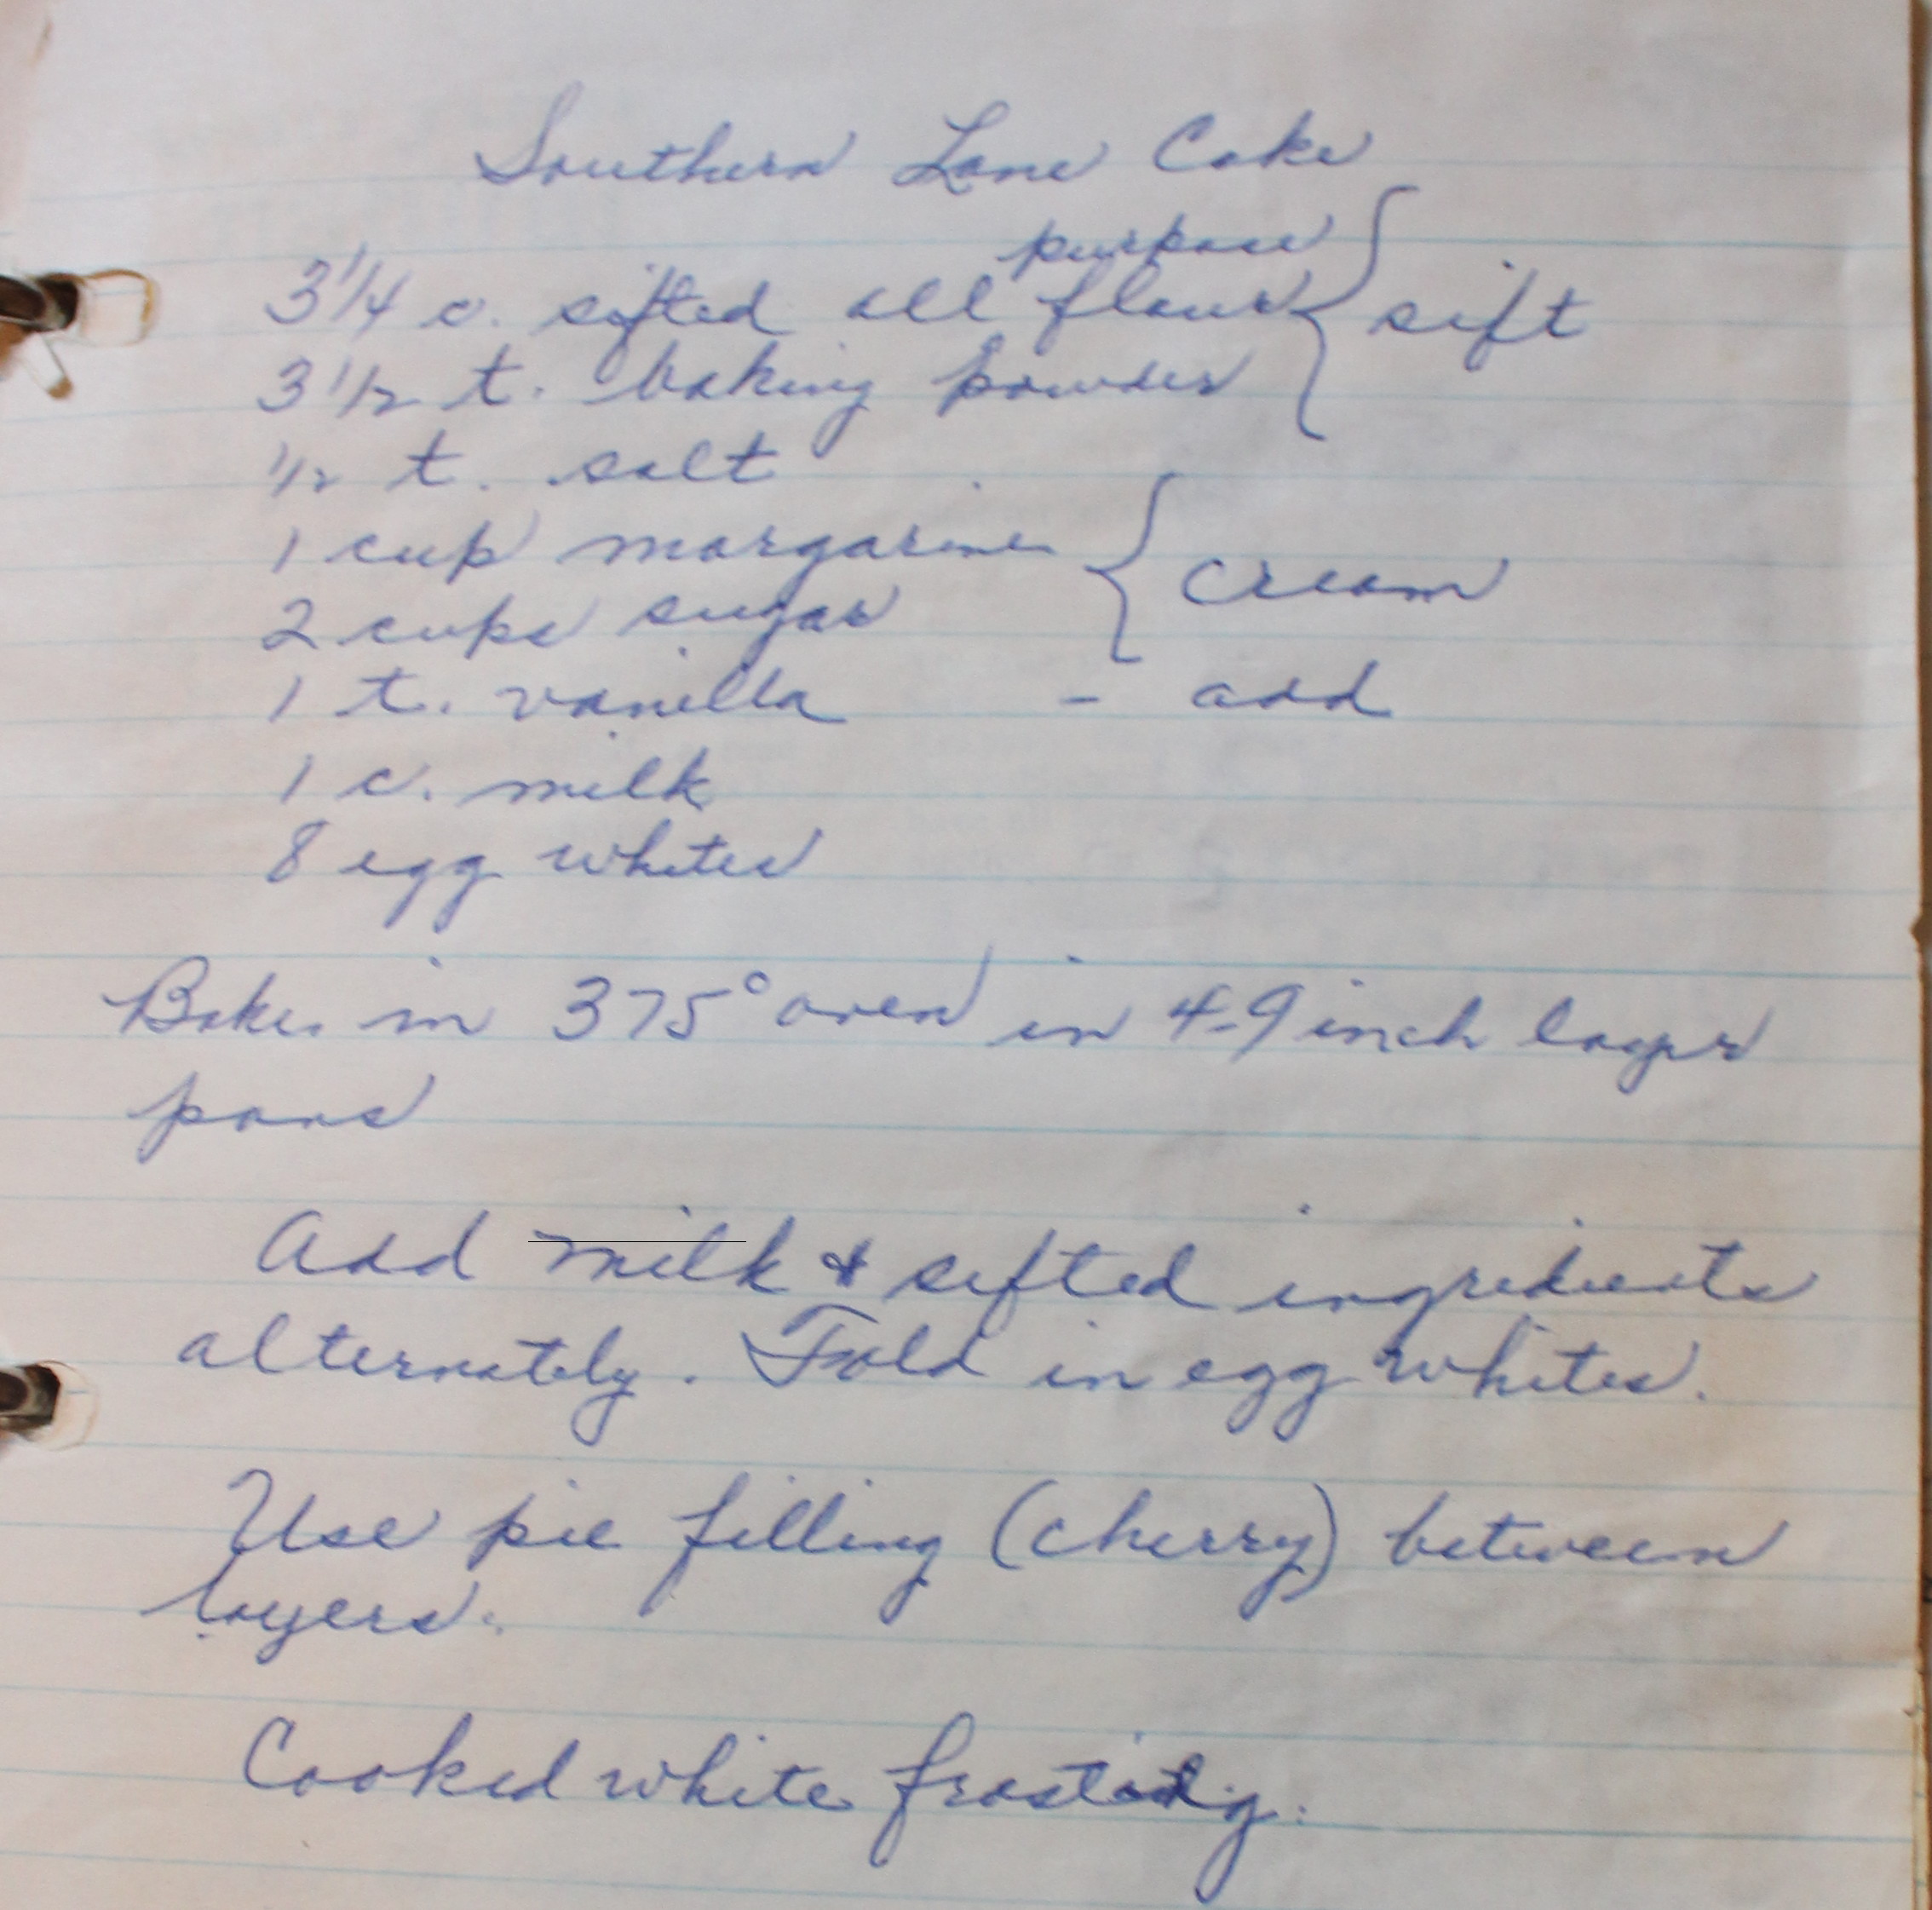
Here’s what Marguerite had to say:

Southern Lane Cake Recipe

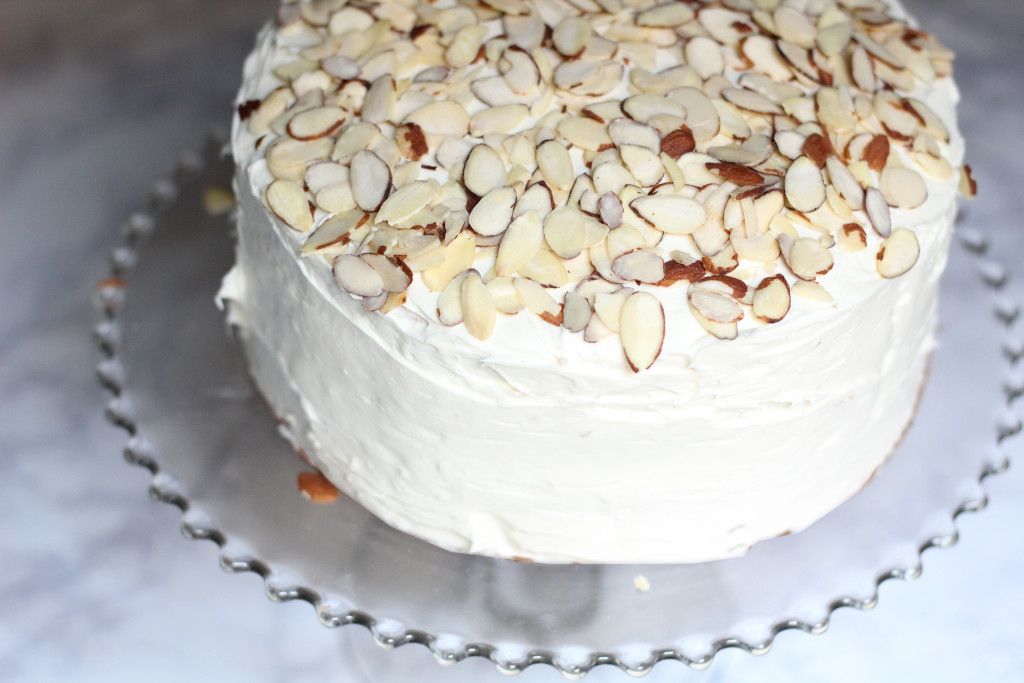
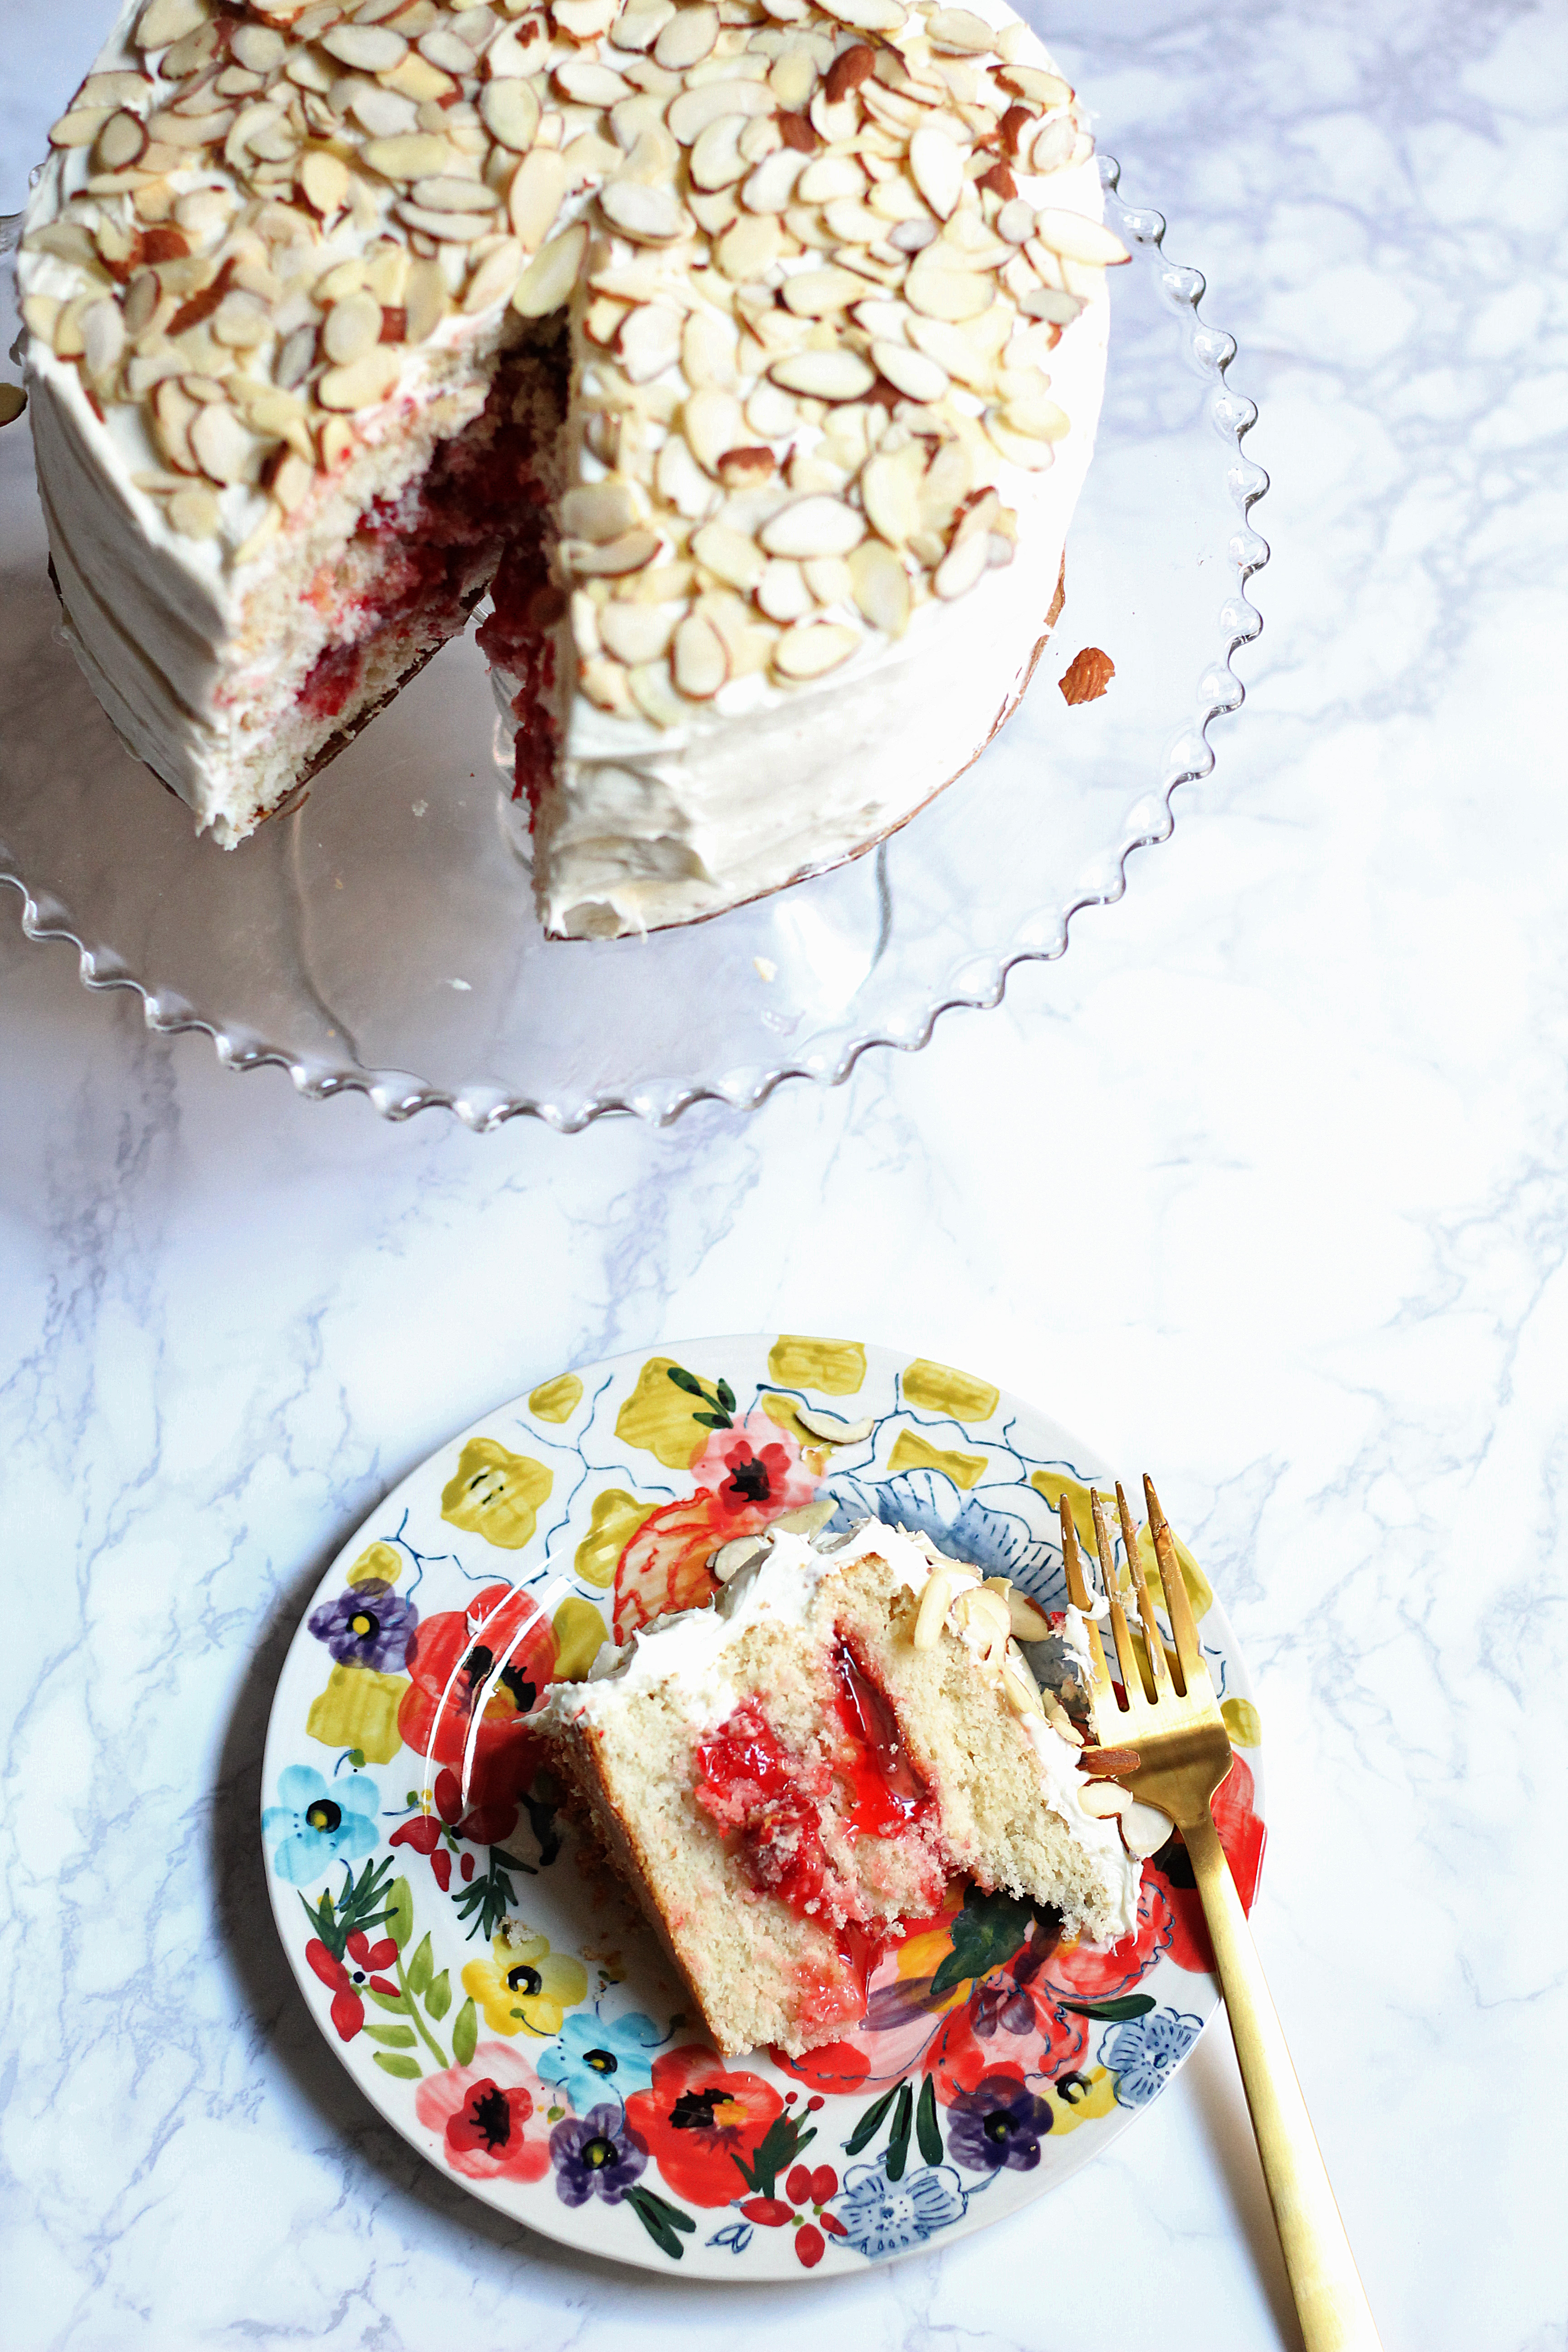
As usual, the planning for this recipe required a little more work than just reading Marguerite’s notes. I had to research how long to bake the layers for, what a cooked white frosting was (more on that later), and a little more about just what a Southern Lane Cake was. That’s where I discovered that some fillings or icings included things like nuts, which is why I decided to put some almonds on top of the cake.

Southern Lane Cake up close

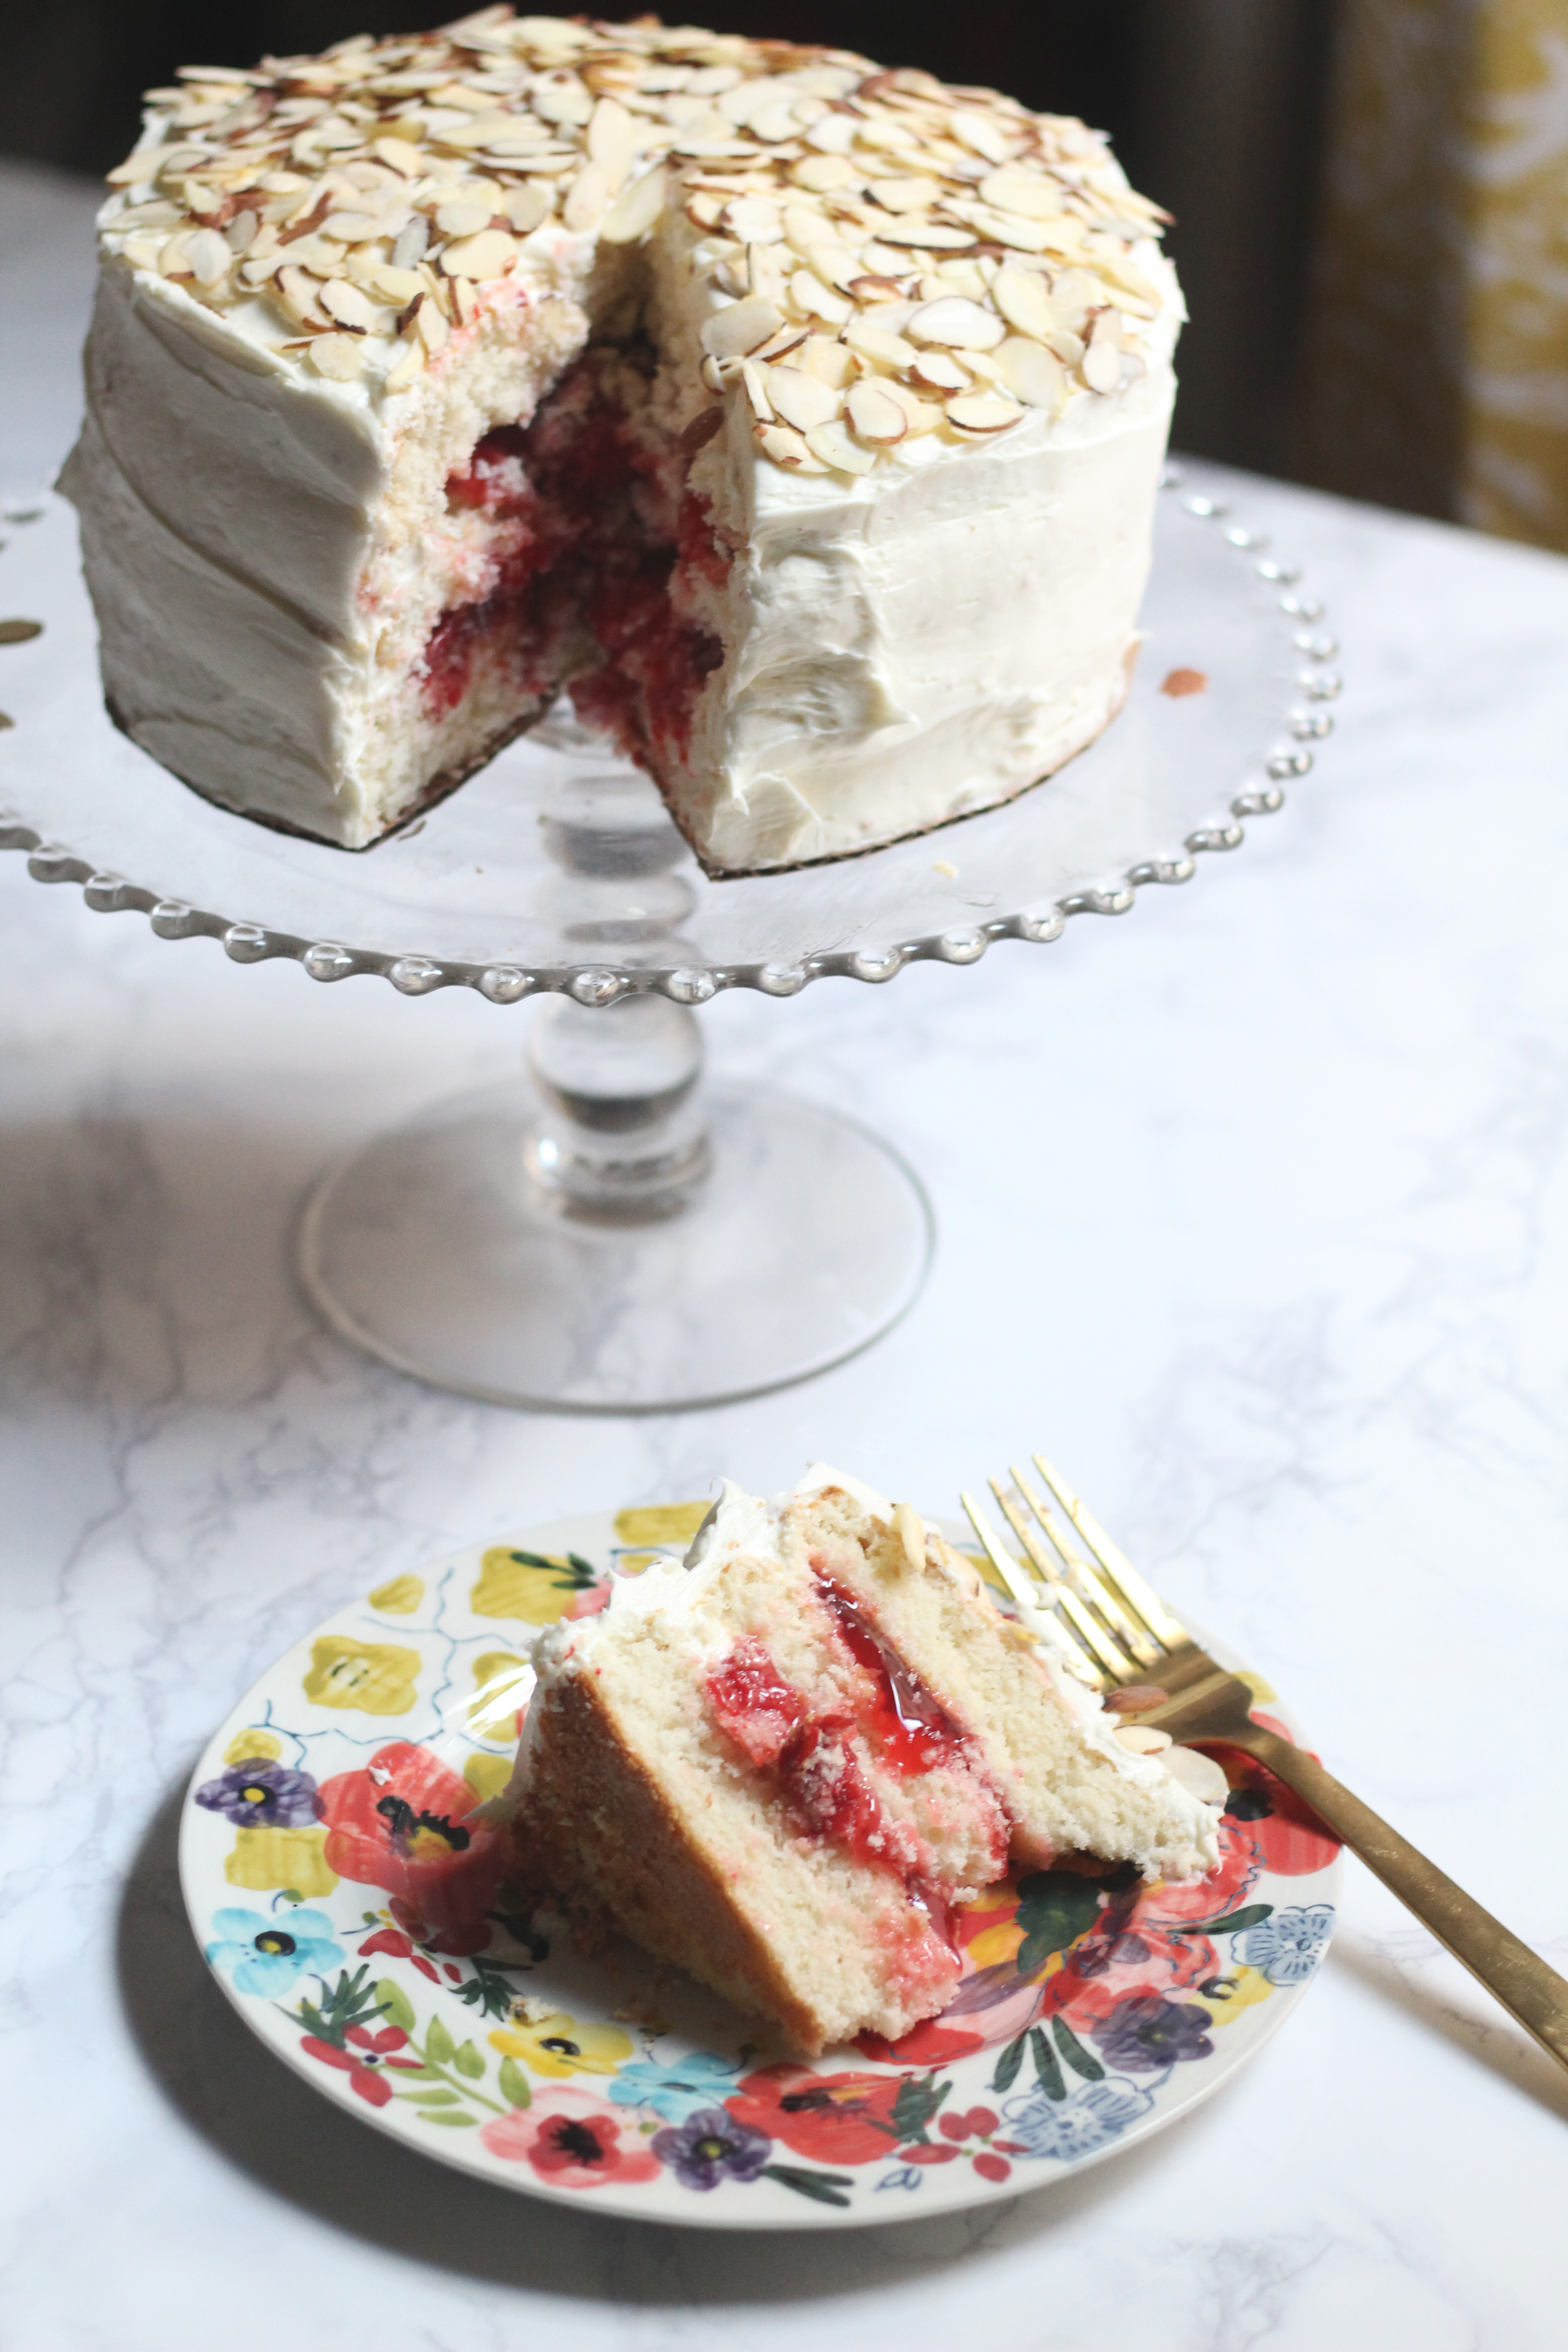
As you may or may not be able to tell, there are only three layers in the final product here. I’d like to say that is on purpose, but of course I made a little mistake and was forced into the decision. We have a tiny oven in our current kitchen, and it was a struggle fitting two 8″ and two 9″ pans into it. On top of that, the two sets of pans are not the same ages and not the same shade of aluminum. In the end, one of the four layers burned while the others turned out great, so the height of our cake was decided for me. I do think a three layer cake looks great though!

Southern Lane Cake with piece

I also had some trouble in attempting to make a homemade icing, so instead I just used some plain store bought white icing. That is why there is no accompanying icing recipe to go along with the cake. As great as it can be to make something by hand, Marguerite knew the value of making it easier when she needed to, too! In my opinion, the lack of homemade icing did not take away from this cake at all!

Southern Lane Cake piece

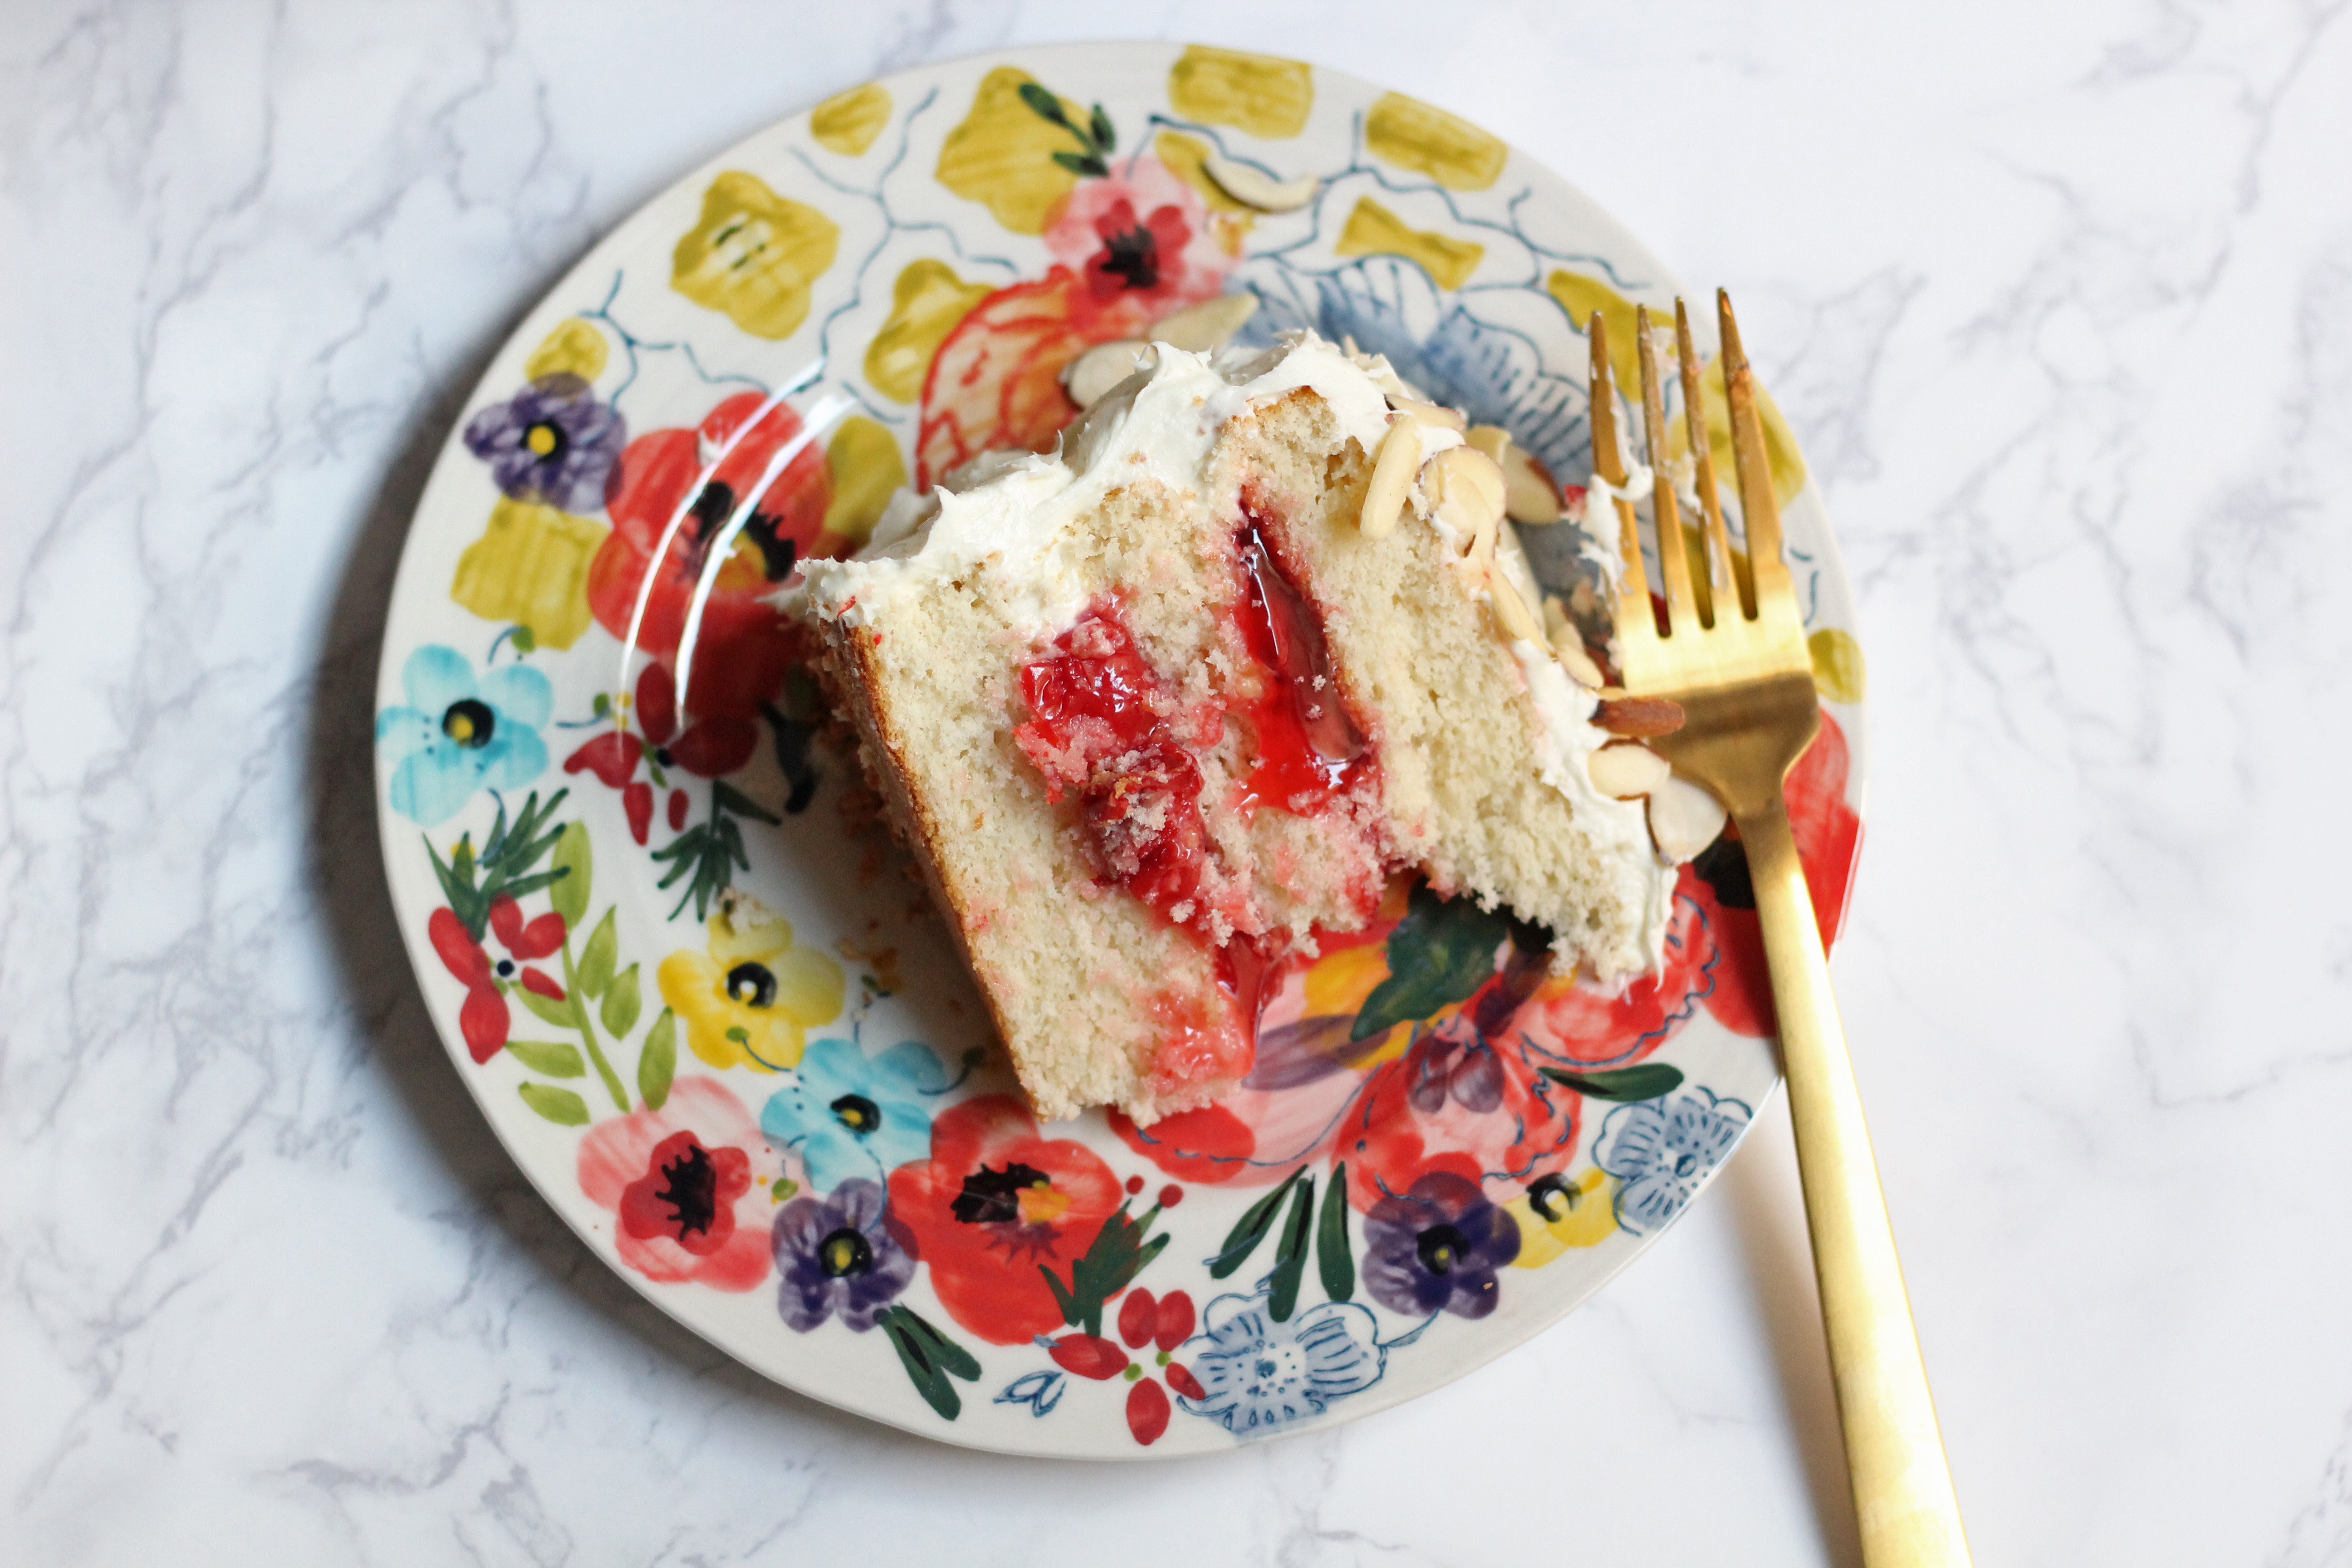
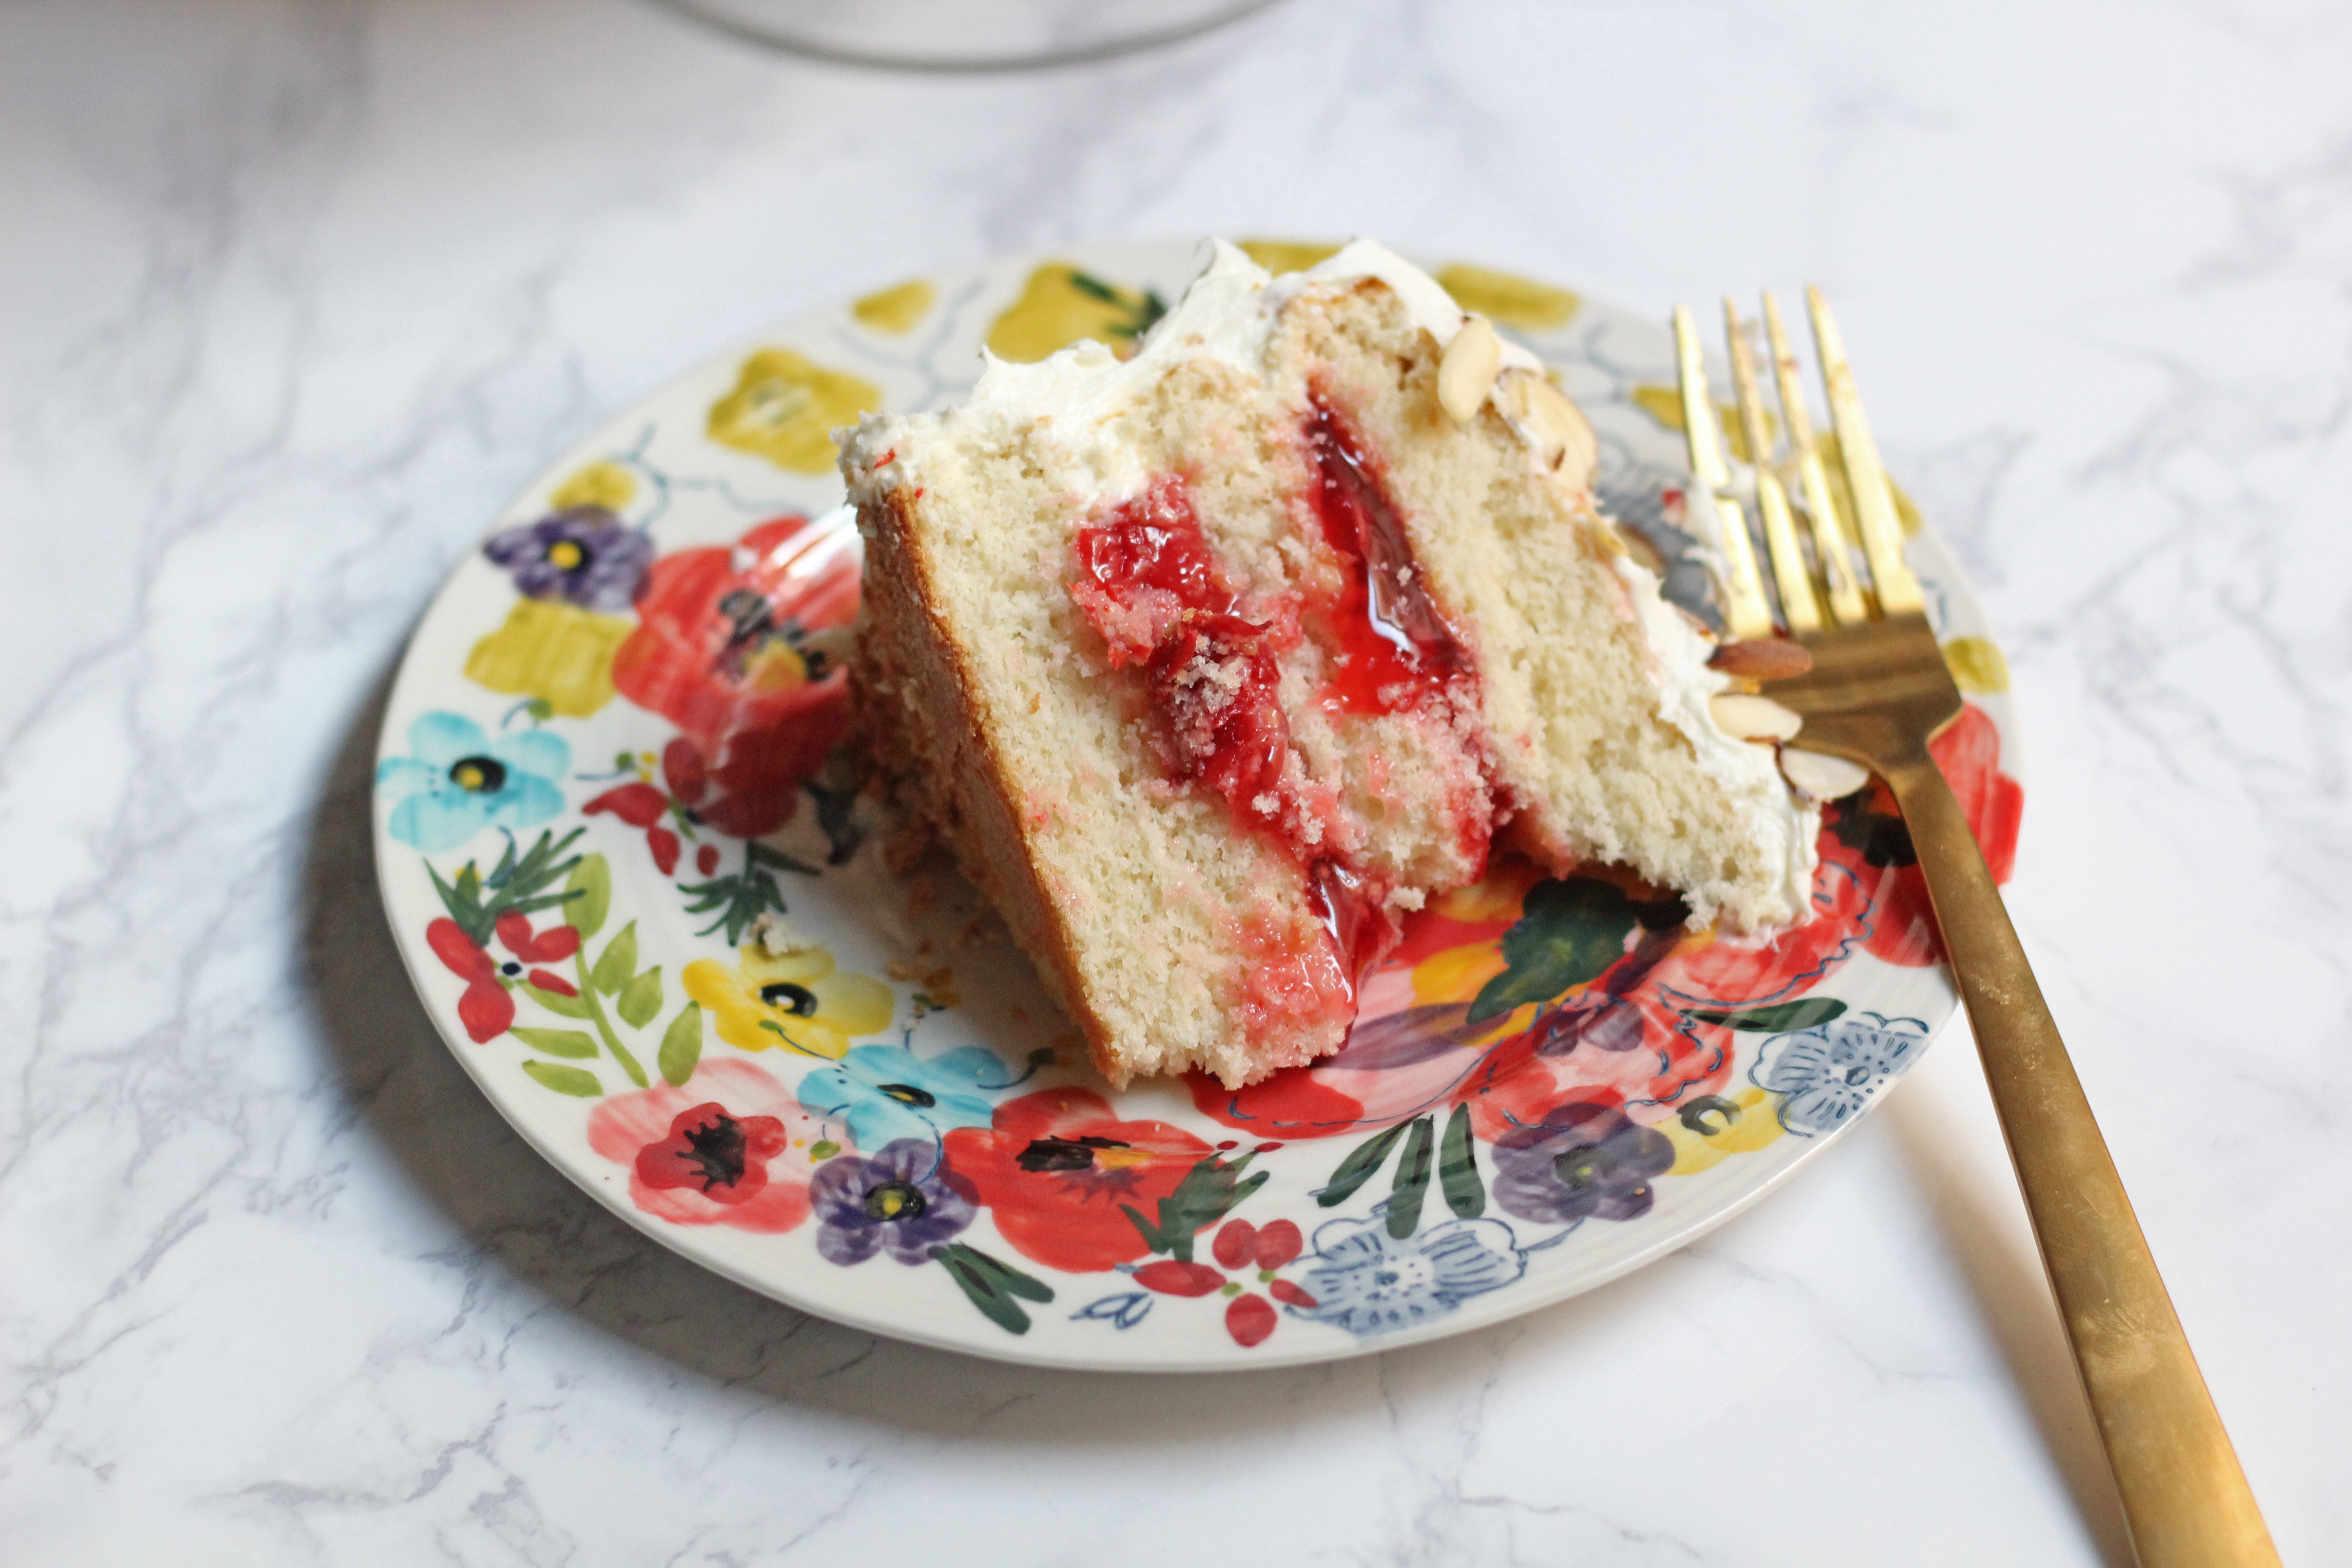
This “blogiversary” cake was delicious. I used to not like cakes with fillings, or filling that wasn’t more icing. Now that I am older and wiser I have seen the error of my ways and am less narrow-minded towards filled cakes. The actual cake parts cooked great, and were light and moist. The combination of the cake, cherry pie filling, and icing worked very well together to make this a very enjoyable dessert. Shannon agreed that this cake was tasty, but was happy to see it go to work with me so we didn’t eat it all.

Southern Lane Cake

My favorite part of this Southern Lane Cake was putting it together and decorating it with Shannon. She took a Wilton cake decorating class before so she is the resident cake expert. Making icing walls to hold the cherry pie filling and stacking the layers on top of each other together was a lot of fun. I also love spreading icing, so I got to do that over the whole cake, too. Here’s to the first year of Marguerite’s Cookbook. Thanks for spending some time with us and with Marguerite. We had a great first year, and hope to have many more to come!

Southern Lane Cake

Southern Lane Cake
Print Recipe
  • CourseDesserts
Servings Prep Time
1 cake 25 minutes
Cook Time Passive Time
20-25 minutes 1 hour
Servings Prep Time
1 cake 25 minutes
Cook Time Passive Time
20-25 minutes 1 hour
Southern Lane Cake
Print Recipe
  • CourseDesserts
Servings Prep Time
1 cake 25 minutes
Cook Time Passive Time
20-25 minutes 1 hour
Servings Prep Time
1 cake 25 minutes
Cook Time Passive Time
20-25 minutes 1 hour
Ingredients
  • 3 1/4 cups flour
  • 3 1/2 tsps baking powder
  • 1/2 tsp salt
  • 1 cup butter softened
  • 2 cups sugar
  • 1 tsp vanilla
  • 1 cup milk
  • 8 egg whites
  • 1 can cherry pie filling
Servings: cake
Instructions
  1. Preheat oven to 375 degrees. Grease and flour 4 nine inch round layer pans.
  2. Cream butter and sugar. Add vanilla.
  3. Combine dry ingredients (flour, powder, salt). Alternately add dry ingredients and milk to creamed butter and sugar.
  4. Fold in egg whites.
  5. Bake 20-25 minutes.
  6. Let layers cool before constructing cake using cherry pie filling and icing. Add nuts like almonds to the top if desired.
Share this Recipe
 
Powered byWP Ultimate Recipe

January 23, 2016 by: Shannon and Aaron

Cranberry Cherry Pie

Cranberry Cherry Pie

This Cranberry Cherry Pie is the perfect pairing to any Thanksgiving dinner. We made this recipe twice: the first time for Aaron’s family on Thanksgiving and the second time just for the two of us to enjoy.

Cranberry Cherry Pie

This will also be the first of many dessert recipes here on Marguerite’s Cookbook.  Dessert recipes were the most popular in Marguerite’s collection and the cookbook is about 50% desserts. Her pies were one of the best desserts to have, because she was so good at hand making pie crust.  For as long as Aaron can remember, his mother and other members of their family always talked about how no one could make pie crust like Marguerite.  When Marguerite tried to teach Aaron’s mom how to perfect the pie crust, the main advice she gave was “touch the dough as little as possible.”

Here is what the original recipe said:

Cranberry Cherry Pie Original

First to tackle was the crust itself, the previously mentioned hardest part.  Marguerite used a standard Crisco pie crust recipe, which we have included below.  When we made it the first time for Thankgiving, the family commented that the cranberry and cherry filling, along with the topping, tasted delicious.  Aaron’s mom, who was the best one to judge the crust, said that while it was good, it was not as soft and flakey as Marguerite’s.

Darn.

We attributed this to over handling the crust, as well as not putting enough water in it.  We also over baked the pie because there were no baking instructions on Marguerite’s recipe.  We were determined to get it right, so we tried it again.

Cranberry Cherry Pie

Despite being advised to, we didn’t chill the Crisco the second time. This seemed to make it much easier to play with the crust less. More water was also added.

In both attempts we omitted the Tapioca pudding from her recipe because neither of us care for it and we decided that it wouldn’t negatively affect the recipe to skip it.

Slice of Cranberry Cherry Pie

The other challenge with this recipe: Marguerite left no instructions on how long to bake the pie and at what temperature! For the first attempt we baked it for too long.  The second time turned out much better!

Cranberry Cherry pie and slice

I’m not a huge fan of pie, so I only sampled a small amount. Not the worst pie I’ve ever tried though.

Aaron loved it, despite not being a huge fan of cranberries.

Slice of PieWe hope you attempt this recipe for your next holiday to share with your family!


Cranberry Cherry Pie
Cranberry Cherry pie and slice
Cranberry Cherry Pie
Print Recipe
A berry pie recipe with a crumble topping
  • CourseDesserts
Servings Prep Time
1 Pie 30 minutes
Cook Time Passive Time
30 minutes 30 minutes
Servings Prep Time
1 Pie 30 minutes
Cook Time Passive Time
30 minutes 30 minutes
Cranberry Cherry pie and slice
Cranberry Cherry Pie
Print Recipe
A berry pie recipe with a crumble topping
  • CourseDesserts
Servings Prep Time
1 Pie 30 minutes
Cook Time Passive Time
30 minutes 30 minutes
Servings Prep Time
1 Pie 30 minutes
Cook Time Passive Time
30 minutes 30 minutes
Ingredients
Crust
  • 1 1/3 cup flour
  • 1/2 tsp salt
  • 1/2 stick Crisco OR
  • 1/2 cup Crisco
  • 3-6 Tbps ice cold water
Pie Filling
  • 1 can cherry pie filling
  • 1 can whole cranberry sauce 14 or 16 oz. can
  • 1/4 cup sugar
  • 1 tsp lemon juice
  • 2 Tbps margarine
Topping
  • 3/4 cup flour
  • 1/4 cup sugar
  • 1/4 cup brown sugar
  • 1/3 cup margarine room temperature
Servings: Pie
Instructions
Crust
  1. Blend flour and salt in large bowl. Cut shortening into flour mixture using pastry blender or fork. Stir in just enough water with fork until dough holds together.
  2. TIP Test dough for proper moistness by squeezing a marble-sized ball of dough in your hand. If it holds together firmly, do not add any additional water. If the dough crumbles, add more water by the tablespoonful, until dough is moist enough to form a smooth ball when pressed together.
  3. Shape dough into a ball. Flatten ball into a 1/2 inch round disk.
  4. Chill for 30 minutes or up to two days.
  5. Roll dough from center outward into a circle 2-inches wider than pie plate on lightly floured surface. Transfer dough to pie plate.
Filling and Topping
  1. Mix the cherry pie filling, cranberry sauce, sugar, and lemon juice.
  2. Pour the filling mixture into the crust.
  3. Dot with margarine
  4. Mix the flour, sugar, brown sugar, and margarine for the topping with a blender.
  5. Sprinkle the topping on top of the pie.
  6. Bake at 350 for 25-30 minutes
Share this Recipe
Powered byWP Ultimate Recipe

Hey There!

We're Aaron and Shannon, the cooks behind Marguerite’s Cookbook. We are a husband and wife cooking/blogging team who love food, fun, and family.

Give us a follow

Twitter

Sign up for our monthly newsletter and receive exclusive content from us in your inbox once a month.

  • Policies
  • Contact

© 2025 · Fun Genesis WordPress Theme by, Pretty Darn Cute Design