Marguerites Cookbook

A cooking blog all about making vintage recipes from a cookbook we inherited from our grandmother

  • Home
  • Recipes
    • Main Dishes
    • Appetizers and Sides
    • Desserts
    • Breakfast
  • About
  • Contact

September 24, 2016 by: Shannon and Aaron

Coffee Cake

coffee cake header

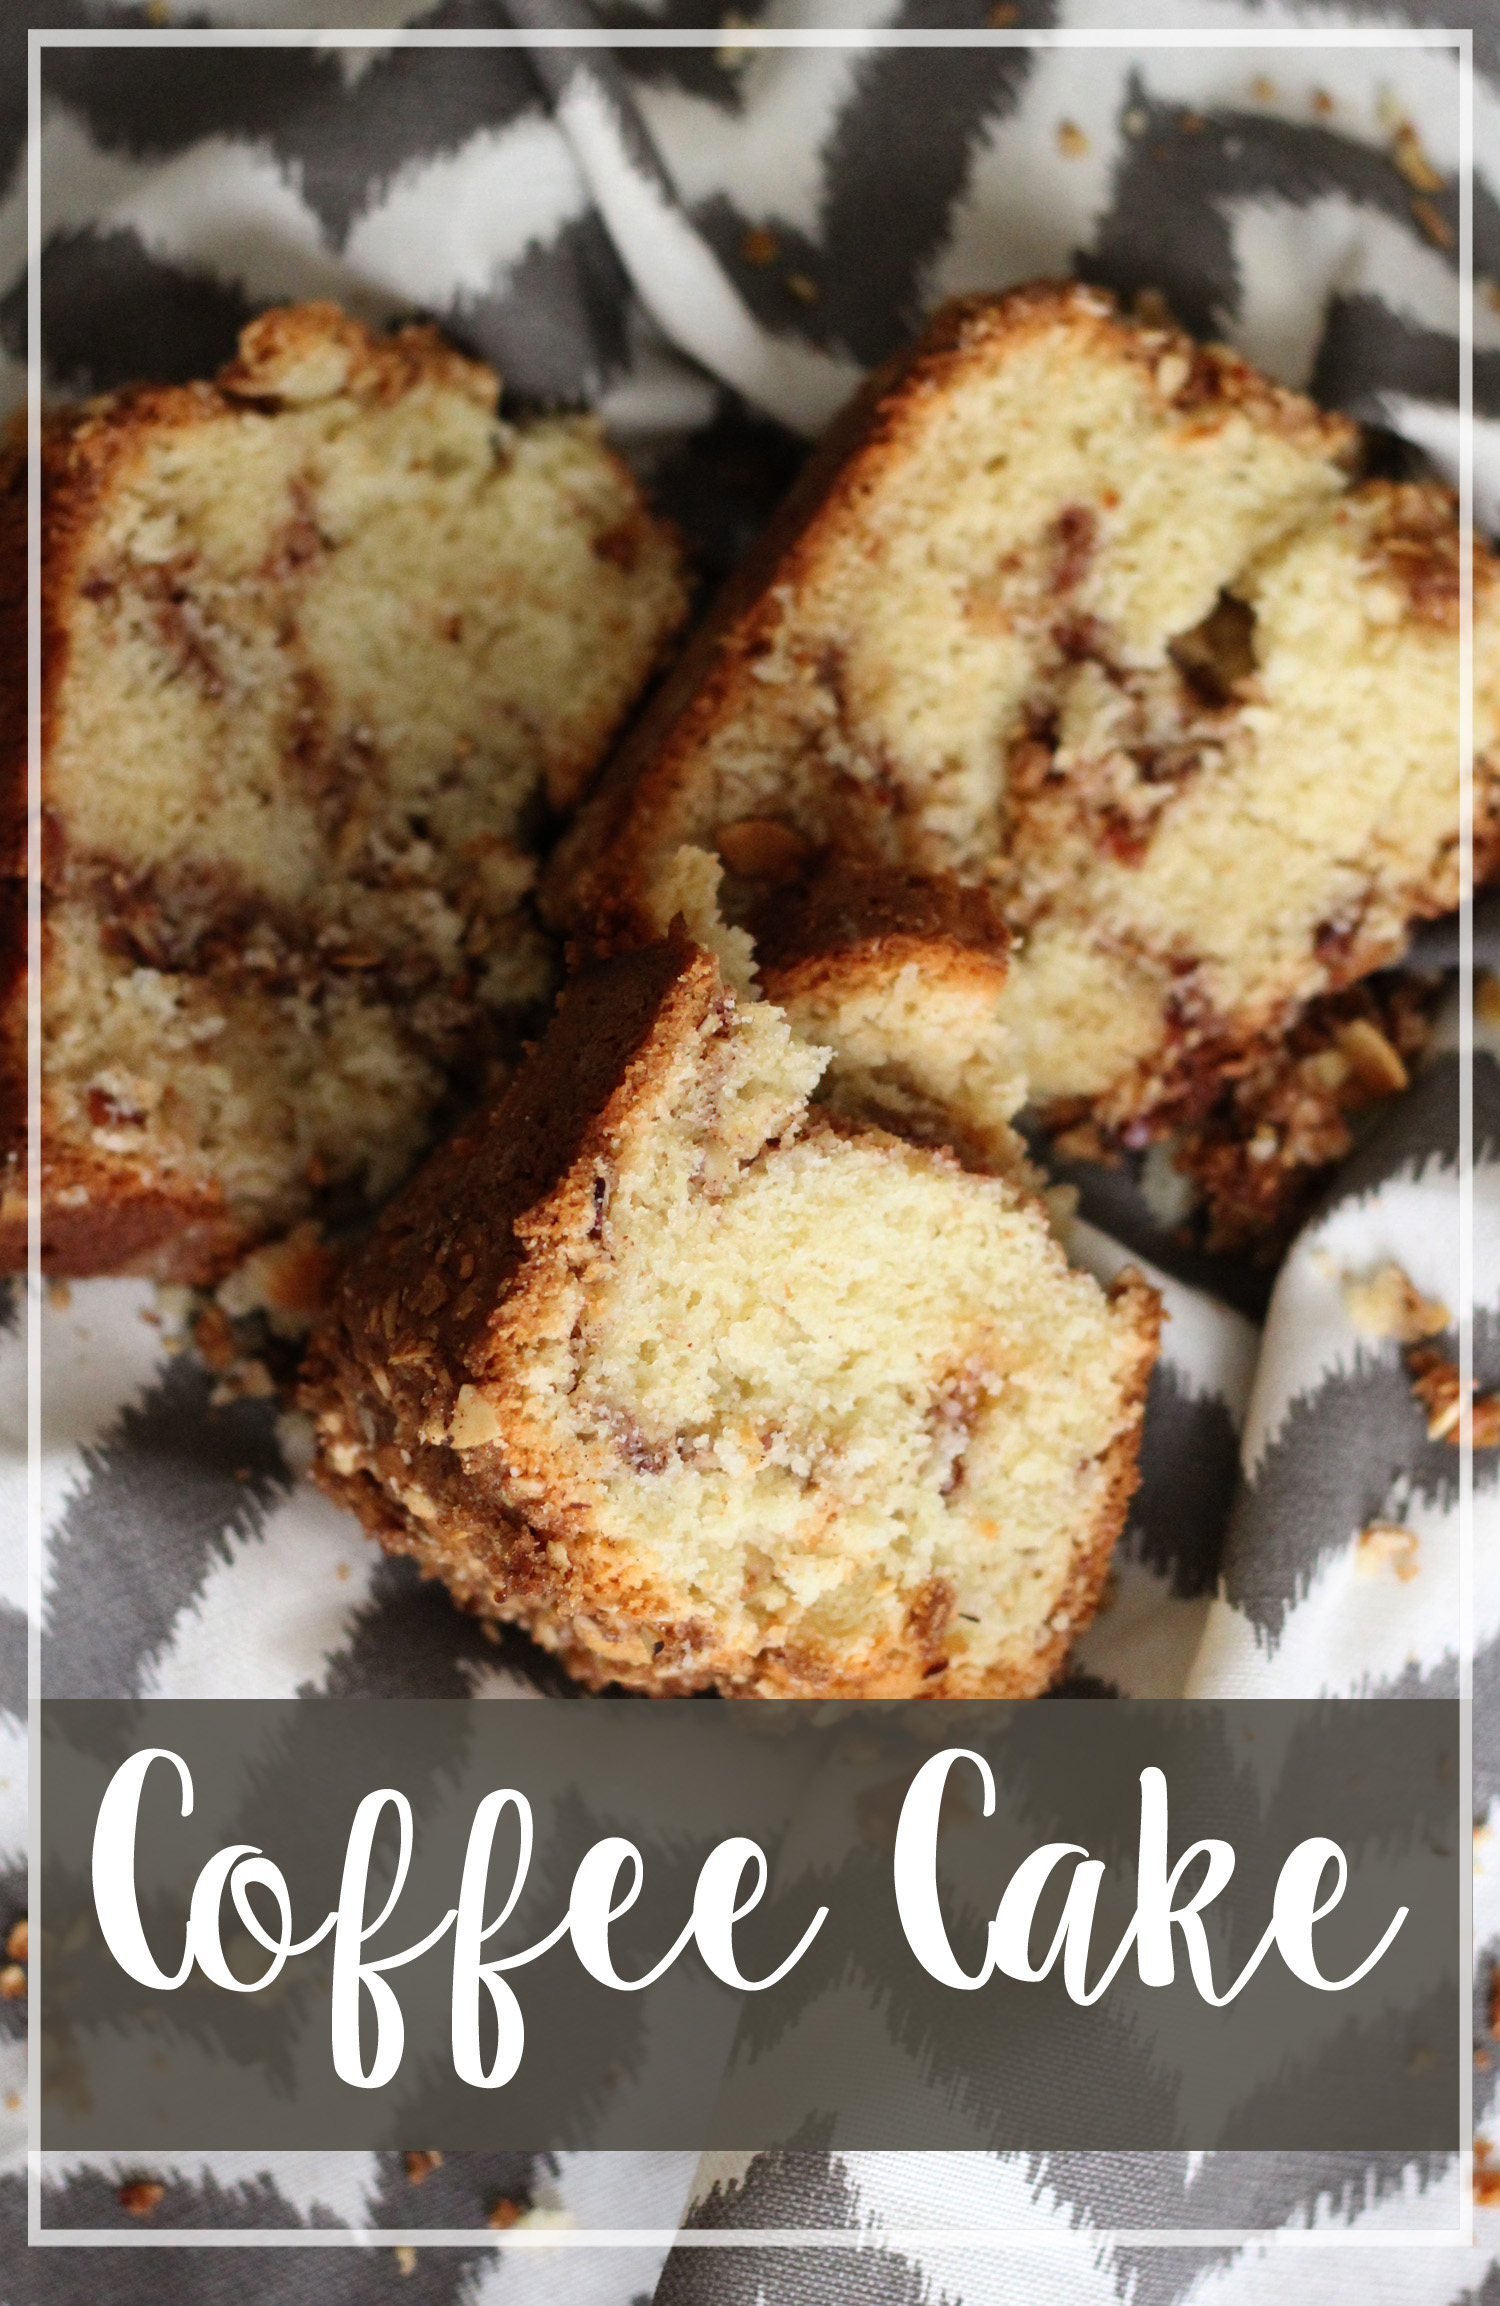
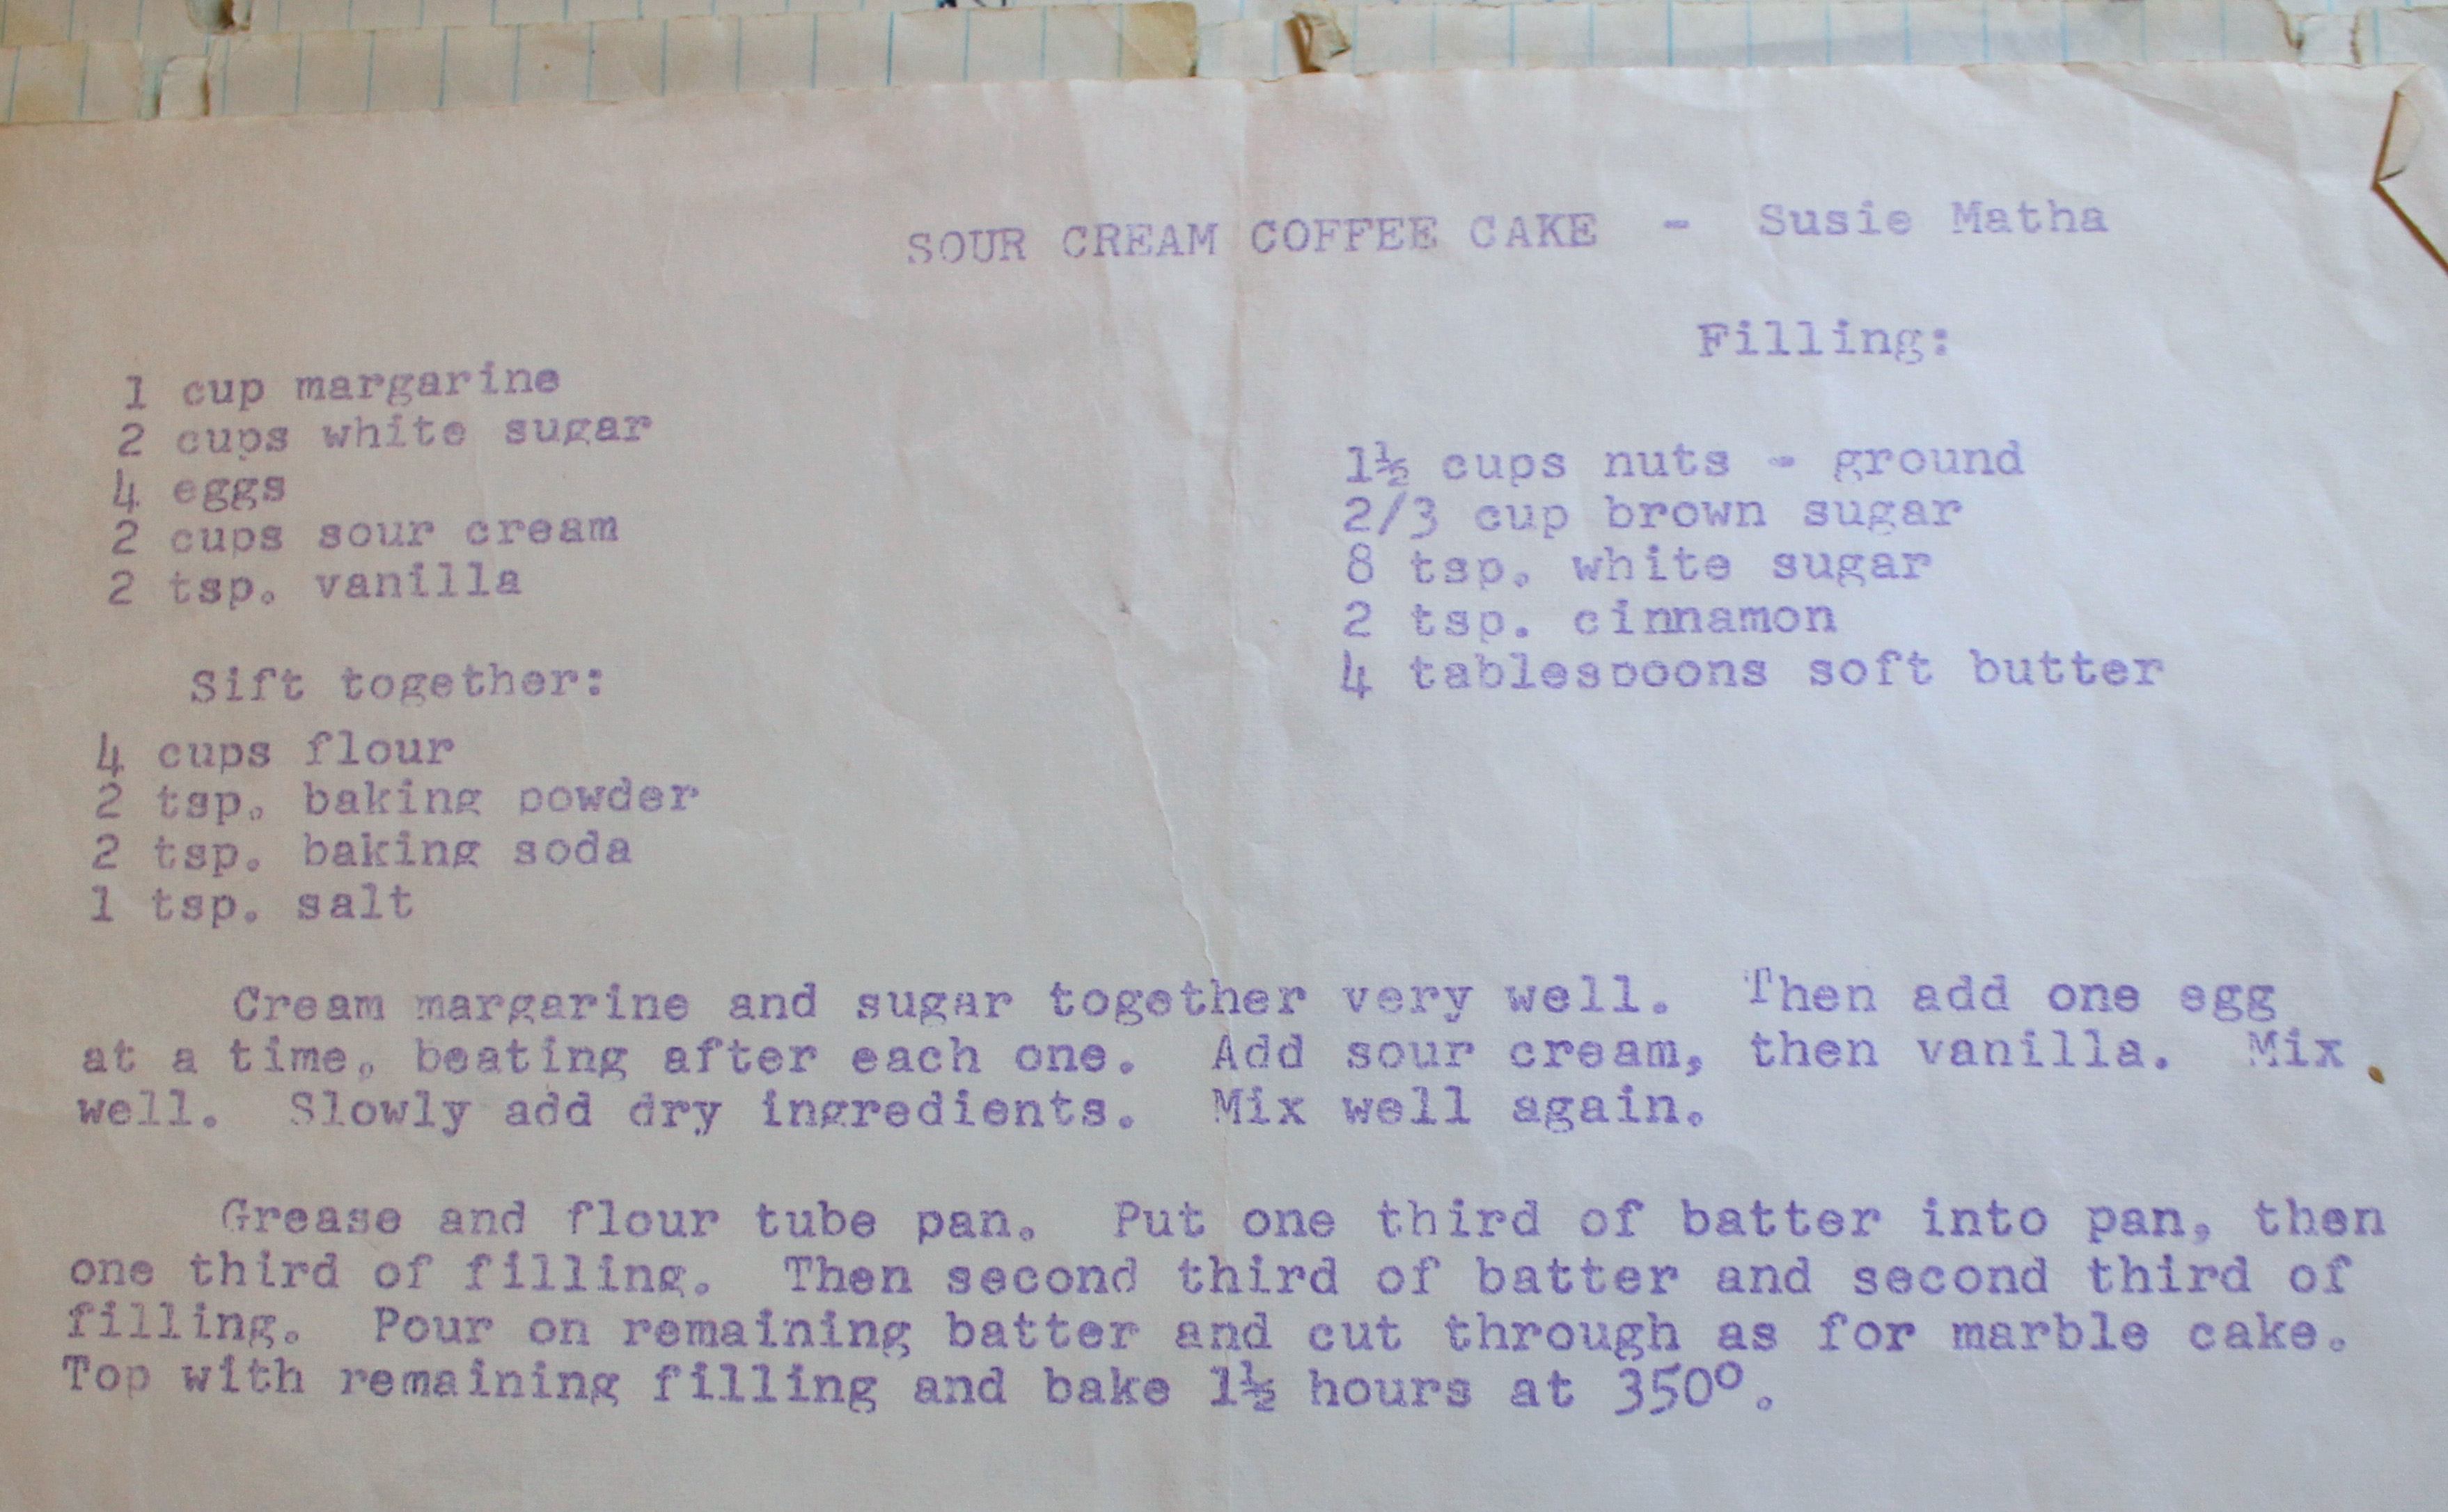
Coffee cake is one of those desserts that can be made in so many different ways and with many different flavors. This is just a basic coffee cake recipe given to Marguerite by another of her teaching colleagues, Susie Matha. Sometimes, plain and simple recipes are the way to go.


Here is what Susie had to say:

sour-cream-coffee-cake-recipe

First things first, Aaron was confused that this recipe was called sour cream coffee cake and he was confused that the recipe did, in fact, contain sour cream. He did not realize that sour cream can be a common ingredient in baked goods. He also didn’t realize how much work could go in to preparing a baked good to be made. We both felt that it took a bit too long of a time to put together, between the combining of ingredients, the grinding of nuts, and the layering of batter and filling in the pan. But it was sooooooo delicious.

sour cream coffee cake

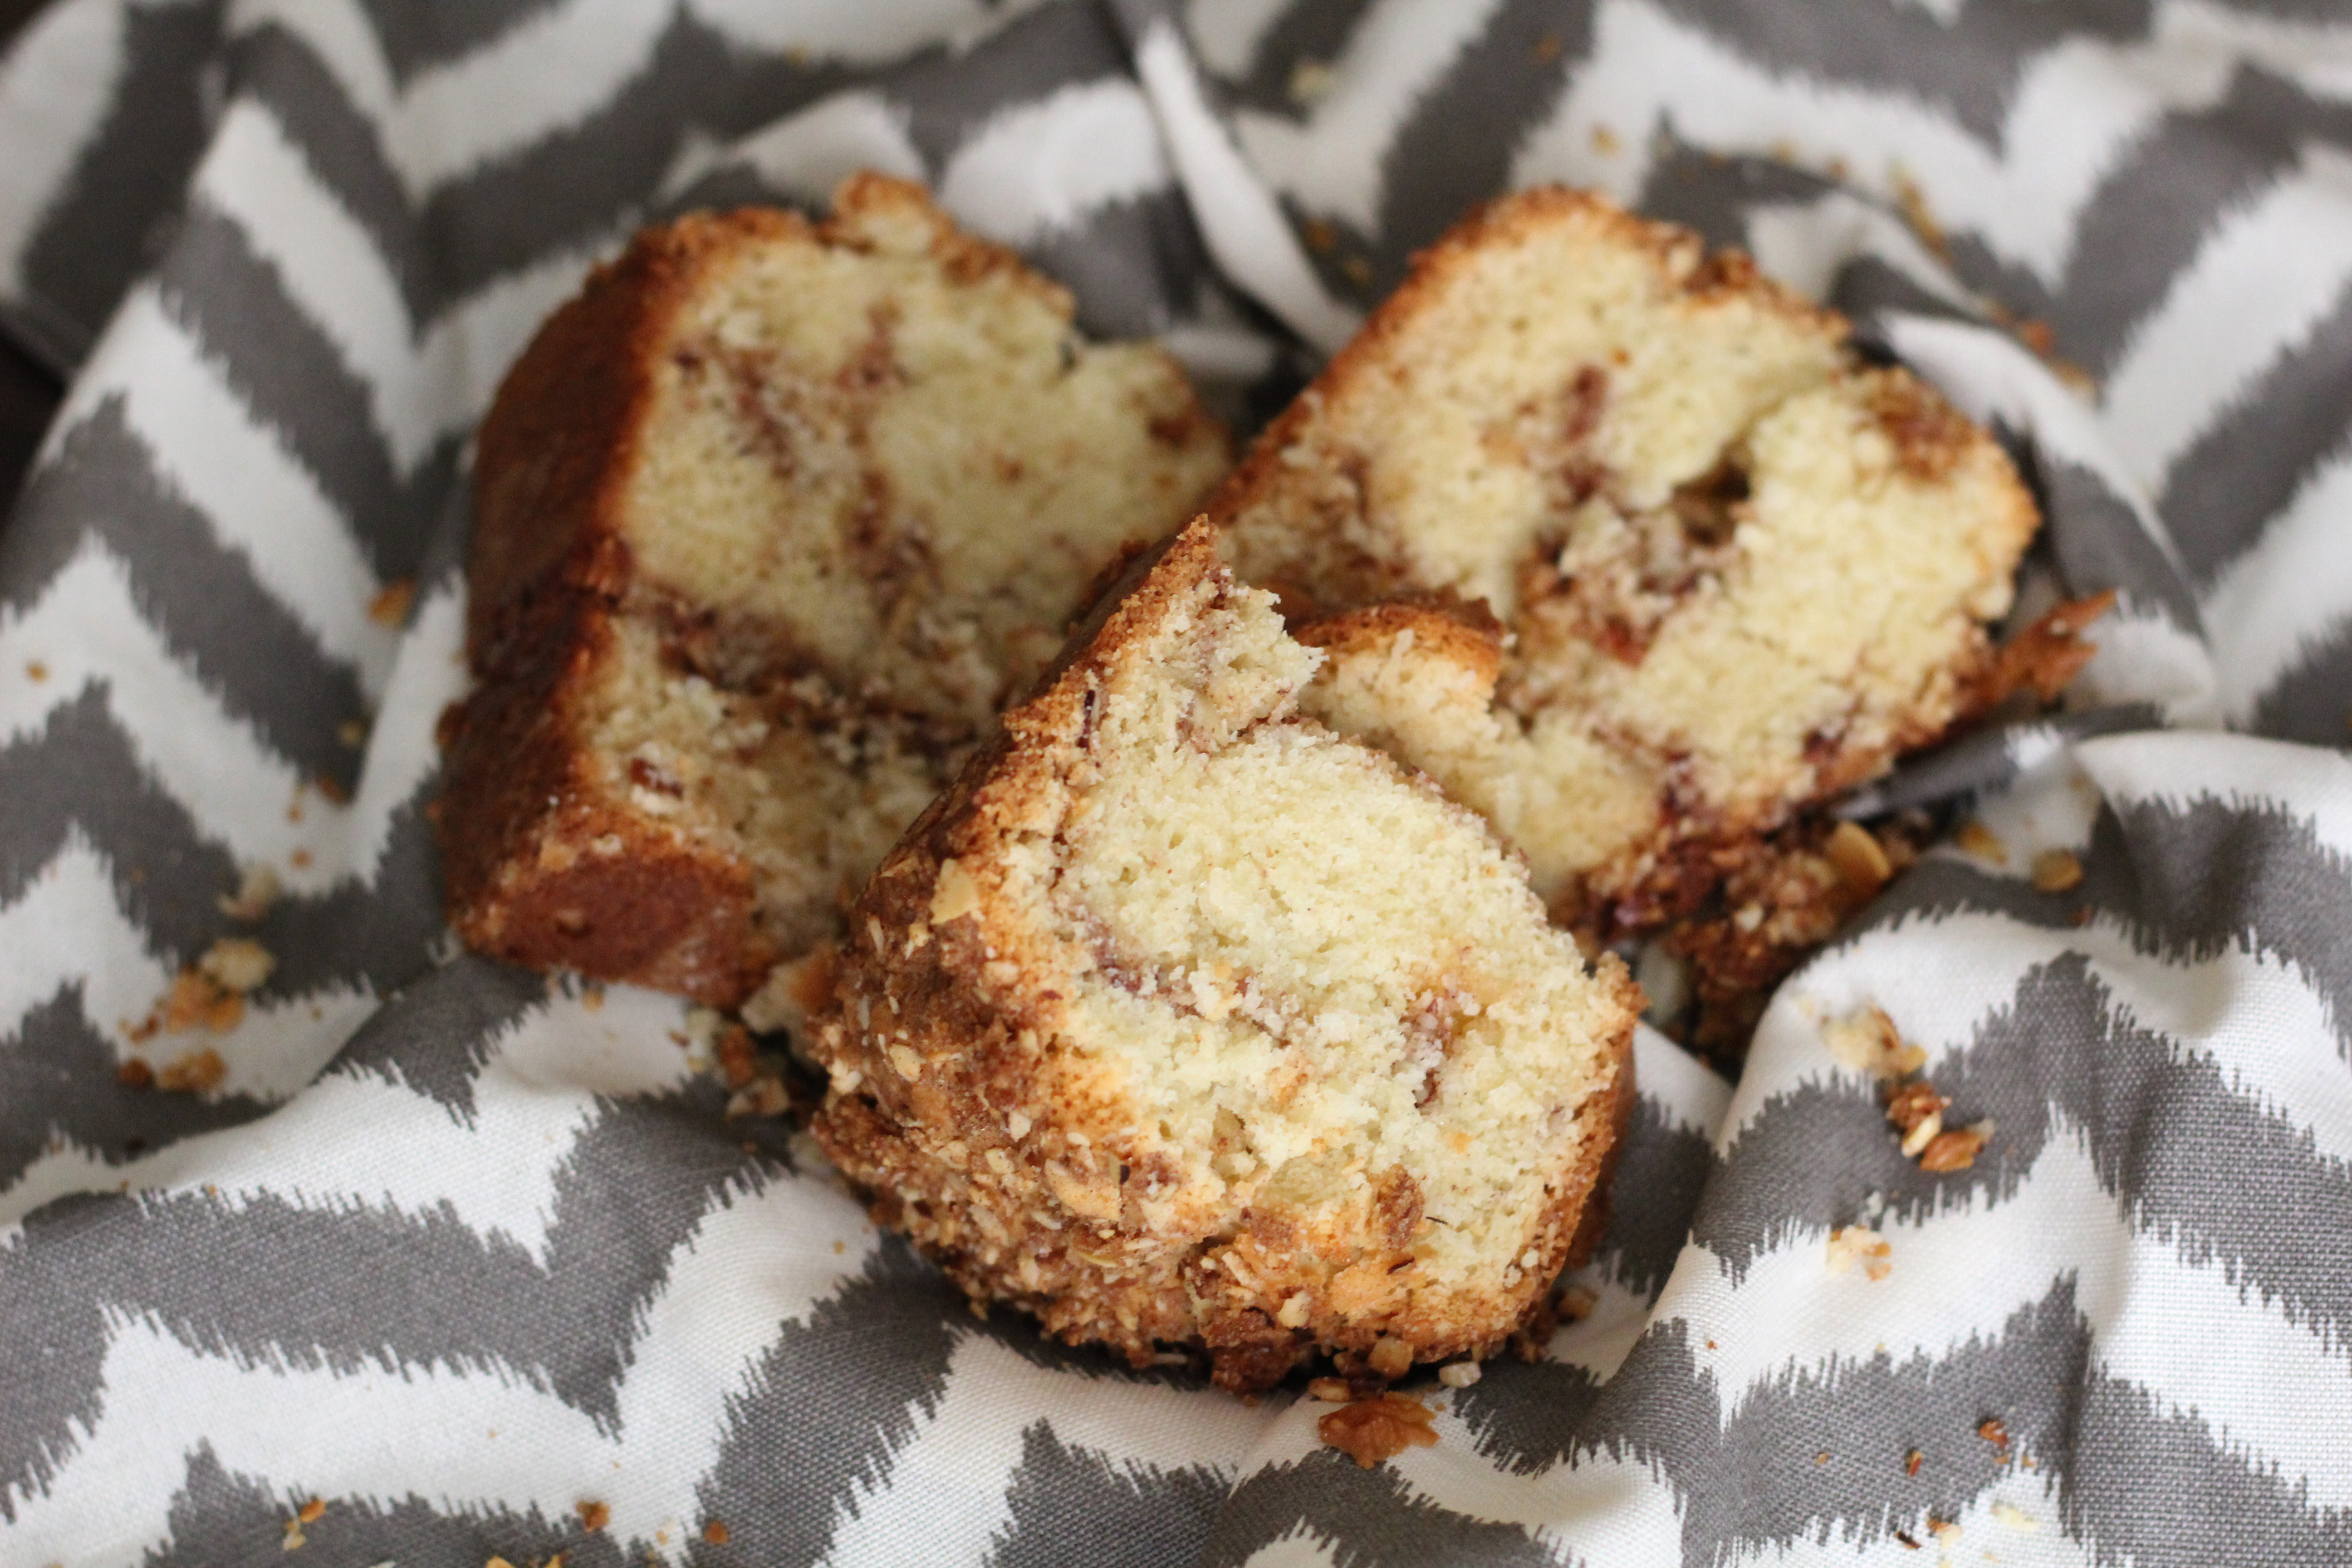
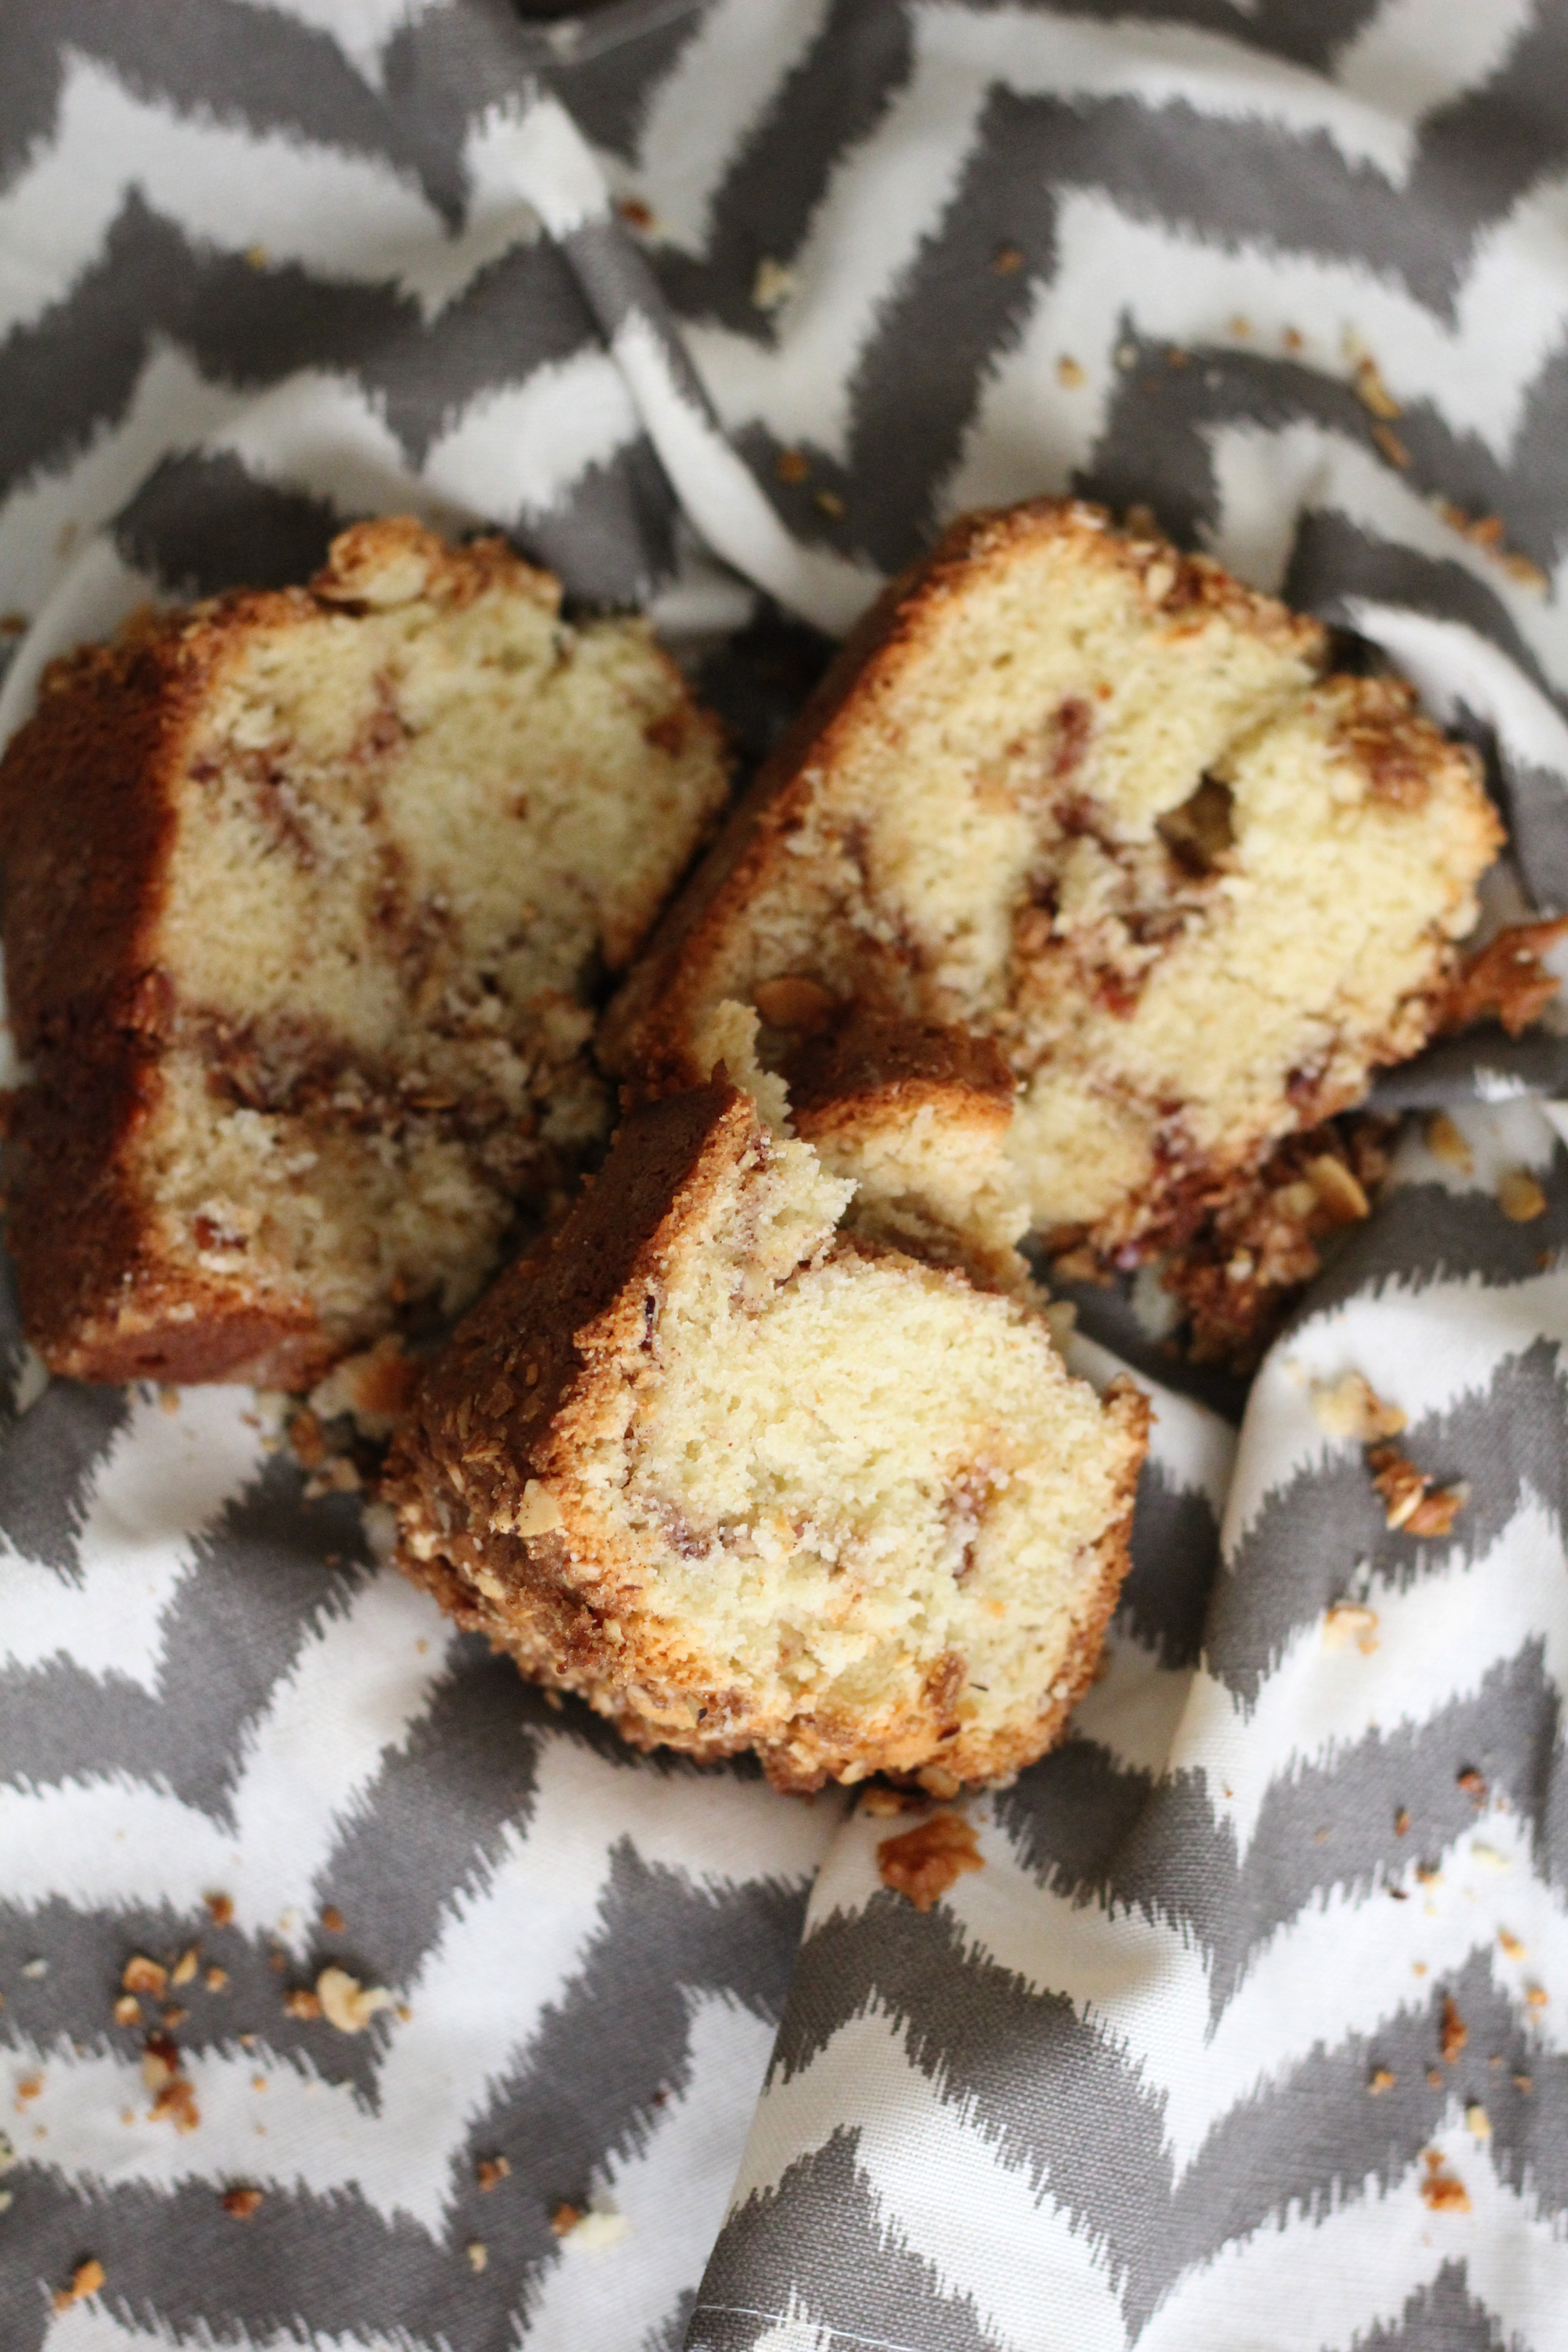
It was soft and spongy like a well made cake should be, plus the cinnamon, sugar, and nuts (we used almonds), made a delicious filling. We made sure to grease and flour the pan before pouring the batter, which was great help in removing the pieces of cake after baking.


The aroma of this cake filled our apartment for like two hours. By the time we cut into it, we we’re impatient and hungry. Cutting the coffee cake a little too soon caused it to be too soft and to crumble as we tried to take it out. Once cooled the cake was easy to cut and plate to eat. Was it ever delicious! I wasn’t crazy about how brown the sides and bottom got, and that may be due to over baking it, or even due to the type of tube pan we used. But I did enjoy the insides of the coffee cake. Aaron enjoyed it greatly as well. He, of course, enjoyed several pieces along with coffee.

coffee cake

Thankfully for both of us, Aaron took the extra to share with his coworkers. They also really enjoyed it and upon cleaning out the container it was in, told Aaron he could “take it home and fill it with more coffee cake!” I think we would consider that a great success.

Coffee Cake
Print Recipe
  • CourseDesserts
Servings Prep Time
1 cake 40 minutes
Cook Time
90 minutes
Servings Prep Time
1 cake 40 minutes
Cook Time
90 minutes
Coffee Cake
Print Recipe
  • CourseDesserts
Servings Prep Time
1 cake 40 minutes
Cook Time
90 minutes
Servings Prep Time
1 cake 40 minutes
Cook Time
90 minutes
Ingredients
Batter
  • 1 cup butter
  • 2 cups sugar
  • 4 eggs
  • 2 cups sour cream
  • 2 tsp vanilla
  • 4 cups flour
  • 2 tsp baking soda
  • 2 tsp baking powder
  • 1 tsp salt
Filling
  • 1 1/2 cups ground nuts
  • 2/3 cups brown sugar
  • 8 tsp white sugar
  • 2 tsp cinnamon
  • 4 Tbsp butter softened
Servings: cake
Instructions
  1. Preheat oven to 350 degrees.
  2. Cream butter and sugar together very well.
  3. Add one egg at a time, beating after each one.
  4. Add sour cream, then vanilla.
  5. Mix well.
  6. Sift together dry ingredients, then slowly add dry ingredients to wet ingredients. Mix well again.
  7. Combine filling ingredients.
  8. Grease and flour tube pan. Put one third of batter into pan, then one third of filling. Then second third of batter and second third of filling. Pour on remaining batter and cut through as for marble cake. Top with remaining filling and bake one and a half hours at 350.
Share this Recipe
 
Powered byWP Ultimate Recipe

September 10, 2016 by: Shannon and Aaron

Apple Compote

AppleCranberryCompoteheader

Time for another great fall recipe. And this time, surprise surprise, its a dessert! This apple compote had its ups and downs, but turned out okay in the end.

Here’s what Marguerite had to say:

AppleCranberryCompoteRecipe

Not Marguerite’s typical handwriting, huh? Well, as you will see as we go along, Marguerite also added magazine clippings of recipes that she must have liked into her cookbook as well. Aaron was excited to try this, because his mom would frequently make an apple dish during the holidays that he really liked. This recipe, however, did not quite turn out like that one.

AppleCranberryCompote

First of all, as anyone who has done apple dishes can attest, peeling apples is not an enjoyable task. That step took up over 90% of the prep time. Once that part of prep was completed, the rest of the recipe came together easily. When putting the ingredients together, we made a layer of apples, put the other ingredients on top, and then mixed them all together.

AppleCompote

When the apple compote first came out of the oven, we were concerned and unimpressed. It was still somewhat watery, while the apples seemed overcooked and dried out. There were a few thoughts we had as to why this happened. First we weren’t sure if we had put enough apples in. Then, since today’s cranberry sauce cans usually hold 2 less ounces than before, we thought that might add to it. Finally, this is our first recipe in our new oven, which always has its own complications. But, unlike our old apartment, this oven is at least a full sized one. Yay tiny apartment living!

AppleCranberryCompote

As you can see from the pictures, once we put this apple compote into individual serving dishes, they look pretty good! The cranberry sauce melded with the apples to give them a nice rich color, and the whole cranberries and raisins added to the visual interest of this dessert. I did not like the look of those cooked raisins though! I also felt that the apple compote was much too tart. I would have preferred it to be much sweeter.  Aaron did like this apple compote, although it wasn’t his favorite apple dessert.

AppleCranberryCompote

We hope you enjoy this warm apple compote as September gets cooler!

Apple Compote
Print Recipe
  • CourseAppetizers and Sides, Desserts
Servings Prep Time
8 25 minutes
Cook Time
40 minutes
Servings Prep Time
8 25 minutes
Cook Time
40 minutes
Apple Compote
Print Recipe
  • CourseAppetizers and Sides, Desserts
Servings Prep Time
8 25 minutes
Cook Time
40 minutes
Servings Prep Time
8 25 minutes
Cook Time
40 minutes
Ingredients
  • 1 can cranberry sauce
  • 1 cup water
  • 2 Tbs lemon juice
  • 1 tsp ginger
  • 6 medium apples (2 pounds)
  • 1/2 cup raisins
Servings:
Instructions
  1. Preheat oven to 425.
  2. Core, peel, and slice apples into eighths.
  3. Combine all ingredients in 3 quart casserole dish.
  4. Cook for 40 minutes or until apples are tender but still intact.
Share this Recipe
 
Powered byWP Ultimate Recipe

July 16, 2016 by: Shannon and Aaron

Cherry Parfait Pie

Cherry Parfait Pie Header

One fun fact about me is that I don’t really care for pie, which is not a good trait to have with the amount of pies in Marguerite’s cookbook. However, I LOVED this cherry parfait pie. It was insanely rich, very sweet, and the perfect summer dessert.

Here is what Marguerite had to say:


This easily legible and detailed recipe is a nice change from the current norm, due to the fact that it was written out by Marguerite’s aunts Stella and Florence. We love finding recipes in the book from Marguerite’s family and friends! Their pie recipe was pretty accurate and easy to execute, except we felt the pie needed a bit more time than just 20-25 minutes to set. Also, we chose to use a pre-made pie shell instead of making our own from scratch.

Cherry Parfait Pie

This cherry parfait pie recipe has similar ingredients as our Sunburst Gelatin Dessert (jello and ice cream), but it doesn’t parade around pretending to be a “salad.” This pie presents itself as a sweet and delicious dessert and it does not disappoint.

Cherry Parfait Pie While I still feel this was a less than ideal use of all that ice cream ( I just really love ice cream,) it makes the cherry parfait pie a delicious mouss-ey consistency. This pie was so rich, I couldn’t even finish a whole piece! Aaron, however, couldn’t wait to get at this it. He ate a nice big piece and enjoyed every bit of it.

Cherry Parfait Pie

This type of pie was just the kind of dessert Marguerite would make for her “club” friends. It’s also a great summer pie since it’s light and airy. We hope you try out this cherry parfait pie when you need a dessert to beat that summer heat!

Cherry Parfait Pie

Cherry Parfait Pie
Print Recipe
  • CourseDesserts
Servings Prep Time
1 pie 20 minutes
Passive Time
2 hours
Servings Prep Time
1 pie 20 minutes
Passive Time
2 hours
Cherry Parfait Pie
Print Recipe
  • CourseDesserts
Servings Prep Time
1 pie 20 minutes
Passive Time
2 hours
Servings Prep Time
1 pie 20 minutes
Passive Time
2 hours
Ingredients
  • 1 3 oz package raspberry jello
  • 1 1/4 cups hot fruit juice + water
  • 1 1/2 cups drained pitted dark sweet cherries
  • 1 pt vanilla ice cream
  • 1 9" pie shell cooled
  • whipped cream
Servings: pie
Instructions
  1. Dissolve jello in hot liquid in a 2 quart saucepan. Use fruit juice drained from cherry can and add water to complete the 1/14 cups needed.
  2. Add ice cream by spoonfuls, stirring until melted.
  3. Chill until thickened, but not set (10-15 minutes.)
  4. Fold in cherries. Turn into pie shell.
  5. Chill until firm (60-90 minutes.)
  6. Garnish with whipped cream and fruit. You may have enough cherries from the one can to have a few left over to top your pie with.
Share this Recipe
 
Powered byWP Ultimate Recipe

July 2, 2016 by: Shannon and Aaron

Fourth of July Thumbprint Cookies

Thumbprint Cookies

Happy Fourth of July Weekend! We hope you’re having a safe and fun one. We happen to be hanging out with our family in Pittsburgh all weekend and maybe sharing a few of these delicious thumbprint cookies with them. Or keeping them all to ourselves…

This recipe happened to be a Christmas staple of Marguerite’s, but there are only so many desserts we can share with you in December. So, we adapted the decor of these thumbprint cookies to be a little more seasonally appropriate.

Thumbprint Cookies Recipe

Aaron and I decided to make the thumbprint cookies with nuts on the outside like Marguerite described, as well as a way we were more familiar with: substituting the nuts for sprinkles (or “jimmies” as we Pittsburghers call them.)

Thumbprint Cookies Prep

We made these cookies twice, both times about 6 with nuts and 8 with sprinkles. The first time we made them, they were so dry! They crumbled in our hands and were not pleasant to eat. The second time, we cut back by about two tablespoons on flour and we used only softened butter instead of a butter/Crisco combo (noted below.) This would have been much better if one of us (we’re not sure whom) hadn’t bumped the oven during the thumbprinting step! Somehow it got turned up to 425 and our cookies had burned bottoms when we removed them. The third time is the charm I suppose?

Thumbprint Cookies with nuts

The nut version of the cookies were good. I’m not a huge fan of nuts, but the sugar off-set them nicely. I wish we had put an almond in the center of the nut cookies, but I was sort of on a roll with the piping bag…

Thumbprint Cookies

The sprinkle versions were amazing! Aaron, his cousin Kiersten, and myself all have fond memories of our childhood in a Pittsburgh grocery store called Giant Eagle. Whenever your parents dragged you in with them, you could always count on the friendly people behind the bakery and deli counters to give your adorable self a free slice of American cheese and a free thumbprint cookie, just for being a cute kid. This recipe definitely got me nostalgic for those days, especially with the substitution of sprinkles for nuts.

Thumbprint Cookies

Not only are thumbprint cookies a classic, but they’re so adaptable for any time of the year. Halloween? Black and orange sprinkles! Valentines day? Pink and red icing! The possibilities are endless.

Thumbprint Cookies

Tell us, are you making anything fun for the holiday weekend?

Fourth of July Thumbprint Cookies
Print Recipe
  • CourseDesserts
Servings Prep Time
1-2 dozen 15 minutes
Cook Time
10-12 minutes
Servings Prep Time
1-2 dozen 15 minutes
Cook Time
10-12 minutes
Fourth of July Thumbprint Cookies
Print Recipe
  • CourseDesserts
Servings Prep Time
1-2 dozen 15 minutes
Cook Time
10-12 minutes
Servings Prep Time
1-2 dozen 15 minutes
Cook Time
10-12 minutes
Ingredients
  • 1/2 cup butter softened
  • 1/4 cup brown sugar
  • 1/2 tsp vanilla
  • 1 cup flour use less if cookies seem dry
  • 1/4 tsp salt
  • 1 egg yolk
  • 1 egg white
  • 3/4 cup chopped nuts or sprinkles
Servings: dozen
Instructions
  1. Mix butter, brown sugar, vanilla, and egg yolk thoroughly.
  2. Sift flour and salt together and stir in. Stir in a little at a time to ensure cookies don't get too dry.
  3. Roll into one inch balls.
  4. Dip in slightly beaten egg white. Roll in finely chopped nuts.
  5. Place about one inch apart on an ungreased cookie sheet. Bake at 375 for five minutes. Remove from oven.
  6. Quickly place thumb gently on top of each cookie. Return to oven and bake 5-8 more minutes. Cool.
  7. Place in thumbprints a bit of candied fruit, jelly, or tinted powdered sugar icing.
Share this Recipe
 
Powered byWP Ultimate Recipe

June 18, 2016 by: Shannon and Aaron

Sunburst Gelatin Dessert

Gelatin Dessert

In Marguerite’s cookbook, this Sunburst Gelatin Dessert is titled “Sunburst Salad.” In fact, there are a lot of recipes titled “salad” in her cookbook, none of which ever include anything close to lettuce. I’d say 99% of the recipes with the word “salad” in the title involve gelatin and a trove of other bad-for-your-waistline-good-for-your-soul ingredients. After flipping through the book many times, only one salad actually involving lettuce was found.

That being said, this “salad” was delicious.

Here is what Marguerite had to say:Sunburst Recipe

An entire pint of ice cream that I didn’t get to eat on it’s own is a tragedy, but this gelatin dessert was so delicious, so I’ll cope. The fruit made it feel healthy and the ice cream gave the gelatin a very mousse-y texture. Very summery, very yum.

Sunburst Gelatin Dessert

According to Aaron’s mother (Marguerite’s daughter), this was a popular bridge club snack. Aaron remembers seeing this and similar desserts at many family affairs as well. According to him, she would make this gelatin dessert for the adults and then make plain Jello for the kids. Because a 7 year old Aaron only wanted plain cherry Jello and LEGOs. Actually, that’s all 28 year old Aaron wants…

Gelatin Dessert

We couldn’t find any apricot gelatin, so we subbed peach flavored instead. Aaron’s not a fan of peach, but he didn’t really mind it with all the other fun stuff thrown in.

This was one of those recipes that had a lot of variations in her book, many of which we’ll be trying some other time on this blog. By “variations” I mean “other salads.” It also was something I could actually see us making and enjoying on a regular basis and would be a great thing to bring to a party. Seriously, I’m shocked none of our friends invite us over just to make them all the delicious things we share on this blog.

Sunburst Gelatin

Sunburst Gelatin Dessert
Print Recipe
  • CourseDesserts
Servings Prep Time
6-8 10 minutes
Passive Time
2 hours
Servings Prep Time
6-8 10 minutes
Passive Time
2 hours
Sunburst Gelatin Dessert
Print Recipe
  • CourseDesserts
Servings Prep Time
6-8 10 minutes
Passive Time
2 hours
Servings Prep Time
6-8 10 minutes
Passive Time
2 hours
Ingredients
  • 3 oz package apricot gelatin
  • 1 No. 2 can apricot halves roughly 16oz
  • 1 can mandarin oranges small
  • 1 pt vanilla ice cream
  • 1/4 cup chopped nuts
Servings:
Instructions
  1. Use apricot juice and orange juice to make 1 cup of juice.
  2. Dissolve gelatin in 1 cup of boiling water.
  3. Quarter the apricots. Then add apricots, oranges, nuts, and fruit juice.
  4. Fold in ice cream.
  5. Pour in mold (or individual cups) and refrigerate until firm.
Share this Recipe
 
Powered byWP Ultimate Recipe

April 23, 2016 by: Shannon and Aaron

Cheesecake Recipe

Cheesecakeheader

I love cheesecake. Aaron’s mom makes great cheesecake, so I lucked out marrying into a family of great cheesecake. That being said, I was really excited to try out Marguerite’s cheesecake recipe!

Cheesecake Recipe

Here is what Marguerite’s cheesecake recipe looks like:

Cheesecake Recipe

Preparing the ingredients for the crust was a very time consuming process! It took us a full thirty minutes to crush up regular whole graham crackers into crumbs small enough for the crust. We did want to try to make it exactly as Marguerite would, so we went through all that trouble. What we did find out, as you can see, is that 20 graham crackers made a very thick crust.

Cheesecake Recipe Piece

Even though the crust was thick, it was delicious! The addition of walnuts and cinnamon in the crust made for a delicious extra boost of flavor that really complemented the plain flavor of the cheesecake.

Cheesecake Recipe

My other favorite thing about cheesecake is having strawberries with it. So we made some sugared strawberries to go on top of our cheesecake. At that point I was itching to have some of this cheesecake. And let me tell you, I was not disappointed! It was simply delicious. Aaron really enjoyed it too (is there anything he doesn’t enjoy though?)

Cheesecake Recipe

Our first attempt at cheesecake did not come without some difficulties. The cheesecake cracked across the top, and parts of the sides browned a little more than other parts. We consulted with our cheesecake expert, Aaron’s mom, and she let us know what she thought happened. First of all, even though Marguerite’s instructions said so, Aaron’s mom thought it was a little too high of a temperature in the oven.  She would suggest a lower temperature for a longer length of time. She also thought we could have over beaten our batter, could have had some difficulties due to it being the inaugural run of our spring form pan, or it could have been due to using an electric oven instead of gas. Regardless, this cheesecake was delicious and we will be making it again, probably halving the crust so it’s not as thick. Hope you enjoy it too!

Cheesecake Recipe

Cheesecake Recipe
Print Recipe
  • CourseDesserts
Servings Prep Time
1 Cheesecake 45 minutes
Cook Time Passive Time
35 minutes 5 hours
Servings Prep Time
1 Cheesecake 45 minutes
Cook Time Passive Time
35 minutes 5 hours
Cheesecake Recipe
Print Recipe
  • CourseDesserts
Servings Prep Time
1 Cheesecake 45 minutes
Cook Time Passive Time
35 minutes 5 hours
Servings Prep Time
1 Cheesecake 45 minutes
Cook Time Passive Time
35 minutes 5 hours
Ingredients
Crust
  • 20 graham crackers crumbs
  • 1/4 cup chopped walnuts
  • 1/2 tsp cinnamon
  • 1/2 cup butter melted
Filling
  • 3 eggs
  • 2 8 oz packages cream cheese softened
  • 1 cup sugar
  • 1/4 tsp salt
  • 2 tsp vanilla
  • 3 cups sour cream
Servings: Cheesecake
Instructions
Crust
  1. Mix graham cracker crumbs, chopped walnut and cinnamon. Add melted butter.
  2. Press into spring form pan.
Filling
  1. Combine all the filling ingredients except the sour cream. Mix until smooth.
  2. Add sour cream.
  3. Pour into crust.
Baking Instructions
  1. Bake at 375 degrees for 35 minutes.
  2. Let cool in the oven with the door open for one hour.
  3. Chill for at least four to five hours.
Share this Recipe
 
Powered byWP Ultimate Recipe

March 26, 2016 by: Shannon and Aaron

Peanut Butter Fudge

Peanut Butter Fudge

Aaron only has two weaknesses in the world: peanut butter and back scratches. While this blog can’t guarantee the latter, Marguerite’s Cookbook can come through when it comes to peanut butter. This light and airy peanut butter fudge recipe is a great change up from the typical fudge recipe, but more on that later.

Peanut Butter Fudge

This recipe is another guest post from one of Marguerite’s oldest friends. Florence Zieger was a fellow teacher, neighbor, and friend to Marguerite for years. They were the same age, and she lived to 97! Flo was another healthy and interesting woman, who drove, wore high heels regularly, and owned a business well into her nineties.  Here is what Flo had to say:

Peanut Butter Fudge

As with most of the recipes in Marguerite’s cookbook, there are very few empirical directions in the cooking and baking portion of the recipes. We gathered from the internet that around 2 & 1/2 minutes is the proper time to boil the sugar and milk. The only other change we made to the recipe was that we lined the pan with parchment paper instead of buttering the pan.

Peanut Butter Fudge

After making this recipe, Aaron wasn’t the only one loving peanut butter. I thought this peanut butter fudge was delicious!  It was light and airy, not heavy like most fudge recipes turn out. I found myself not being able to eat too much of it because it was so sweet. It was a huge hit with Aaron of course, and to keep him from eating it all, he took most of it into work. The fudge got rave reviews there as well. Looks like we will be making this one again soon!

Peanut Butter Fudge

Peanut Butter Fudge
Print Recipe
  • CourseDesserts
Servings Prep Time
1 9 x 13 pan 20 minutes
Passive Time
2 hours
Servings Prep Time
1 9 x 13 pan 20 minutes
Passive Time
2 hours
Peanut Butter Fudge
Print Recipe
  • CourseDesserts
Servings Prep Time
1 9 x 13 pan 20 minutes
Passive Time
2 hours
Servings Prep Time
1 9 x 13 pan 20 minutes
Passive Time
2 hours
Ingredients
  • 2 cups sugar
  • 2/3 cup milk
  • 1 tsp vanilla
  • 1 cup peanut butter
  • 7 oz marshmallow cream OR 1 container
Servings: 9 x 13 pan
Instructions
  1. Combine sugar and milk and bring to a boil over medium heat. Boil for two and a half minutes while stirring constantly. Remove from heat.
  2. Add vanilla, peanut butter, and marshmallow cream.
  3. Beat until creamy.
  4. Pour into pan.
  5. Refrigerate. Cut when cool.
Share this Recipe
 
Powered byWP Ultimate Recipe

January 23, 2016 by: Shannon and Aaron

Cranberry Cherry Pie

Cranberry Cherry Pie

This Cranberry Cherry Pie is the perfect pairing to any Thanksgiving dinner. We made this recipe twice: the first time for Aaron’s family on Thanksgiving and the second time just for the two of us to enjoy.

Cranberry Cherry Pie

This will also be the first of many dessert recipes here on Marguerite’s Cookbook.  Dessert recipes were the most popular in Marguerite’s collection and the cookbook is about 50% desserts. Her pies were one of the best desserts to have, because she was so good at hand making pie crust.  For as long as Aaron can remember, his mother and other members of their family always talked about how no one could make pie crust like Marguerite.  When Marguerite tried to teach Aaron’s mom how to perfect the pie crust, the main advice she gave was “touch the dough as little as possible.”

Here is what the original recipe said:

Cranberry Cherry Pie Original

First to tackle was the crust itself, the previously mentioned hardest part.  Marguerite used a standard Crisco pie crust recipe, which we have included below.  When we made it the first time for Thankgiving, the family commented that the cranberry and cherry filling, along with the topping, tasted delicious.  Aaron’s mom, who was the best one to judge the crust, said that while it was good, it was not as soft and flakey as Marguerite’s.

Darn.

We attributed this to over handling the crust, as well as not putting enough water in it.  We also over baked the pie because there were no baking instructions on Marguerite’s recipe.  We were determined to get it right, so we tried it again.

Cranberry Cherry Pie

Despite being advised to, we didn’t chill the Crisco the second time. This seemed to make it much easier to play with the crust less. More water was also added.

In both attempts we omitted the Tapioca pudding from her recipe because neither of us care for it and we decided that it wouldn’t negatively affect the recipe to skip it.

Slice of Cranberry Cherry Pie

The other challenge with this recipe: Marguerite left no instructions on how long to bake the pie and at what temperature! For the first attempt we baked it for too long.  The second time turned out much better!

Cranberry Cherry pie and slice

I’m not a huge fan of pie, so I only sampled a small amount. Not the worst pie I’ve ever tried though.

Aaron loved it, despite not being a huge fan of cranberries.

Slice of PieWe hope you attempt this recipe for your next holiday to share with your family!


Cranberry Cherry Pie
Cranberry Cherry pie and slice
Cranberry Cherry Pie
Print Recipe
A berry pie recipe with a crumble topping
  • CourseDesserts
Servings Prep Time
1 Pie 30 minutes
Cook Time Passive Time
30 minutes 30 minutes
Servings Prep Time
1 Pie 30 minutes
Cook Time Passive Time
30 minutes 30 minutes
Cranberry Cherry pie and slice
Cranberry Cherry Pie
Print Recipe
A berry pie recipe with a crumble topping
  • CourseDesserts
Servings Prep Time
1 Pie 30 minutes
Cook Time Passive Time
30 minutes 30 minutes
Servings Prep Time
1 Pie 30 minutes
Cook Time Passive Time
30 minutes 30 minutes
Ingredients
Crust
  • 1 1/3 cup flour
  • 1/2 tsp salt
  • 1/2 stick Crisco OR
  • 1/2 cup Crisco
  • 3-6 Tbps ice cold water
Pie Filling
  • 1 can cherry pie filling
  • 1 can whole cranberry sauce 14 or 16 oz. can
  • 1/4 cup sugar
  • 1 tsp lemon juice
  • 2 Tbps margarine
Topping
  • 3/4 cup flour
  • 1/4 cup sugar
  • 1/4 cup brown sugar
  • 1/3 cup margarine room temperature
Servings: Pie
Instructions
Crust
  1. Blend flour and salt in large bowl. Cut shortening into flour mixture using pastry blender or fork. Stir in just enough water with fork until dough holds together.
  2. TIP Test dough for proper moistness by squeezing a marble-sized ball of dough in your hand. If it holds together firmly, do not add any additional water. If the dough crumbles, add more water by the tablespoonful, until dough is moist enough to form a smooth ball when pressed together.
  3. Shape dough into a ball. Flatten ball into a 1/2 inch round disk.
  4. Chill for 30 minutes or up to two days.
  5. Roll dough from center outward into a circle 2-inches wider than pie plate on lightly floured surface. Transfer dough to pie plate.
Filling and Topping
  1. Mix the cherry pie filling, cranberry sauce, sugar, and lemon juice.
  2. Pour the filling mixture into the crust.
  3. Dot with margarine
  4. Mix the flour, sugar, brown sugar, and margarine for the topping with a blender.
  5. Sprinkle the topping on top of the pie.
  6. Bake at 350 for 25-30 minutes
Share this Recipe
Powered byWP Ultimate Recipe
  • « Previous Page
  • 1
  • 2

Hey There!

We're Aaron and Shannon, the cooks behind Marguerite’s Cookbook. We are a husband and wife cooking/blogging team who love food, fun, and family.

Give us a follow

Twitter

Sign up for our monthly newsletter and receive exclusive content from us in your inbox once a month.

  • Policies
  • Contact

© 2025 · Fun Genesis WordPress Theme by, Pretty Darn Cute Design